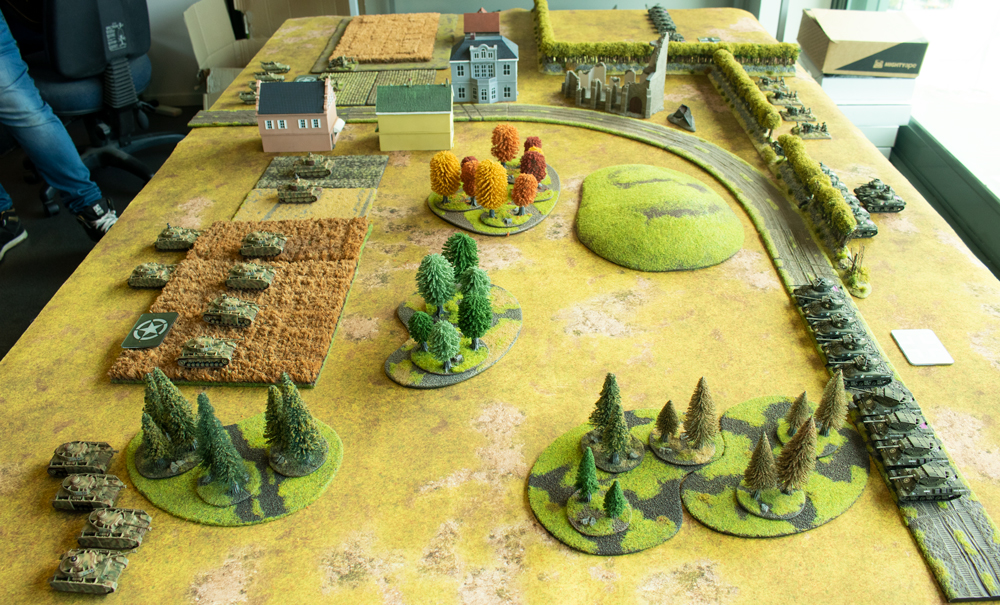
Big Four Of FlamesCon

Every year there are a few events on the New Zealand gaming calendar of ‘historical significance’ that we love to attend if we can – FlamesCon is one of those events! FlamesCon started out, many years ago, as the Battlefront organised Flames Of War tournament. These days the guys from the local club TCOW have taken over the organisation leaving us free to go along and play!

This year 75% of the Big Four, along with Phil, will be making the short trip along with our new Late War armies.

When this years FlamesCon was announced, and the four of us decided we would take our Big Four armies, we knew that our list selection would be limited to what we have painted rather than trying to noodle the most competitive list. In a years time that might be different as we all will have a lot more options painted, but for now I knew I’d be running some sort of Sherman company.

THE ARMY
I turned to Chris for advice, as he’s a bit more tactically minded than me. He suggested the following list:


I liked it because I had a bit of everything I like. A solid tank formation, a spearhead unit, something to hold an objective, and a fun command card! It was also all mostly painted, only needing to do the Armoured Mortars and Cavalry Recon Patrol which were next in the queue anyway. We went with Veterans as the 4+ is needed I think if I’m being aggressive; my armour won’t save me so I’d rather get hit less!

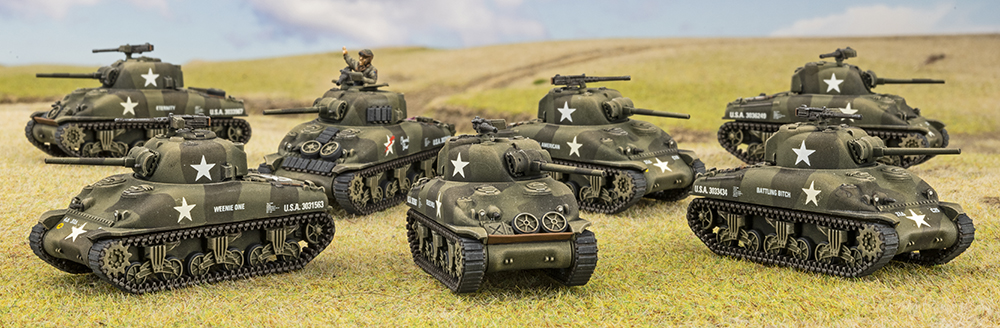
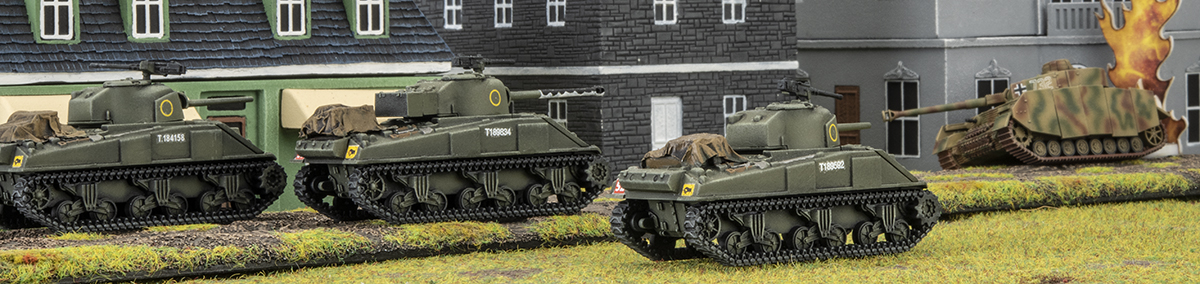
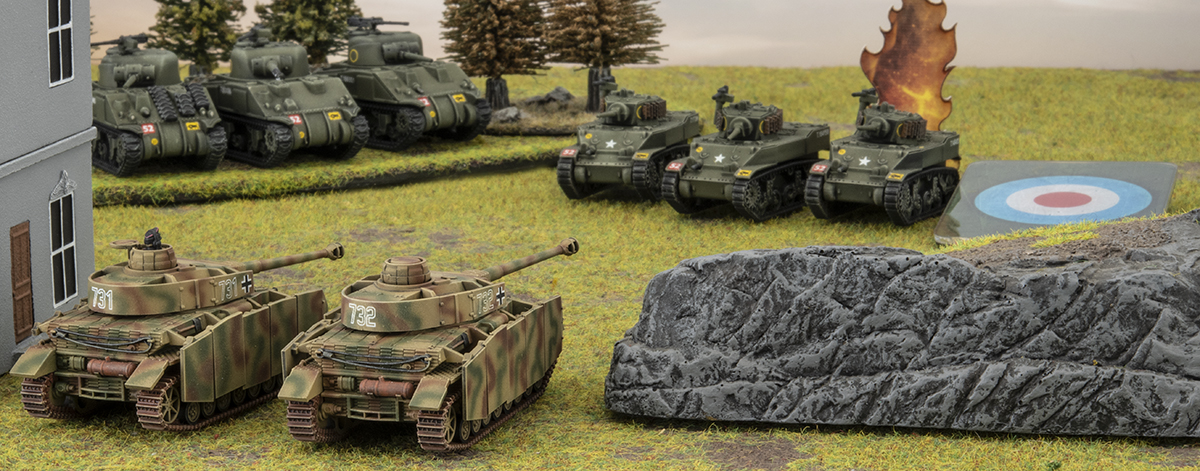
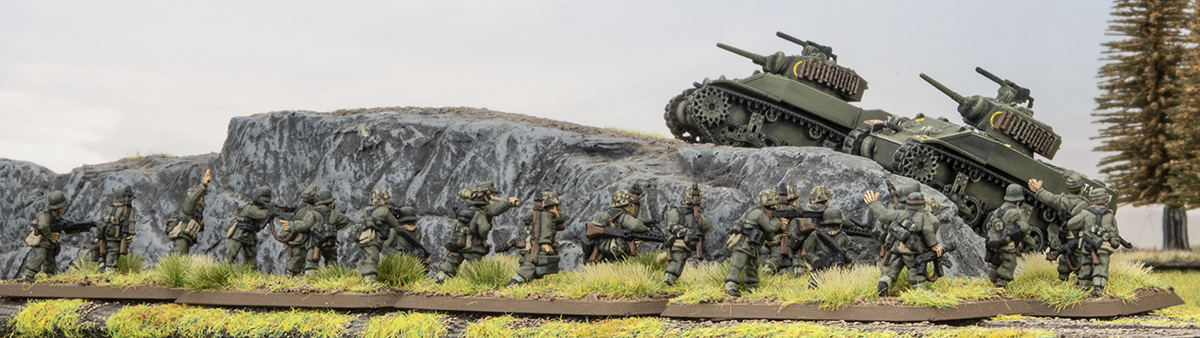
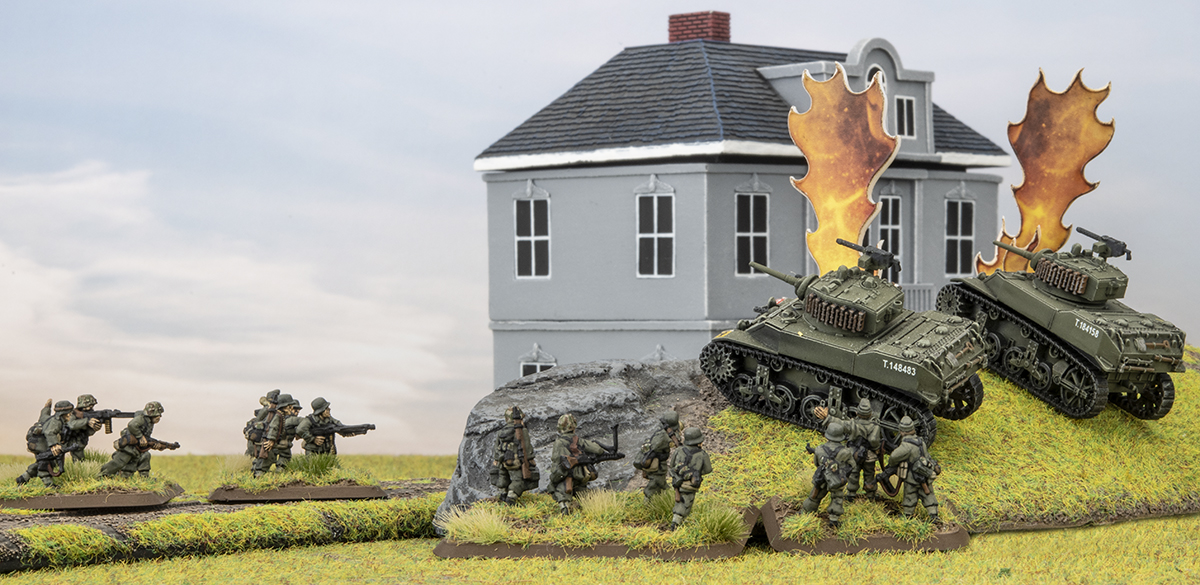
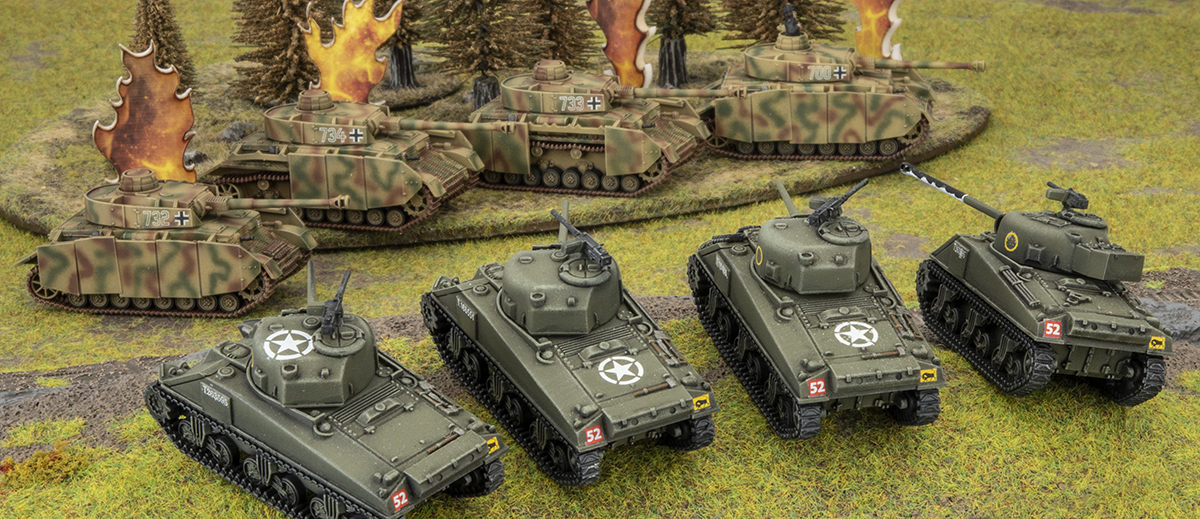
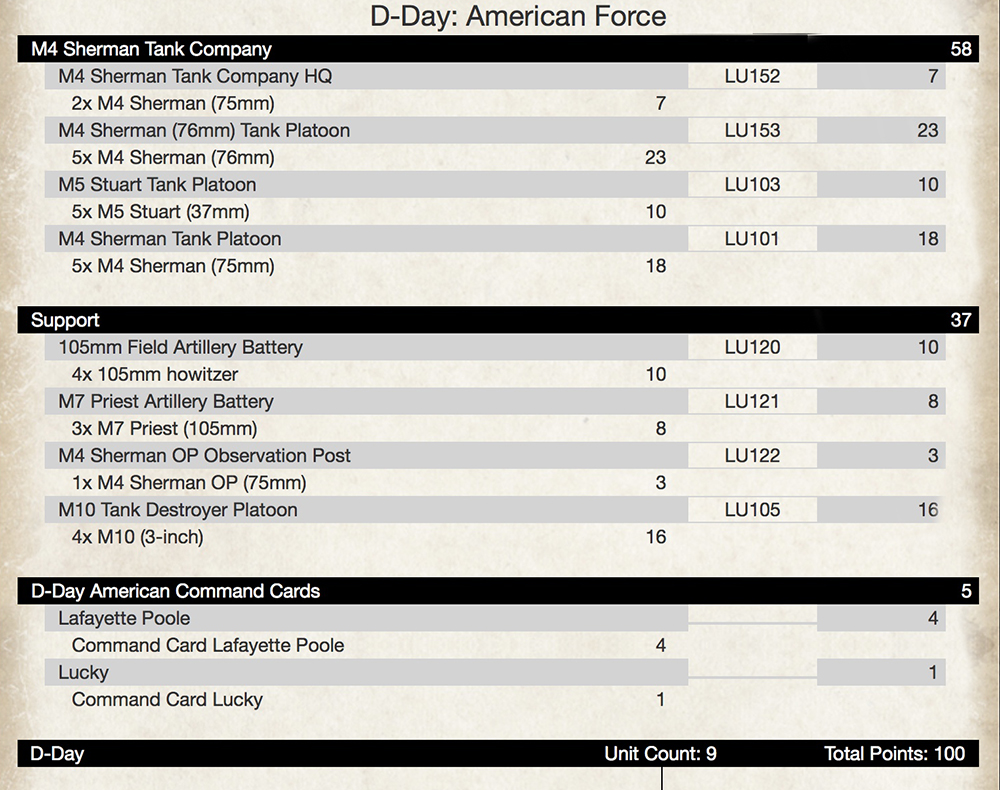
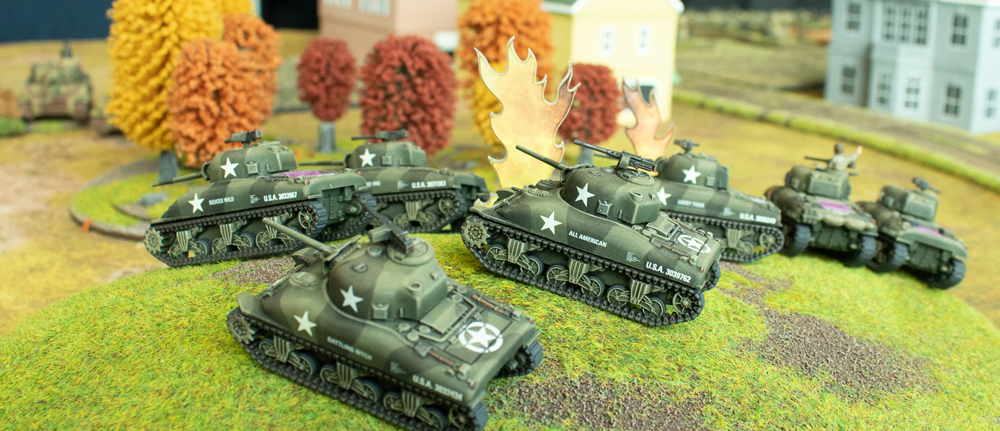
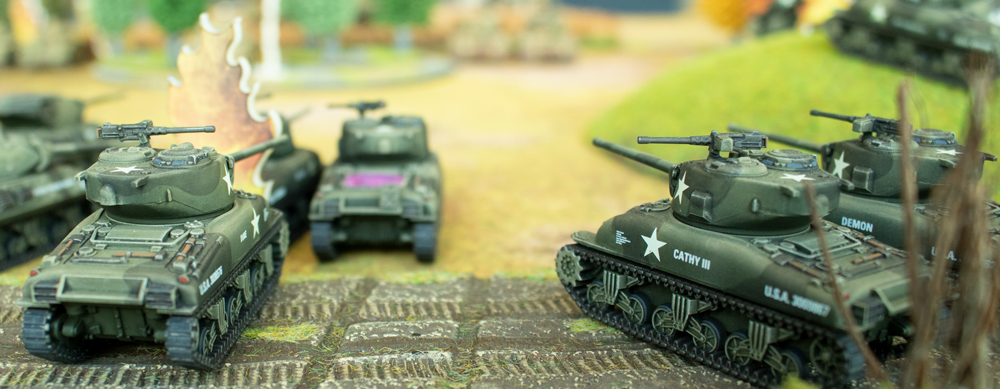
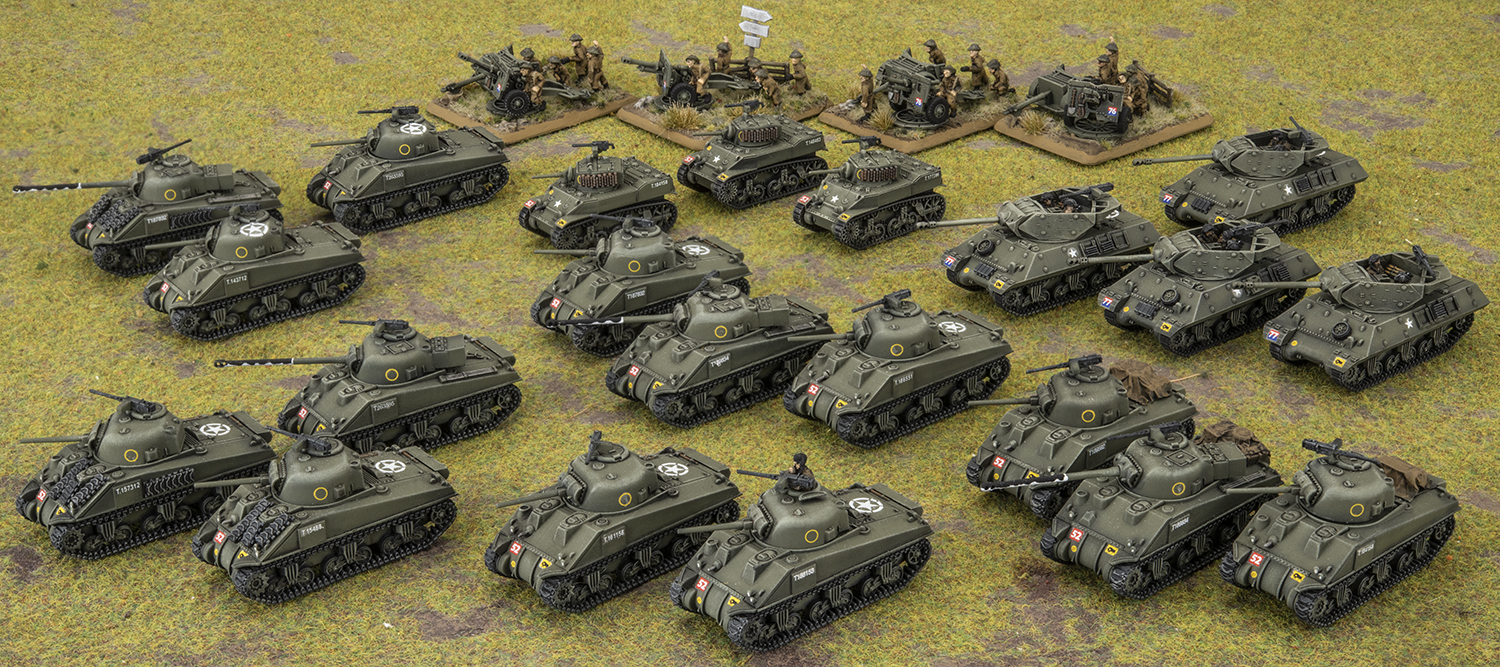
The Sherman company I’ve used a few times now so it’s the part I’m most familiar with. We went with 5x 76mm as they’re the real threat of the army, 4x 75mm, and the 3x Stuarts are mostly there to bolster the formation but can go and harass lighter targets. I would normally bring 4, but dropping one freed up points for the Cavalry Recon Patrol.

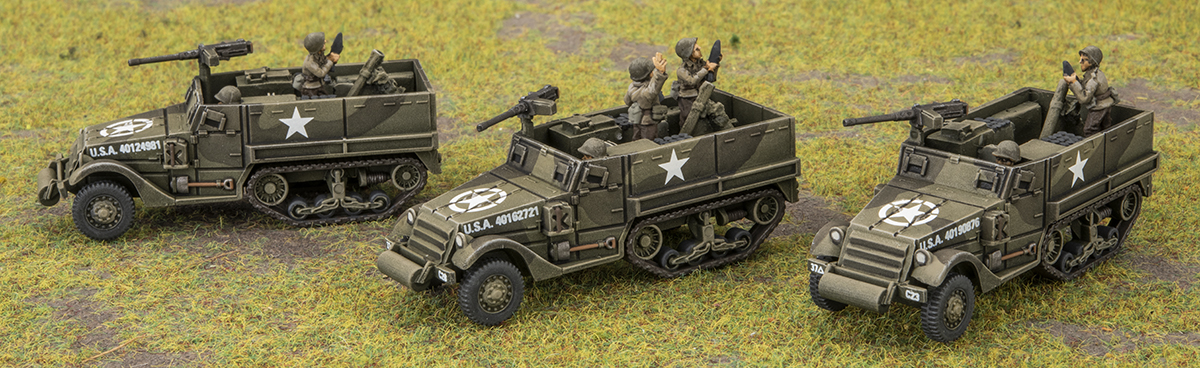
The Armoured Mortars give me a fifth formation unit, and they’re cheap artillery if I need it. One thing I hadn’t used before was smoke, but in two practice games I’ve learned its value, if I can use it at the right time and place.

The Cavalry Recon Patrol is a nice cheap unit that can get around quickly, and help me put the pressure on my opponent early. I plan to attack most of the time and I like the idea of using Spearhead to get my Paras onto an enemy objective, something I was able to achieve in my practice game with Chris…

The Parachute Rifle Platoon should be tough as nails defending an objective, or at least make people think twice about assault them. They’re also great to go assault something that my Shermans have weakened.

So far I’ve struggled using the M10’s, so I’ll have to remind myself during the tournament “THESE ARE NOT TANKS!”, and be a little more patient with them. If I do find myself defending in a mission they will be my go to ambush unit.

The last piece of the puzzle is the ‘French Resistance Raid’ command card. Chris suggested this too, and I wasn’t sure of it’s value until my practice game with Wayne…

THE PLAN
The tournament will be using the Battle Plans Mission Selector. As I mentioned earlier I plan to choose attack. This is in part because I enjoy moving models more than setting up a good defensive position, and also because I think it’s worth making the most of stabilisers on the Shermans. I’m my formation is solid enough that I won’t break too often, so my biggest challenge will be finding away to crack heavy armour (aka Tiger and Panthers). Maybe I can create a pincer with the 76mm Shermans and M10’s, or perhaps get aggressive with the Paras. Wish me luck!

– Victor

FlamesCon has long been one of my favorite events in the gaming calendar, going back to the early years, long before I ever worked for Battlefront. It was the type of event where people “came of out the woods” to play – people you only saw once per year would be there and for a weekend you could catch up, talking gaming, and have some fun.

This year I am really looking forward to the event as we have been working so hard on the Big Four project, this feels like one of the great milestones that I can tick off – finish the first platoon, finish the first 100 points, play the first game, attend the first tournament…

MY ARMY
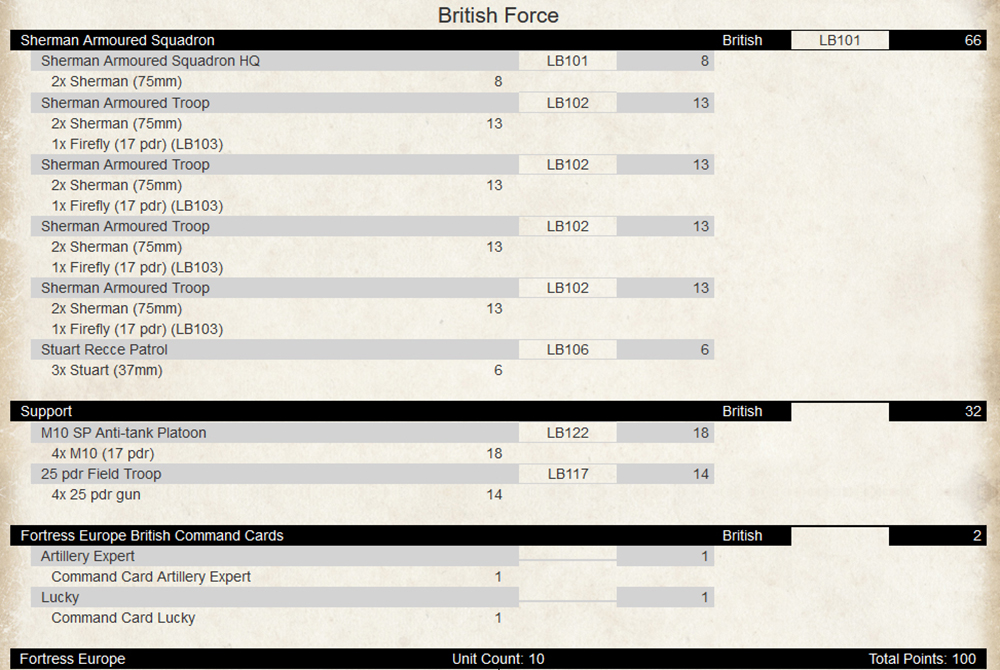
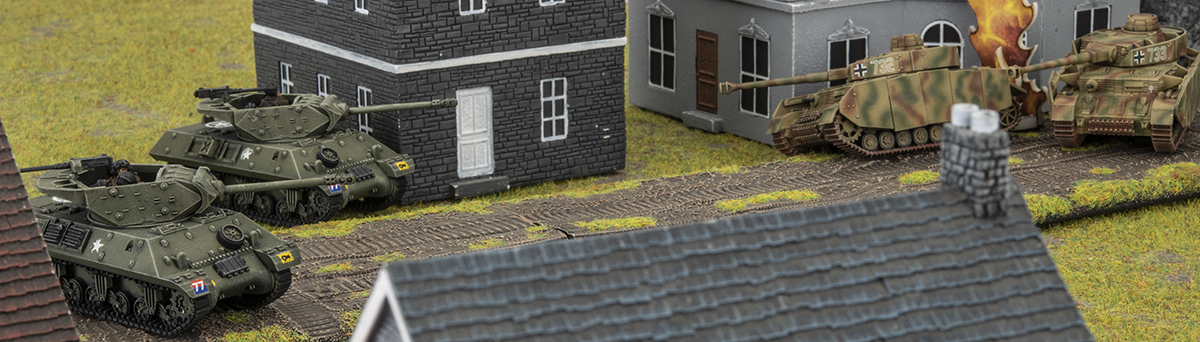
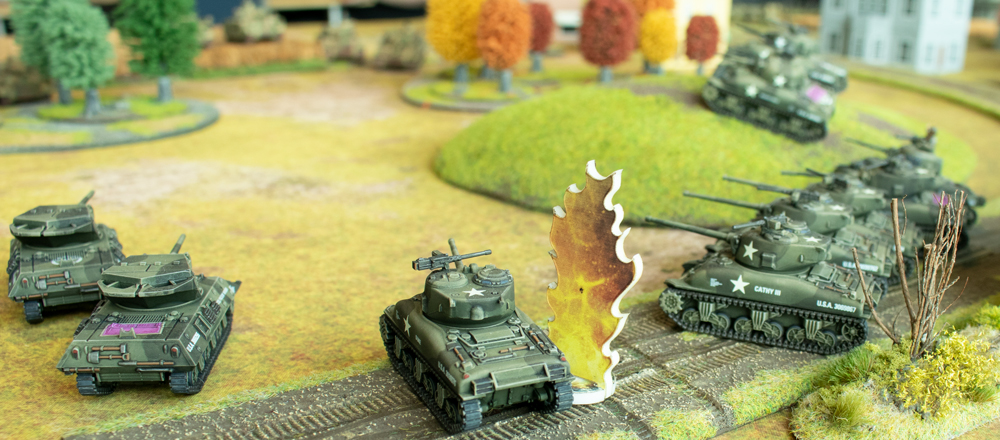
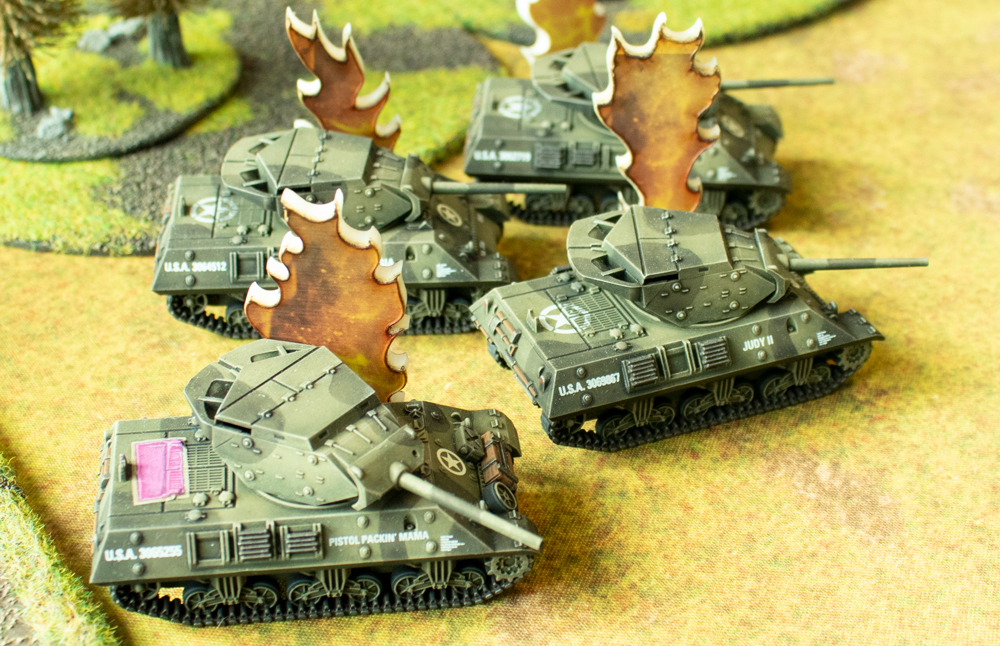
My list is exactly the same as the one featured in the Carentan Clash battle report verses Wayne and features a mix of mobile tank killers (M10s and Firefly tanks) and infantry killers (25 pdrs, Stuart and Sherman tanks).

As I’ve mentioned previously, I am heavily reliant on the mix of 17 pdr guns on M10 and Firefly tanks to get the job done verses any armour that I come across. These have been the cornerstone of my army planning from day one.

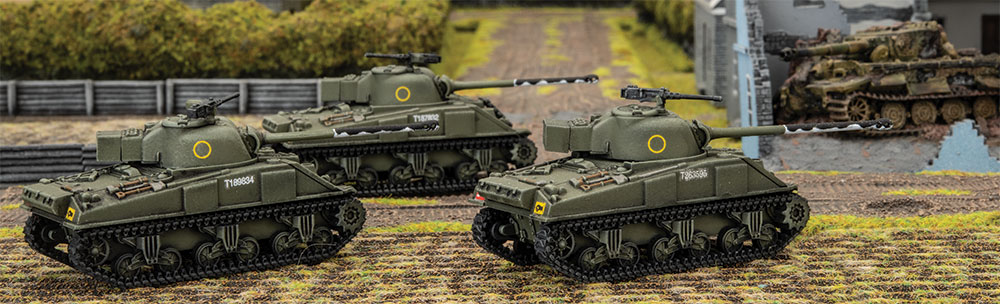
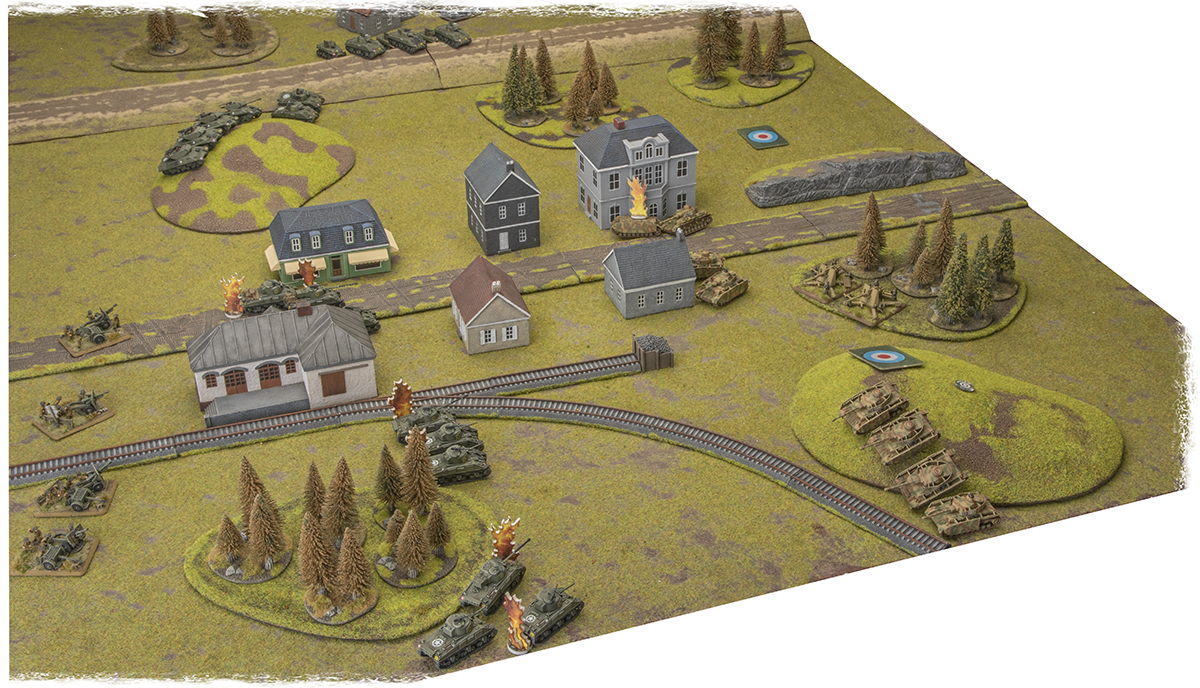
Between the two practice games I’ve played, one against Wayne and one verses Victor (shown here on the Flames Of War D-Day OnTableTop Campaign site) I’ve been reminded of some valuable lessons; use my Spearheading troops better, and don’t stand in the open… Sherman tanks don’t have the armour of a Jagdtiger!
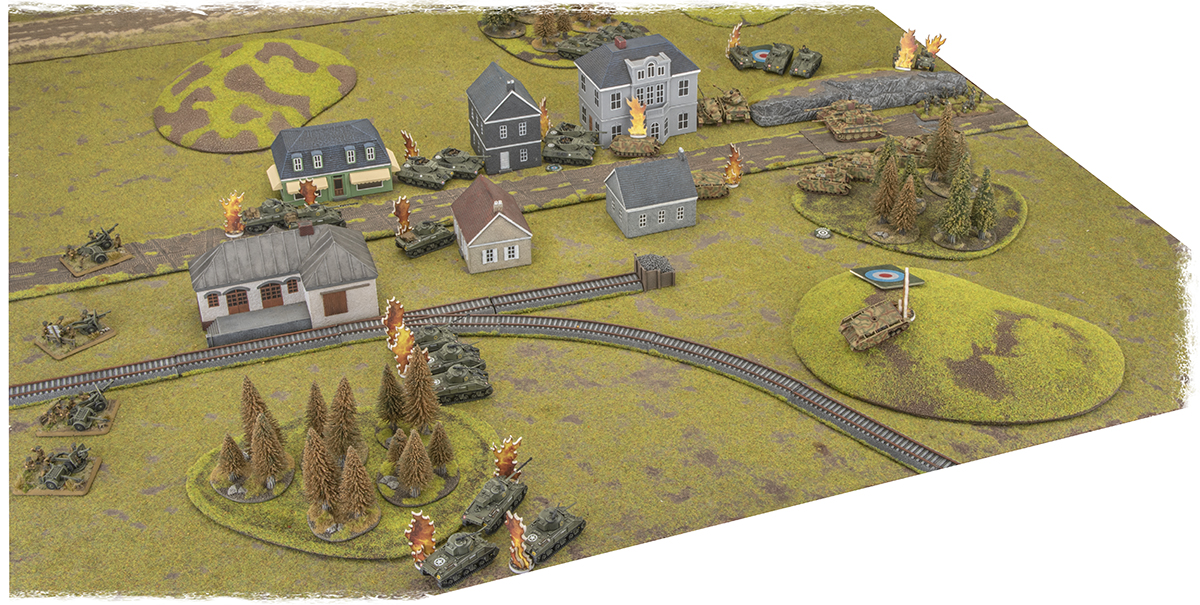
GAME TIME!
I’m not really going in to this weekends gaming action with a solid plan for how to use my army. My primary goal is to have five fun games and ideally, not get blasted off the table. With a highly mobile army I expect to play aggressively – a fast game is a good game – but not recklessly! This means pushing up fast, isolating units where possible, and hitting them as hard as I can and then moving on to the next target. Right now, there are no lists that I am worried about facing, of course I might be singing a different tune in a few days!

~Chris

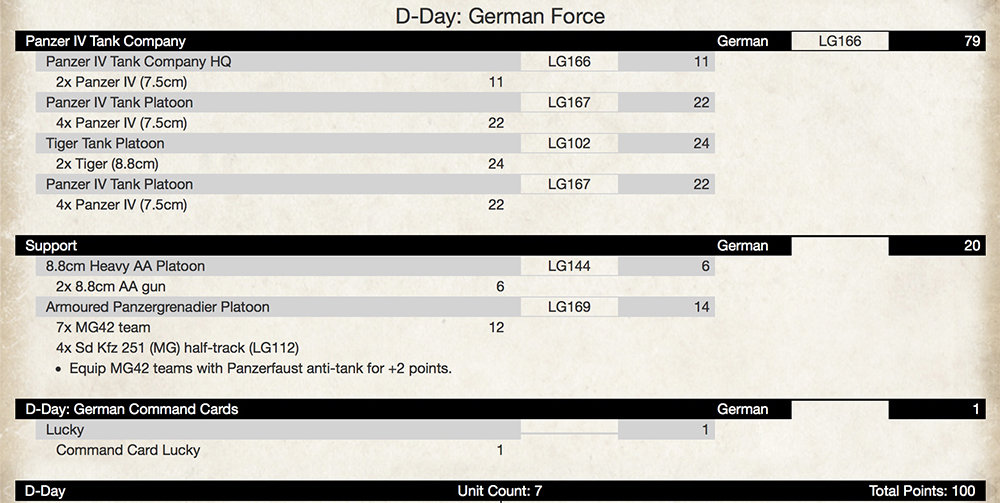
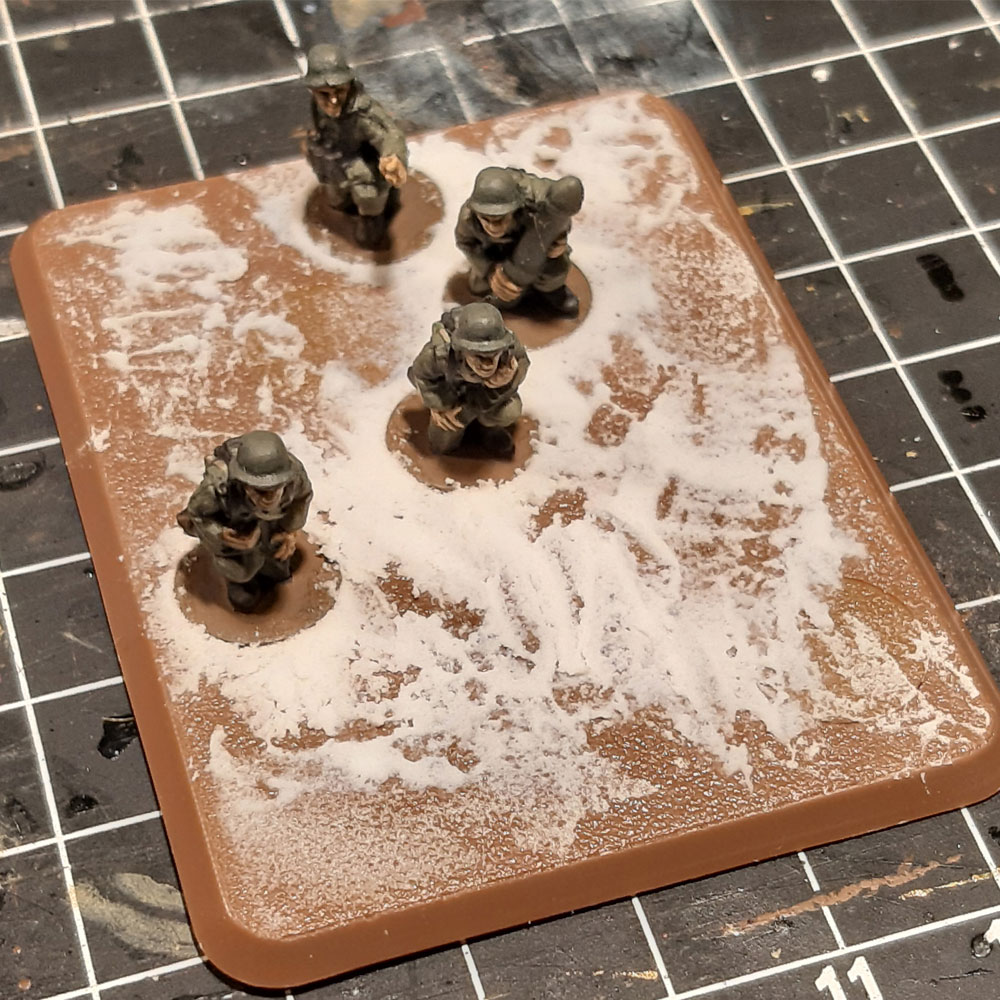
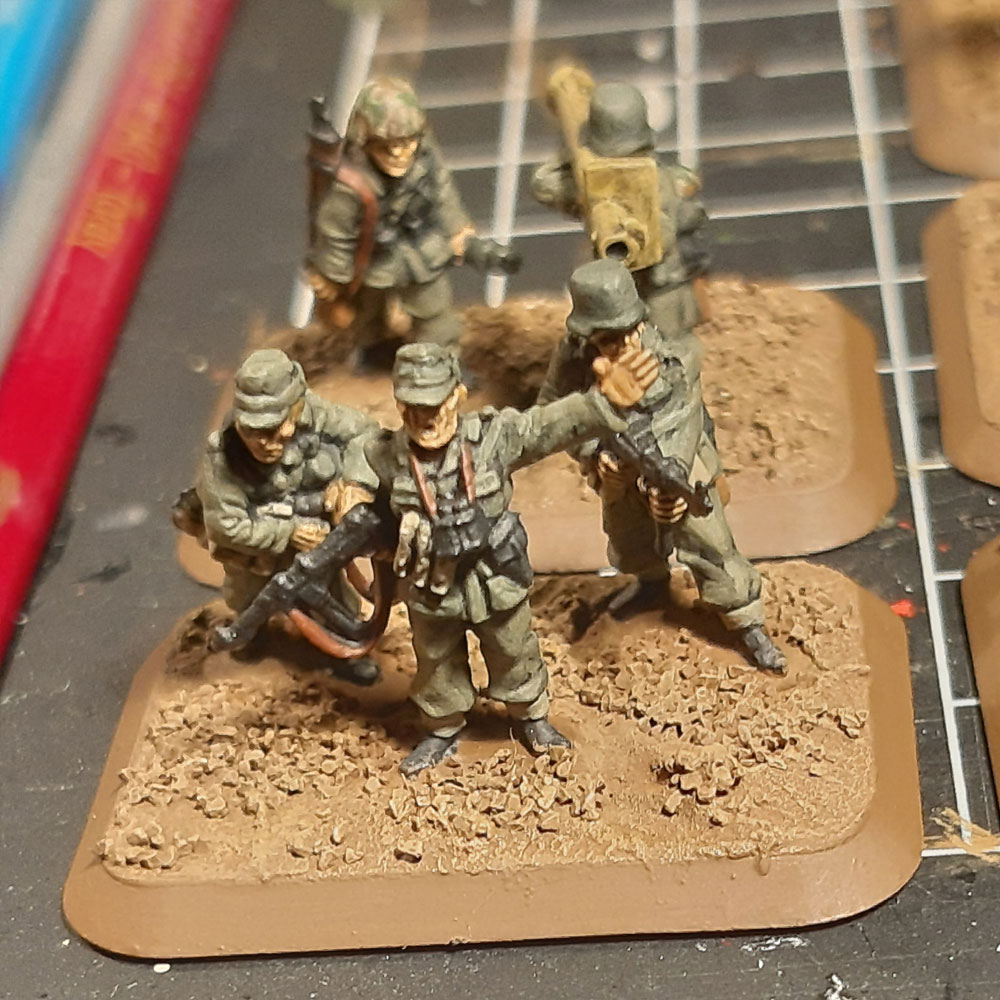
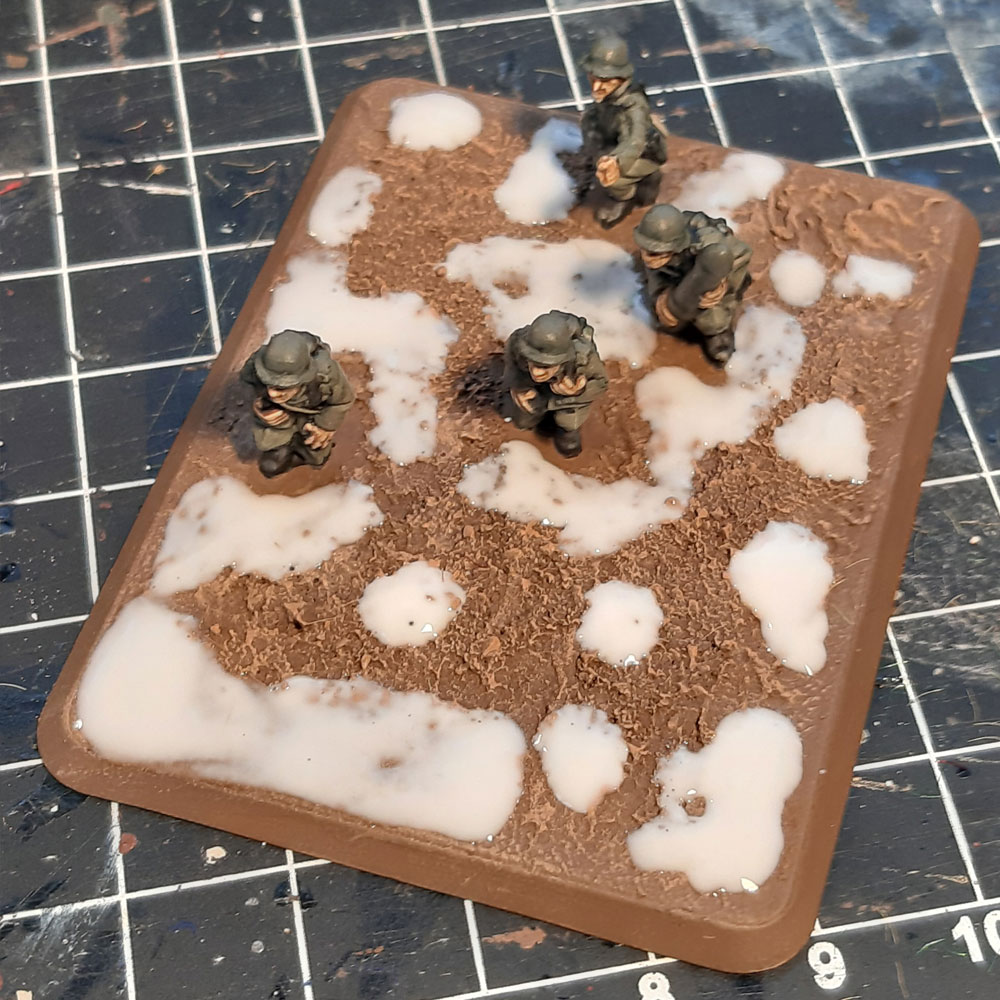
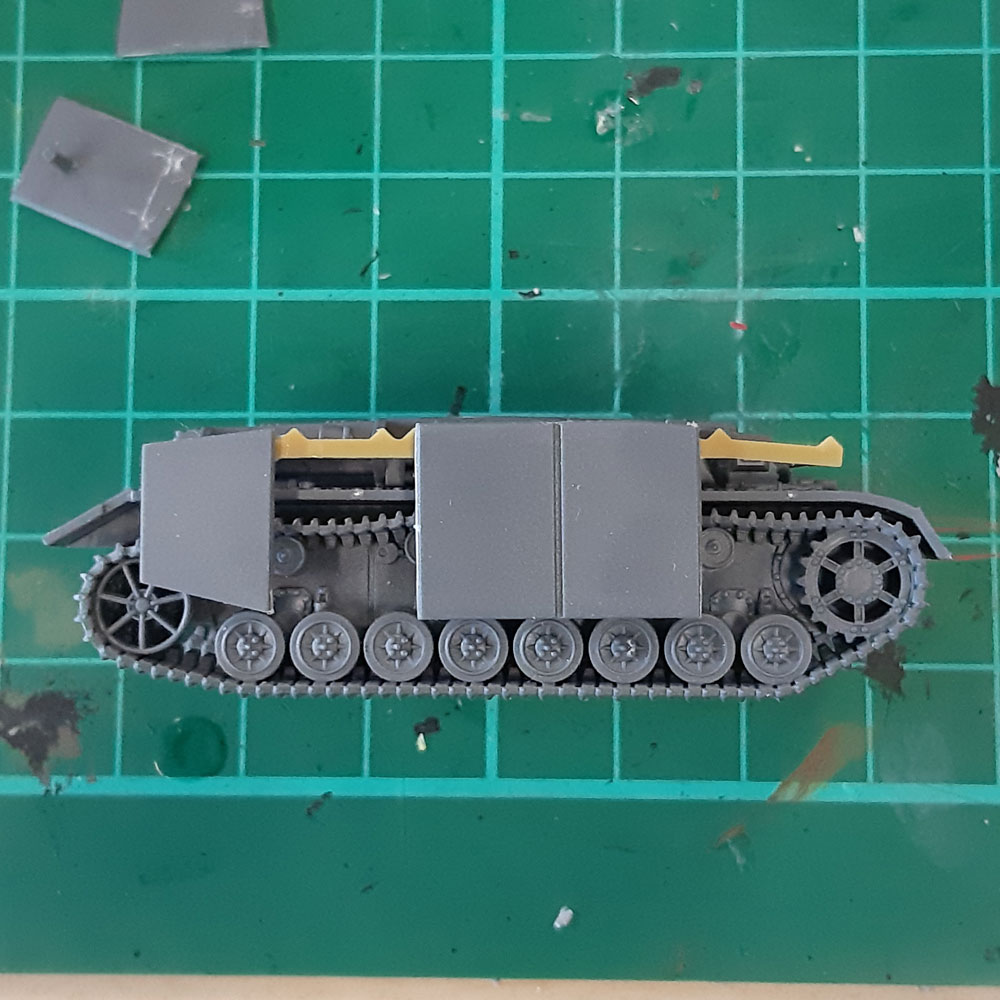
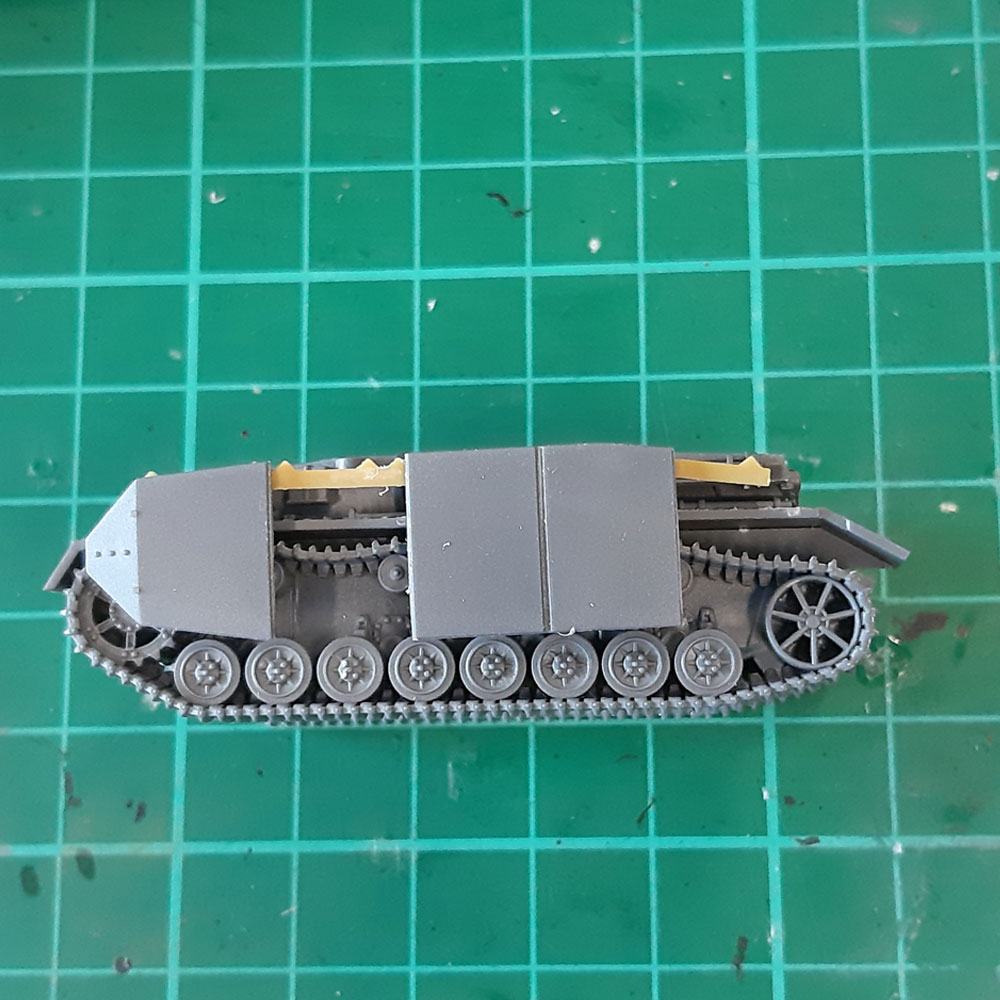
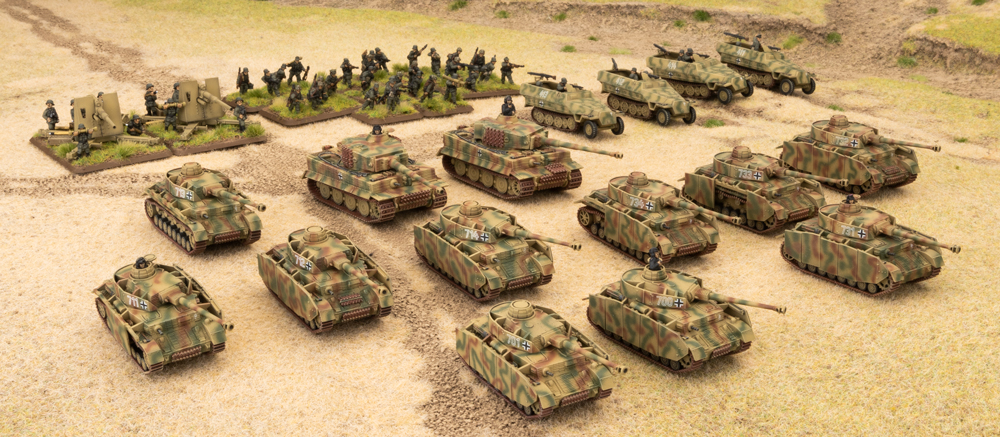
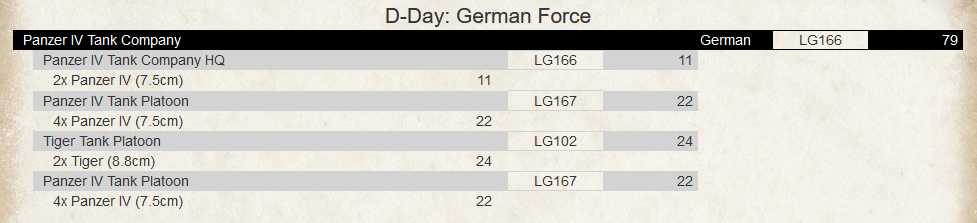
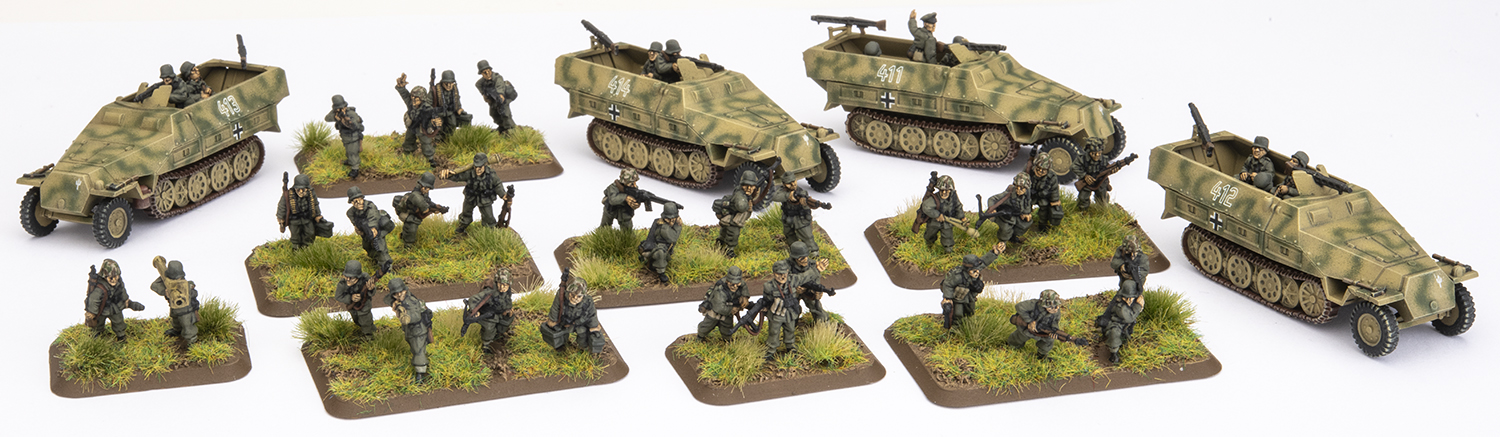
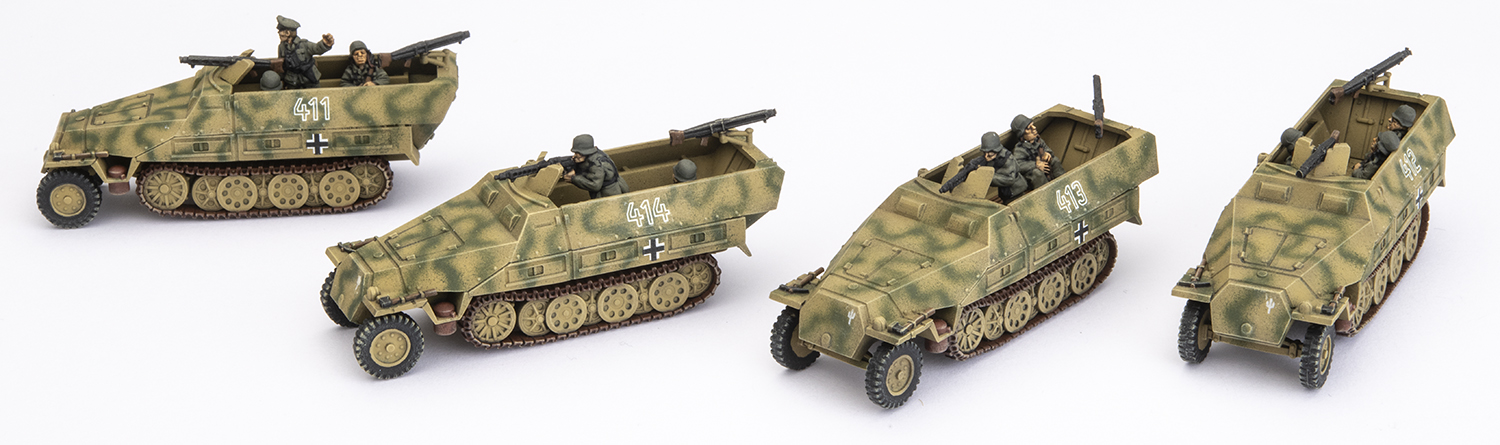
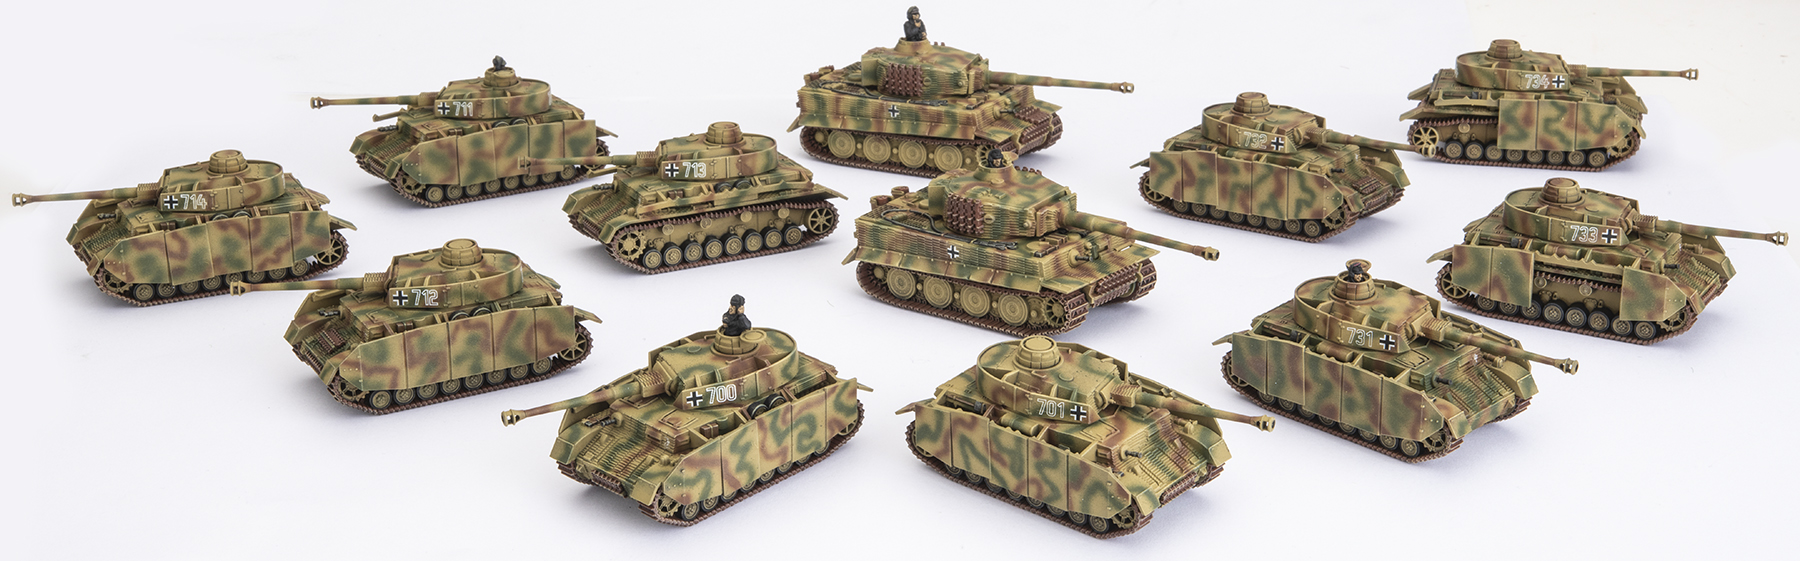
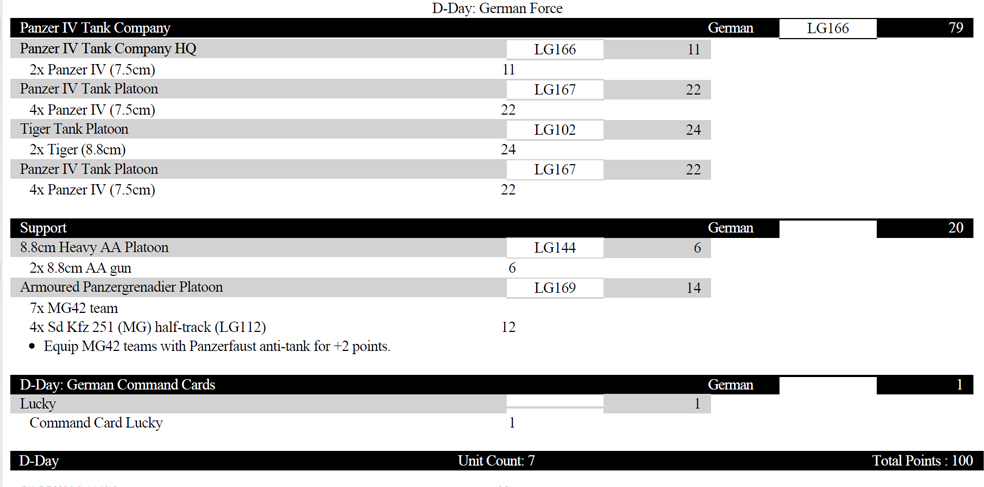
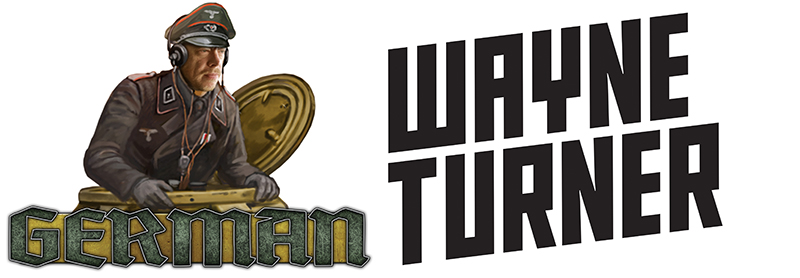
FlamesCon is on this weekend (9 to 10 November) and I’ll be taking my initial Big Four Of Late-war 100 points I finished building a month or so ago. I’ve painted more since, but with the need to submit an Army composition before a certain day I thought I’d play it safe an enter something I wouldn’t have to rush to get finished in time.

THE PLAN!
Well, um, there isn’t really anything concrete. The tournament is using the Battle Plans system, so I will try and attack when I can. I feel choosing defence and trying to hold off an enemy in a defensive battle with deep (whether they are delayed or not) reserves with my force would be tantamount to giving my opponent a free victory. It will be mostly Attack, but with the occasional Manoeuvre if I feel my opponent has a defensively orientated army.

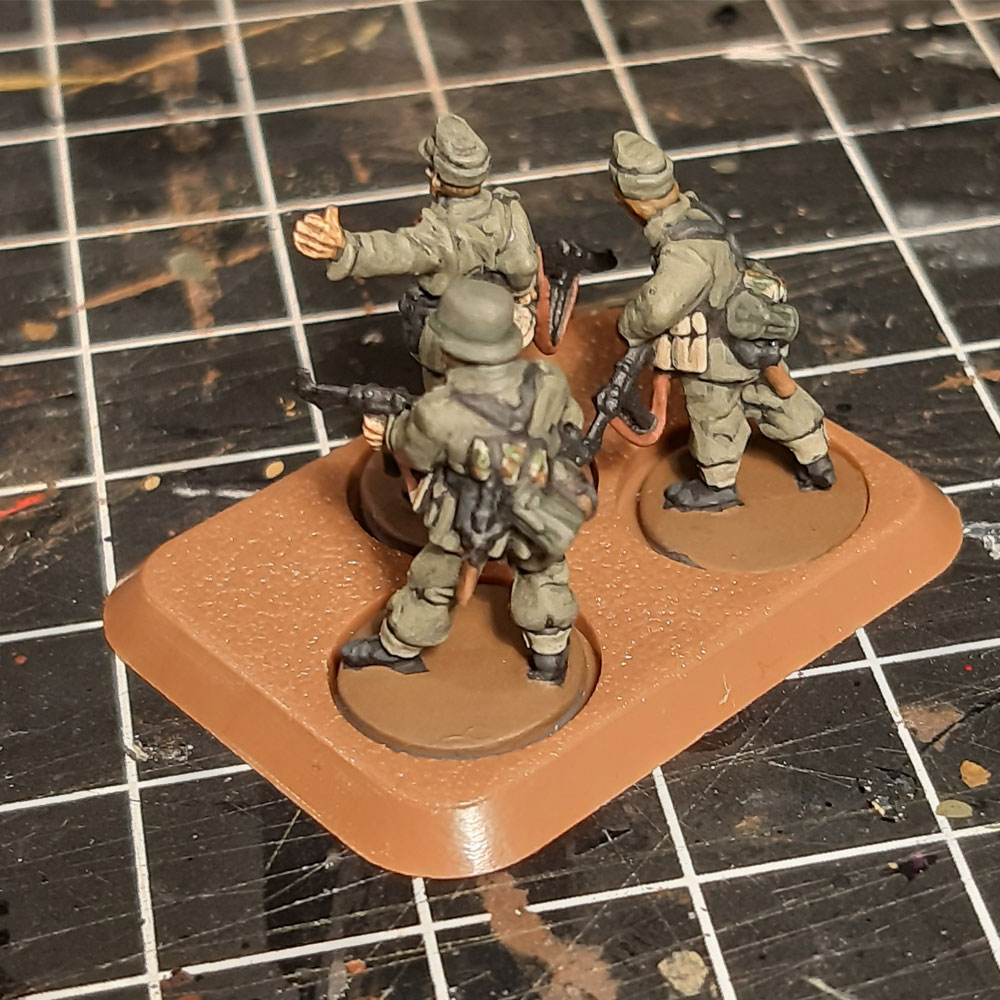
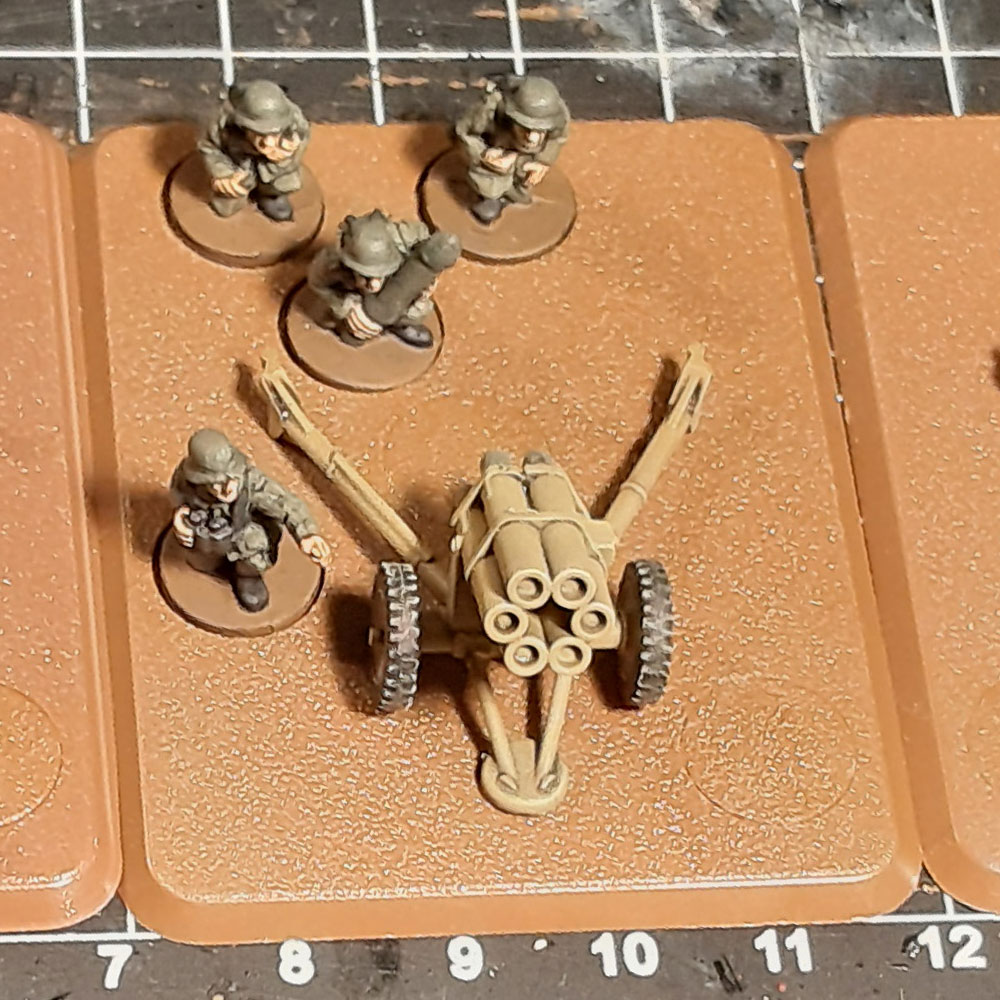
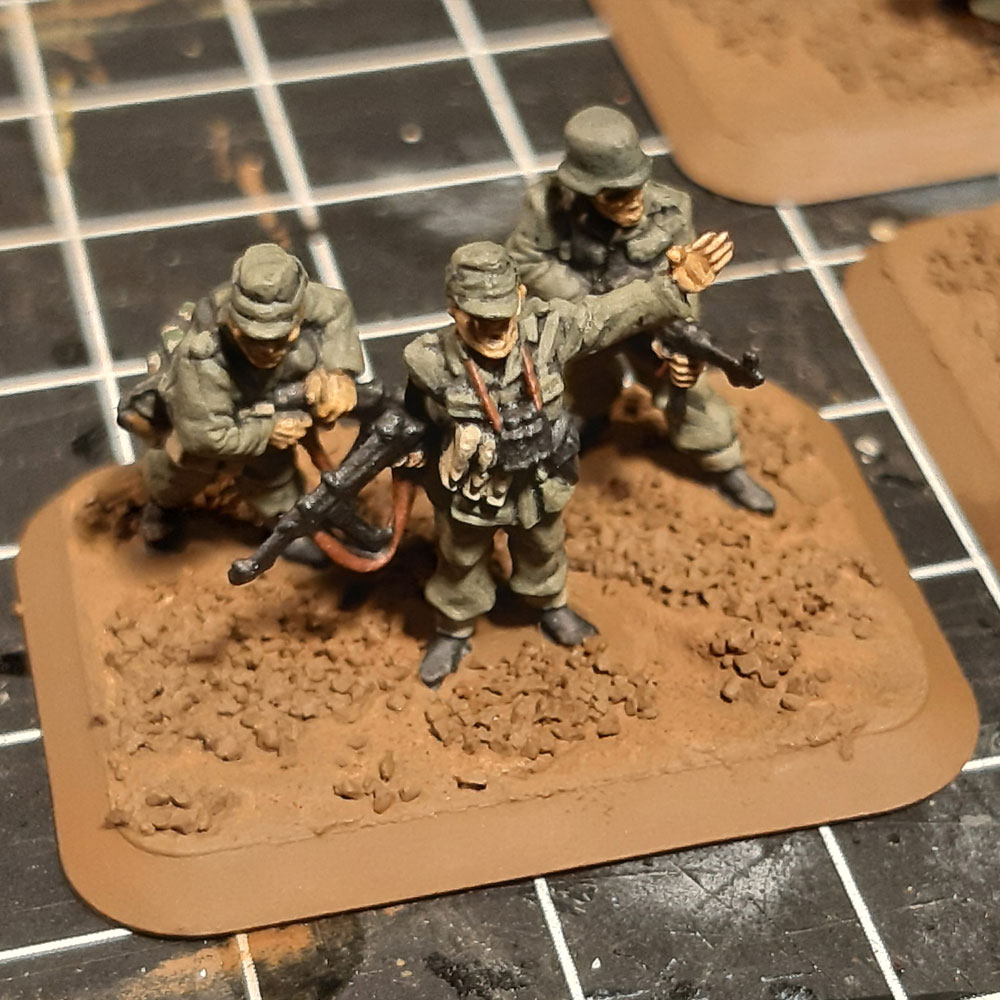
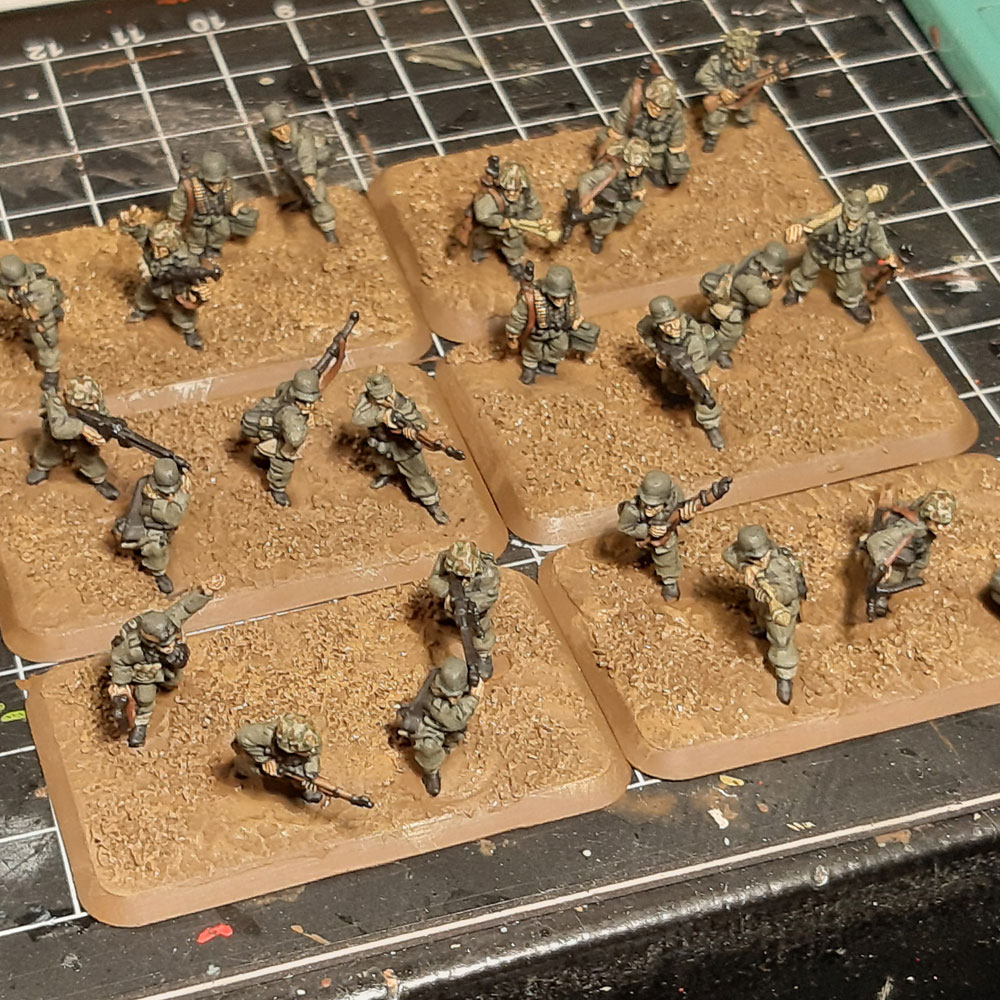
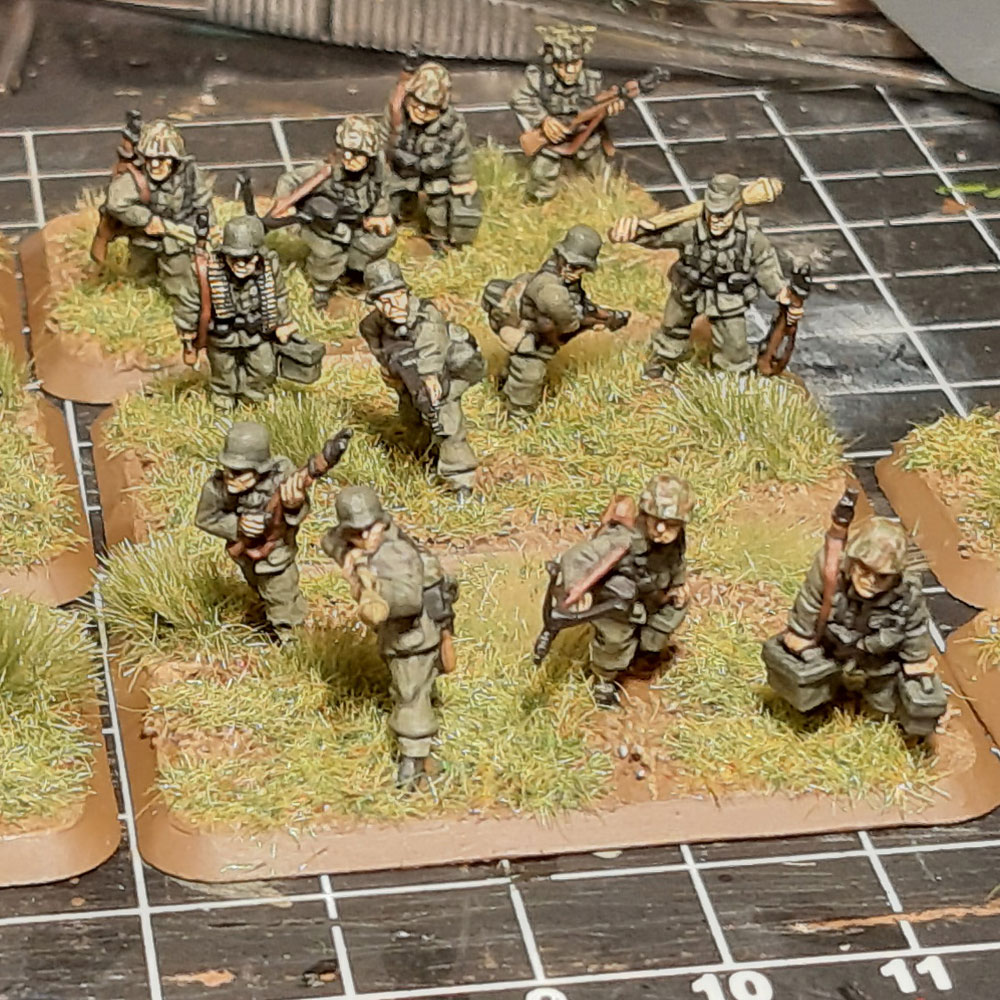
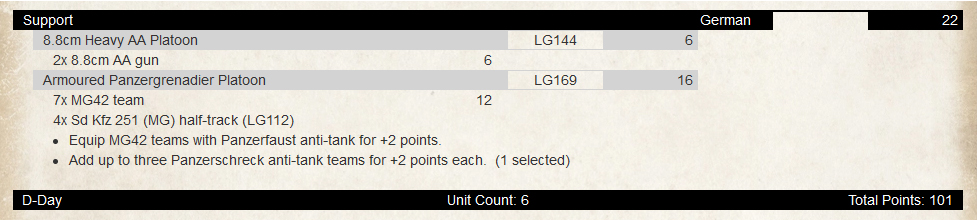
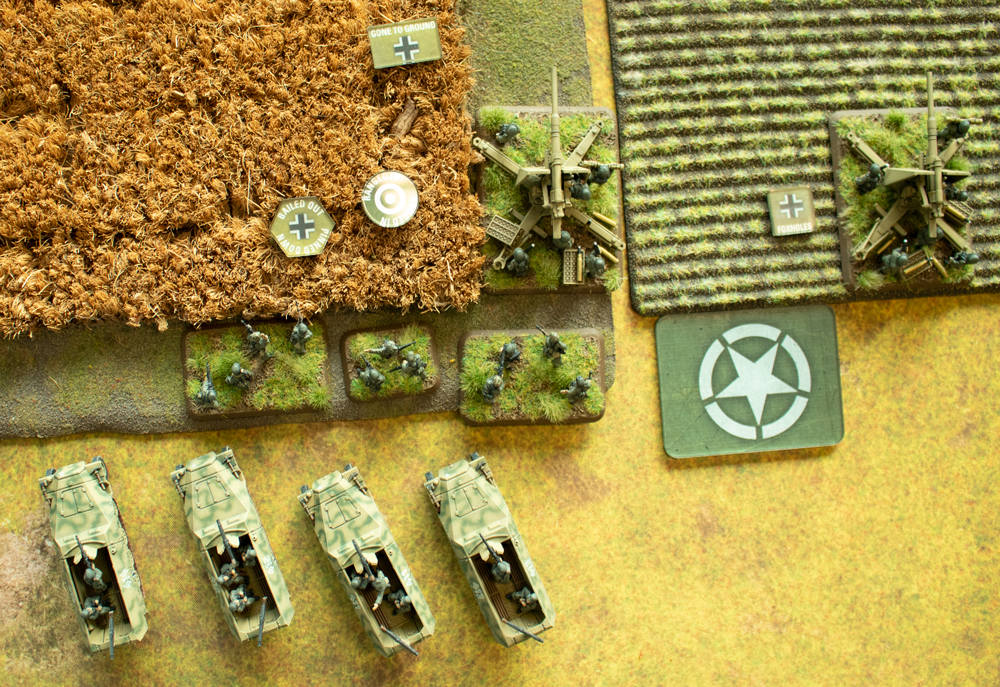
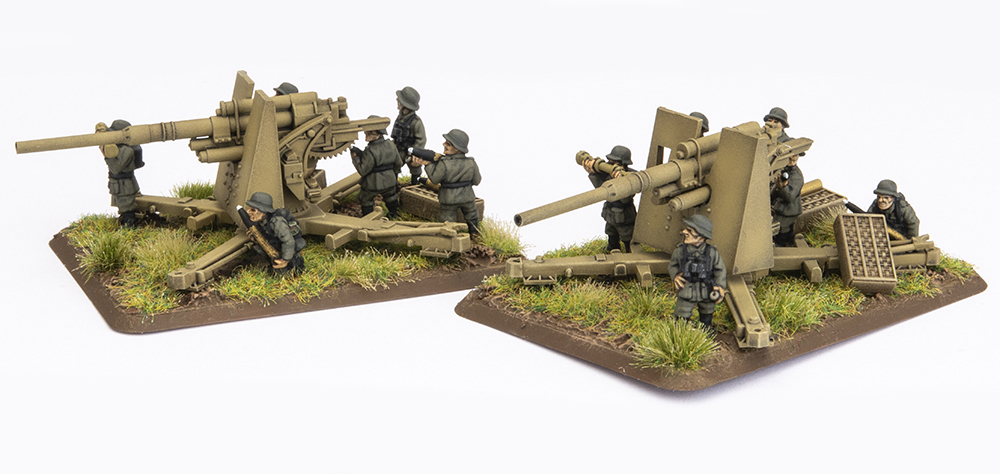
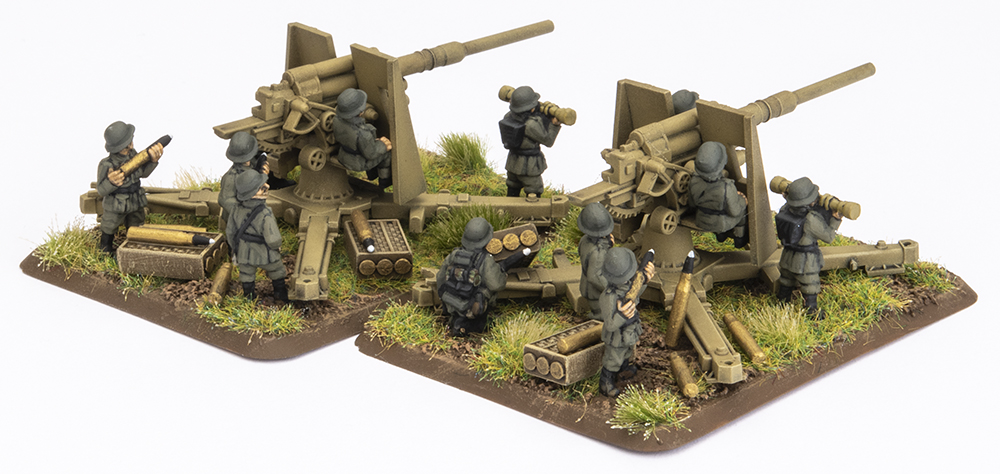
I will use the 8.8cm AA Platoon to hold down an Objective in meeting engagements like Free-for-All, Dust Up, or Encounter. In these battles my attack is likely to swing from the other objective. If I’m forced to switch flanks, either during the battle or if out-deployed by a larger force, I can drop the Panzergrenadier on the other objective and use the 88s as a backstop for the tanks.

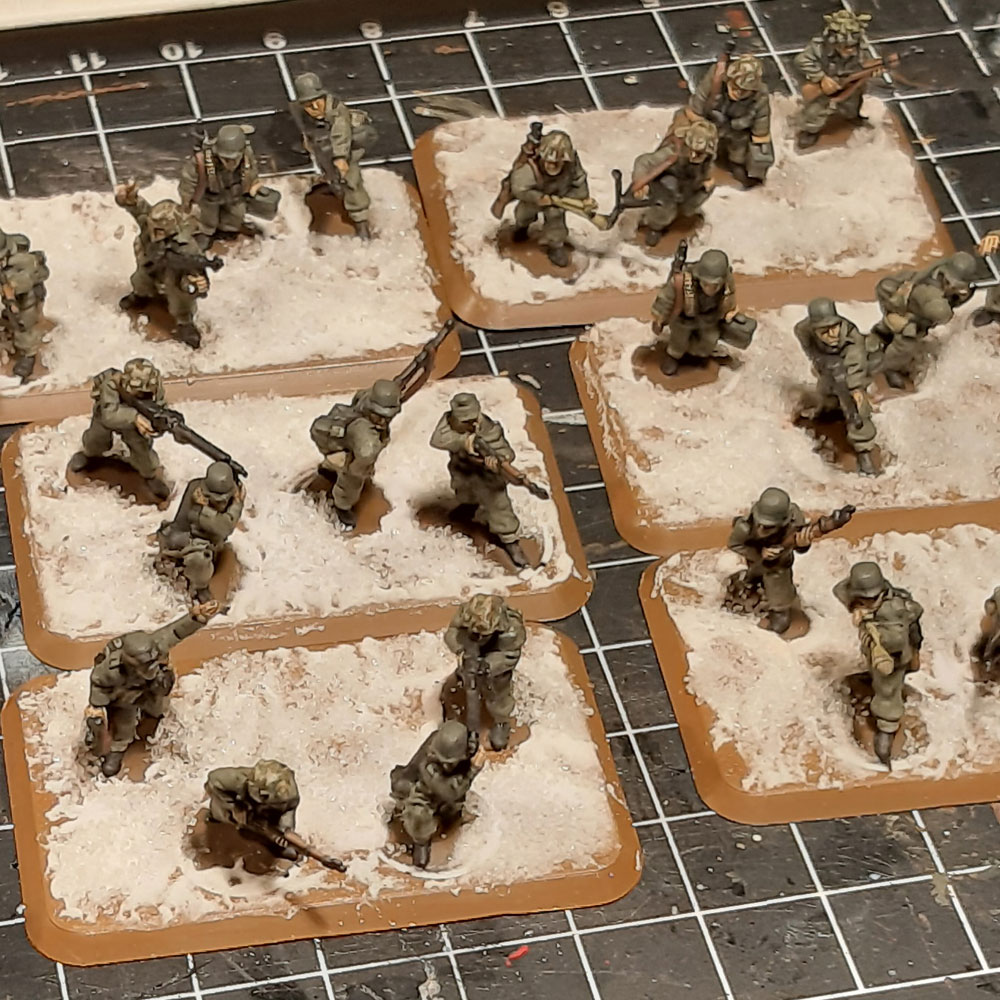
In the Manoeuvre missions where there is a clear attacker and defender I will endeavour to attack using my mobility to seize objectives, backed up by the Panzergrenadier who will defend them from counterattacks if the mission objectives don’t go live by a certain turn (usually Turn 6).

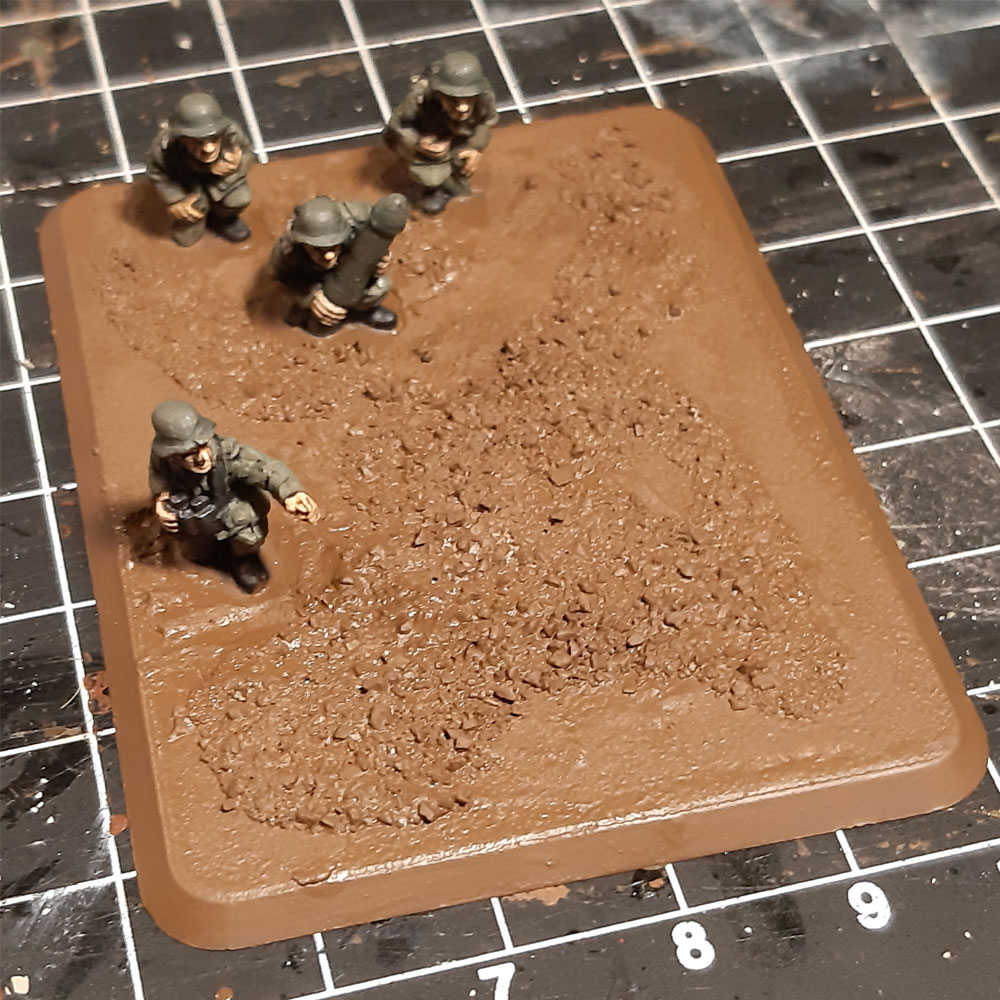
If I end up defending, I’ll attempt to take the battle to the enemy with my tanks, leaving the Panzergrenadiers and 88s to cover the objectives while I attempt to break the opposing force.

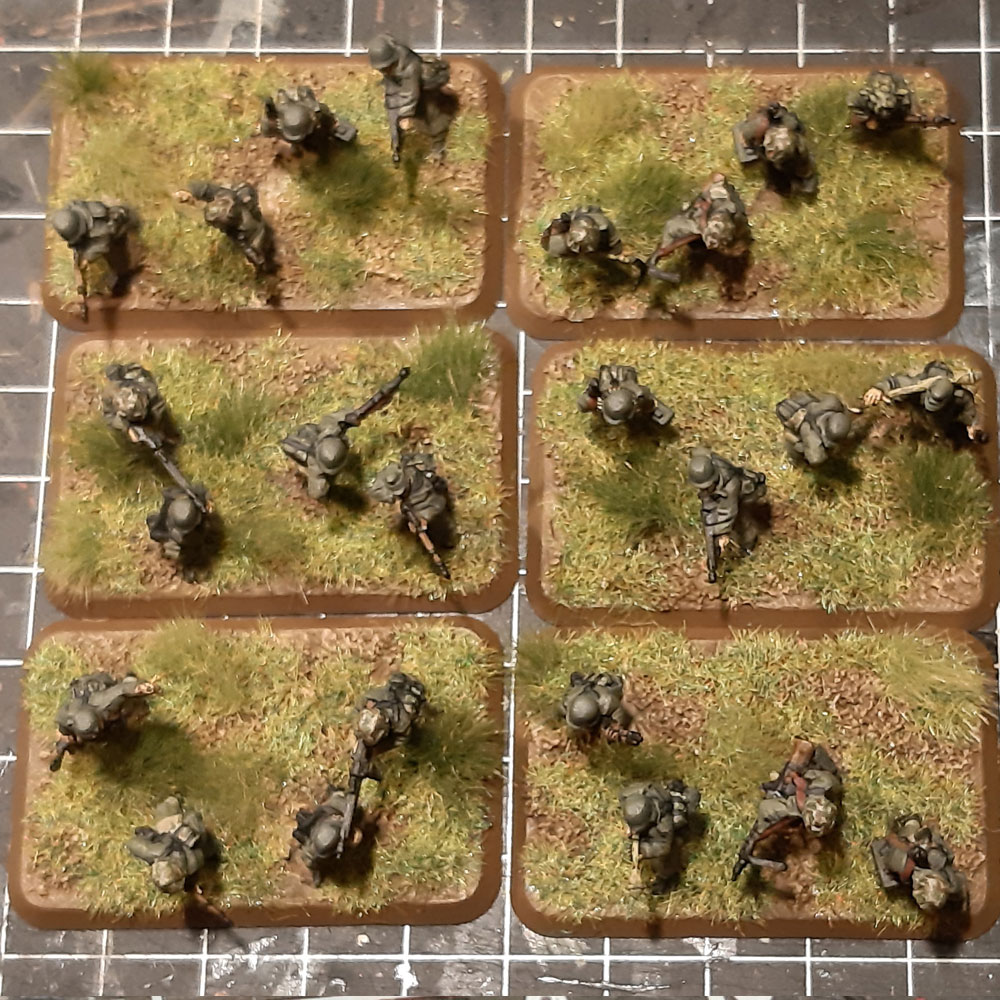
Large infantry forces may cause me some trouble, but hopefully most of these will be choosing defence and we will be playing Manoeuvre missions like Breakthrough, Bridgehead, Contact and Rearguard. If I end up attacking in a No Retreat I will focus on seizing an objective while no exposing my force to too much of the enemy’s front to minimise fire.

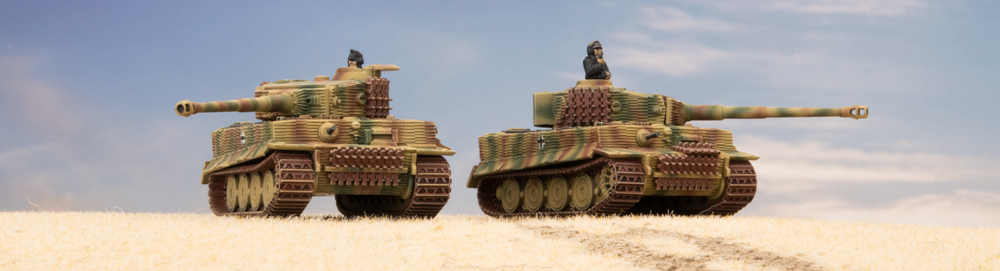
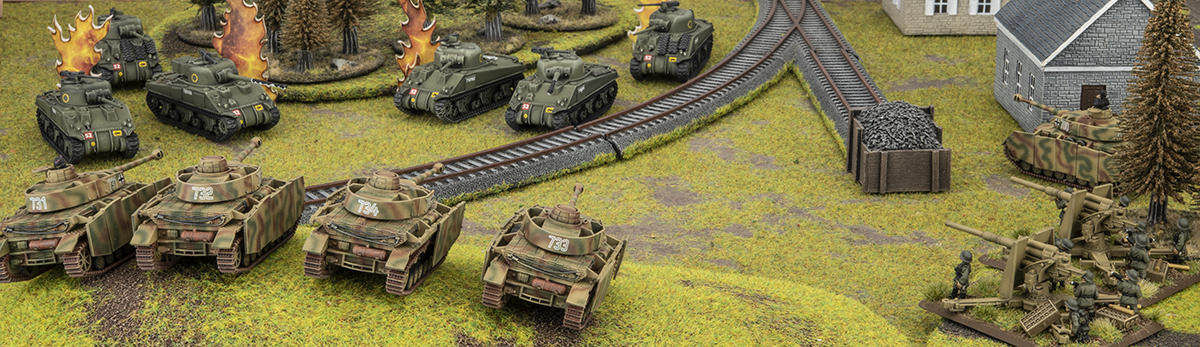
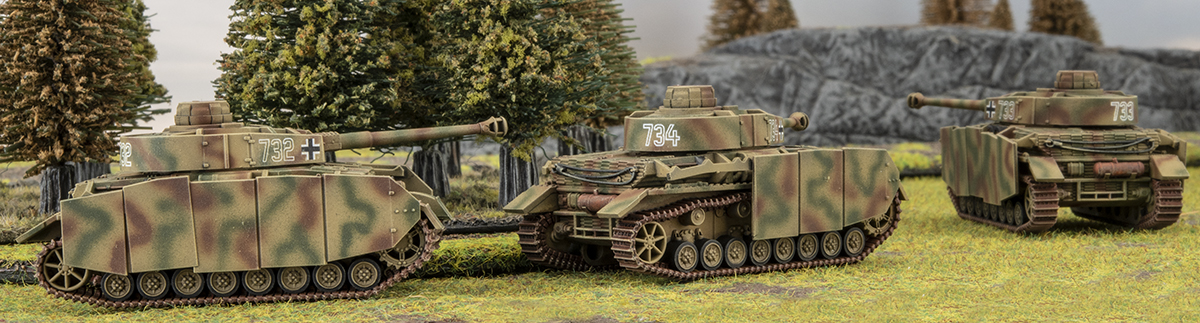
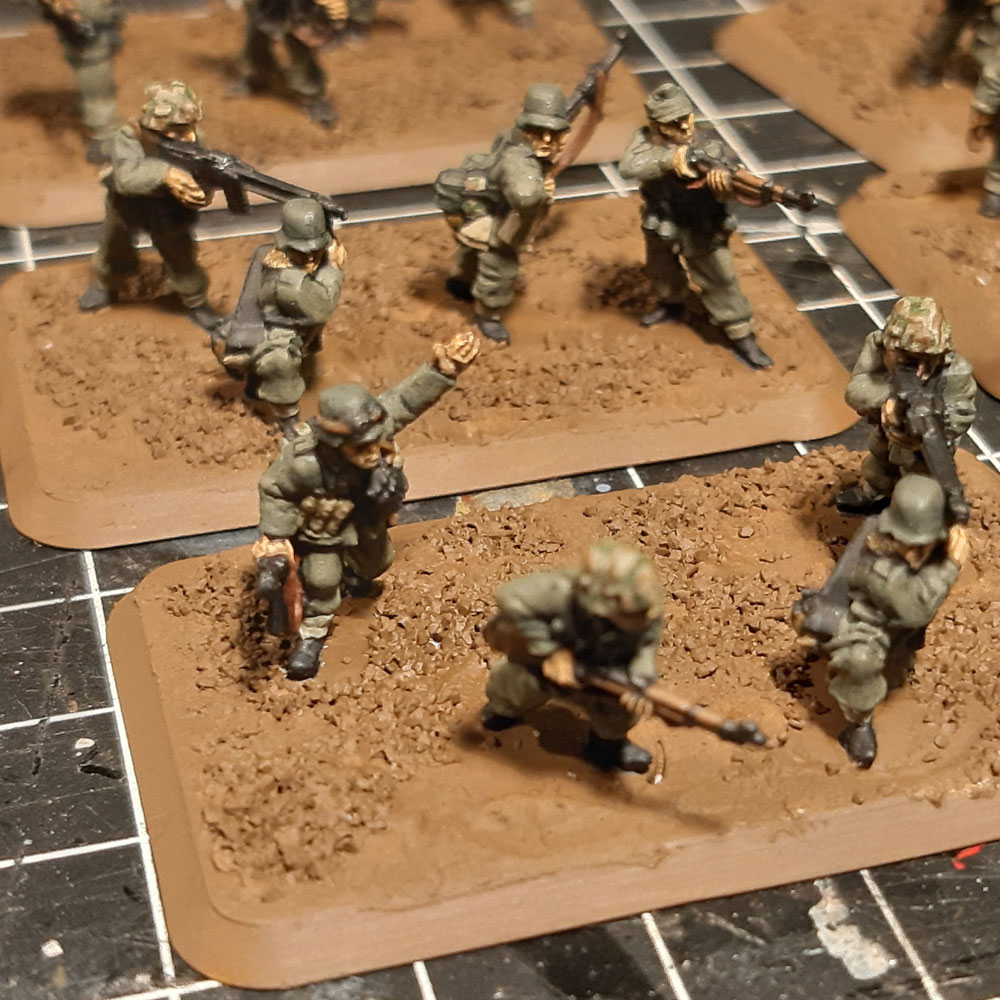
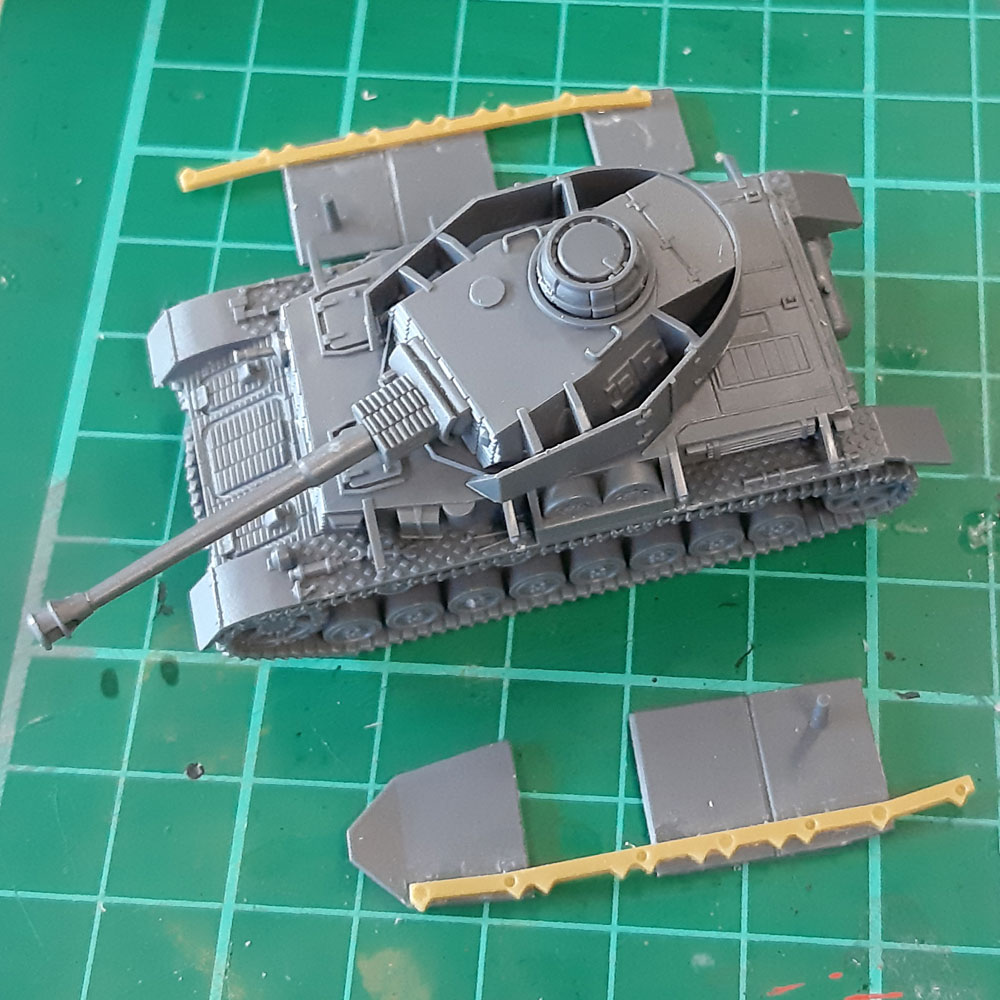
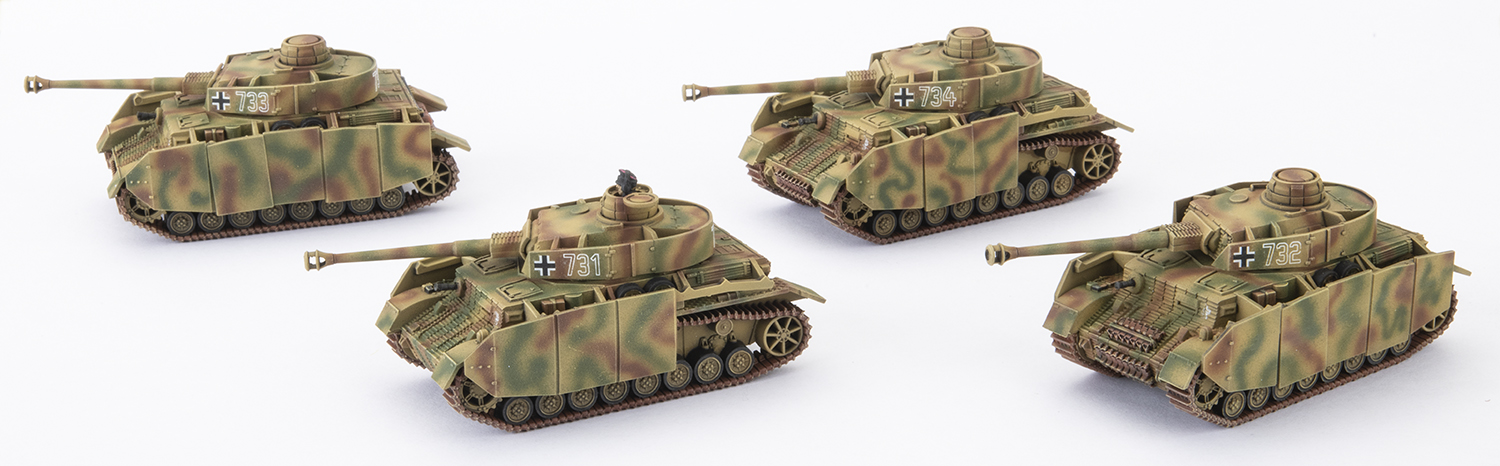
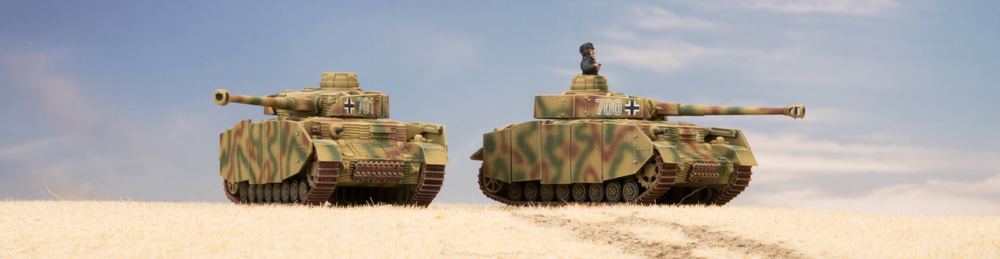
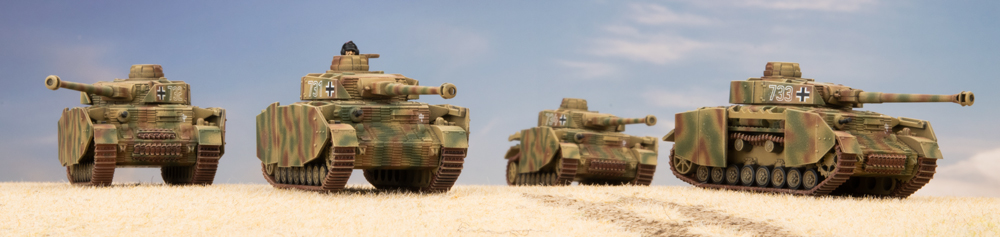
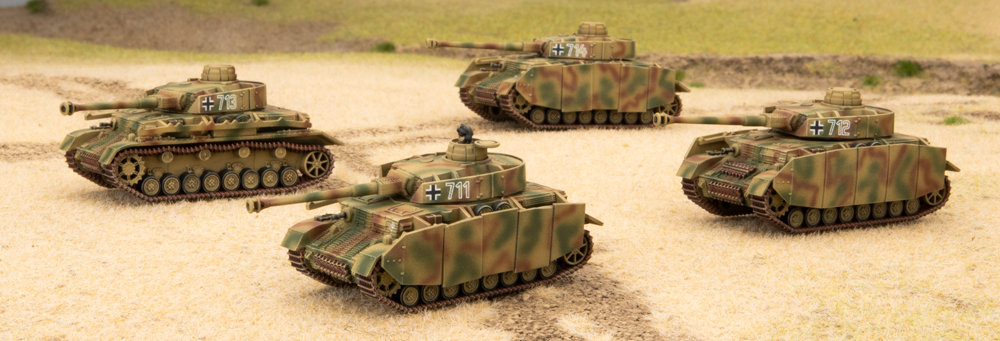
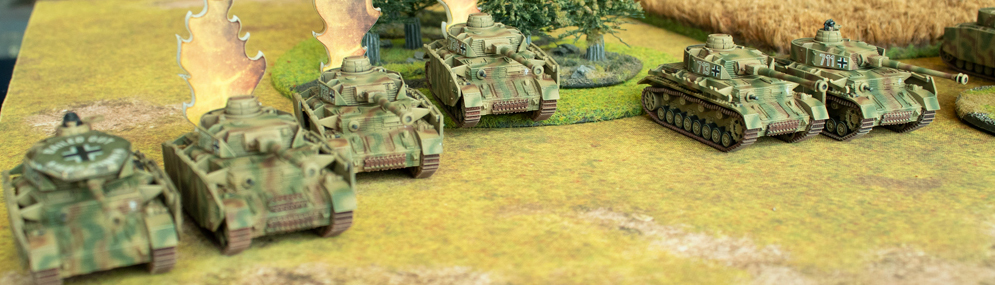
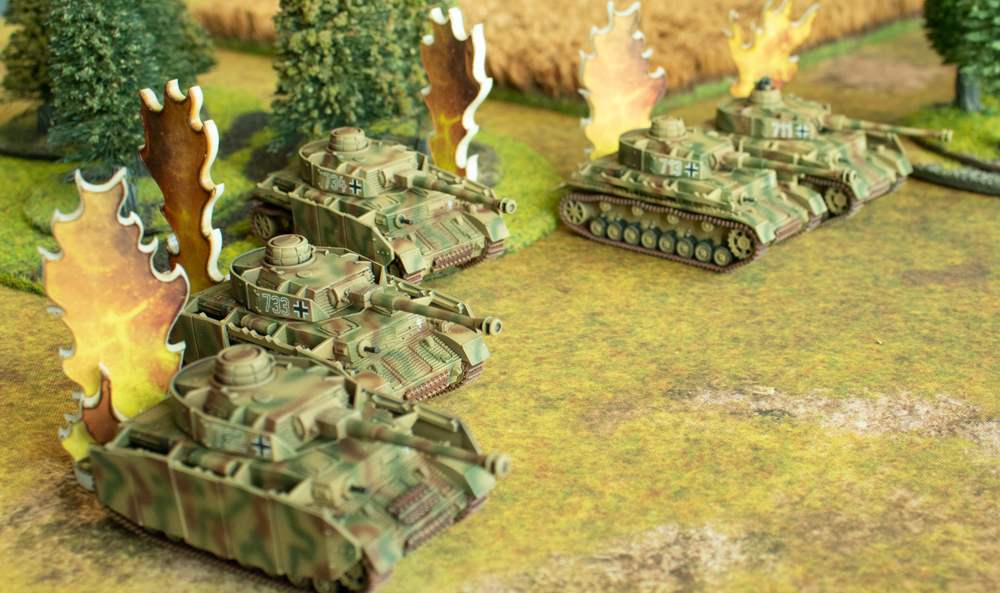
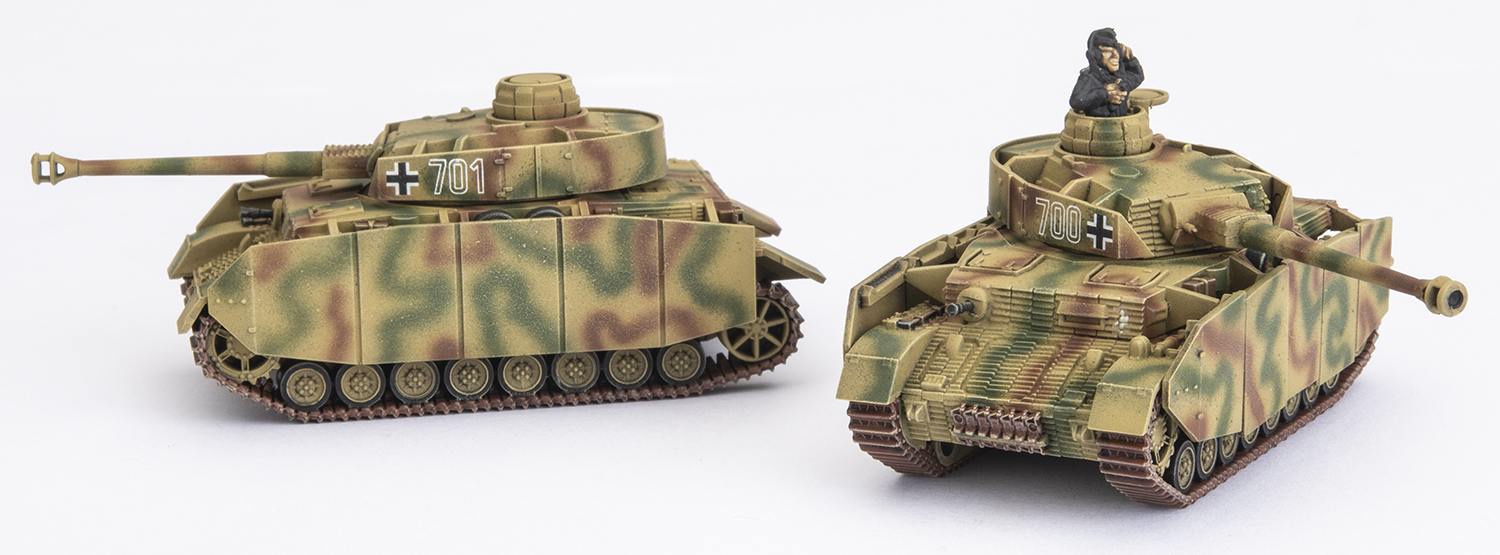
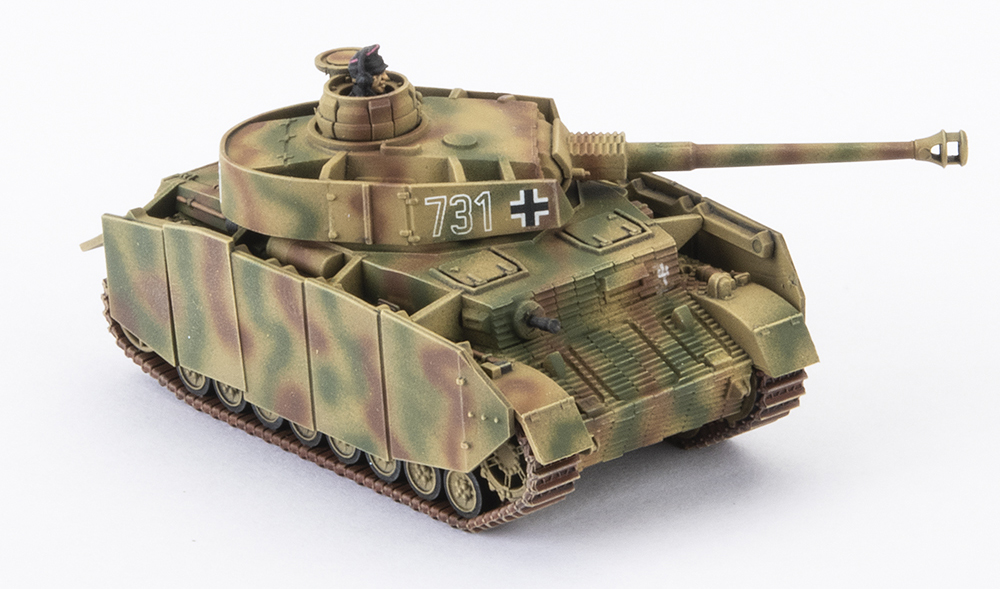
The Tigers will probably be the stars as they can take and handout the punishment. The Panzer IVs will provide the bulk of my strike force, with good mobility and an effective gun. Their biggest weakness will be their armour as I’m sure I’ll see a lot of US 3-inch and 76mm, Soviet 85mm, and British 17 pdr armed tanks.

Having said all that, I still have to roll dice, and I’m not very good at that.

~Wayne

The Carentan Clash Battle Report

Here in the Battlefront Studio we have been counting down to a couple of very exciting events, first up is the Global Online Campaign. This is being run in conjunction with the guys at OnTableTop (formally known as Beasts of War) and is a chance to play games over 6 weeks and recreate the fighting on D-Day and beyond. The other is FlamesCon, the annual Flames Of War tournament. This year the Big Four are making a big push, with Victor, Wayne and I (Chris) taking our armies along for a weekend of fun gaming. With all of this going on Wayne and I thought it would be a great opportunity to play a practice game, at the same time getting a battle for the Campaign under our belts.

The Forces:
We both used the first 100 points that we painted during the Big Four Journey, with Wayne’s army based around a Panzer IV Company with Tigers, Panzer Grenadiers and 88s in support.

I used my Sherman Company, packed with Firefly tanks and their excellent 17pdr guns. In support are Stuarts (for their Spearhead), 25pdrs and (of course) M10s.

Setup and Deployment:
We decided to play Outflanked, one of the new missions in the D-Day: German book. This meant Wayne’s forces would start in a corner of the battlefield, trying to hold out till his reserves arrived. My forces would come on from my side of the table, as well as a little dog-leg section up to the middle of the table near No-Man’s Land.

The table had a raised road and small village, each splitting the table into thirds. Wayne chose the corner where the village would help shield him from my flanking forces and deployed in concealed positions. I spread my forces out along the deployment area, wanting to push across a broad front, as well as taking a small Spearhead on the side to give my flanking troops a head start.

Turn 1:
I aggressively pushed up, hoping that the dice would help me to overcome Wayne’s concealed and gone-to-ground status. I, of course, regretted that decision as the fire from my entire army only knocked out a single Panzer IV inside the town. Wayne ambushed his 88s in a small forest, but failed to get reserves, and then proceeded to fail his Blitz on the Panzer IV platoon. Undaunted by these setbacks his fire was accurate and deadly, knocking out 6 tanks and bailing 1 more. A lesson for new players – don’t get caught in the open, especially at close range!

Turn 2:
The surviving British tanks pushed up and took cover where possible, whilst the M10s lined up some Panzers, only killing one for their troubles. The 25pdrs dropped a barrage on the 88’s, pinning them down. Wayne, feeling pretty happy coming through the turn with relatively few casualties failed to get reserves, or unpin his 88’s, rethought his levels of happiness! He proceeded to dash his flanking Panzer IV platoon around the back of the table to reinforce the middle, and then managed to knock out another Sherman with the combined fire of his units.

Turn 3:

The remaining Sherman in the village found itself in Bad Spirits and ran off the table – three-tank platoons can get a little dicey under heavy fire! The flanking Shermans and Stuarts pushed up aggressively, with the Stuarts parking themselves on the objective (not live yet, but it was still a threat that Wayne needed to plan for), managing to knock out a Panzer IV in the side. The M10s continued moving up, knocking out another Panzer, whilst the repeat bombardment from the 25pdrs accounted for an 88. Wayne’s reserves finally turned up, with a Panzer IV Platoon and Tiger Platoon making an appearance. Being forced to fire on the move they only managed to knock a Stuart and M10 with their collective fire.

Turn 4:

The Stuarts decided to continue their advance, driving up the escarpment to flank the newly arrived Panzers, knocking out one, whilst the M10s killed another and bailed a Tiger. The ever reliable 25pdrs knocked out the remaining 88. The few remaining Sherman (and Firefly) tanks also accounted for another Panzer IV. Faced with such heavy firepower the Panzer IVs ran off the table, leaving the Panzer Grenadiers (newly arrived from reserve) and Tigers to hold down the middle.

Wayne managed his first Blitz move of the game with the Tigers, allowing them to kill an M10, whilst the Panzer IVs make it a double and knocked out a second. The infantry conducted a stunning assault, after losing three teams (!) to defensive fire, bailing a Stuart and killing a second one. With no way for the British to continue the assault, the infantry finished off the second Stuart and retreated back.

Turn 5:

The remaining M10 decided that discretion is the better part of valour and ran away, but the remaining Sherman tanks were up to the job, killing Wayne’s Company HQ.

With no way to pass his Company morale test, the remaining forces quietly retreated off the table, leaving the very battered British troops in control of the battlefield.

Closing Thoughts:
This was really a battle of two halves – some poor planning on my part meant that I lost a lot of troops in the first couple of turns, whilst Wayne’s dice were uncharacteristically average (normally Waynes dice can be counted on to stab him in the back), allowing him to land a decent number of hits. The second half was a little different as the slow accumulation of German casualties took effect and allowed the more numerous British to close (and flank) the Germans.

Based on tactics I think Wayne was a little hard done by, but I’ll take the win!

Basing Your Troops

During some of my Instagram posts for Big Four Of Late-war a couple people asked about basing, so I thought I’d put together a basic basing guide. It is all pretty simple stuff, nothing fancy going on, I’ll leave that for Victor.

You can click on any of the images below for larger versions

Some preliminary notes
First off I will point out that I like to paint my miniatures before I do the basing as I find it easier to paint the miniatures lightly glued (usually with PVA) to card. This makes it easier to paint each individual miniature without the team base getting in the way. All paints are Vallejo Model Color unless stated.

Step 1
Once I’ve painting my miniatures, I paint the round base the same base colour I plan to use for my earth base colour, in this case German Camo Medium Brown (826). I then glue them into the holes on the bases, bearing in mind where any guns may go etc. I like to do this without glue first to try different arrangements out. If it is a gun team like my Nebelwerfer example, having an assembled gun available to help with the arrangement of the crew is a good idea. Once you are happy with your arrangement glue in your miniatures. For hard plastic (like my panzergrenadiers) you can use plastic glue (poly cement), but for the flexible plastic (like the Nebelwerfer crew) use super glue. Also remember to fill in any unused holes with the plastic discs that come with your bases.

Step 2
There will be a few gaps around where the bases fit into the holes. I fill these with pre-mixed interior filler. The kind of stuff you get from the hardware store for filling gaps in drywall etc. I work this around with an old paint brush. These products are usually water soluble so you can wet your brush to make it easier to push around. I also use it to add a bit more texture to the surface of the base and generally blend the miniature bases in with the rest of the base.

Step 3 (image #3 above)
After the filler is dry (it dries pretty fast, no more than an hour or so) I then spread some PVA glue in patches on the base. On top of this I sprinkle sand and other various sizes of grit. You could even add a few large stones (though keep in mind the scale of your miniatures) depending on the look you are going for. Once the glue is dry, brush off the excess loose bits with a large brush.

Step 4
Once you are sure your sand and grit is dry you can paint the base whatever earth colour you have gone for. Here I’ve used German Camo Medium Brown (826). Don’t worry too much about the base edge as you can touch that up at the end.

Step 5
Now you can give your texture a drybrush to bring out its earthy detail. I’ve put two layers of drybrushing on. First with US Field Drab Earth (873), then Cork Brown (843).

Step 6
Once the paint is dry it is time for some vegetation. I’m using a mix of two types of tufts (these are available from great a many manufacturers these days) and some static grass I mixed up myself from about three different colours. Colour is up to you, but I go for tufts and static grass that complement each other.

First I spread on some PVA glue with a brush in irregular patches.

Step 7
Then I place the tufts in position on the glue patches, before I sprinkle/dump on the static grass. Once the static grass is heaped on I press it down a bit with a brush handle. I then leave it to dry. I give this a good length of time, depending on the weather (the colder it is the longer the PVA takes to dry). Once it is dry I brush off the excess static grass into its container.
It is worth keeping in mind where you will place guns as you don’t what a particularly large tuft getting in the way of where you want your gun to go.

With infantry this is usually where you finish.

Step 8
However, if you are basing a gun team you will still have to attach your guns. Some people like to just place their guns on the base so they can change type of gun. I don’t. I like to glue mine down. I just put a spot of PVA on the points that will touch the base, like the bottom of the wheels and the end of the trails. Depending on how fluffy your flocking is you may have to apply some weight to the gun so the glue holds. With the Nebelwerfers I just rested my metal pin vice along the trail until the glue was dry.

Step 9
Another item you may have to add to a gun team is ammunition, be it unfired rounds, spent cases, or ammunition crates. These all look great and many gun kits already come with these items. Just paint them up at the same time you paint your guns. I just glue these down with PVA like I do with the guns.

Finally once all the glue is dry give the whole team a spray with a can of matt varnish. This takes the shine off the tufts and static grass, and ensures your ground texture is nice and matt.

I hope that gives you an idea about how I go about my basing.

Happy basing,

~Wayne

Whiz-bang! It’s the 15cm Nebelwerfer Battery!

The last unit I have painted from my Panzerkampfgruppe German Starter Force box is the 15cm Nebelwerfer Battery with 3x 15cm Nebelwerfers. This is worth 9 points and is a capable unit, giving good artillery stats against non-armoured targets like guns and infantry, as well as providing a Smoke Bombardment.

To fit the 9 points of Nebelwerfers in a 100 points game I’ll look at either trading the 8.8cm Heavy AA Platoon (6 points), the Panzergrenadiers’ Panzerfausts (2 points), and the Lucky Card (1 point), or more fundamentally changing the structure of my force by removing the Tigers (24 points), retaining the 88s and Panzerfausts, and making up the points with another unit of 3x Panzer IVs (16 points).

So I better look at painting that extra platoon of Panzer IVs then!

~Wayne

Customising your Schürzen

While I was building my Panzer IVs for my German: D-Day force for the Big Four Of Late-War project I thought I would customise my Schürzen bazooka skirts a little more. One of the great things about the late-war Panzer IV kit is that it already comes with a three options for modelling your Schürzen, a clean undamaged set, a miss-aligned set with some of the plates not sitting level, and a set of rails with no plates hanging from them. You could also mix these up to give your tanks a variety of looks.

I thought I’d take things a step further, and model some of my tanks with a few plates missing. This requires no extra parts, as the kit comes with all the part you need. For this example I will use the separate rails and the plain undamaged Schürzen.

Find the matching rails and Schürzen. Like the full Schürzen, there are left and right blank rails. Look carefully, you will see the little triangles on the top of the rail are arranged differently on the left and right. There is a single triangle followed by a pair at the front of the rails, while the rear of the rails have a single triangle, followed by another single triangle.

When you have your matching pair, carefully clip off the rail moulded to the full Schürzen.

Then cut off the excess rail with your hobby knife. If doesn’t matter if you can still see the impression of where the old rail was, as this will be helpful later when gluing on the new rail. Make sure you keep pairs together, putting the wrong rail on will mean the Schürzen won’t mount properly.

Now you can cut up your Schürzen. You don’t need to cut between every single plate, just around the ones you plan to remove. Score with a sharp knife between the plates on both sides, then you can simple bend them at the join until they come apart.

Next glue the rail to the plates you want to keep. Make sure you keep the discarded plates around to help you get the spacing of the gaps right. This is where the shadow or outline of the old rail will be helpful. You can see when the triangular tags on the top of the rails were and you can line the same bits on the new rail up with these. This will help you locate the rail in the correct position.

Finally you either attach your Schürzen bazooka skirts, or like myself paint the tank and skirts separately first, before gluing them on.

~Wayne

Wayne’s 100 Points Ready For Deployment

I’ve now complete my initial target of 100 points (actually 101 but whos counting!).

This is by no means the end of the journey for this force. At the moment I’m just finishing off my three 15cm Nebelwerfer rocket launchers.

I also plan to paint another four Panzer IV tanks so I can swap these with the Tigers as I feel the need. D-Day: German sees the release of some great new models that are pretty hard to resist, so I plan to add at least one Panther Tank Platoon, as well as an Sd Kfz 250 Scout Troop.

Of course I also have some Support options to round out the Force.

Other tempting developments include expanding my Armoured Panzergrenadier Platoon into a whole Armoured Panzergrenadier Company by painting an HQ and one or two more platoons, and heavy weapons units.

It is the great thing about building Germans, units can be moved about several different forces.

I’ll keep you posted,

~Wayne

Big Four Battle Time – Wayne vs Victor

With the completion of Wayne’s first 100 points, Wayne and Victor thought they would have a game to celebrate another Big Four of Late-war army passing the 100 point mark and the release of D-Day: German.

Victor took a modified version of his US force he took against Casey on the release of D-Day: American. Wayne took his Panzer IV Tank Company.

They decided to play Free-for-All. Victor started deployment and Wayne won the dice off to see who goes first. Deployment was evenly spread, with both players concentrating their tank units on the forested side of the battlefield.

Turn 1:  The first turn saw Wayne push his Panzer IV platoons forward to engage the M10s and Shermans, but with only moving ROF just one Sherman was destroyed. Victor’s retaliation was swift and deadly three Panzer IVs were destroyed and one bailed out, all from flank platoon.

Turn 2:  The morale of the devastated Panzer IV platoon didn’t hold, and despite the last tank remounting, their Last Stand roll wasn’t so successful and he beat as hasty retreat. However, Wayne “88” began engaging the M4 Shermans on the hill knocking out two tanks. The last Panzer IV Platoon and the Tiger concentrated their fire on the M10 platoon which had advanced from behind the forest, destroying one and bailing out another. The HQ Panzer IVs knocked another two Shermans on the hill.

Victor returned fire on the flank, but only managed to destroy a single Panzer IV in the forest to the front of the M10s. On the other flank the M5 Stuart Tank Platoon pushed up and began machine-gunning the Panzergrenadier who had dismounted near the 88s and the objective. Despite massive firepower (25 MG dice), they only managed to kill the one team after on scoring four hits! Meanwhile, Victor’s artillery has been ineffectually peppering the Panzergrenadiers and 88s.

Turn 3: The Stuart had done enough to attract the attention of one of the 88s, it swung around and destroyed two Stuarts. The other 88 took aim at the American HQ Shermans who had also moved to the hill and knocked out one tank. The Tigers and Panzer IV Platoon concentrated on the M10 tank destroyers, knocking out all but one. The HQ fired on the last M4 Sherman Tank Platoon tank on the hill, but failed to hit it.

Victor managed to pass the Last Stand for his M4 Sherman Tank Platoon, but failed for his M10s. Re-ranging in both his batteries he managed to knock out three more Panzergrenadier teams, then destroyed one more with his Stuarts. His 76mm Shermans destroyed two more Panzer IVs.

Turn 4: With only one Panzer IV left the second platoon also failed last stand and quit the field. The Panzergrenadiers also gave up. The 88s killed two more Stuart and bailed out American commander. The Tigers continued to fire at the 76mm Shermans, destroyed one and bailed two. The HQ took a long range snipe at the Sherman OP and the last stubborn Sherman on the hill.

Victor remounted his 76mm Shermans, but the Stuart ran off. The repeat bombardment on one 88 had no effect. However, on the other flank the game was one. Wayne failed to save two 76mm hits on the Tigers and Victor made the Firepower rolls. With only the HQ left in Wayne’s formation they are not in Good Spirit and are destroyed.

A Victory to Victor.

Wayne Rolls Out With Infantry and 88’s

Progress is on my Panzer IV Tank Company has reached a climax. I’ve completed the last two units I need to bring my force up to 100 points (well, actually 99 or 101 points).

The first new unit is the Armoured Panzergrenadier Platoon (see page 50, D-Day: German). This unit consists of seven MG42 teams, a Panzerschreck team, and four Sd Kfz 251 half-tracks. I also plan to run them equipped with Panzerfaust anti-tank weapons. Most teams have one miniature armed with the Panzerfaust.

These are made from the plastic Panzergrenadiers that come with the Starter Army Deal. However, as I actually also split a Hit the Beach with Victor, I have a lot of these guys, so I may have mixed them up a bit during clean-up.

For the half-tracks I went with a green only camouflage to keep them a little different to the tanks. I painted the vehicle crew separately and glued them into the half-tracks before varnishing.

The second new unit is an 8.8cm Heavy AA Platoon (see page 65, D-Day: German) and consists of a pair of 8.8cm AA guns. I keep these pretty simple and didn’t bother with any camouflage. I painted the crew separately, then glued them to the base, before texturing and painting the bases. I placed the guns on the base, but not glued to work out where I could place tuffs. I didn’t want to place any tuffs where the gun might go, which would make it hard to glue down later after the flocking was done.

Afterwards I realised I had painted one too many crew, as I only need to place five crew on each gun. I had painted six, forgetting the seated gunner in my count. One less crew would have made it a little easier to position the gun on the base, but in the end it fitted anyway.

~Wayne

Wayne’s Panzer IV Tank Company Progress Report

With only a month or so until my deadline of getting 100 points finished in time for the release of D-Day: German, I think things are going well.
I have now finished my four tank units.

Panzer IV Tank Company HQ
2x Panzer IV
Panzer IV Tank Platoon
4x Panzer IV
Panzer IV Tank Platoon
4x Panzer IV
Tiger Tank Platoon
2x Tiger
That’s 79 points already!

As you have seen, if you are following our bigfouroflatewar Instagram account, I’ve started on my Armoured Panzergrenadier Platoon. I’ve got the Sd Kfz 251 half-tracks ready for crews and have the infantry teams underway.

After that there is a pair of 8.8cm AA guns and crew to complete the force.

I’m quite pleased with the tanks, and I’m looking forward to painting some more. I thought I might paint another four Panzer IVs that I can swap out for the Tigers when I feel the need.

You can check out Wayne’s first platoon of Panzer IVs here…

Mistakes were made
I discovered a couple of things I would do differently. First off, when assembling your Sd Kfz 251 half-tracks glue the drivers in before completing assembly. Secondly, don’t try and trim decals after you have removed them from the backing paper while wet, they are slippery and hard to cut.
~Wayne

Wayne’s First Panzers

It took me a while, but I have my first unit done for my Big Four Of Late War German force. I really enjoyed painting these Panzer IV tanks, and had a bit of fun modifying a few of the Schürzen plates. The haphazard spray-gun squiggly line camouflage applied by the 2. Panzerdivision tankers was an interesting challenge, but I think it has come out OK.

I painted these first with a Dark Yellow airbrushed basecoat, then a black magic wash (a mix of water, floor polish, and Indian ink), then airbrushed the flat panels with the base colour again, leaving the darker areas around the details. The green and brown camouflage colours were then applied with my airbrush as thinly as I could. The details like tools, tracks, and tyres were painted, decals added, before each tank was given a drybrush of Vallejo Model Color Buff.

Next, I’ll paint my the second Panzer IV Platoon. It will get the same treatment.

~Wayne