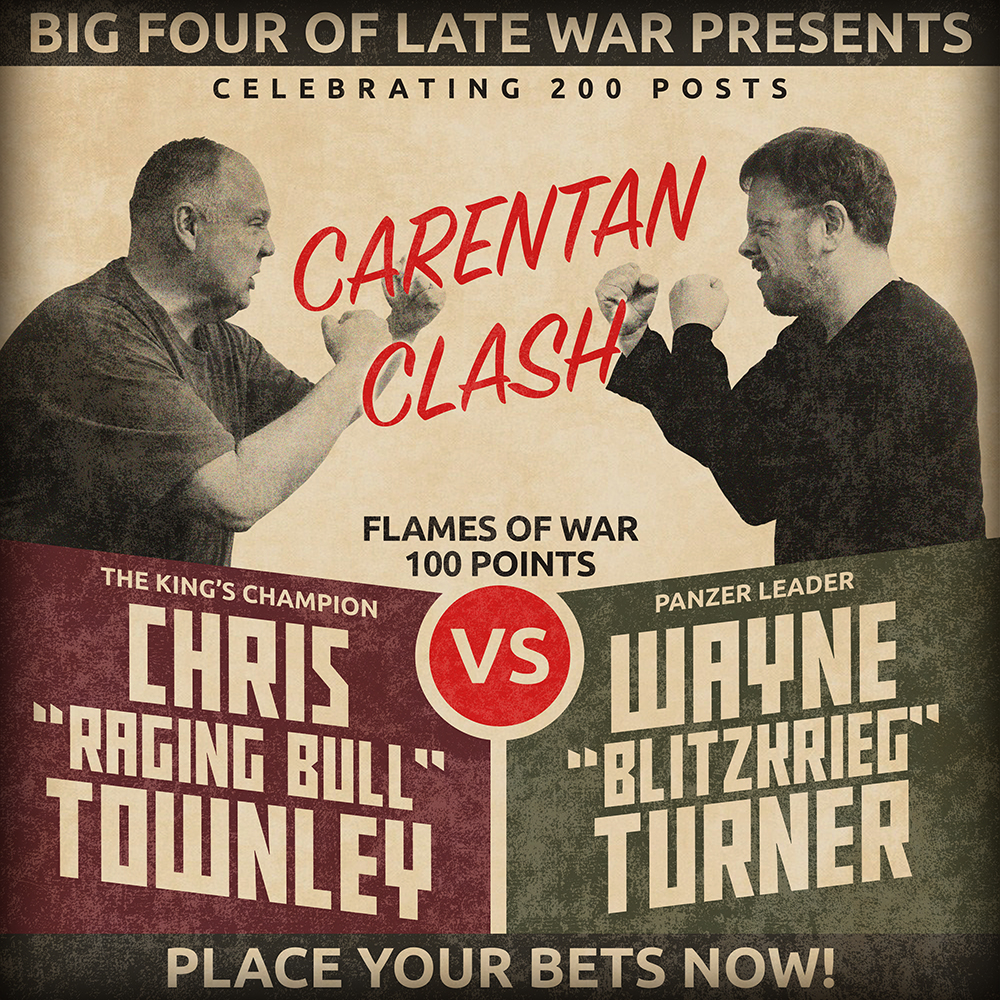
 Here in the Battlefront Studio we have been counting down to a couple of very exciting events, first up is the Global Online Campaign. This is being run in conjunction with the guys at OnTableTop (formally known as Beasts of War) and is a chance to play games over 6 weeks and recreate the fighting on D-Day and beyond. The other is FlamesCon, the annual Flames Of War tournament. This year the Big Four are making a big push, with Victor, Wayne and I (Chris) taking our armies along for a weekend of fun gaming. With all of this going on Wayne and I thought it would be a great opportunity to play a practice game, at the same time getting a battle for the Campaign under our belts.
The Forces:
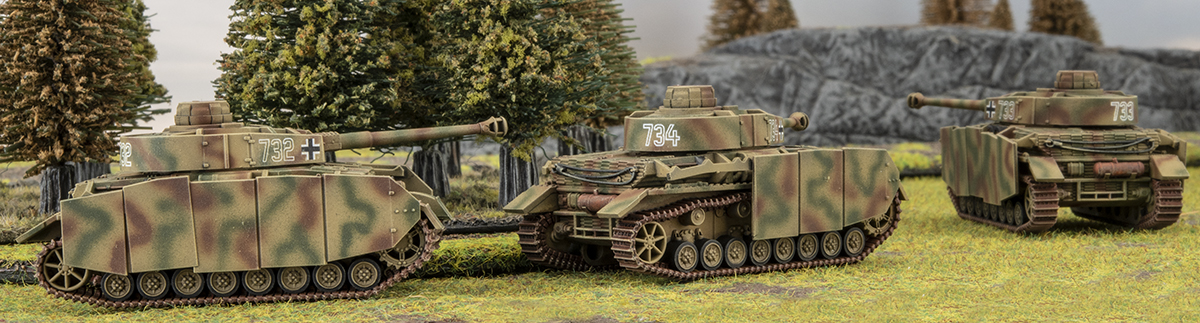
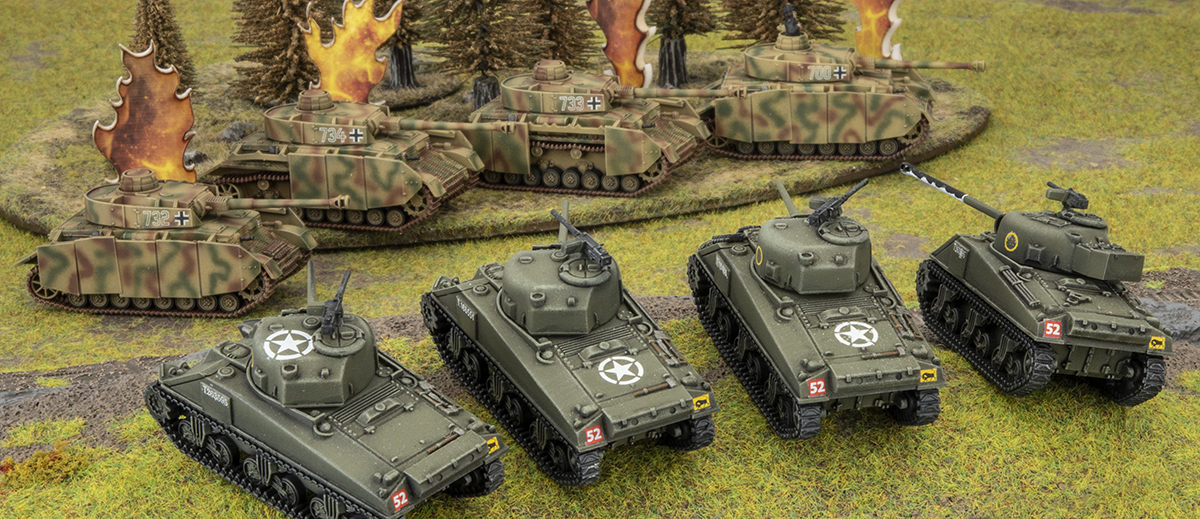
We both used the first 100 points that we painted during the Big Four Journey, with Wayne’s army based around a Panzer IV Company with Tigers, Panzer Grenadiers and 88s in support.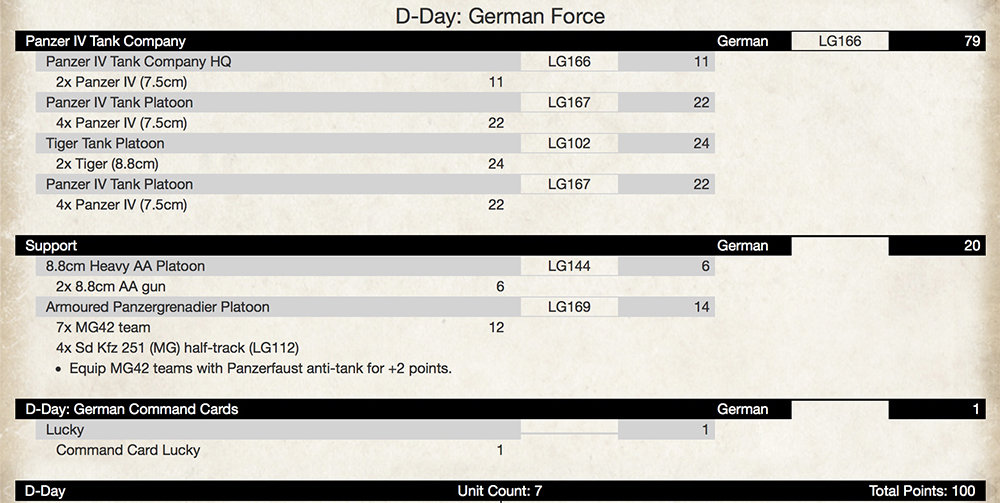
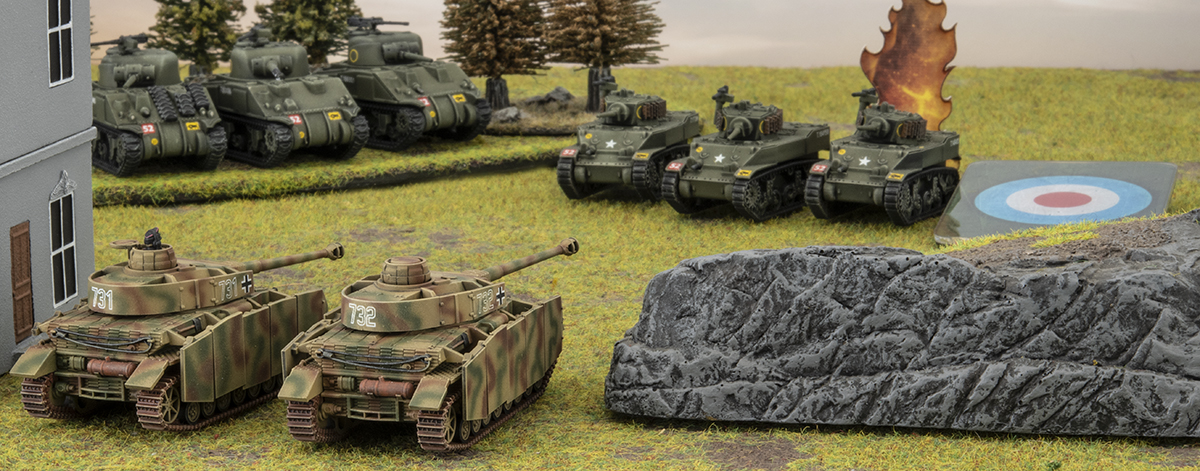
I used my Sherman Company, packed with Firefly tanks and their excellent 17pdr guns. In support are Stuarts (for their Spearhead), 25pdrs and (of course) M10s.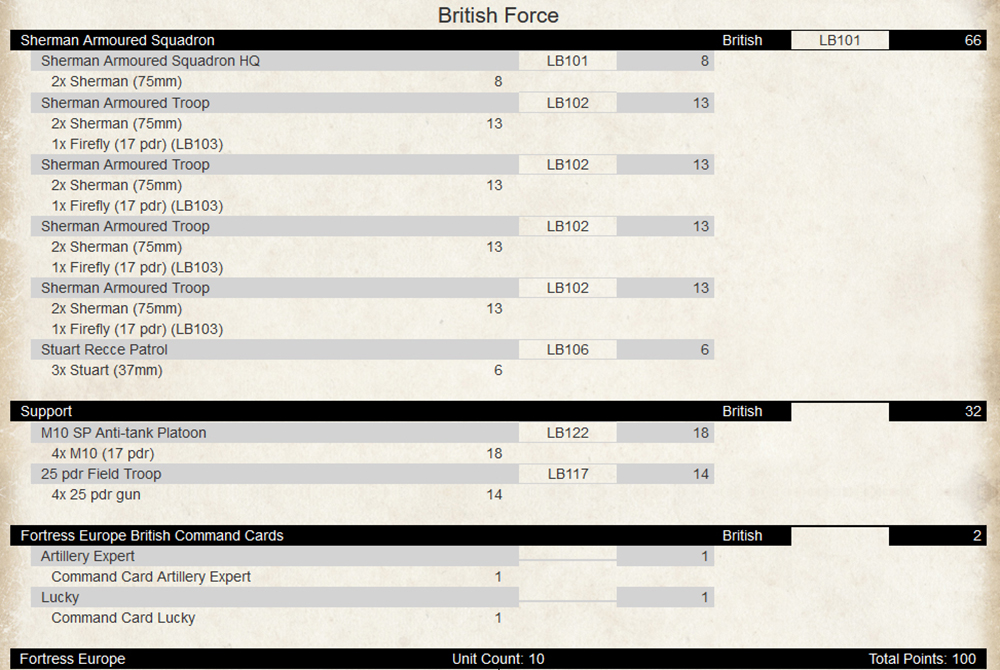
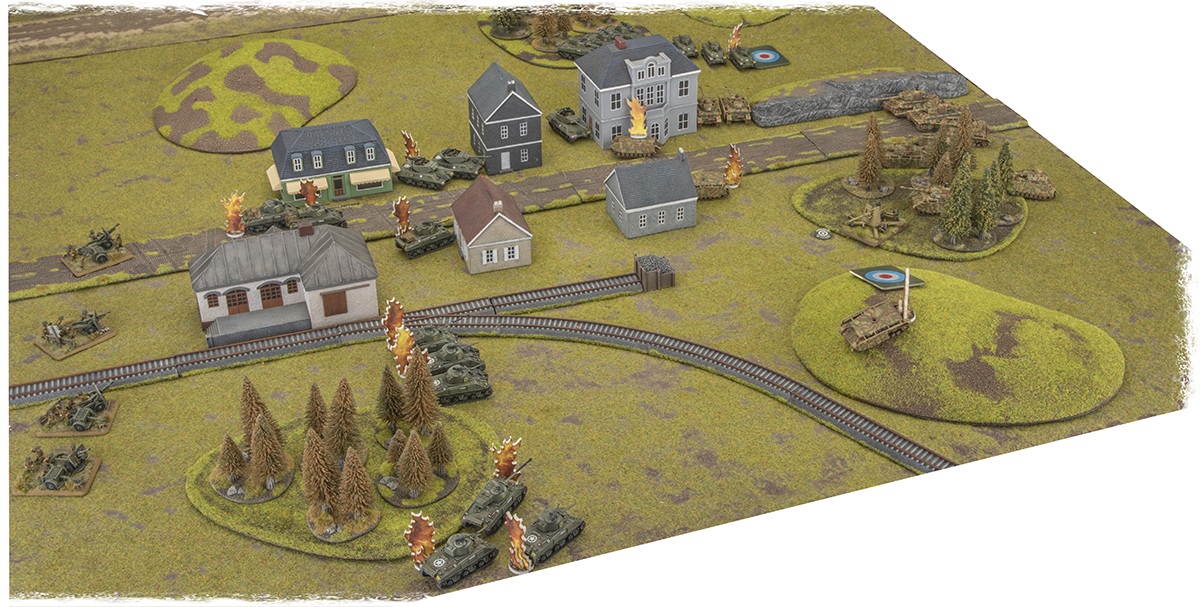
Setup and Deployment:
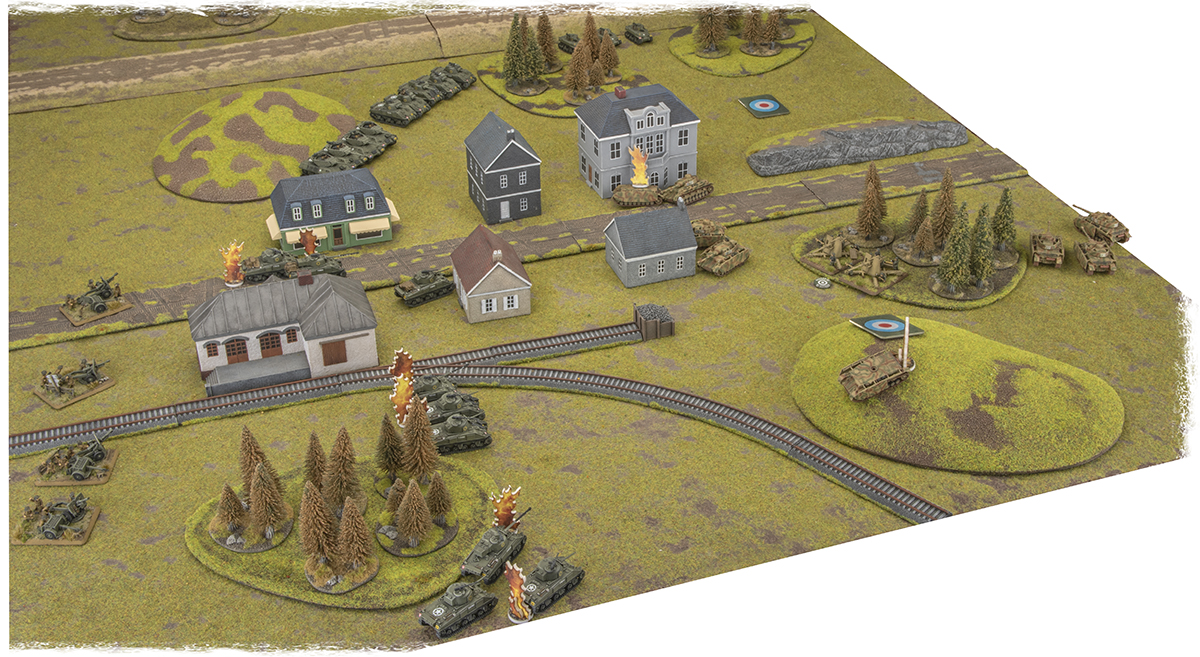
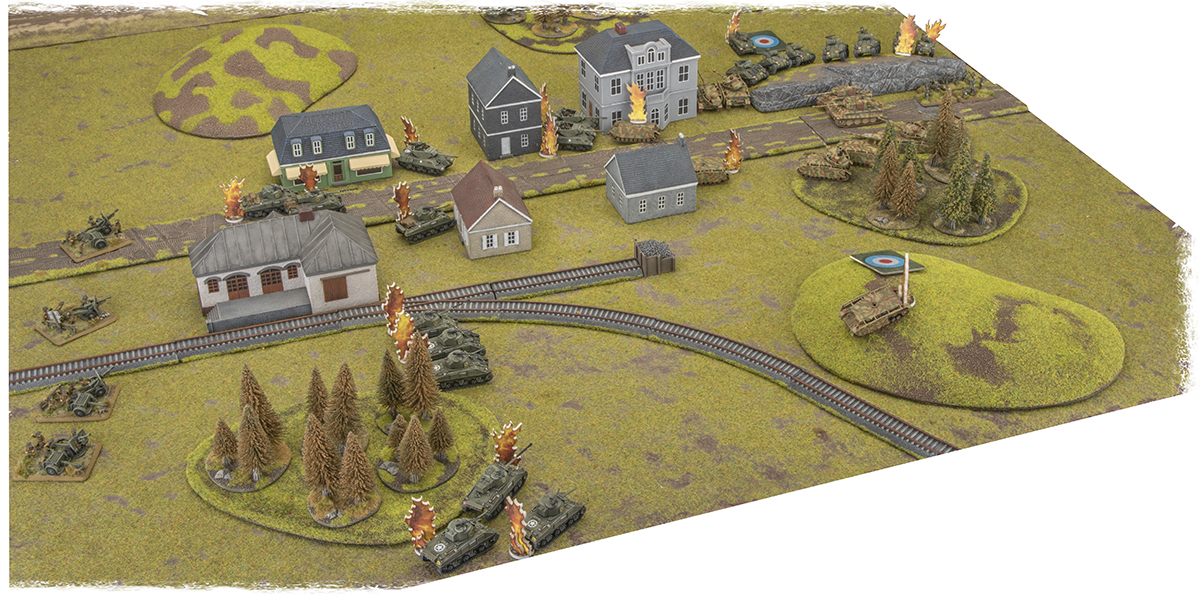
We decided to play Outflanked, one of the new missions in the D-Day: German book. This meant Wayne’s forces would start in a corner of the battlefield, trying to hold out till his reserves arrived. My forces would come on from my side of the table, as well as a little dog-leg section up to the middle of the table near No-Man’s Land.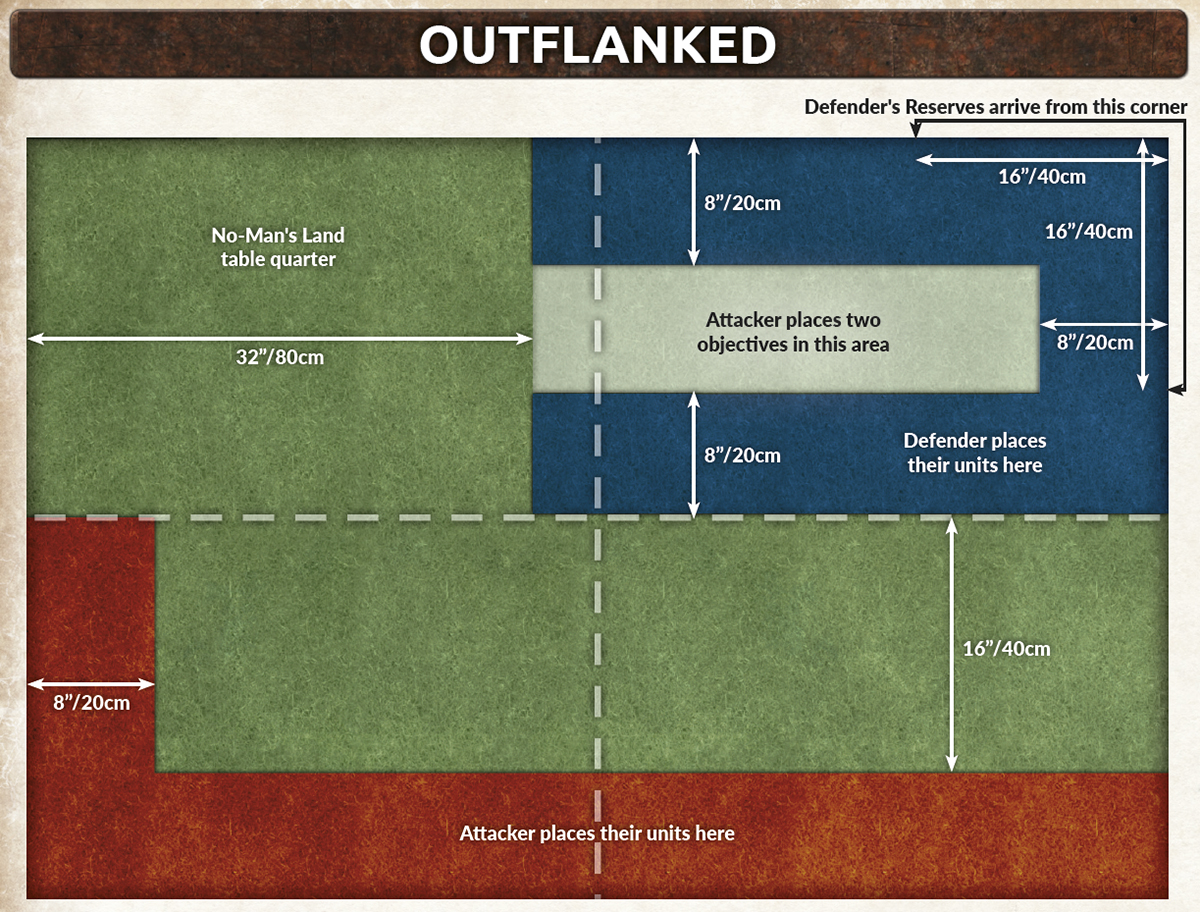
The table had a raised road and small village, each splitting the table into thirds. Wayne chose the corner where the village would help shield him from my flanking forces and deployed in concealed positions. I spread my forces out along the deployment area, wanting to push across a broad front, as well as taking a small Spearhead on the side to give my flanking troops a head start.
Turn 1:
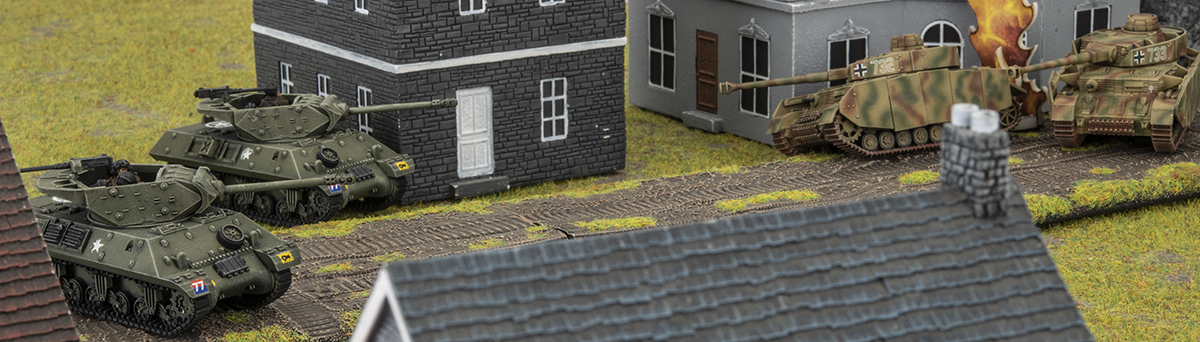
I aggressively pushed up, hoping that the dice would help me to overcome Wayne’s concealed and gone-to-ground status. I, of course, regretted that decision as the fire from my entire army only knocked out a single Panzer IV inside the town. Wayne ambushed his 88s in a small forest, but failed to get reserves, and then proceeded to fail his Blitz on the Panzer IV platoon. Undaunted by these setbacks his fire was accurate and deadly, knocking out 6 tanks and bailing 1 more. A lesson for new players – don’t get caught in the open, especially at close range!
Turn 2:
The surviving British tanks pushed up and took cover where possible, whilst the M10s lined up some Panzers, only killing one for their troubles. The 25pdrs dropped a barrage on the 88’s, pinning them down. Wayne, feeling pretty happy coming through the turn with relatively few casualties failed to get reserves, or unpin his 88’s, rethought his levels of happiness! He proceeded to dash his flanking Panzer IV platoon around the back of the table to reinforce the middle, and then managed to knock out another Sherman with the combined fire of his units.
Turn 3:
The remaining Sherman in the village found itself in Bad Spirits and ran off the table – three-tank platoons can get a little dicey under heavy fire! The flanking Shermans and Stuarts pushed up aggressively, with the Stuarts parking themselves on the objective (not live yet, but it was still a threat that Wayne needed to plan for), managing to knock out a Panzer IV in the side. The M10s continued moving up, knocking out another Panzer, whilst the repeat bombardment from the 25pdrs accounted for an 88. Wayne’s reserves finally turned up, with a Panzer IV Platoon and Tiger Platoon making an appearance. Being forced to fire on the move they only managed to knock a Stuart and M10 with their collective fire.
Turn 4:

The Stuarts decided to continue their advance, driving up the escarpment to flank the newly arrived Panzers, knocking out one, whilst the M10s killed another and bailed a Tiger. The ever reliable 25pdrs knocked out the remaining 88. The few remaining Sherman (and Firefly) tanks also accounted for another Panzer IV. Faced with such heavy firepower the Panzer IVs ran off the table, leaving the Panzer Grenadiers (newly arrived from reserve) and Tigers to hold down the middle.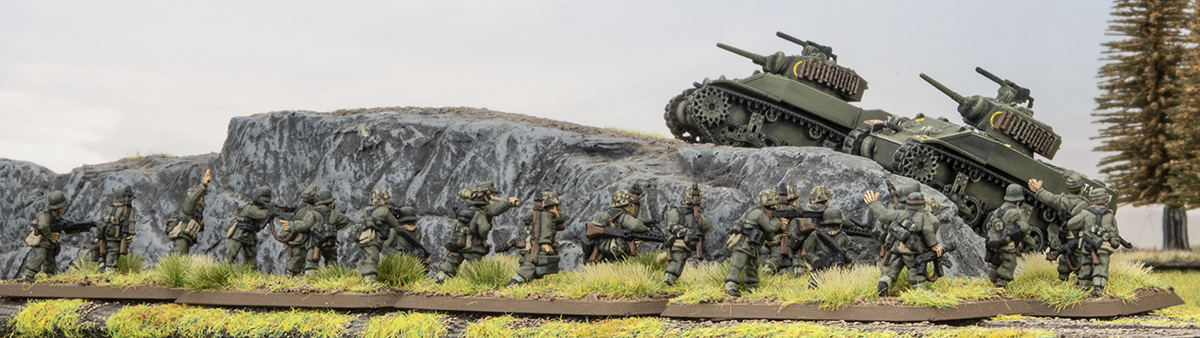
Wayne managed his first Blitz move of the game with the Tigers, allowing them to kill an M10, whilst the Panzer IVs make it a double and knocked out a second. The infantry conducted a stunning assault, after losing three teams (!) to defensive fire, bailing a Stuart and killing a second one. With no way for the British to continue the assault, the infantry finished off the second Stuart and retreated back.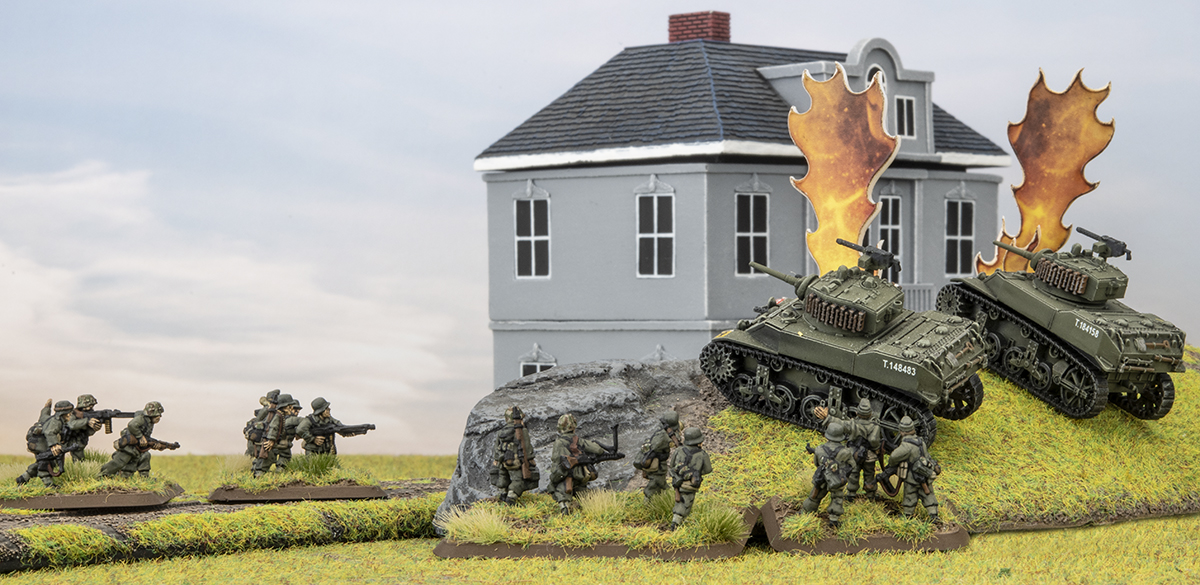
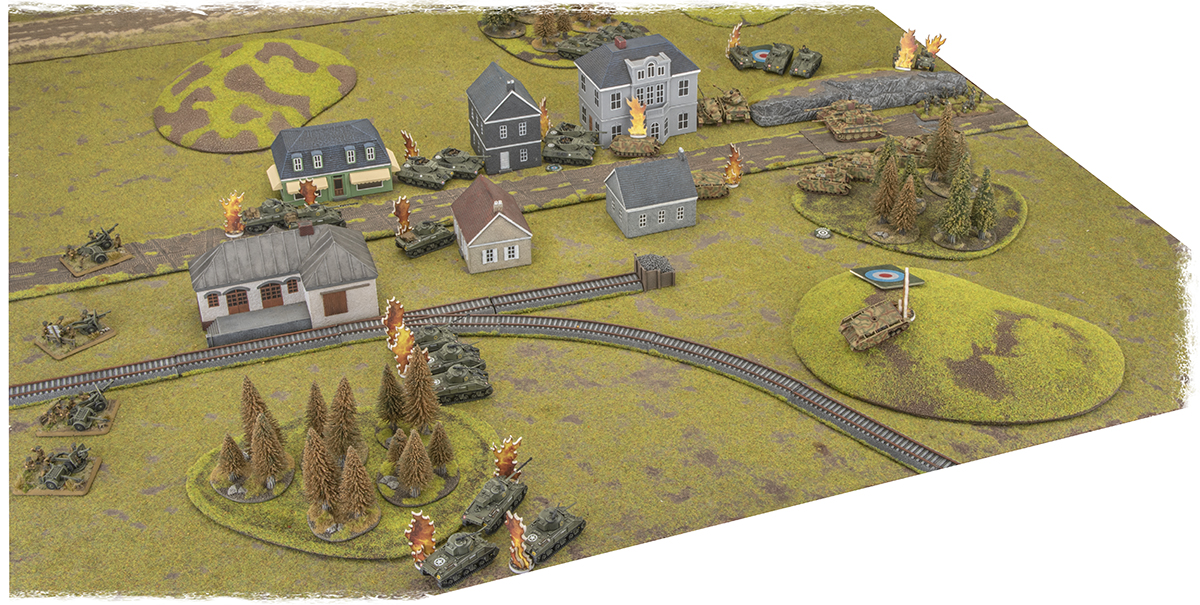
Turn 5:
The remaining M10 decided that discretion is the better part of valour and ran away, but the remaining Sherman tanks were up to the job, killing Wayne’s Company HQ.
With no way to pass his Company morale test, the remaining forces quietly retreated off the table, leaving the very battered British troops in control of the battlefield.
Closing Thoughts:
This was really a battle of two halves – some poor planning on my part meant that I lost a lot of troops in the first couple of turns, whilst Wayne’s dice were uncharacteristically average (normally Waynes dice can be counted on to stab him in the back), allowing him to land a decent number of hits. The second half was a little different as the slow accumulation of German casualties took effect and allowed the more numerous British to close (and flank) the Germans.
Based on tactics I think Wayne was a little hard done by, but I’ll take the win!