 Detours have become one the of the hallmarks of the Big Four project as, like most hobbyists, we get distracted or excited about a new release.
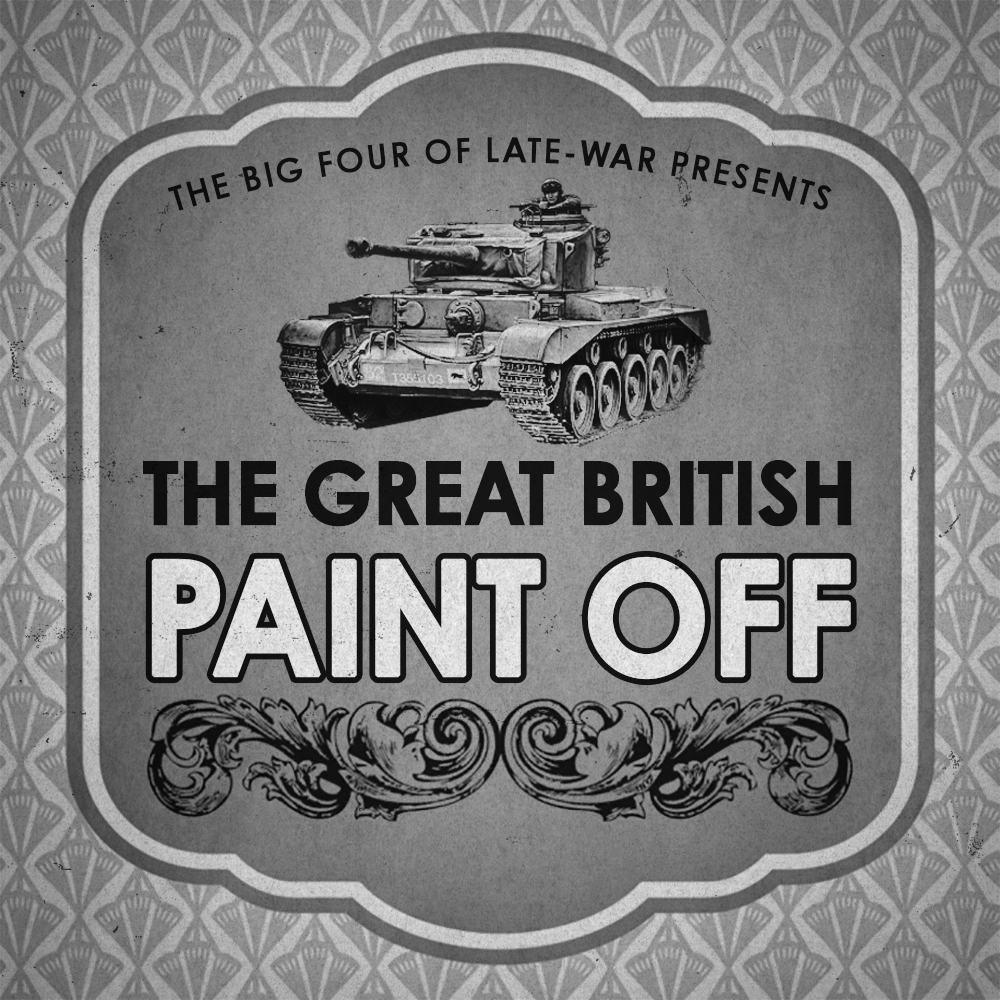
The release of Bulge: British proved to be no exception as everyone (including Chris) had unfinished business when it came to the British forces – whether it was an army that had been on the painting list for a long time, or something that provoked excitement during the design phase, everyone wanted to take part in a Great British Paint Off…
—-
 A little while ago, whilst I was powering through my last batches of painting for my British I thought it would be fun if the four of us took another detour. Casey was already talking about doing a Ram Formation, Wayne had been wanting to do Comets since the plastics originally came out, and Victor is always onboard for some painting fun.
Fast forward a few weeks after having “finished” all my short-term British goals and I said the words “Whose idea was this again?” (having genuinely forgotten it was my idea) only to be met with a resounding chorus of “YOURS!”
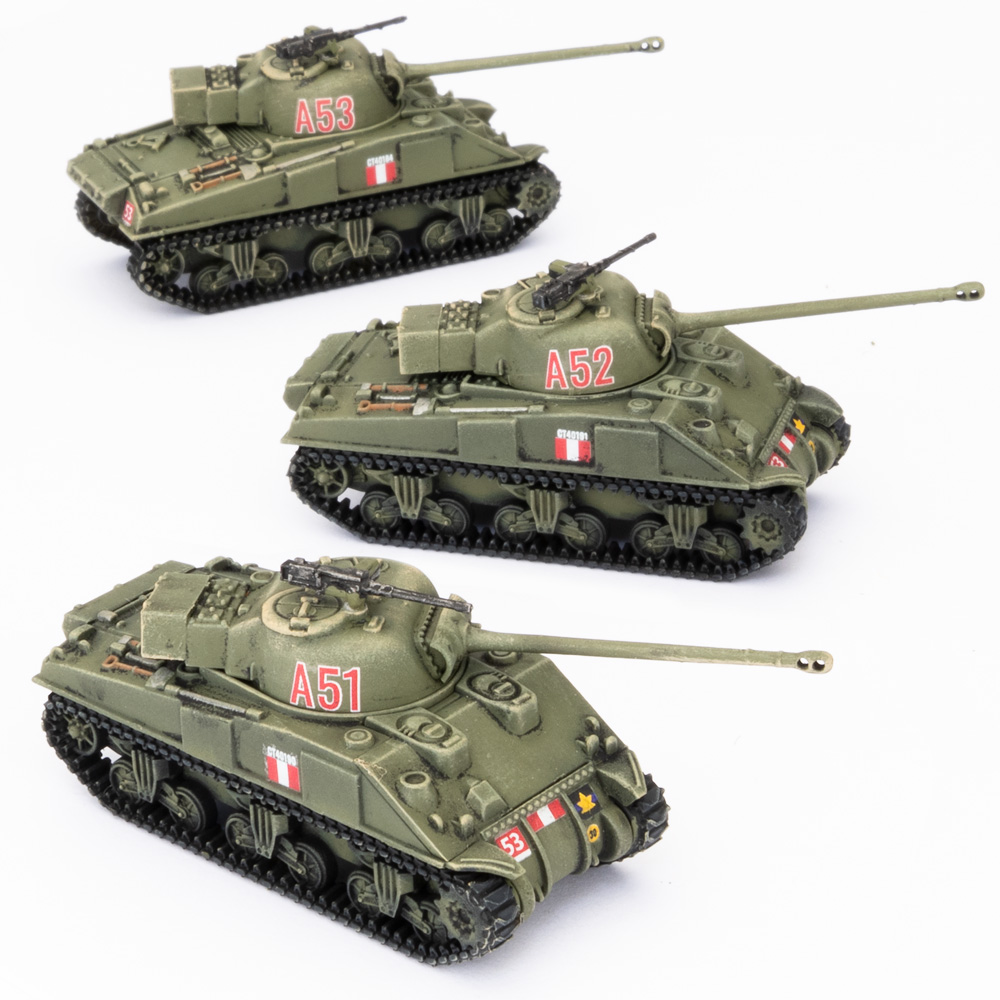
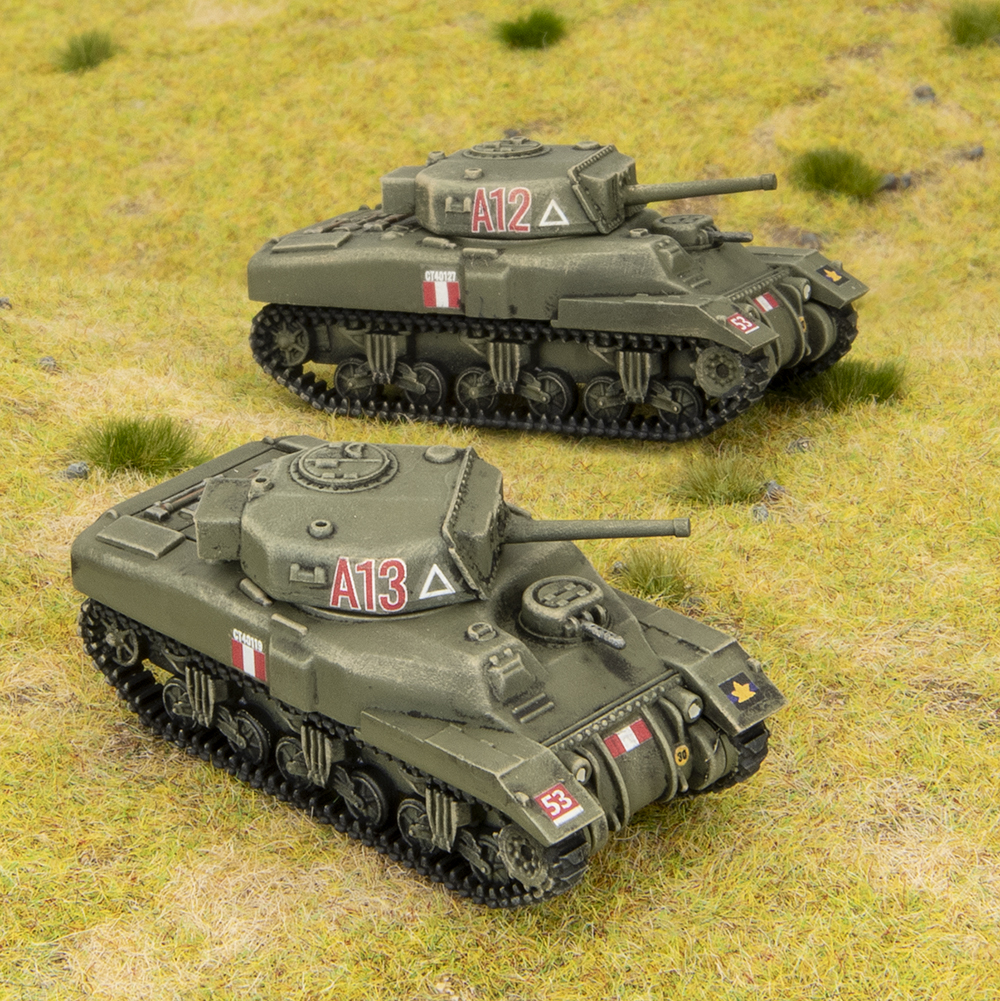
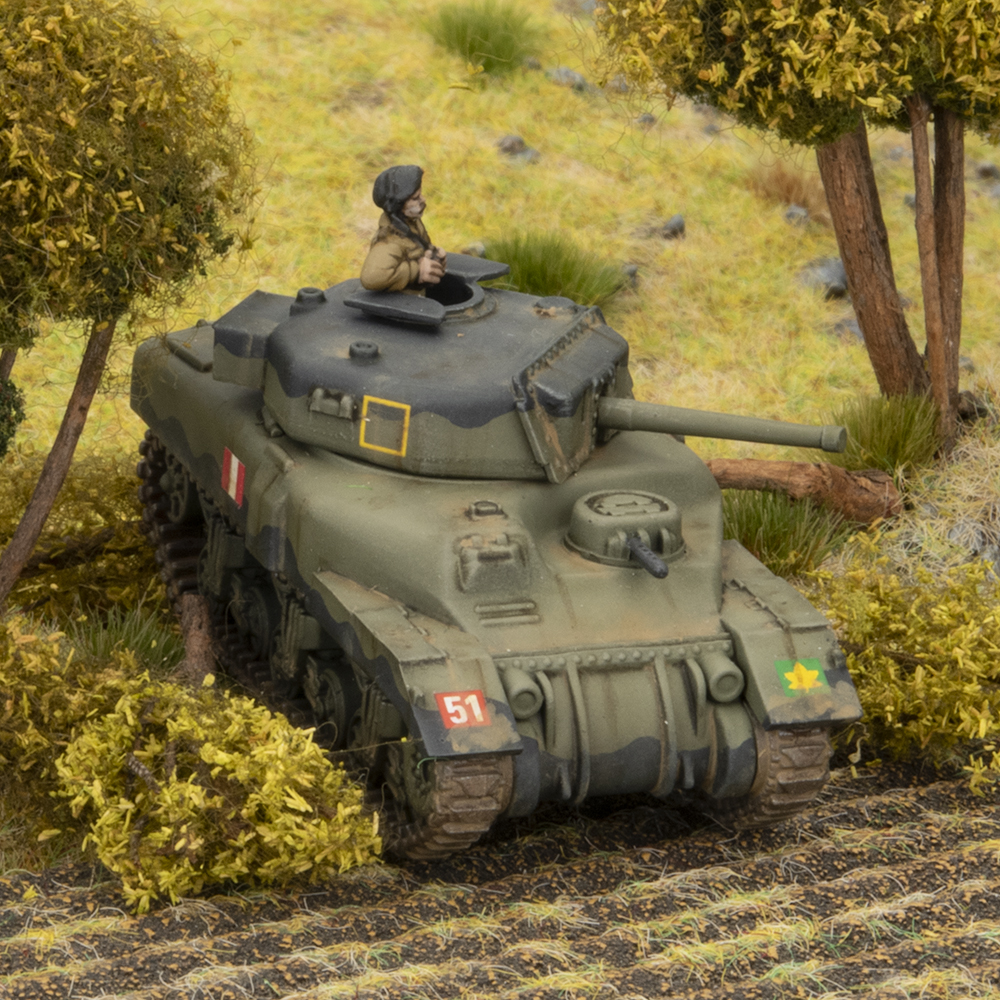
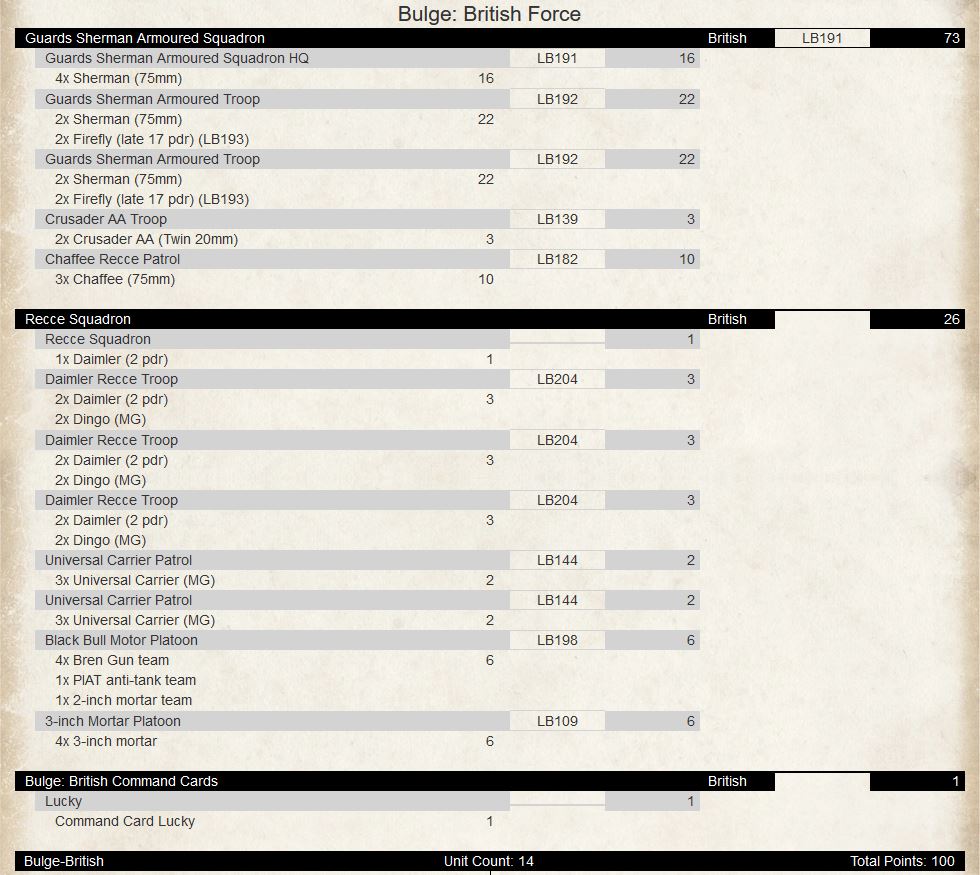
So here we are… I’m getting back on the British wagon and much like Casey I am going to be working on Canadian Rams. I figured this was the only Tank Formation I hadn’t painted so that made it the safe option to be able to complete over the Christmas break.

I am keeping the force all about the in-Formation units as much as possible as I already have a lot of support units.
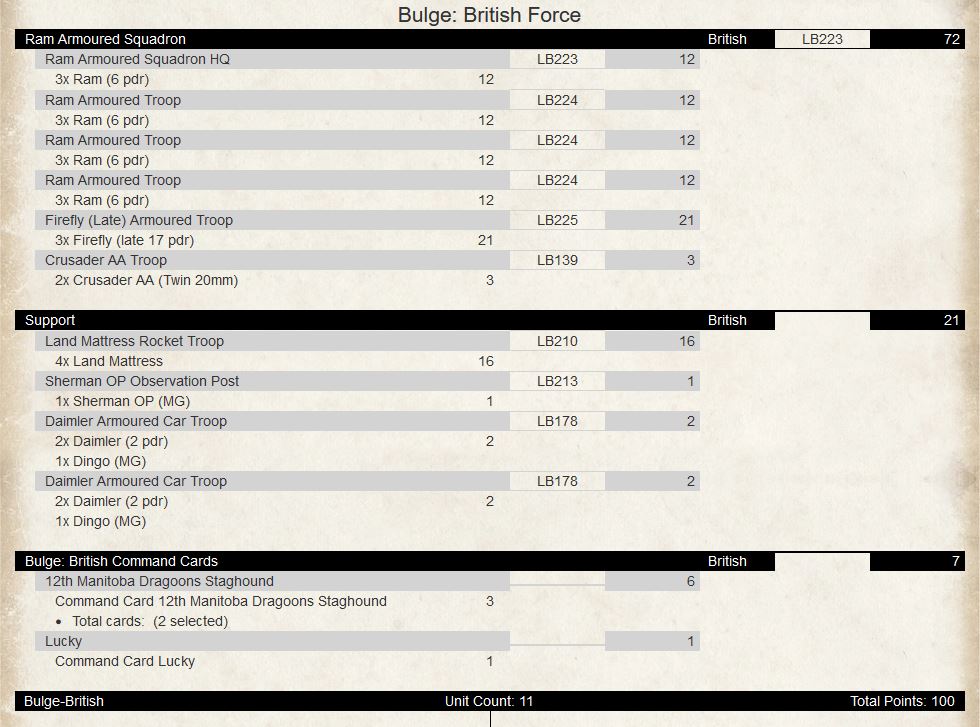
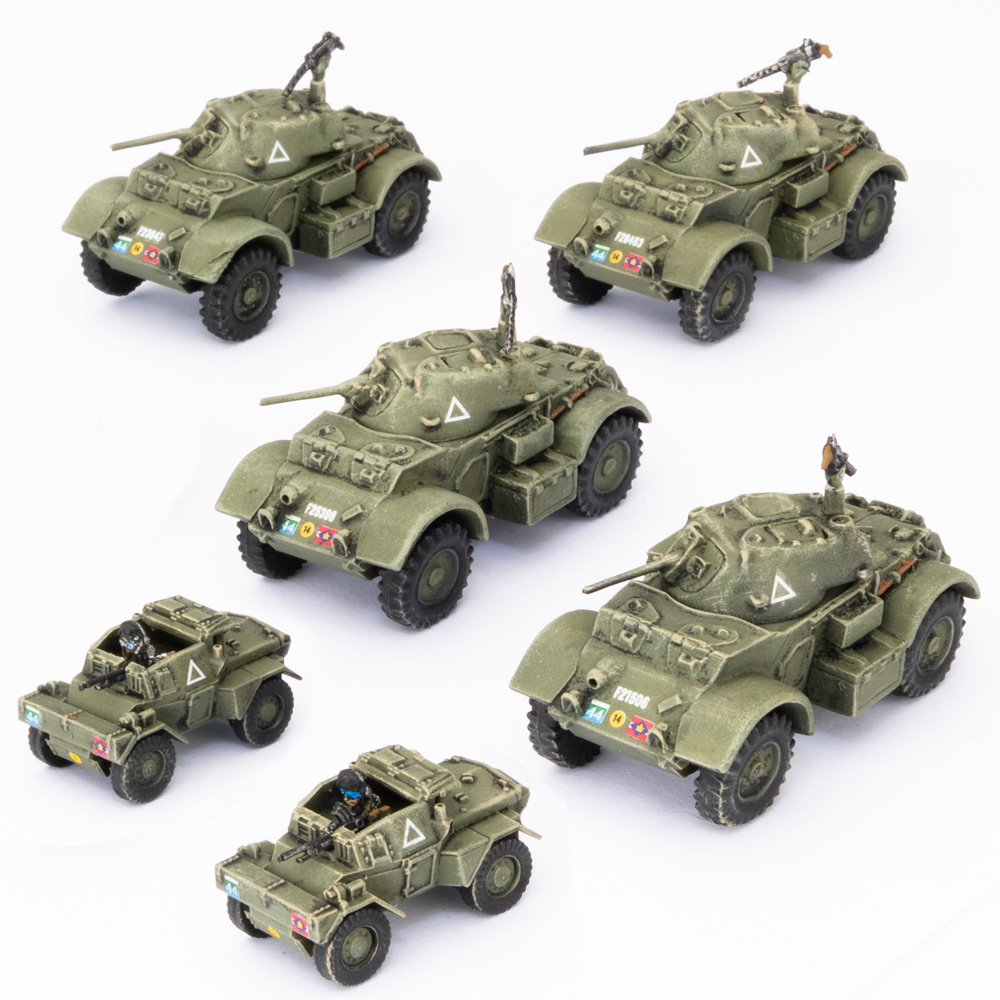
Eagle-eyed readers will know that I have already completed the Land Mattresses so I will be painting an additional troop of Rams to make up for that minor shortcut (and an OP tank). In order to keep the theme of a Canadian force running through the army I will be painting up the extra Firefly tanks (since all of mine have 11th Armoured decals on them and these will need Maple Leaf insignia), adding platoons of Staghounds for recon, and even Staghound AA instead of the normal Crusaders (they will be using the Crusader stat line, I’m just doing it for fun).
It should be a fun army to paint and play with, and best of all it pushes me ever closer to have 200 British teams painted!
~Chris
—-
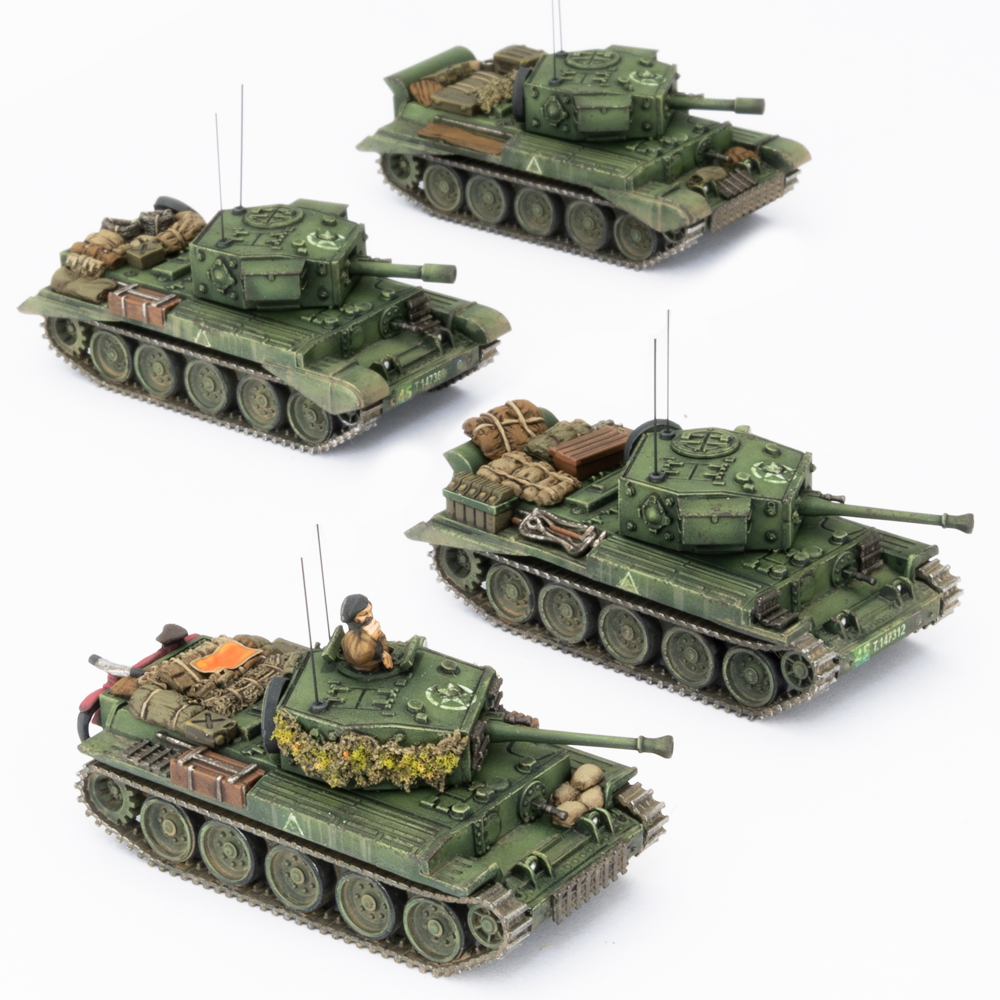
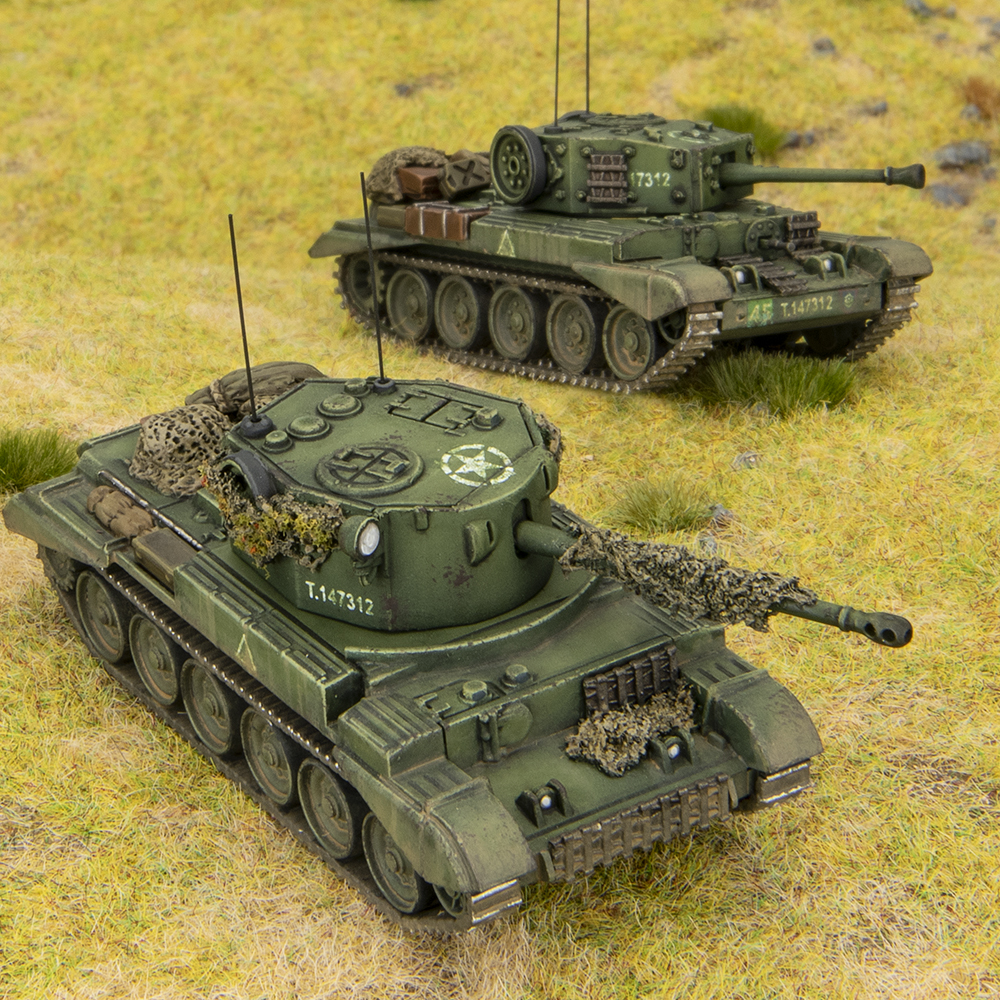
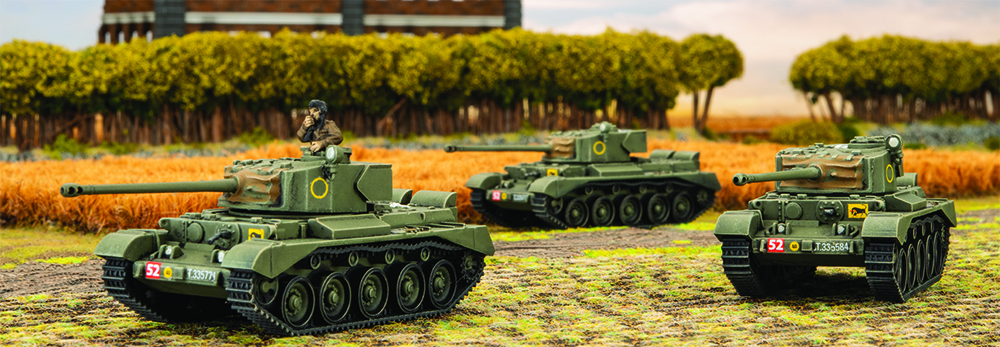
 A few years ago, I built ten Comets with the intention of collecting a British Comet Armoured Squadron. However, a bunch of other projects got in the way and I never got around to painting them. With our next Big Four challenge being to build a Bulge: British force it has given me a chance to get this project going again.
I’ve decided to base my Comet force on the 2nd Fife & Forfar Yeomanry, 29th Armoured Brigade, 11th Armoured Division. This armoured regiment was the junior regiment in the 29th Armoured Brigade, and is from the region of Scotland between Firth of Forth and the River Tay (Fife) and then north of that around Dundee and Forfar. By World War II this regiment had transformed into an armoured regiment from its humble beginnings in the 18th Century as two volunteer cavalry units.
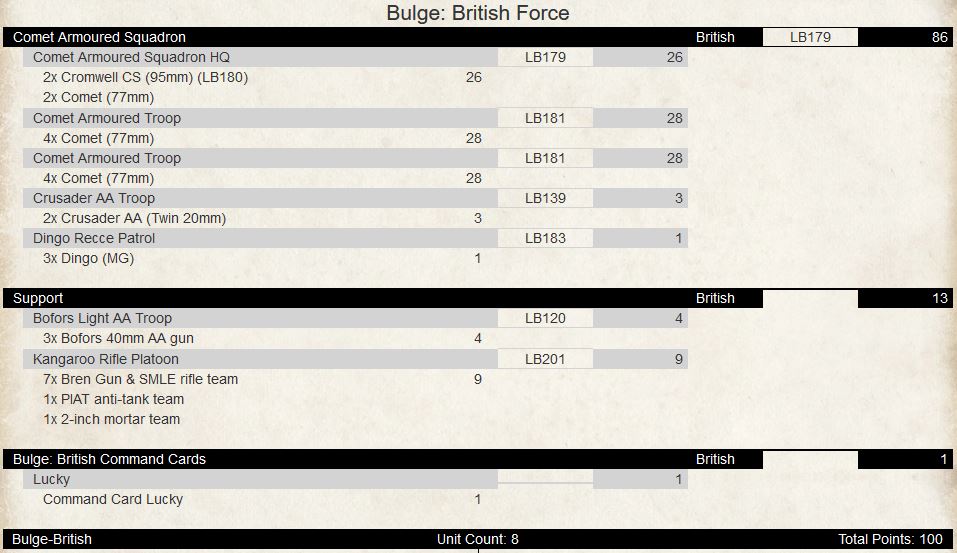
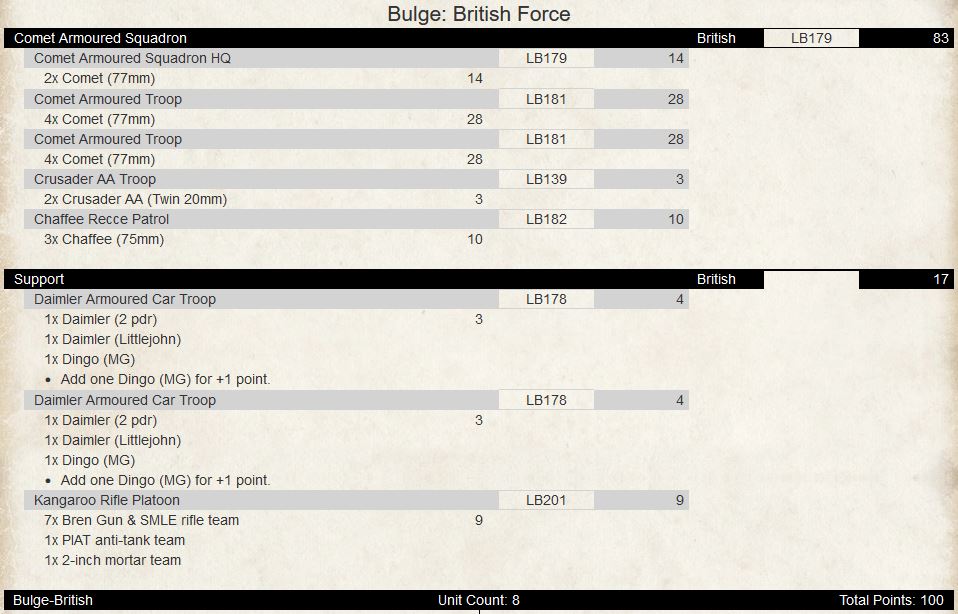
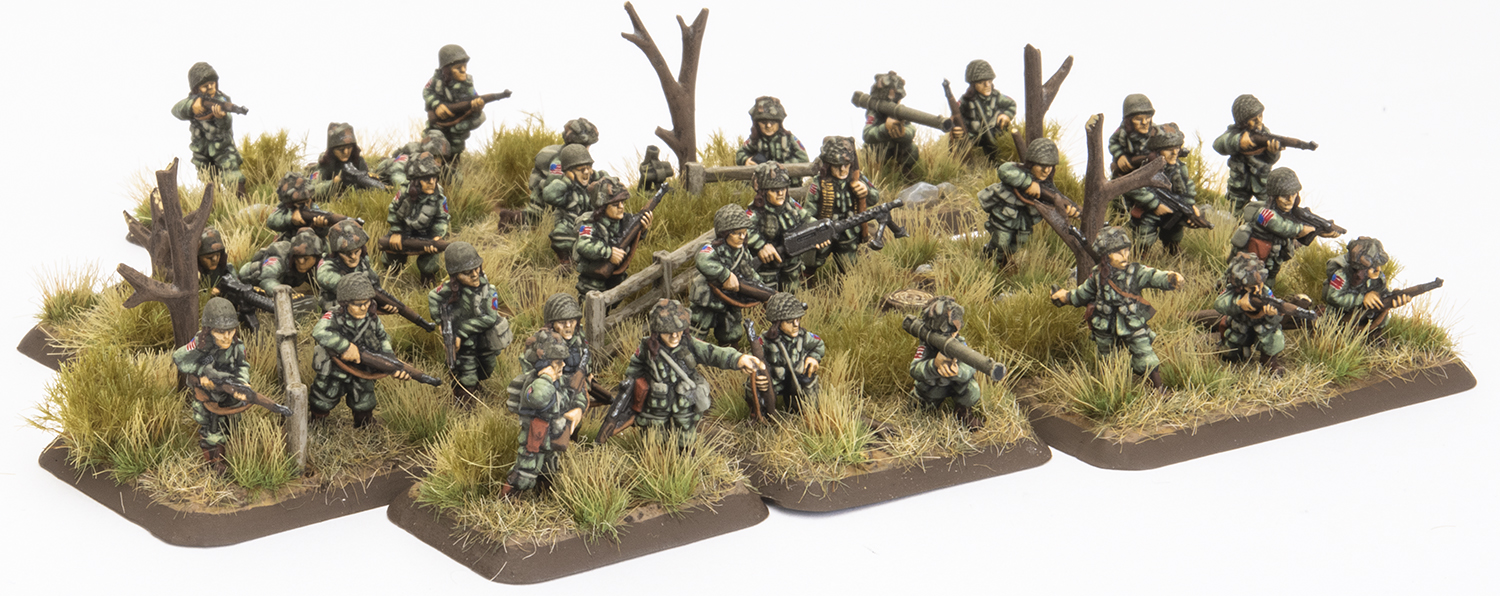
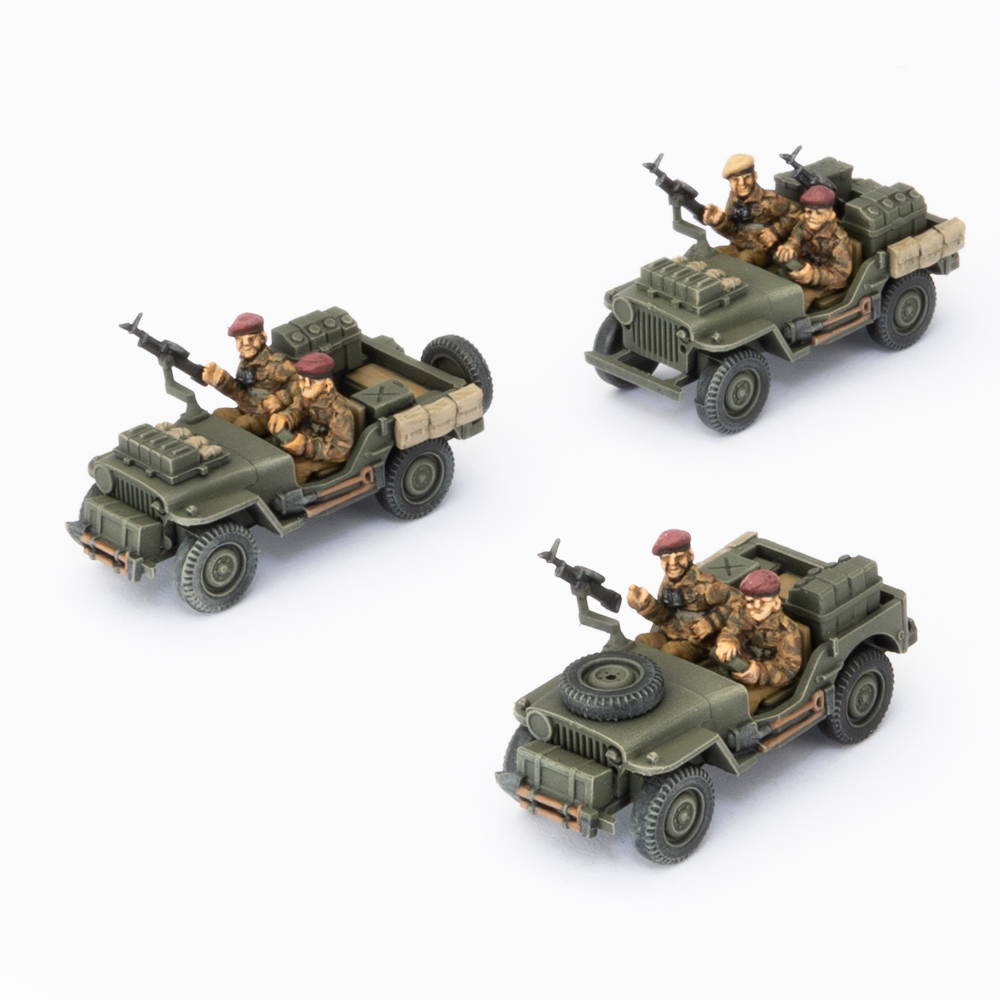
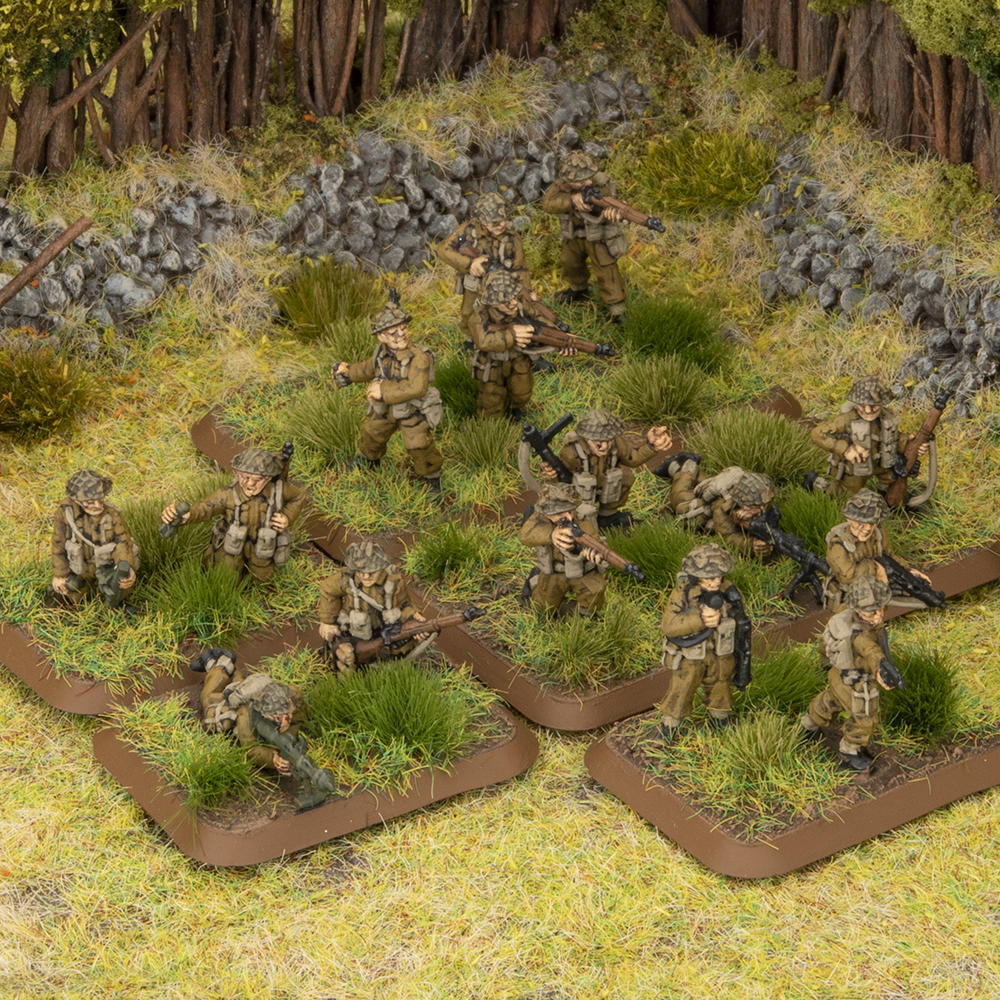
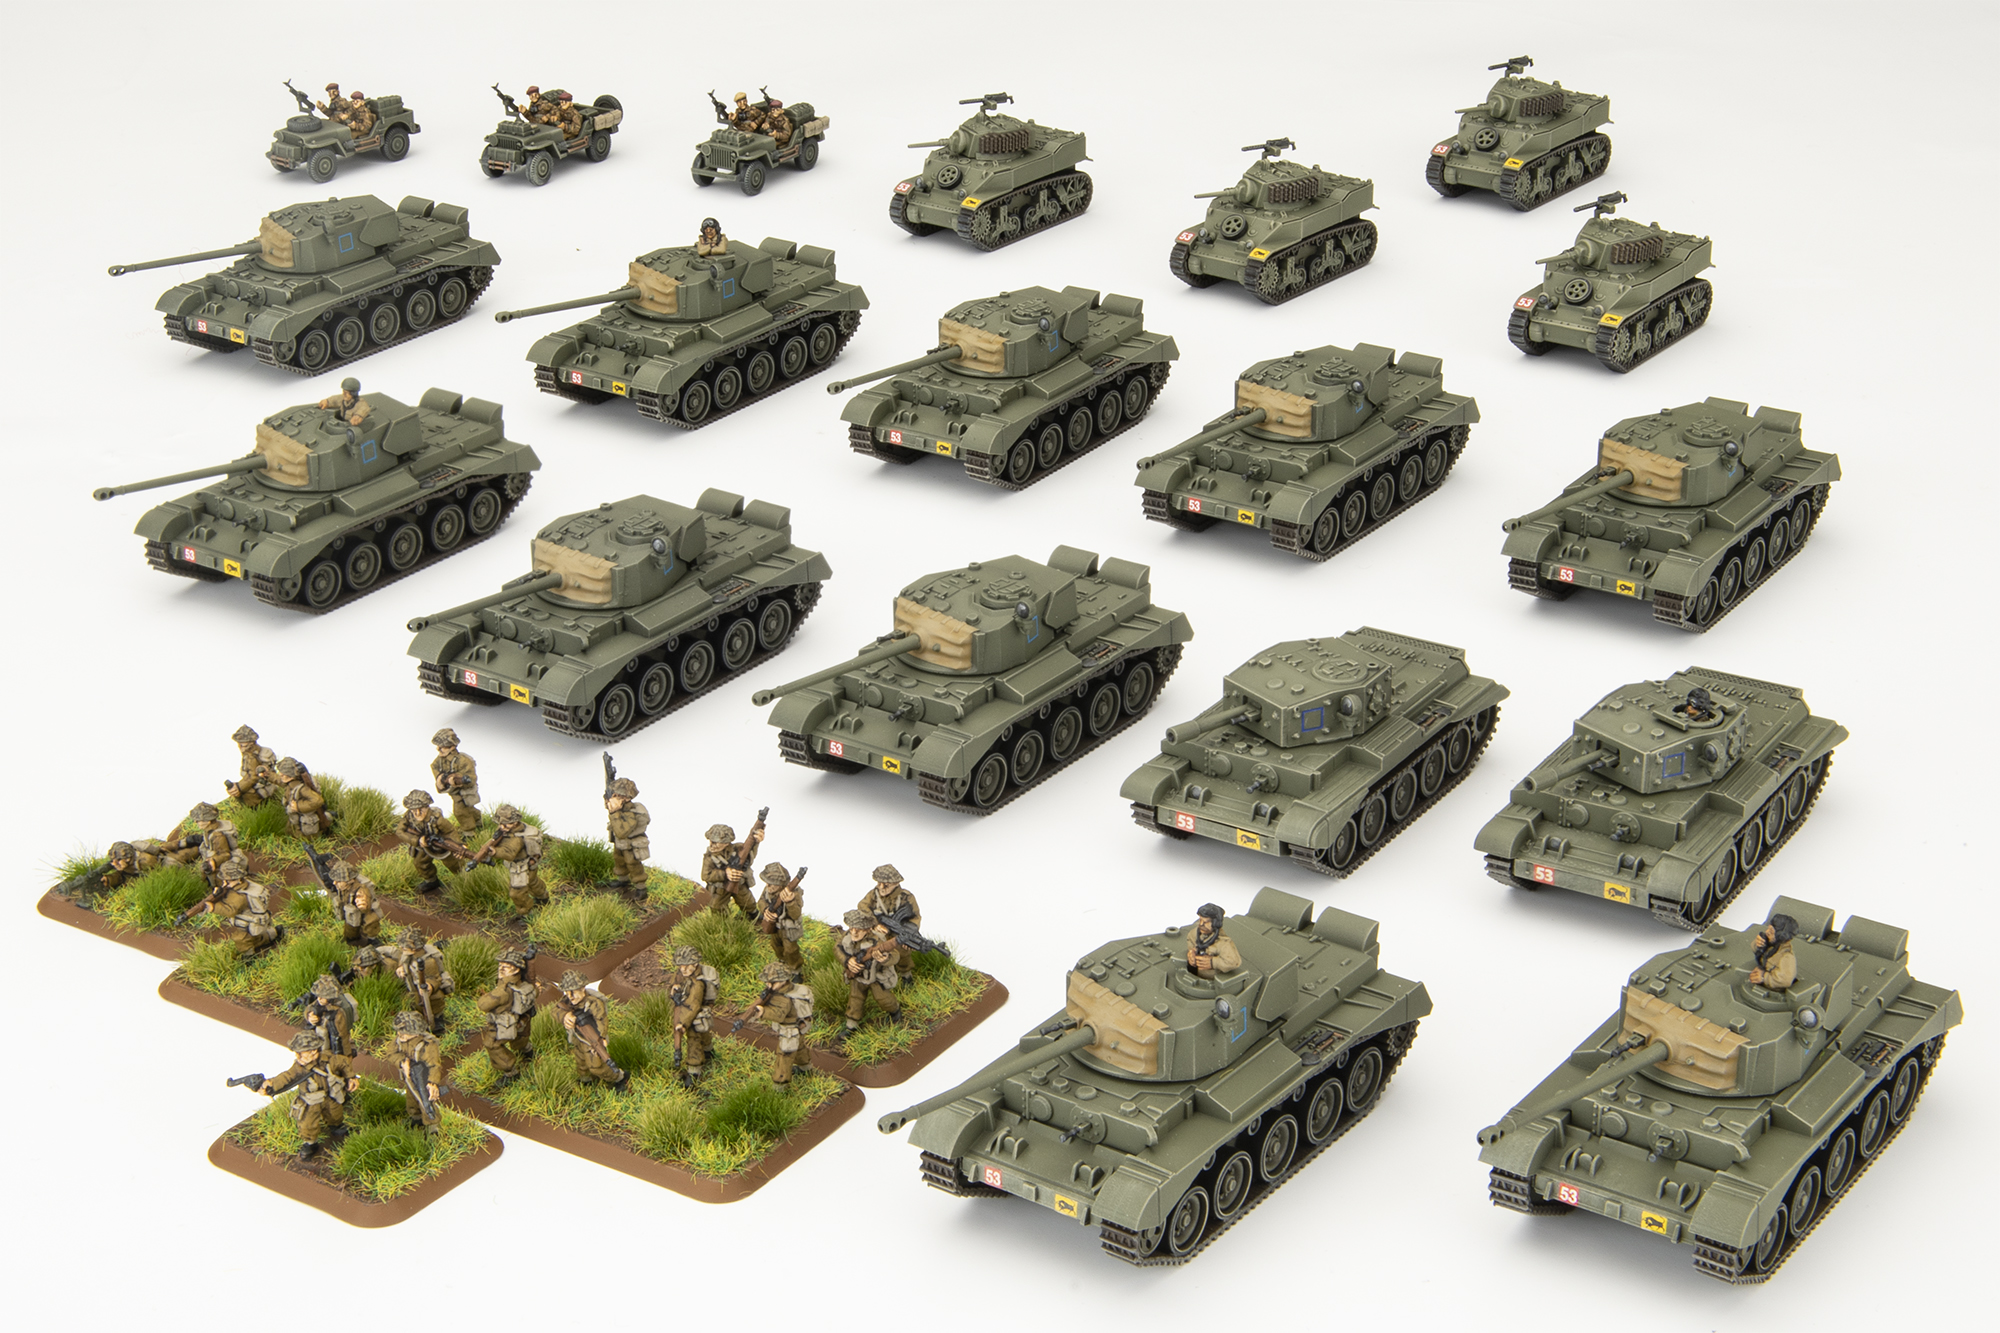
My force is pretty simple, I start with a core of my ten Comets, organised into an HQ of two, and two troops of four. Added to the HQ I have two Cromwell CS tanks armed with 95mm howitzer that can fire as artillery and provide smoke. My third Formation Unit is a Stuart Recce Patrol from the regimental headquarters. My support will consist of a Rifle Platoon from the 159th Brigade, to which the 2nd Fife & Forfar Yeomanry had been attached. These are from the 1st Battalion, The Herefordshire Regiment. My last unit is a SAS Section of three jeeps for another Spearhead option on top of the Stuarts.
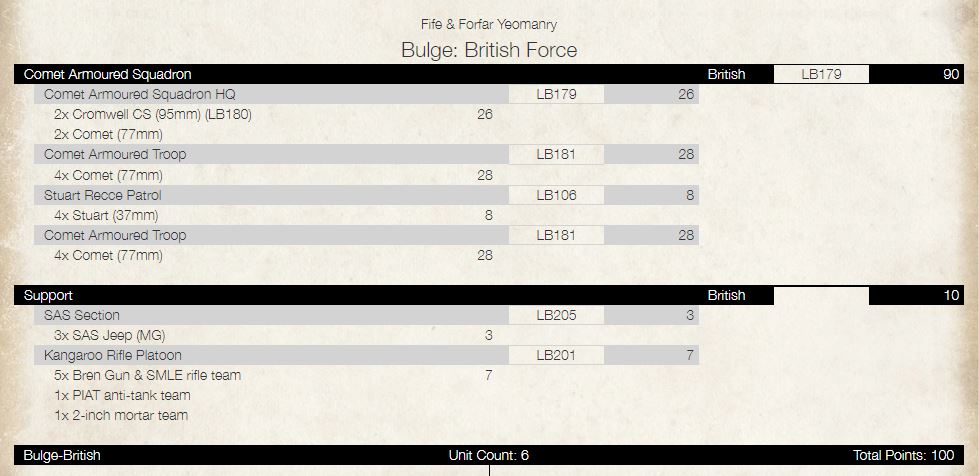
As the junior regiment of the 29th Armoured Brigade, the 2nd Fife & Forfar Yeomanry’s arm of service number is 53, and this was displayed on the left of the hull in a red box, with the 11th Armoured Division’s bull on the right. Their turret tactical markings are blue, and as I have selected B Squadron to field, these will be squares. The Stuarts, being from the HQ, will have blue diamonds.
~Wayne
—-
 When we first started the Big Four of Late War project my first choice of army was actually British as I had never done a British army before, but had always wanted to.
So when Chris started driving the Bulge: British detour bus I was all on board.
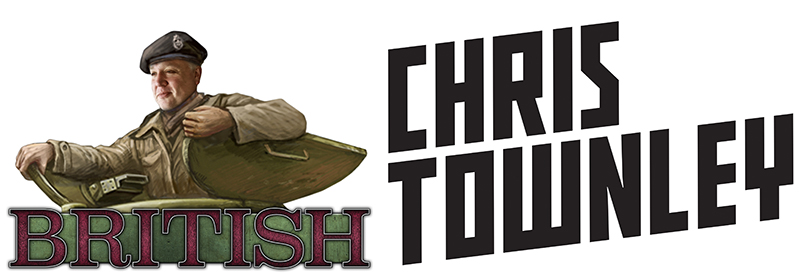
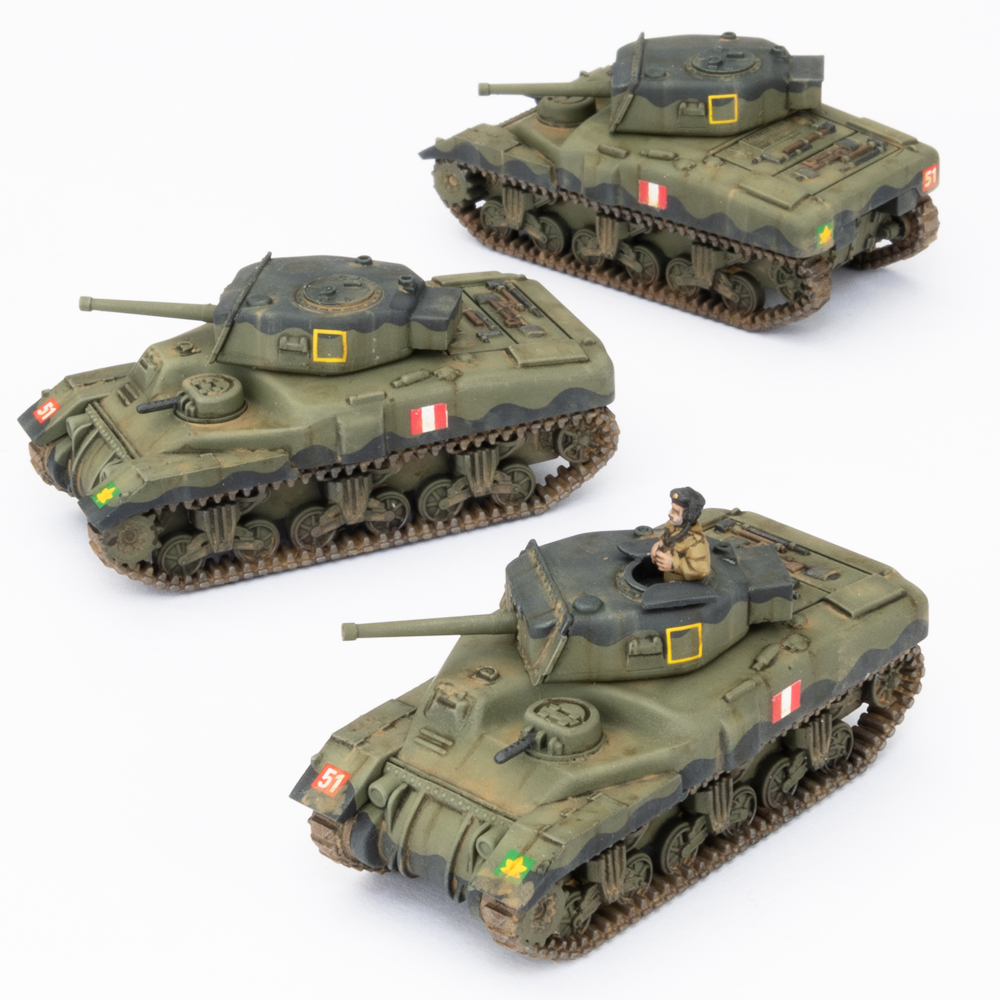
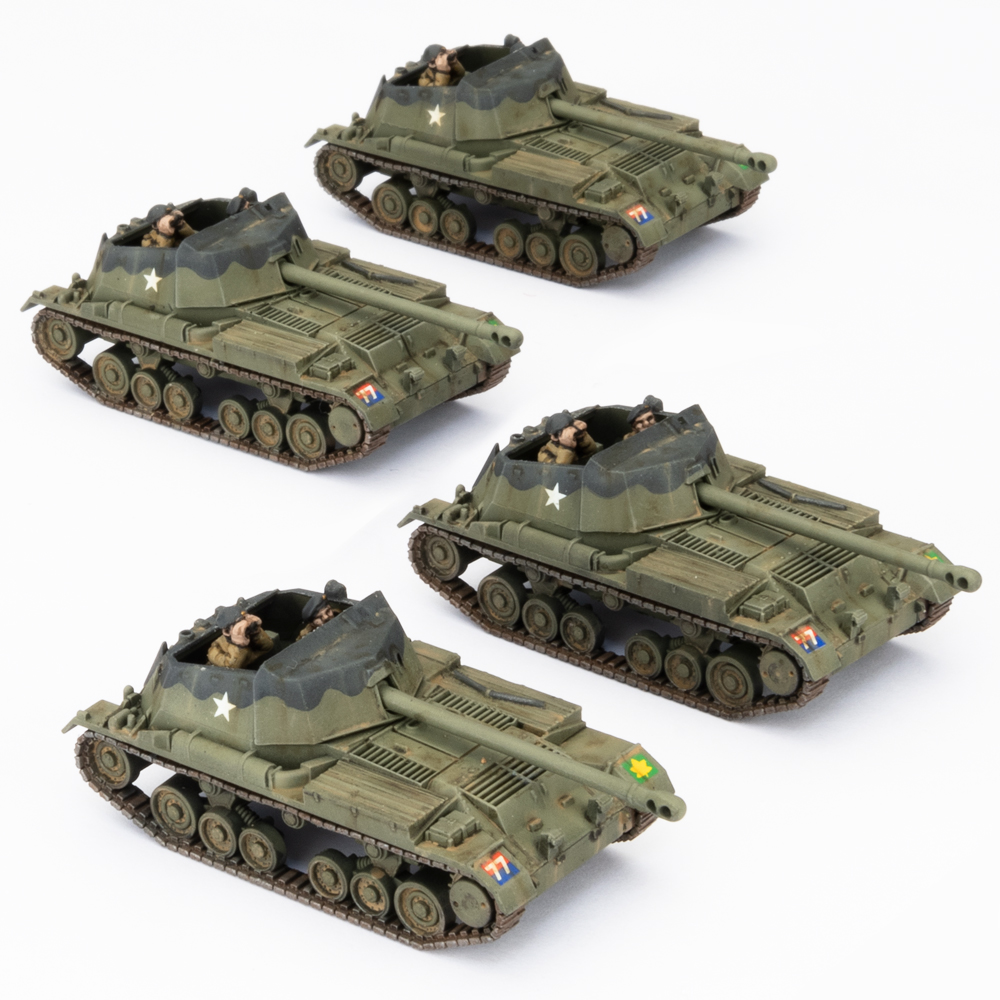
While working on the book the list that really grabbed my attention was the Ram Armoured Squadron. They are just so ugly and cool at the same time. It’s like a giant sat on a Sherman. I’m also a sucker for extra machine gun turrets, so they tick that box as well.
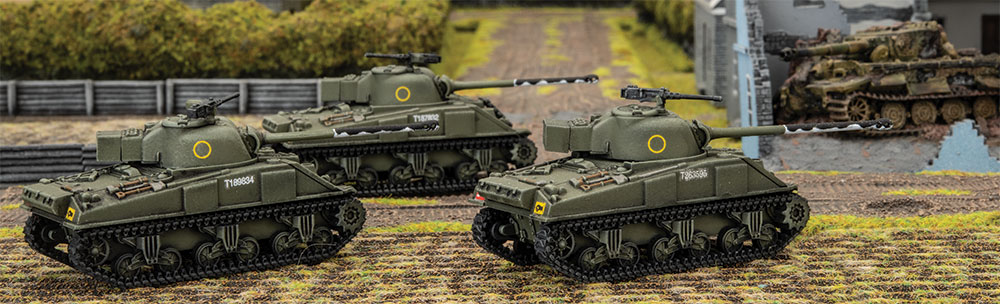
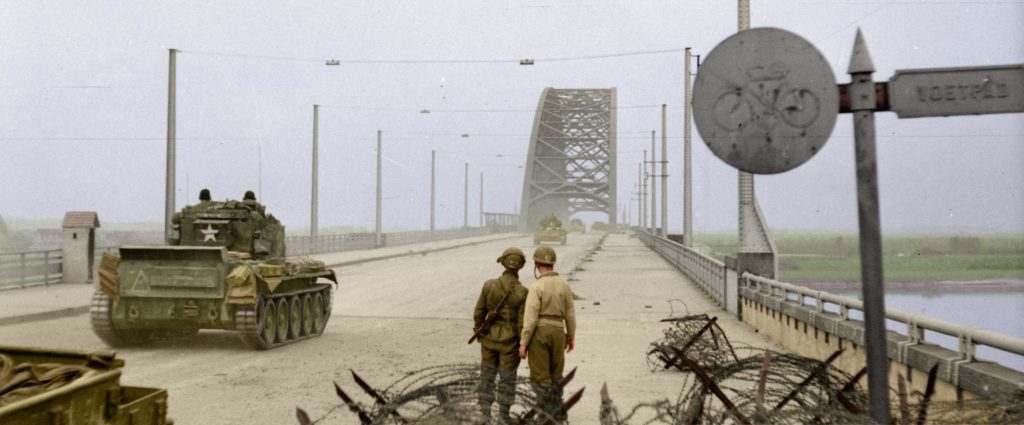
A quick Google search turned up a colourised Ram tank photo with black Mickey Mouse camouflage on the top of the turret and bottom of the hull, which was all the evidence that I needed to decide on a unique paint scheme to help make my army look different to everyone else’s.

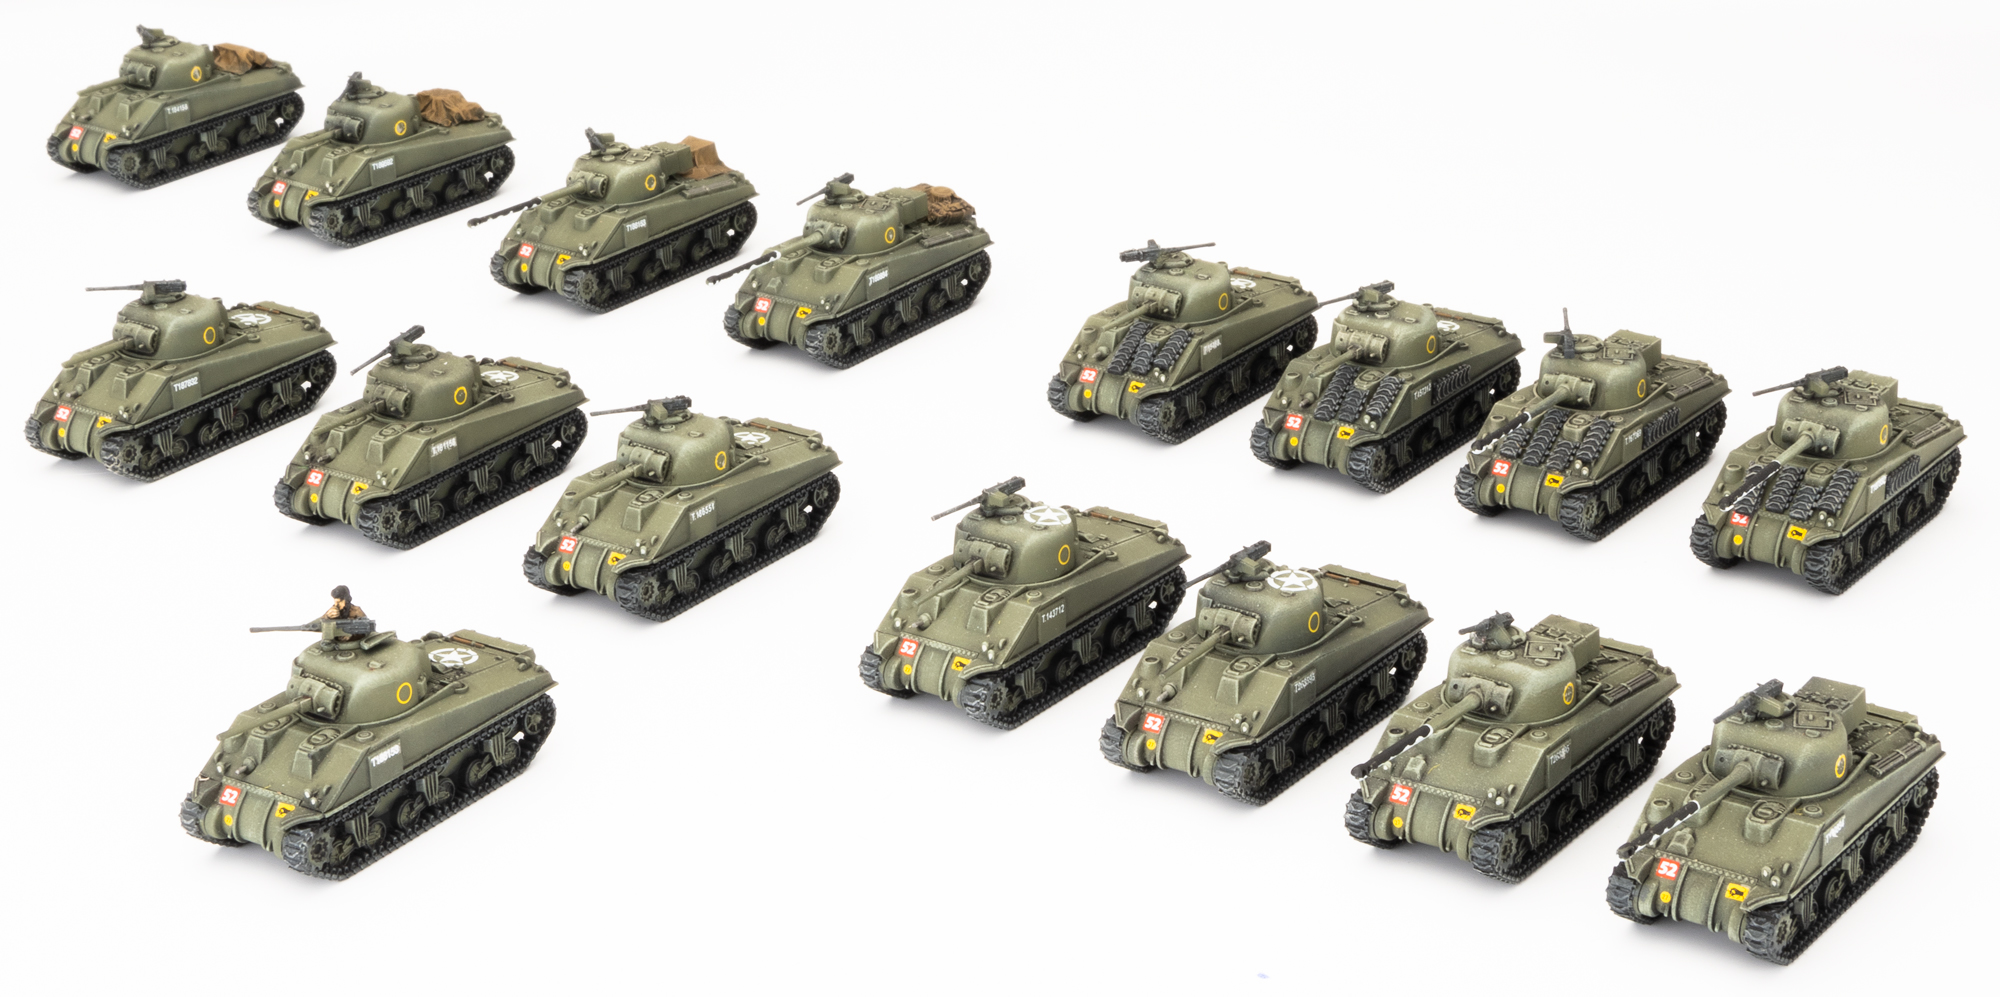
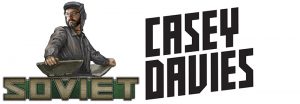
For the Force I decided to go with a three-tank HQ supported by three Ram Armoured Troops and a Firefly (late) Armoured Troop. For the sake of completeness, and to have some flexibility in the force, I’m also going to paint up an extra Ram Armoured Troop, for a total of fifteen Ram tanks.
Game-wise I think the Ram tanks are an interesting choice over Shermans as they are very similar, with the 6 pounder trading a point of firepower for increased anti-tank over the Sherman. They will penetrate slightly more often, but won’t have quite as many effective shots.
Since it’s a Canadian list, like Chris I’m really leaning into the theme by taking the Crusader AA Troop, but modelling them as Staghound AA vehicles since the divisional support comes in the form of Staghounds from the 12th Manitoba Dragoons. The final unit in the force is an Archer Anti-tank Troop since they were used by the Third Canadian Division.
I’m already planning to expand this army by Adding some Stuarts, M10’s and a Kangaroo Rifle platoon later to give me even more options.
~Casey
—-
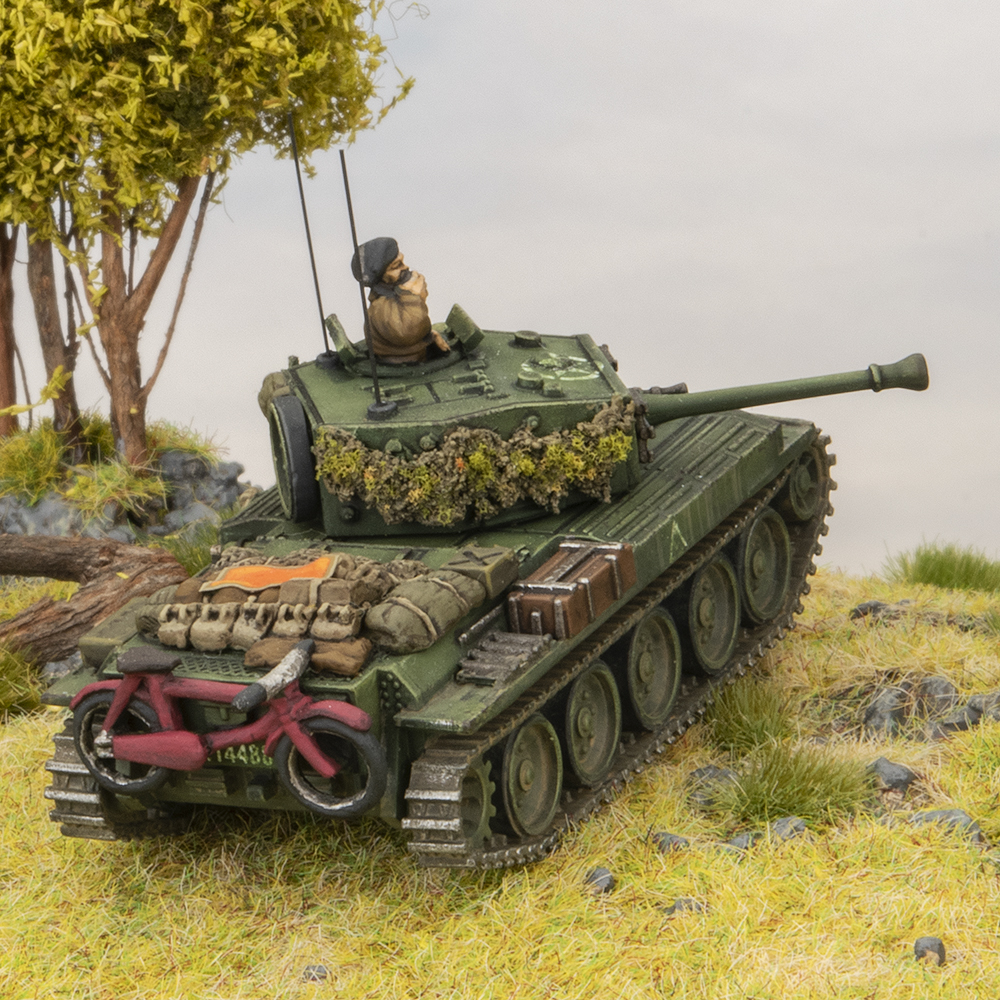
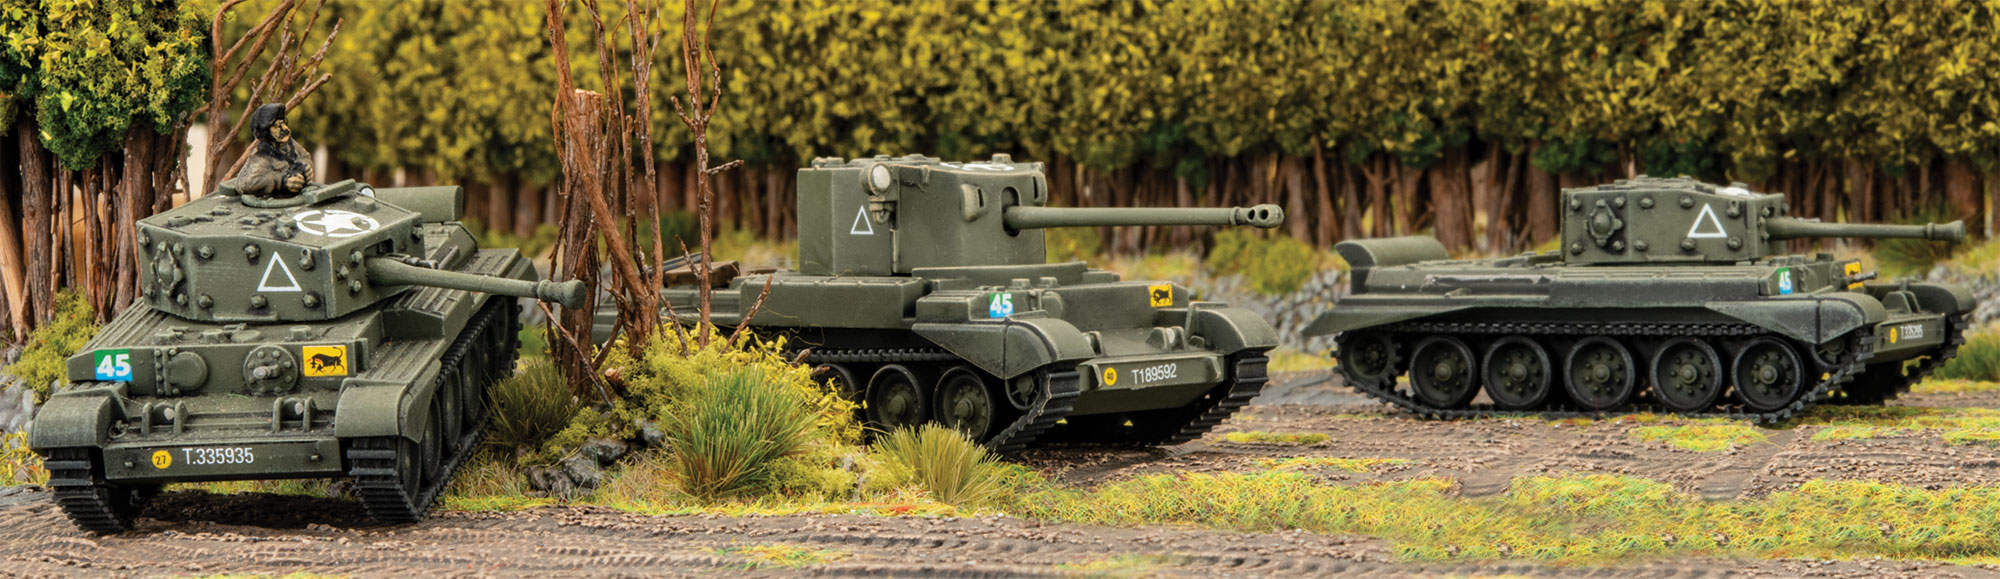
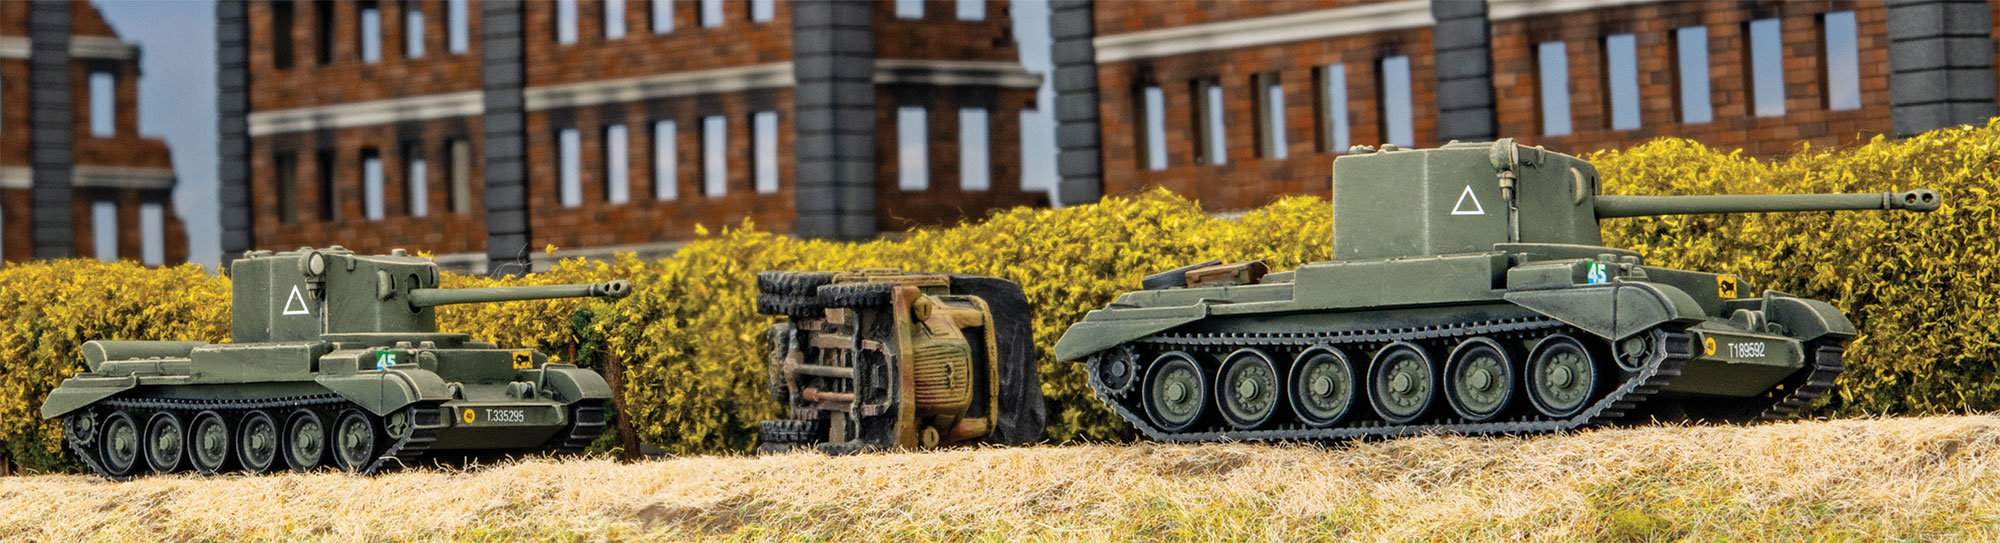
 The year was 2009. I had just started working at Battlefront, and Casey had recently sent “Hell’s Highway” to print. When we got the first copies back, I was immediately drawn to the Cromwell and Challenger tanks. These became my first Flames Of War army, the Welsh Guards in operation Market Garden.
Unfortunately I have since sold this army, without having any pictures of it. 13+ years later I’m looking to rebuild this force, but now in glorious plastic!
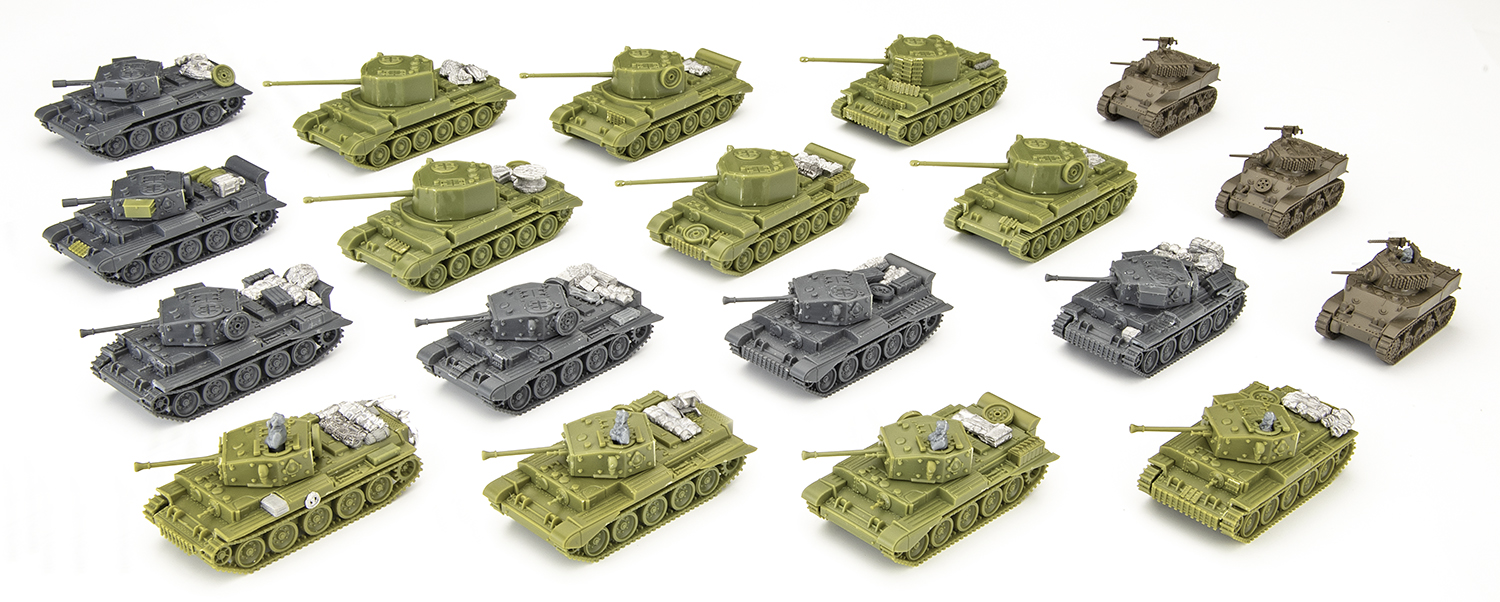
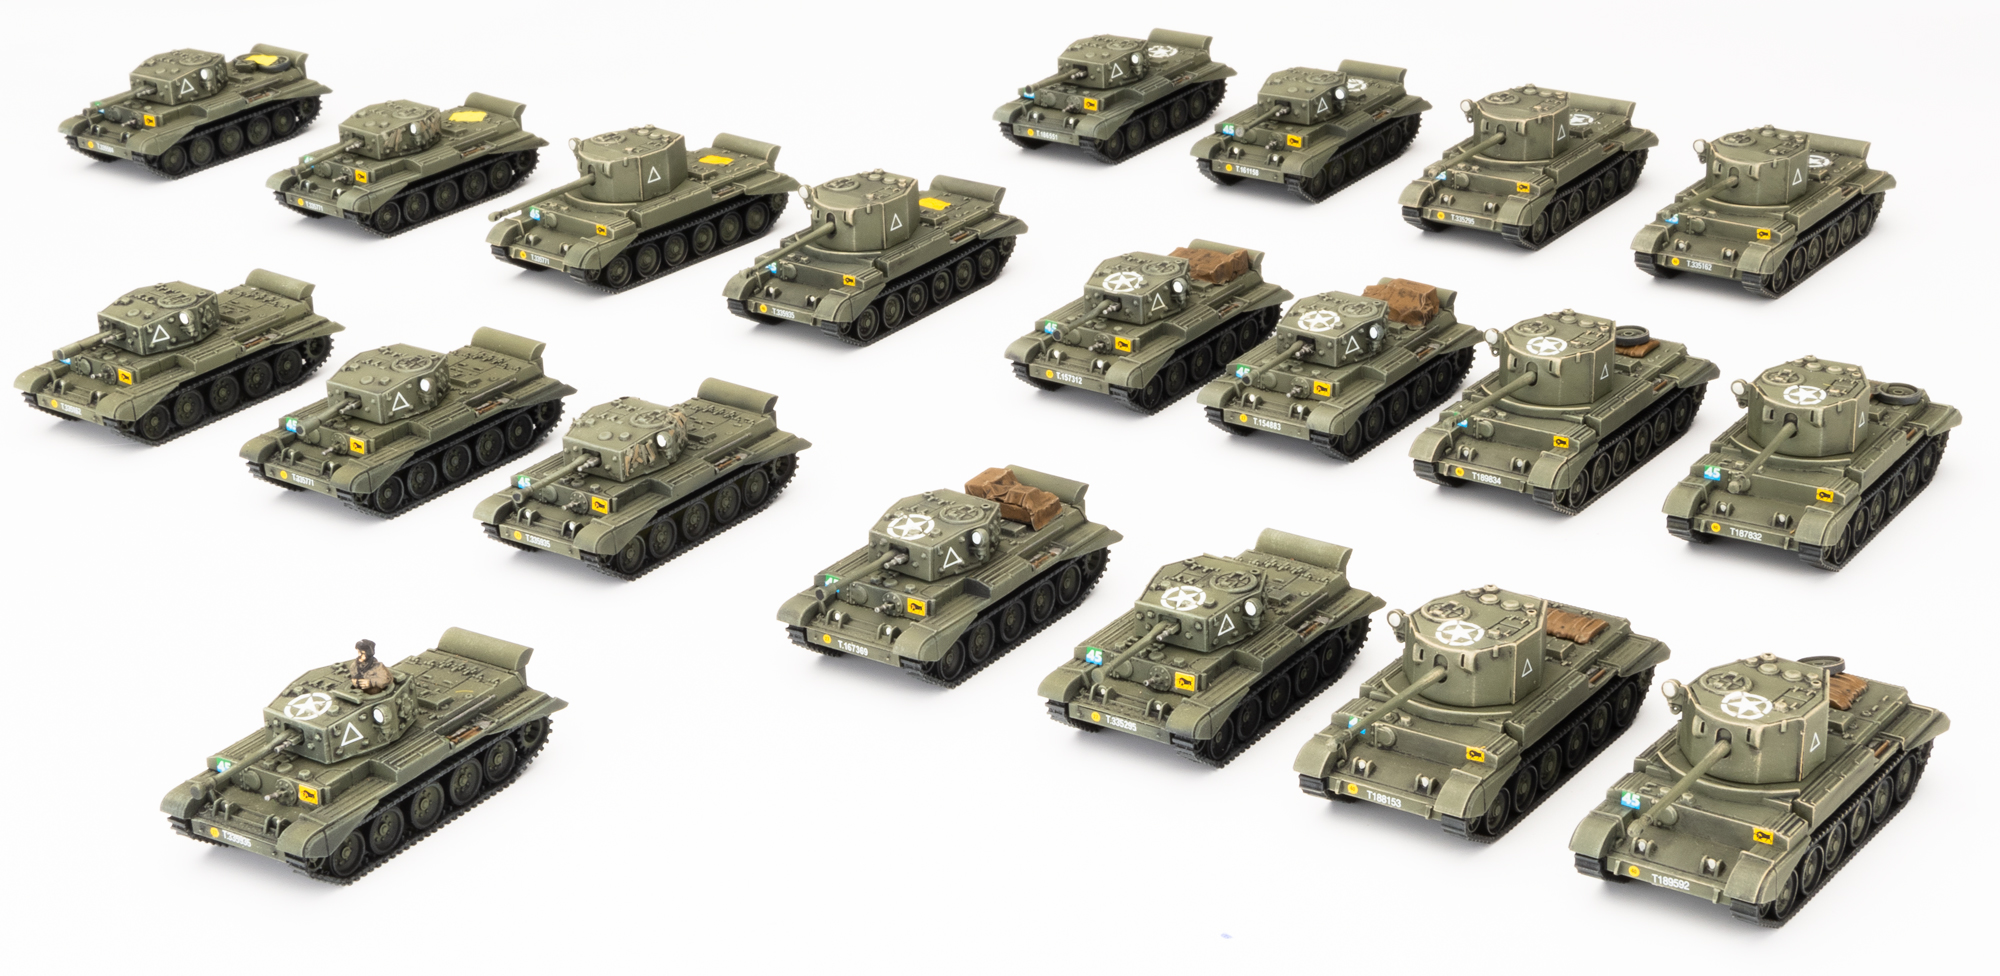
The resin and metal army made use of the individually sculpted Cromwells, with a bit of character and fun details on each tank. This time I’ve gone to town adding my own, with a mix of old metal bits, paper, bandage gauze, and sculpting putty. I’m not very experienced or confident with sculpting, but found organic shapes like bags and tarps fairly easy. Hopefully they look convincing when painted!
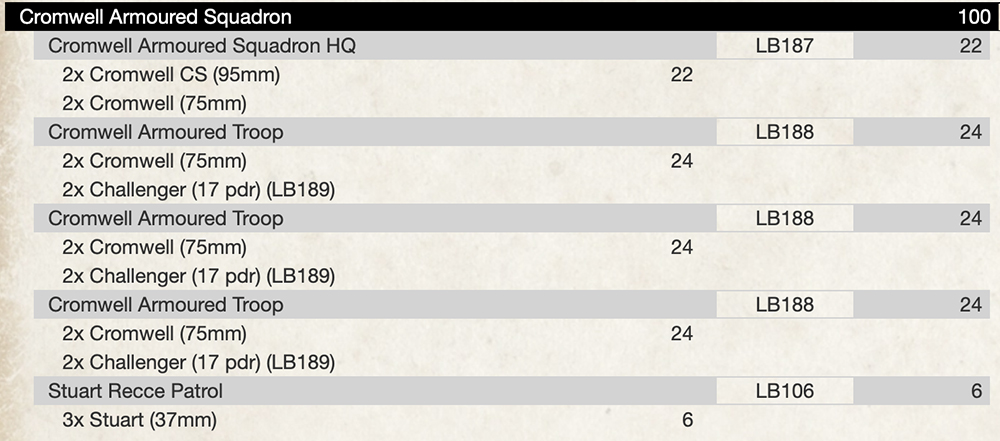
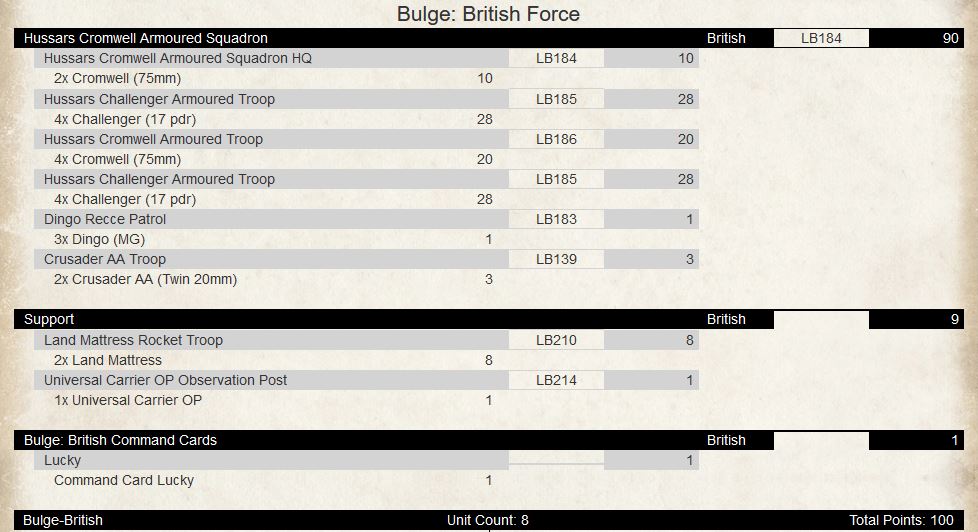
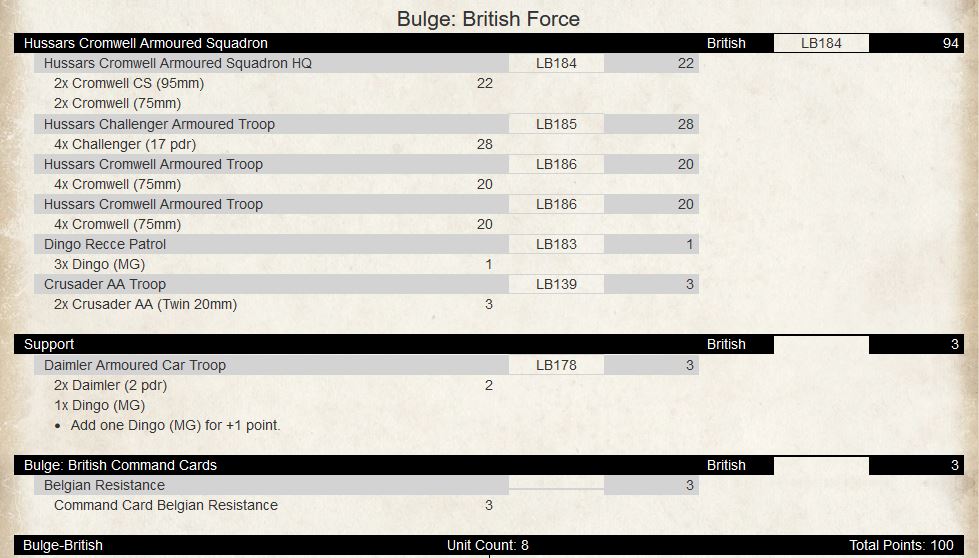
My list almost wrote itself. I’ve been burnt in the past by not painting enough of a formation, and having to go back a year later to add 3-4 more tanks, so this time I made sure to include all the Cromwells and Challengers I’ll ever need (ok maybe a 4th troop one day…). So it was only those last 6 points I had to decide on, and the Stuarts made sense both for theme and valuable Spearhead. My 2009 army had more Cromwells, and less Challengers, but who can resist that AT 15 …
Later on I’ll have list options to include my American Paratrooper platoon which is thematic as the Welsh Guards responded to a German counterattack against Waal River bridge held by Paratroopers from the 82nd Airborne Division.
I’m eager to get started on these, but painting all the stowage is a little daunting. Nothing a little Christmas relaxation time can’t handle!
– Victor
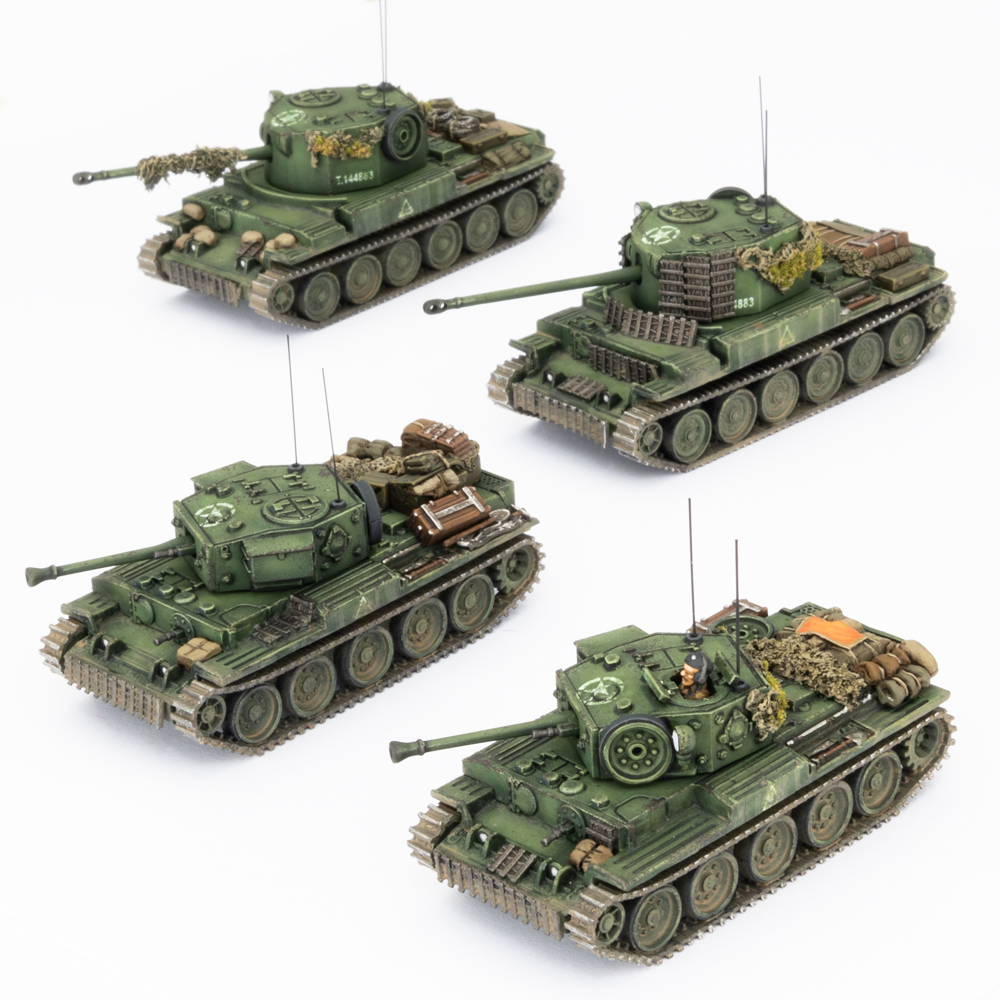
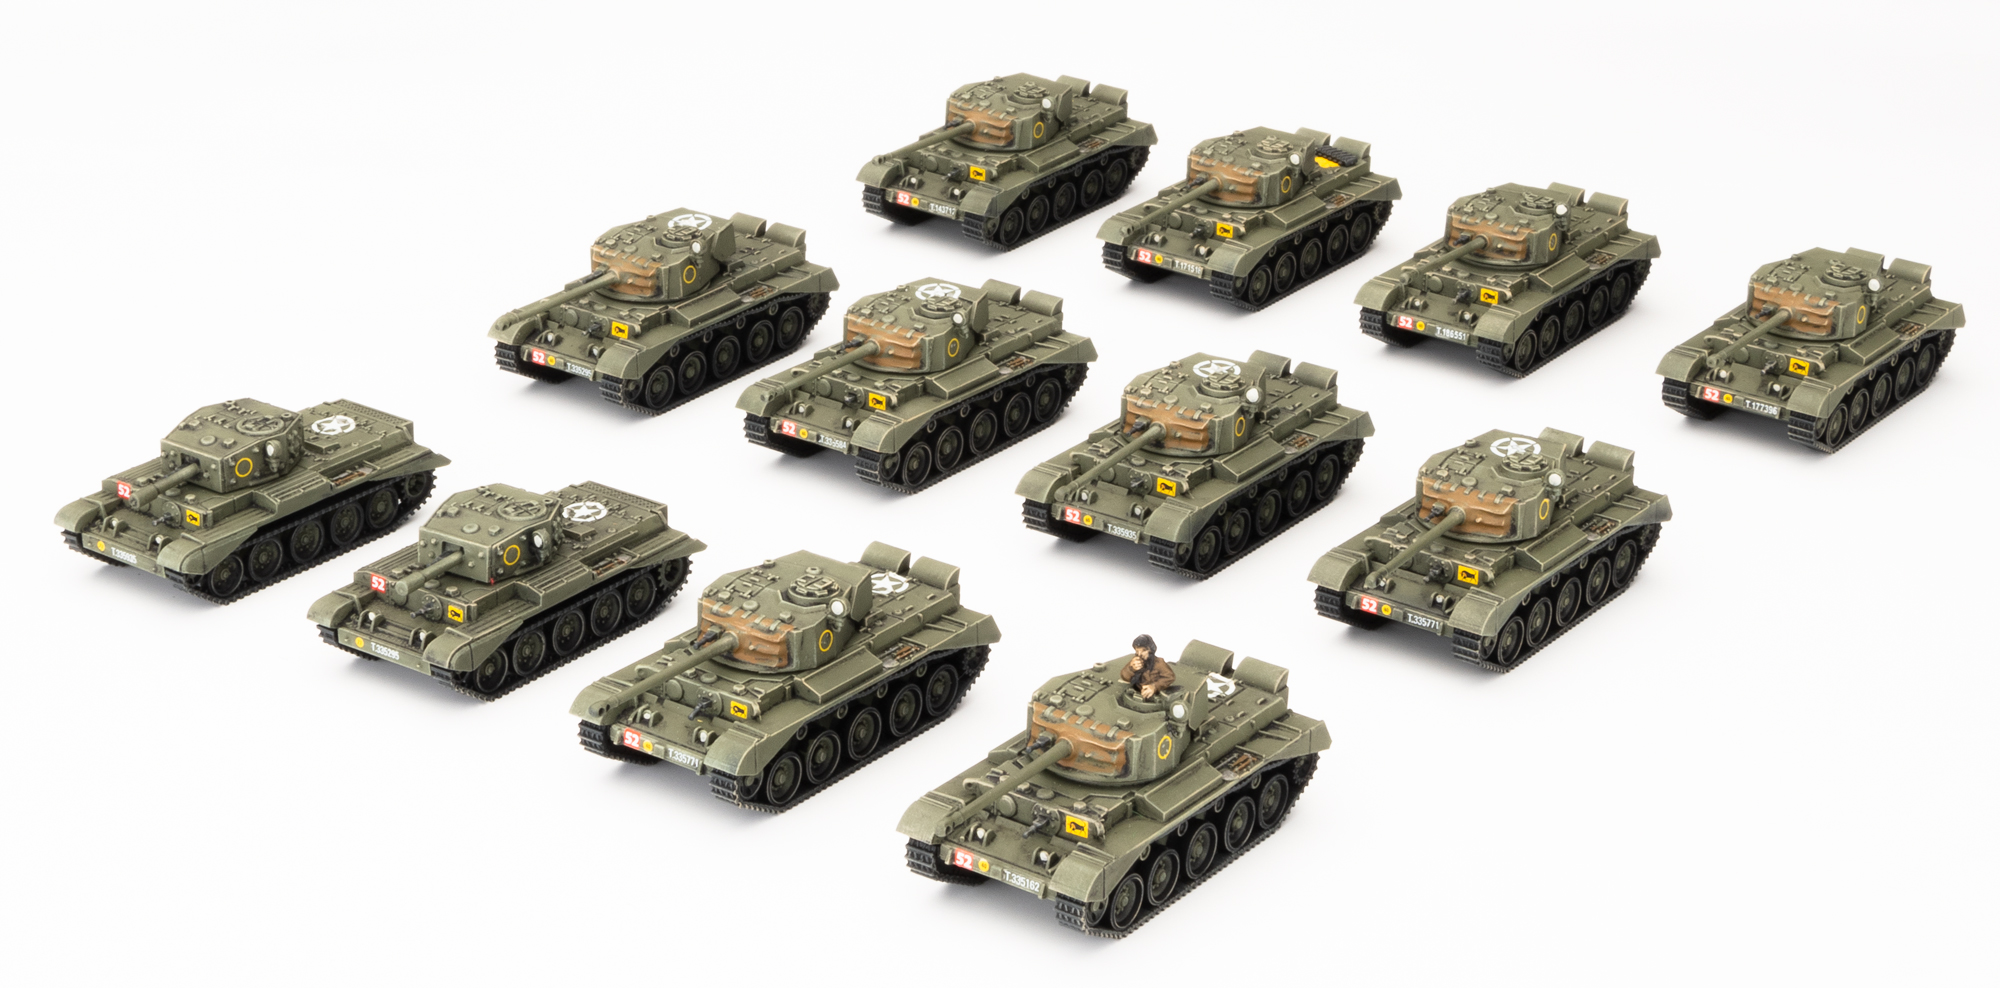
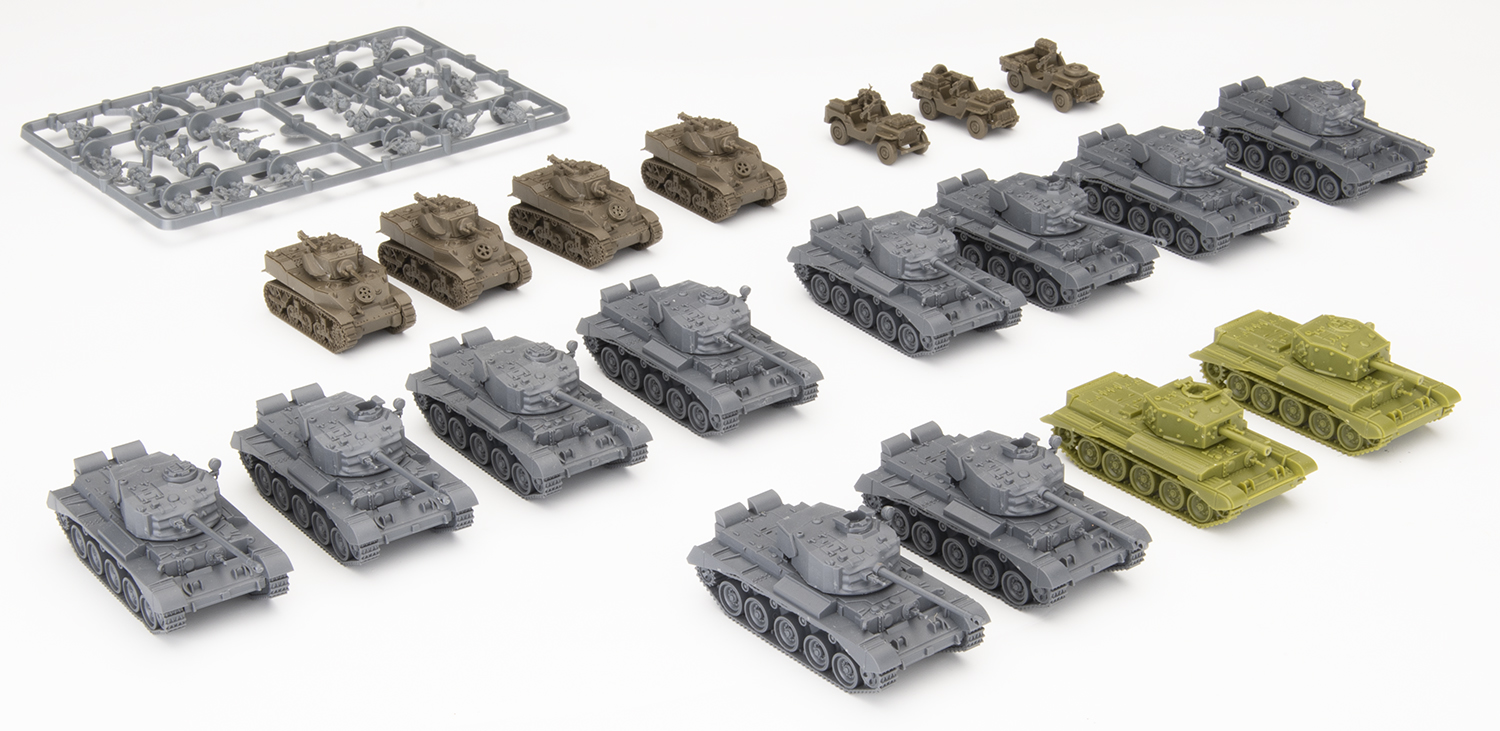
 I’ve finally painted those ten assembled Comets that had been sitting around in a box since Nachtjager came out in 2015. Now I wished I’d assembled a few more, another four would have been good.
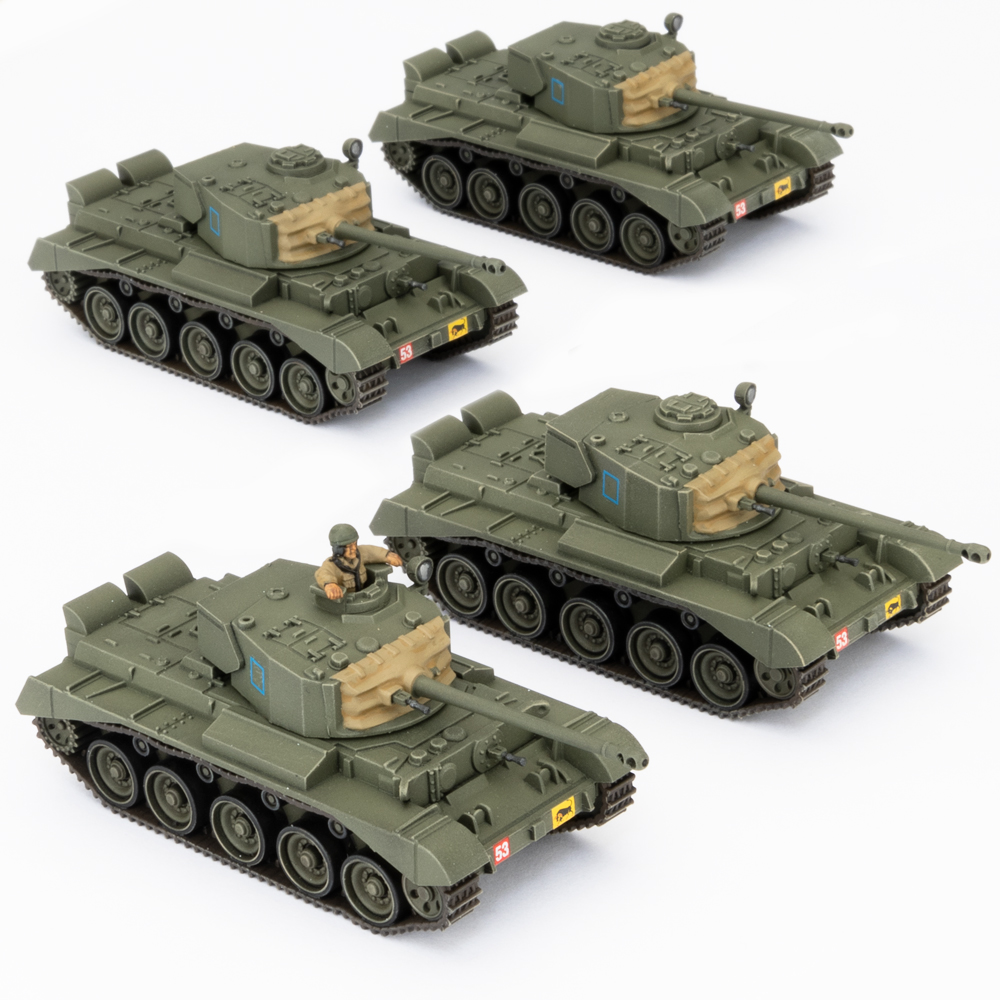

 ~Wayne