 I’ll start out by saying that this is not the fastest method to paint Whitewash, but to me the outcome is worth the time and effort.
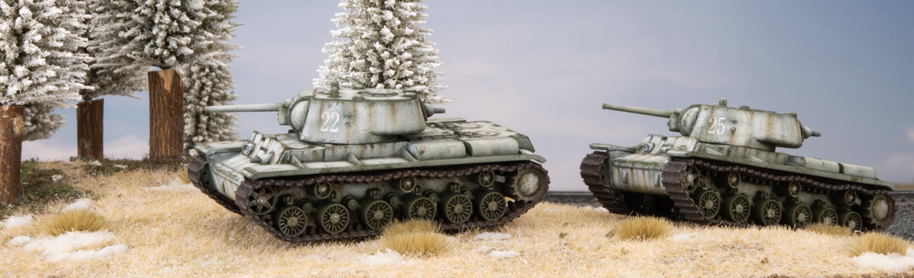
At the start of this project I thought it would be a good chance to challenge everything I’ve ever assumed about painting Soviets, starting with the base colour.
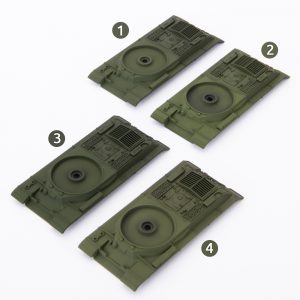 As an experiment took some spare IS-2 hull tops and painted them in some different Tamiya greens to give me a set of colour swatches:
1. XF13 JA Green
2. XF67 NATO Green
3. XF58 Olive Green
4. 50% XF13 JA Green, 50% XF88 Dark Yellow.
Click on the image to the right for a bigger version…
I then gave these a wash of GW Athonian Camoshade, which is basically a dark green wash. The main reason for using this rather than a black wash is that a black wash desaturated the colour a bit to much.
My favorite colour here was number 4, the 50% XF13 JA Green, 50% XF88 Dark Yellow. If I was going to be painting my tanks Green I’d use this colour, but since the tanks are going to be whitewashed the NATO Green is close enough and it means I didn’t have to add in an extra step to mix up a batch of base paint.
With the base green chosen its time to move onto the whitewash. I’ve had limited success with painting whitewash in the past, so these early steps are simple building on that experience. There are a lot of steps here, and while some of them could probably be left out, I feel that since the paints are semi-opaque it all adds to the overall effect and helps achieve a good depth of colour.
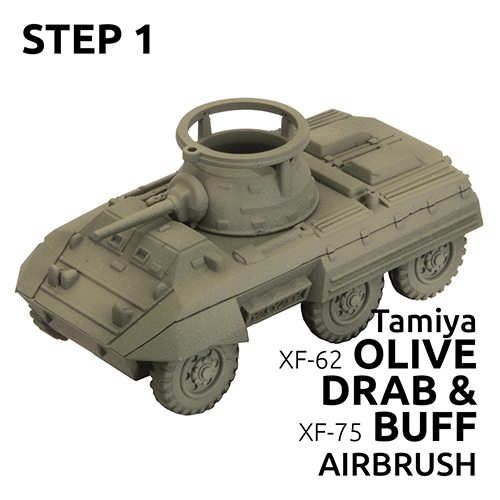
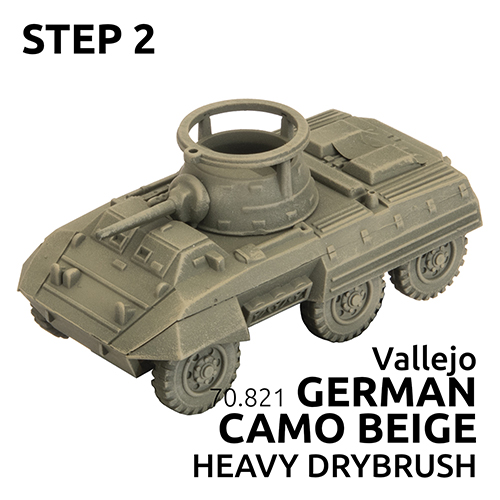
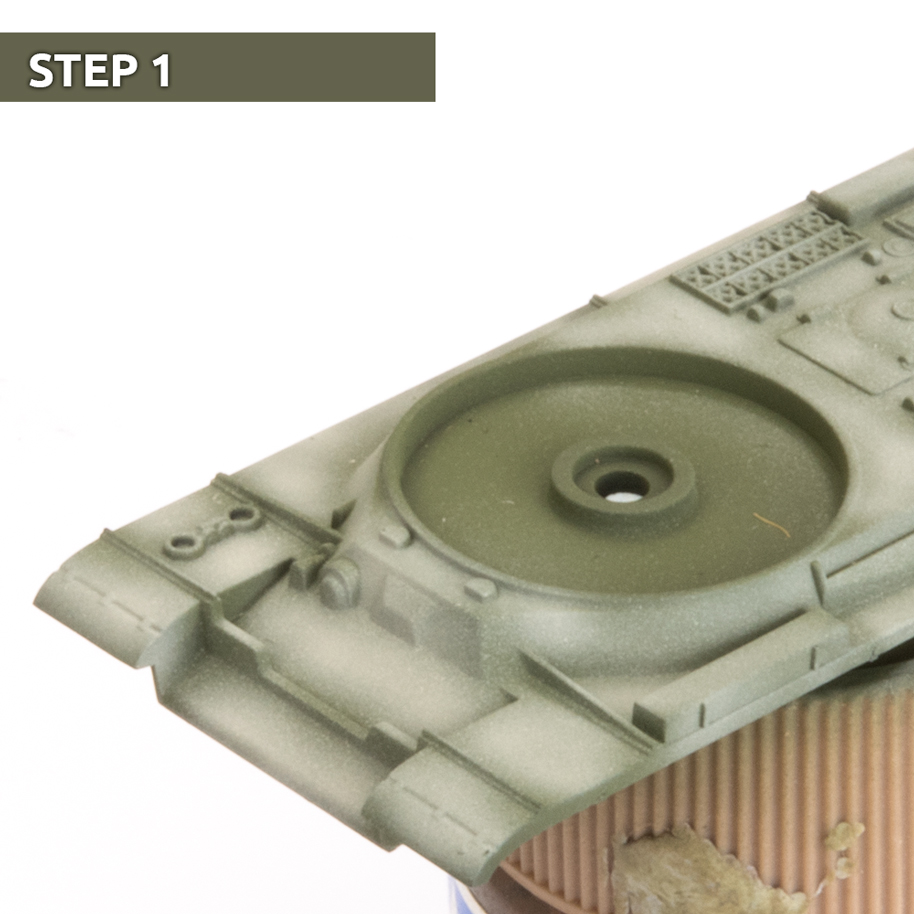
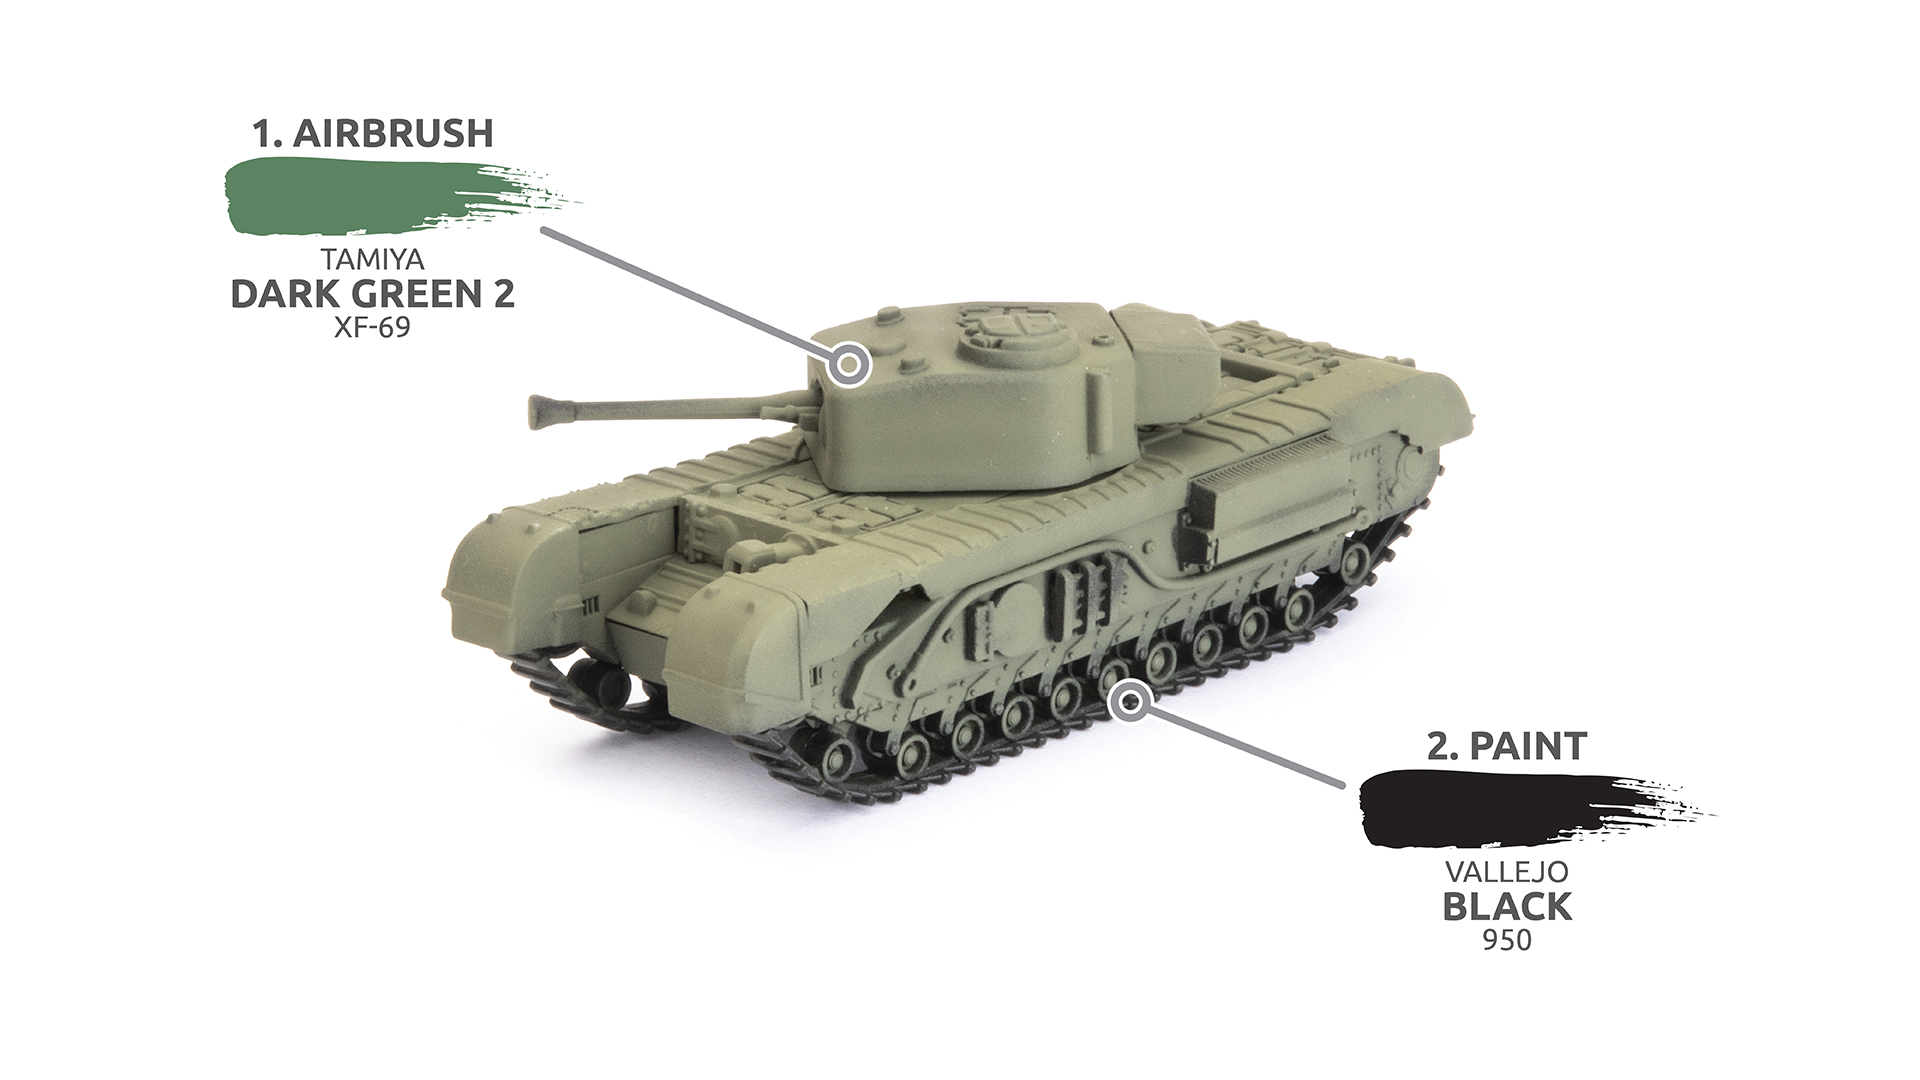
Step 1. Basecoat with Tamiya NATO Green, then, using an airbrush, panel fade with Deck Tan. This is basically dirty off-white that makes a good undercoat for white.
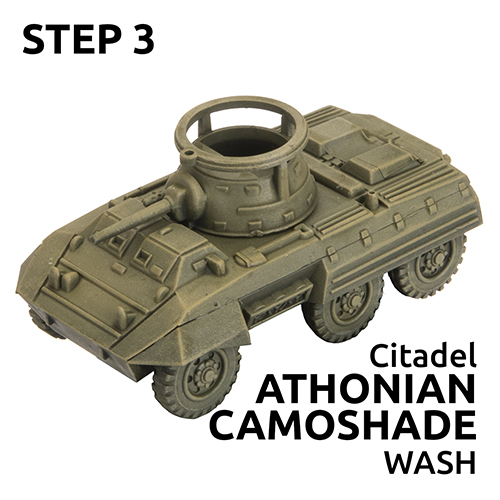
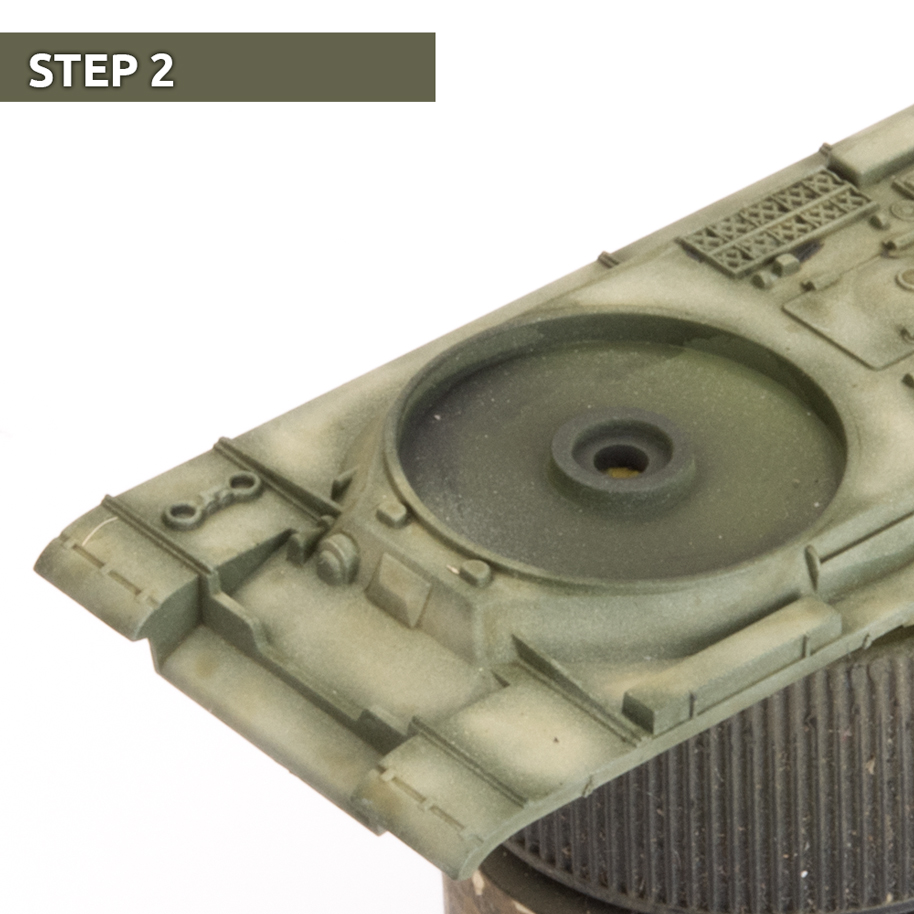
Step 2. Wash with Athonian Camoshade. This adds some of the rich green back onto the tank and adds contrast into the panel lines.
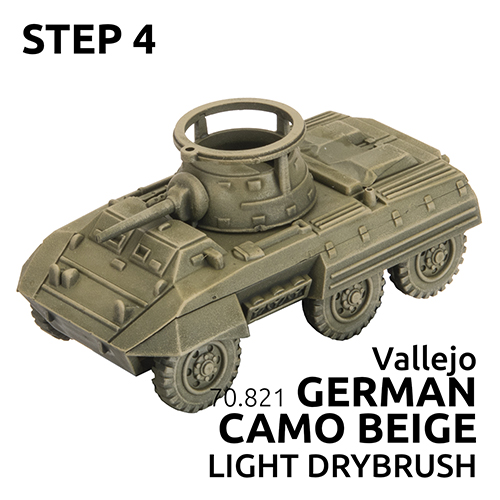
Step 3. Panel fade again with Deck Tan, but not quite as much as the first layer.
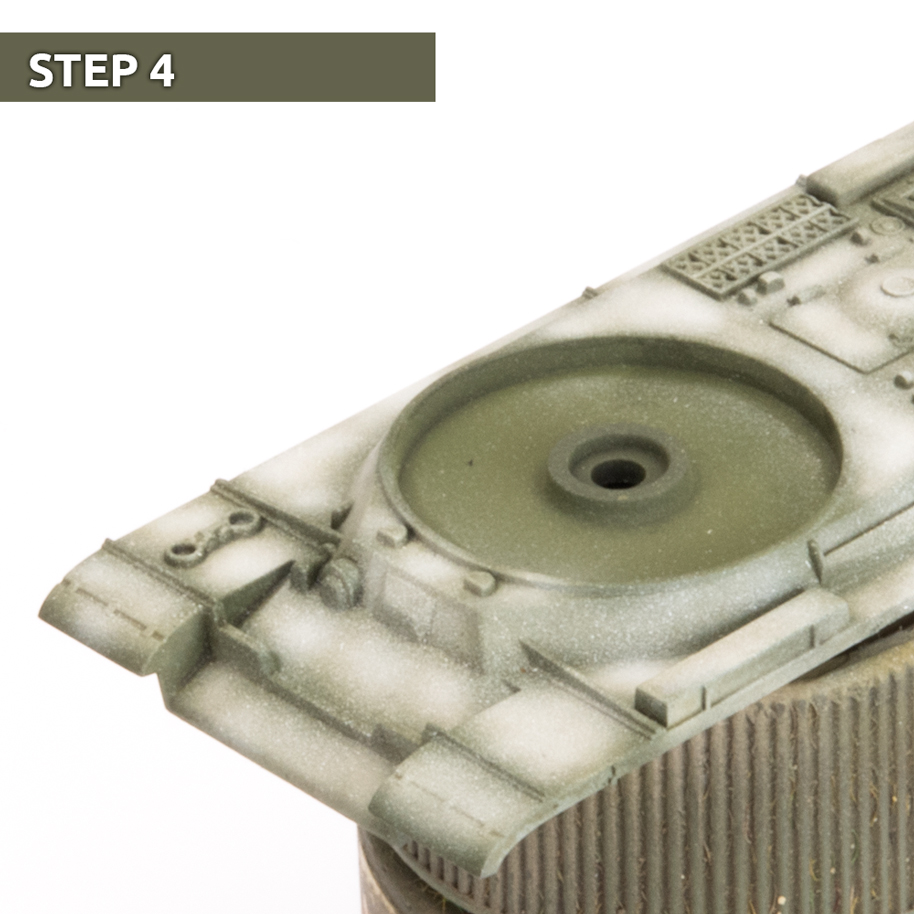
Step 4. Panel fade with White. I made this layer of paint quite patchy to let the previous layers of paint show through.
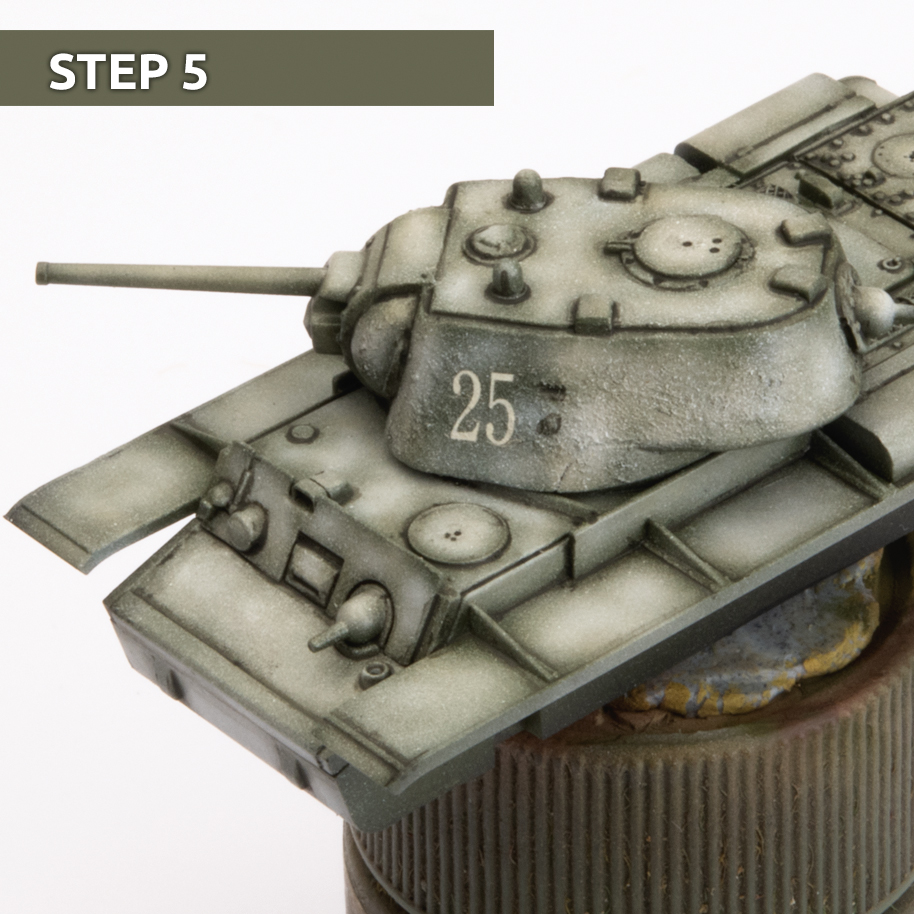
Step 5. I give the tank a coat of X35 Tamiya Semi-gloss clear to prep the tank for pin washing. A lot of people use a gloss varnish instead, but I like the Tamiya Semi-gloss clear as its basically a clear paint that gives the pinwash and streaking effects something to key into, while still protecting the paint beneath.
I then panel faded and did some streaking with a dark green oil wash.
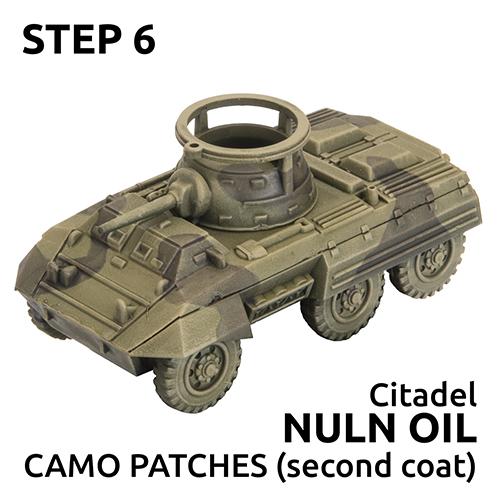
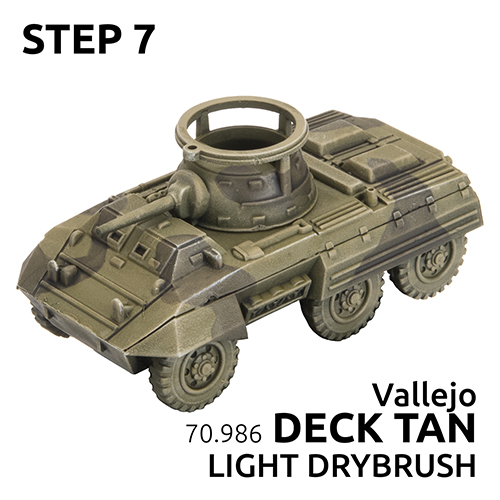
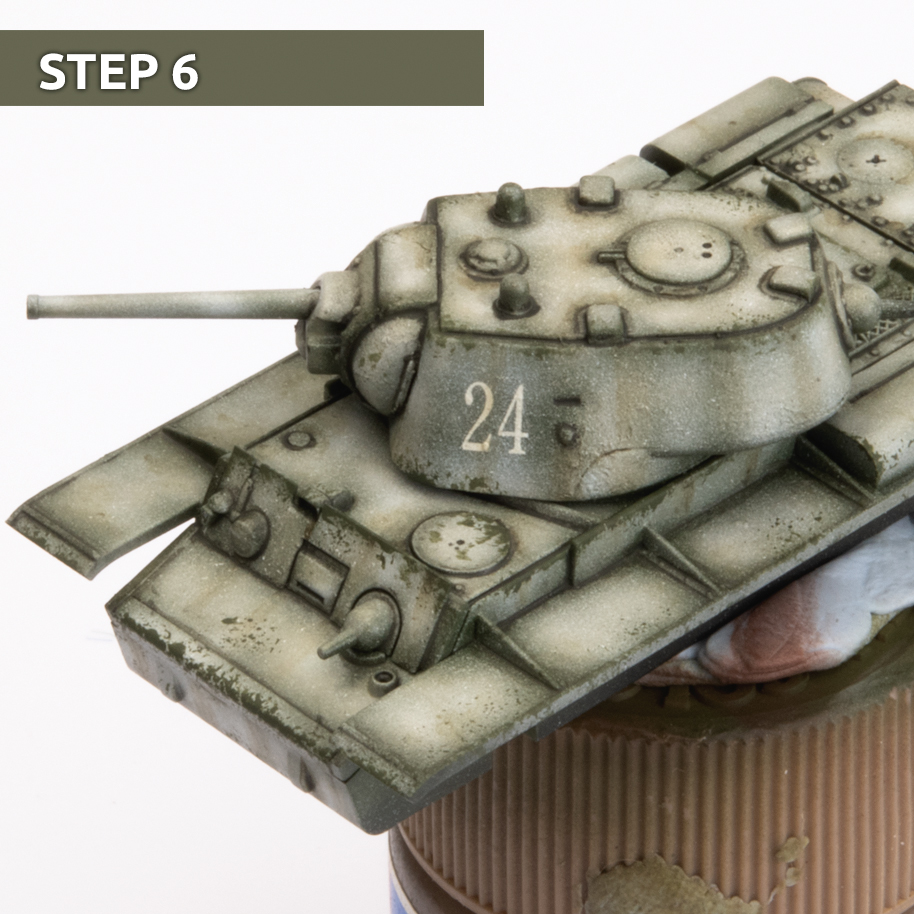
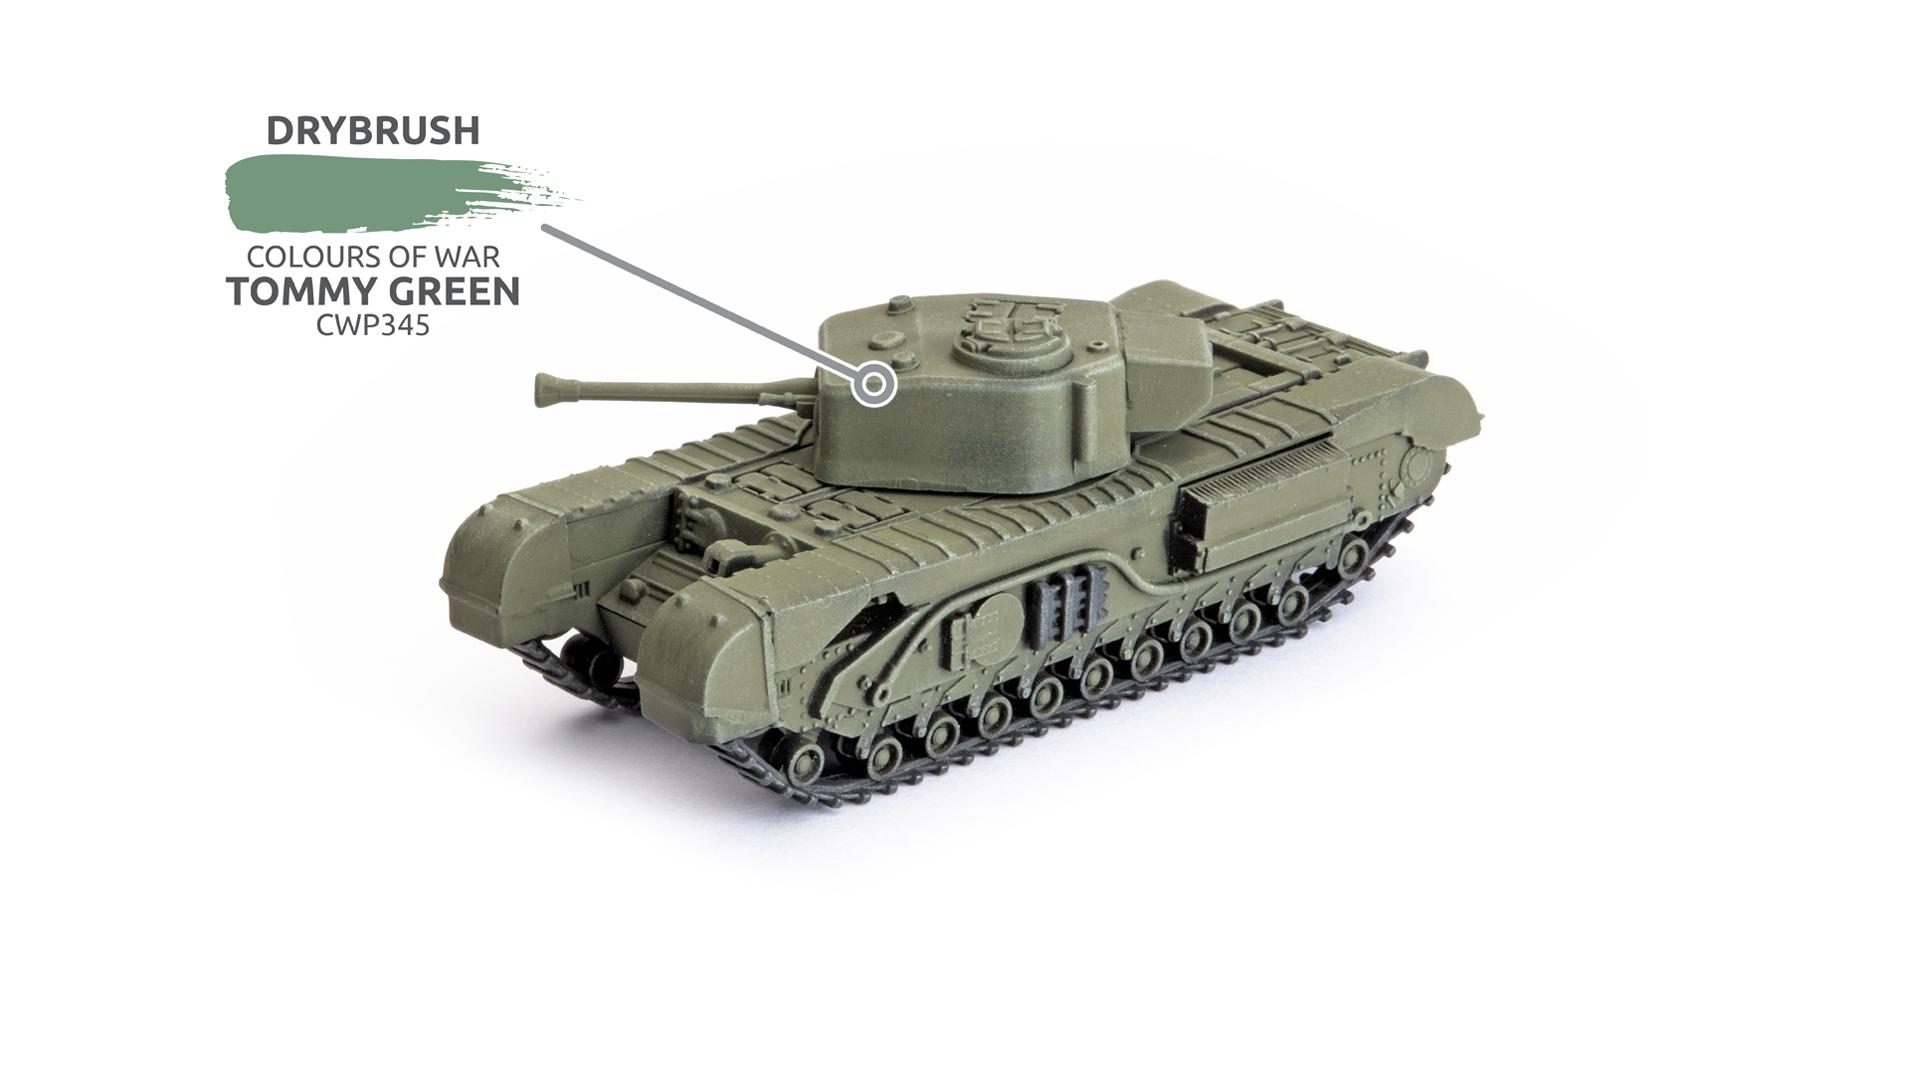
Step 6. I do a bit of sponge chipping with Vallejo Camo Olive Green.
Step 7a. The next thing to work on is some streaking. The first layer of streaking is to represent general dirt. I start by applying single dots of Dark Streaking Grime.
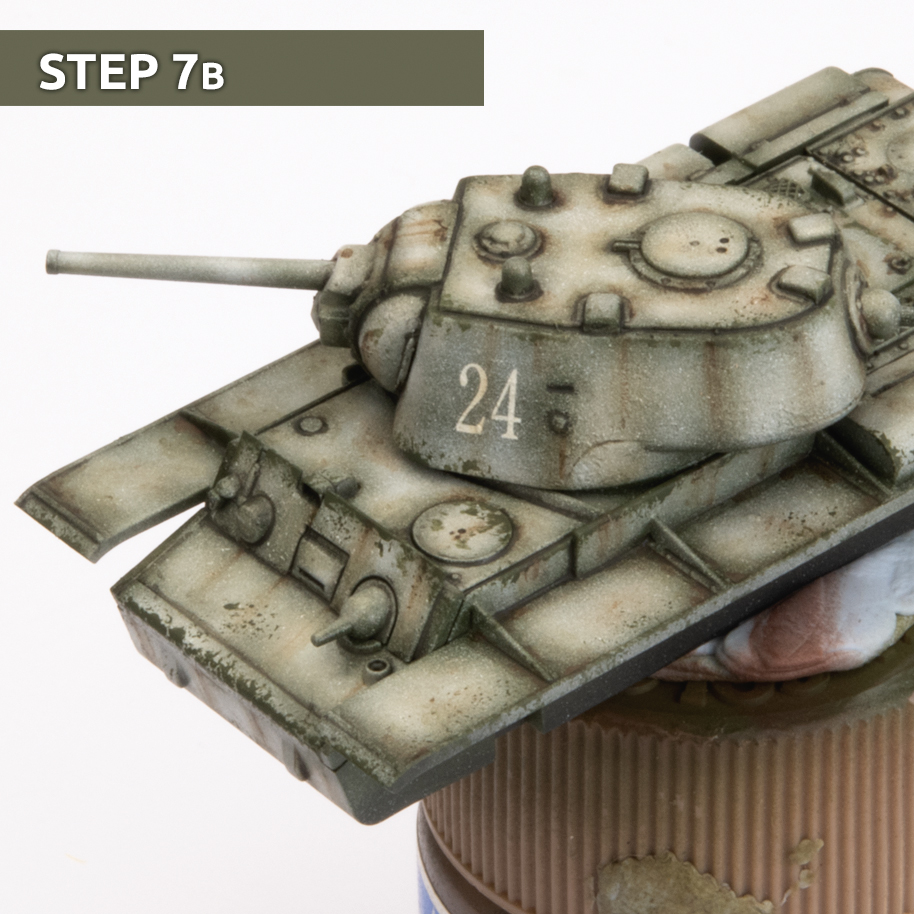
Step 7b. I let the Streaking Grime dry for a few minutes then work it with a brush and white spirits to feather it a bit.
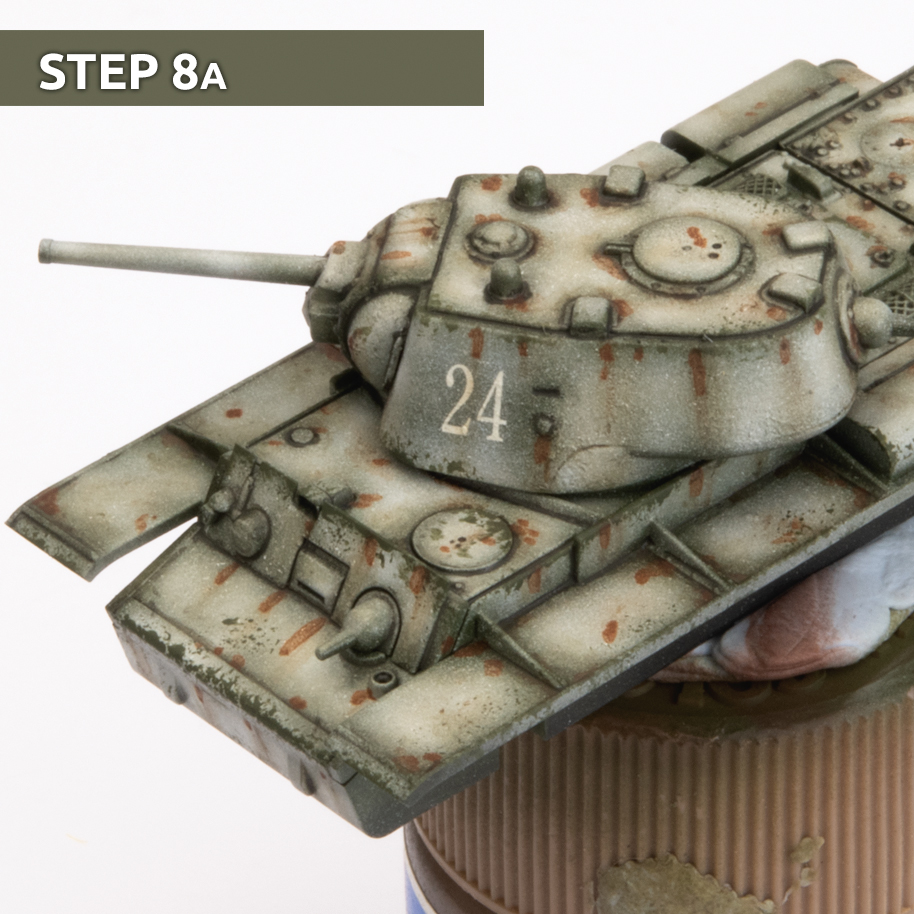
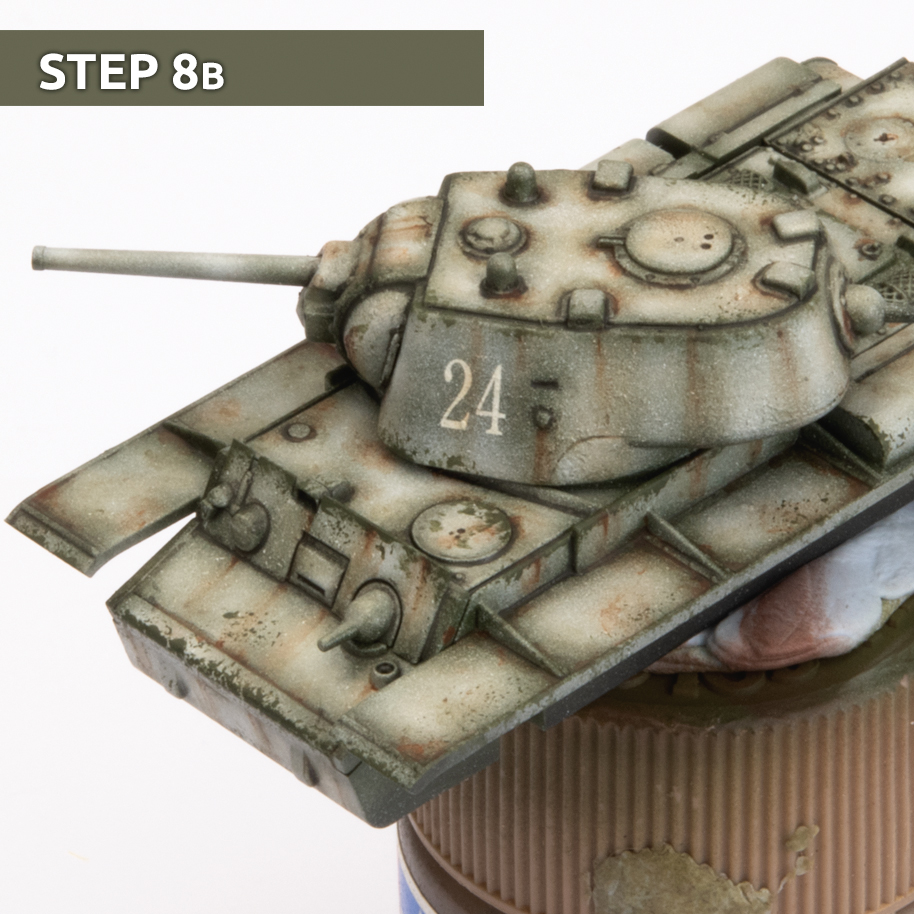
Step 8a & 8b. I repeat step 7a and 7b with a rusty colour. This step is to simulate a brighter rust streak effect. With all of the streaking effects don’t be afraid to add it to some of the flat surfaces where water would pool and corrode the metal.
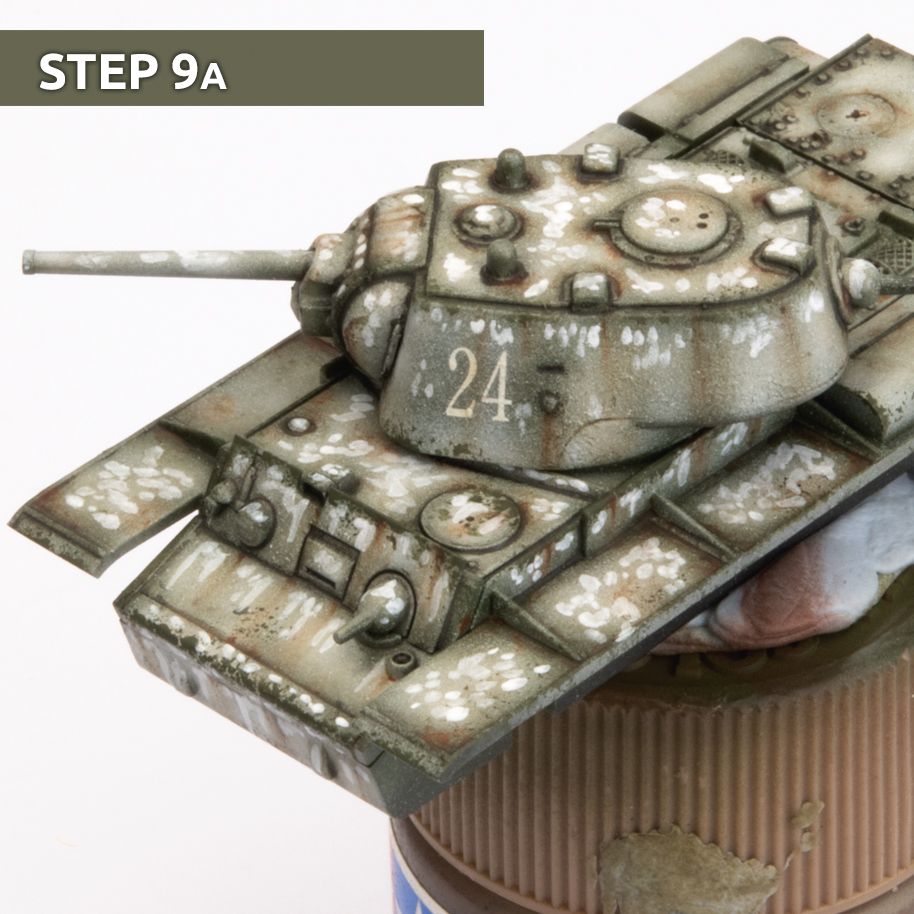
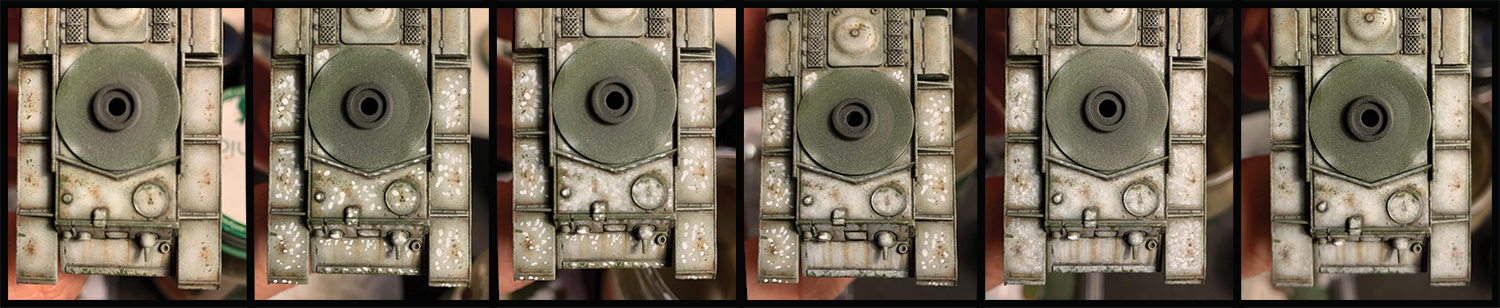
Step 9a. This is where the real magic happens. Using some white oil paint I dabbed spots all over the tank, concentrating on the flat surfaces and upper parts of the vertical surfaces.
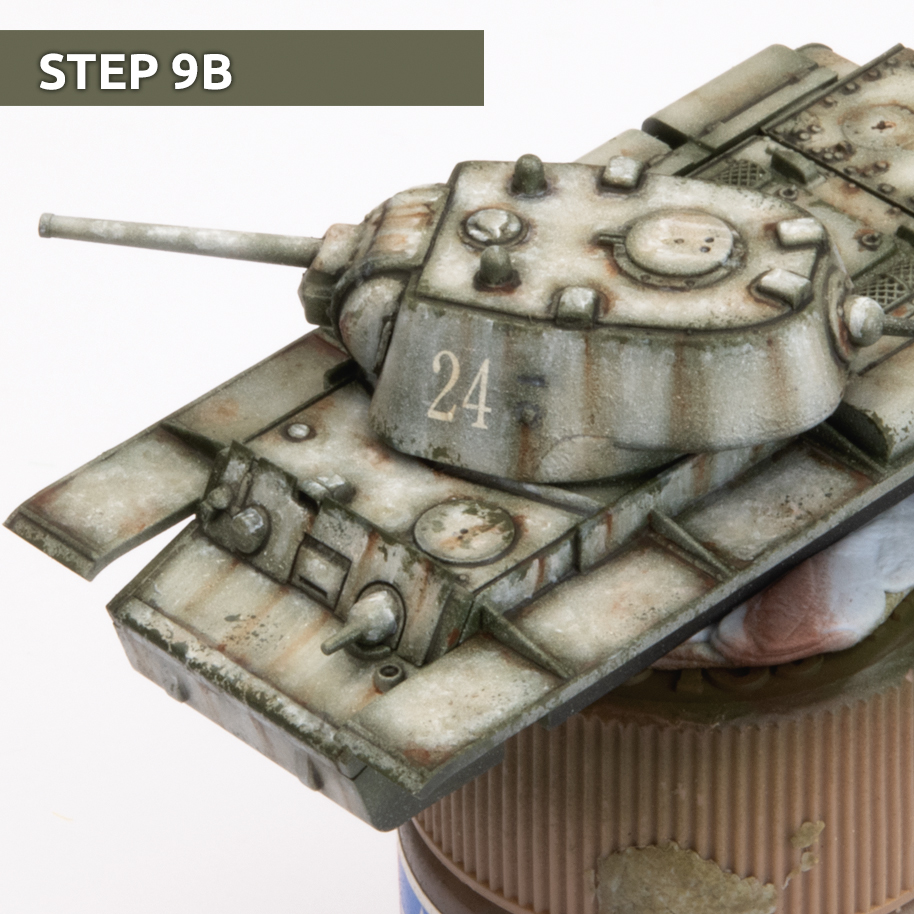
Step 9b. After letting the paint dry for a few minutes I start working the oil paint into the top surfaces and streaking it down the vertical surfaces with a brush dampened with white spirits.
Below is a bit of a time lapse montage to give you an idea of how this works.
Overall, I know that this is a long convoluted process, but I’m all about quality over quantity at the moment (the complete opposite to Soviets), and I’m actually quite enjoying the process, despite getting hassled by the rest of the Big Four about my painting speed.
~Casey
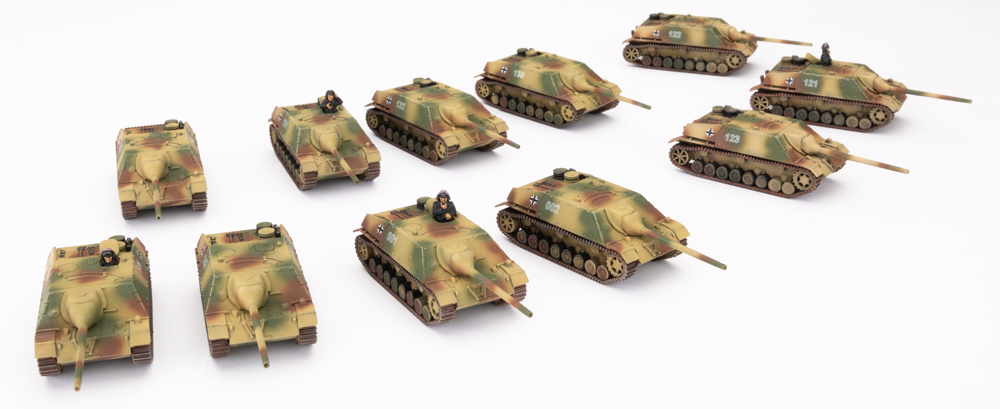
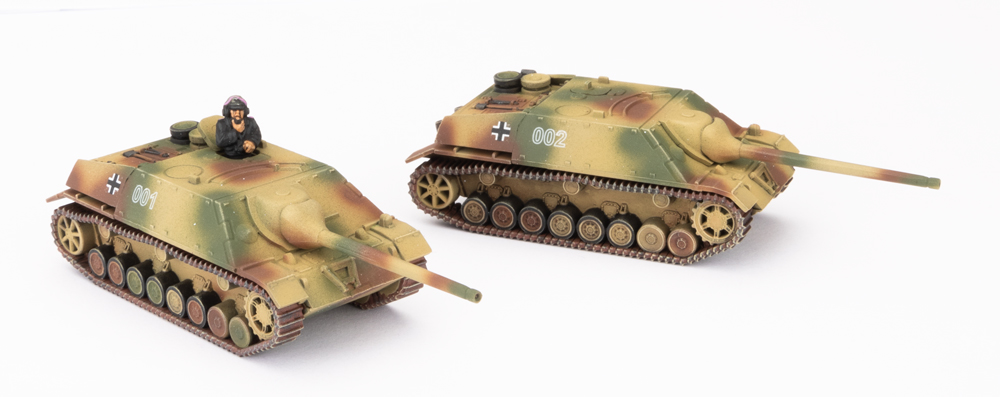
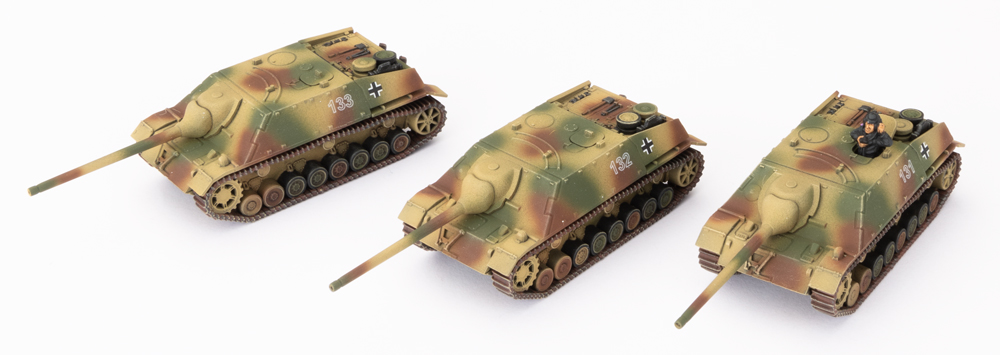
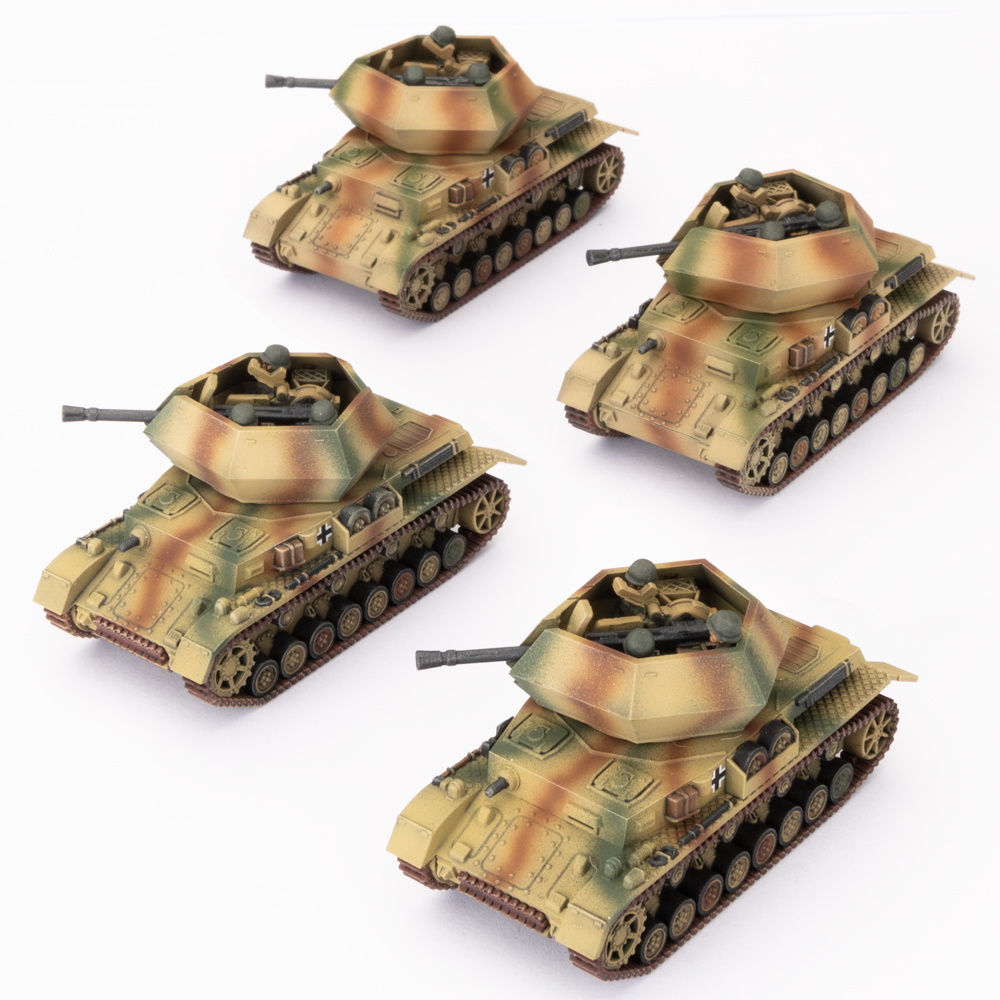
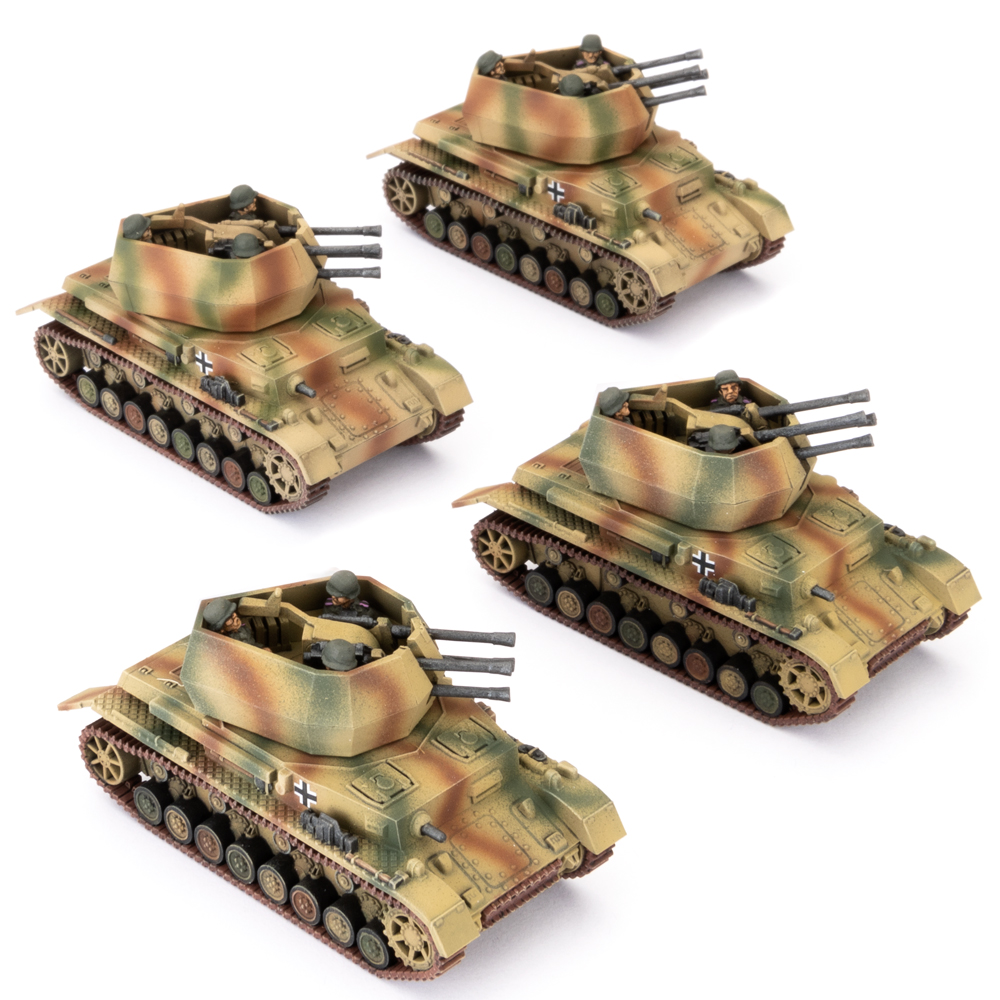
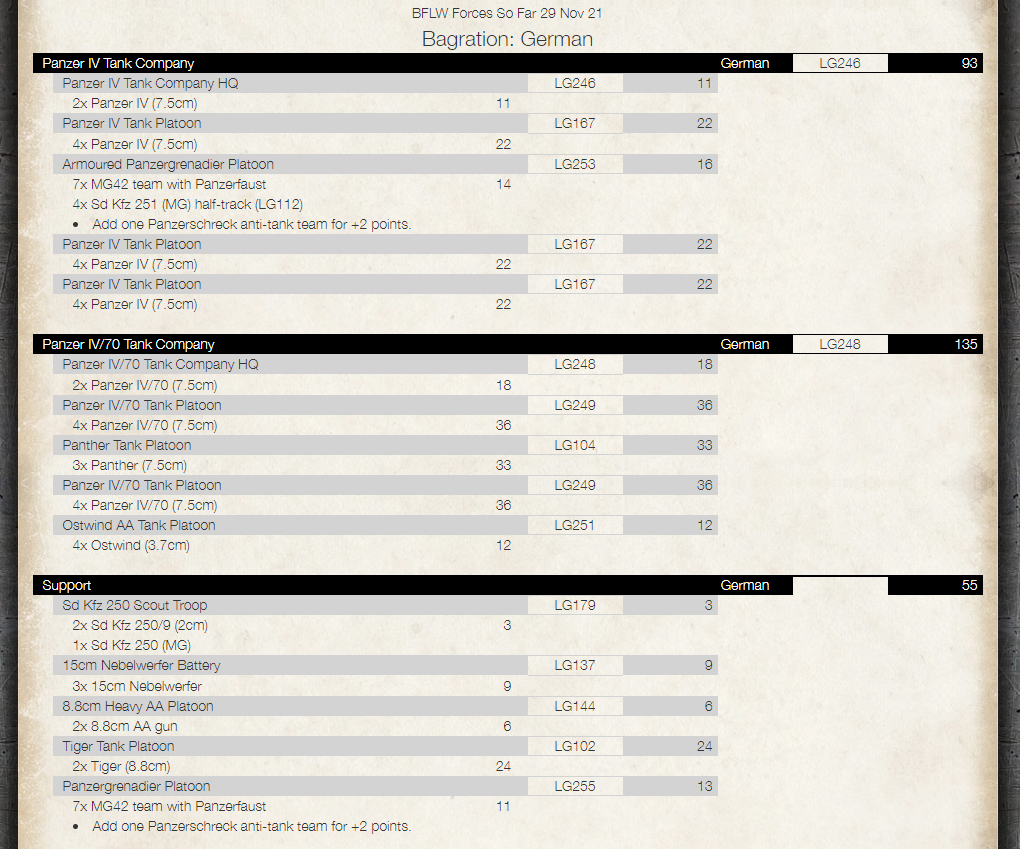
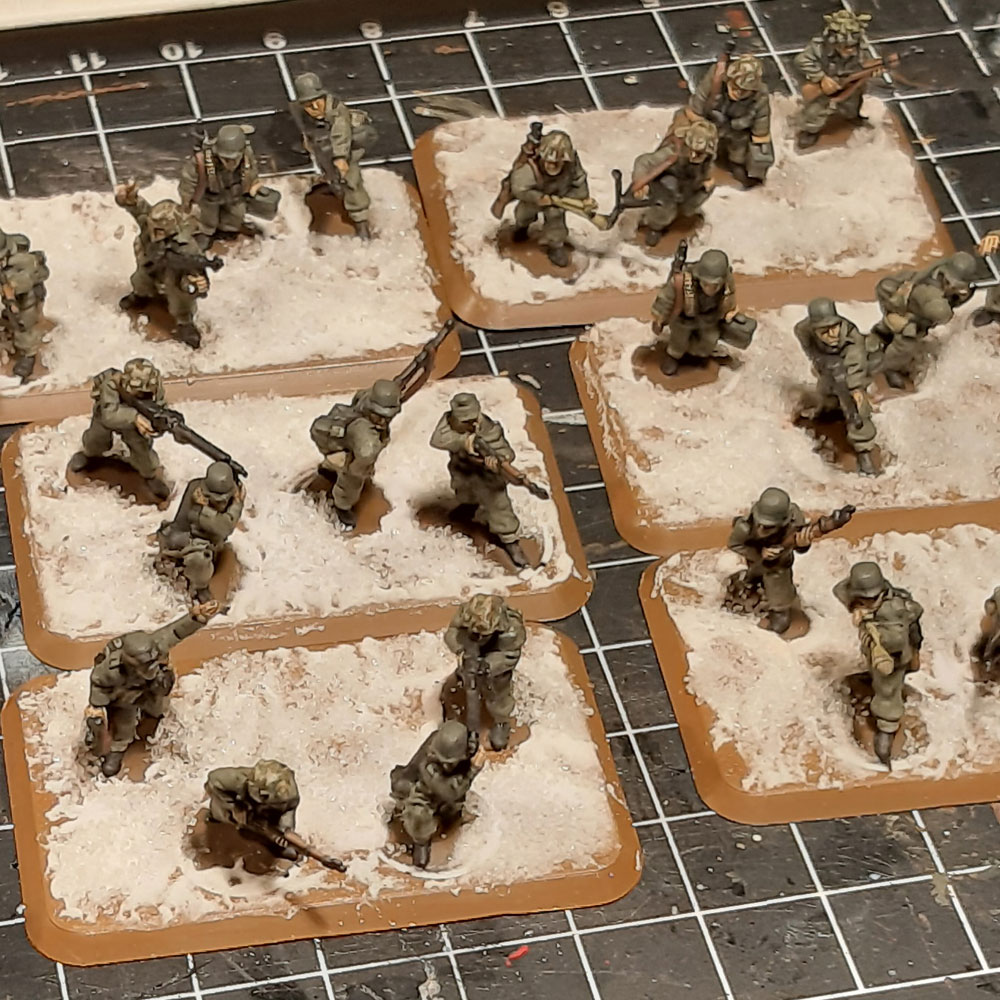
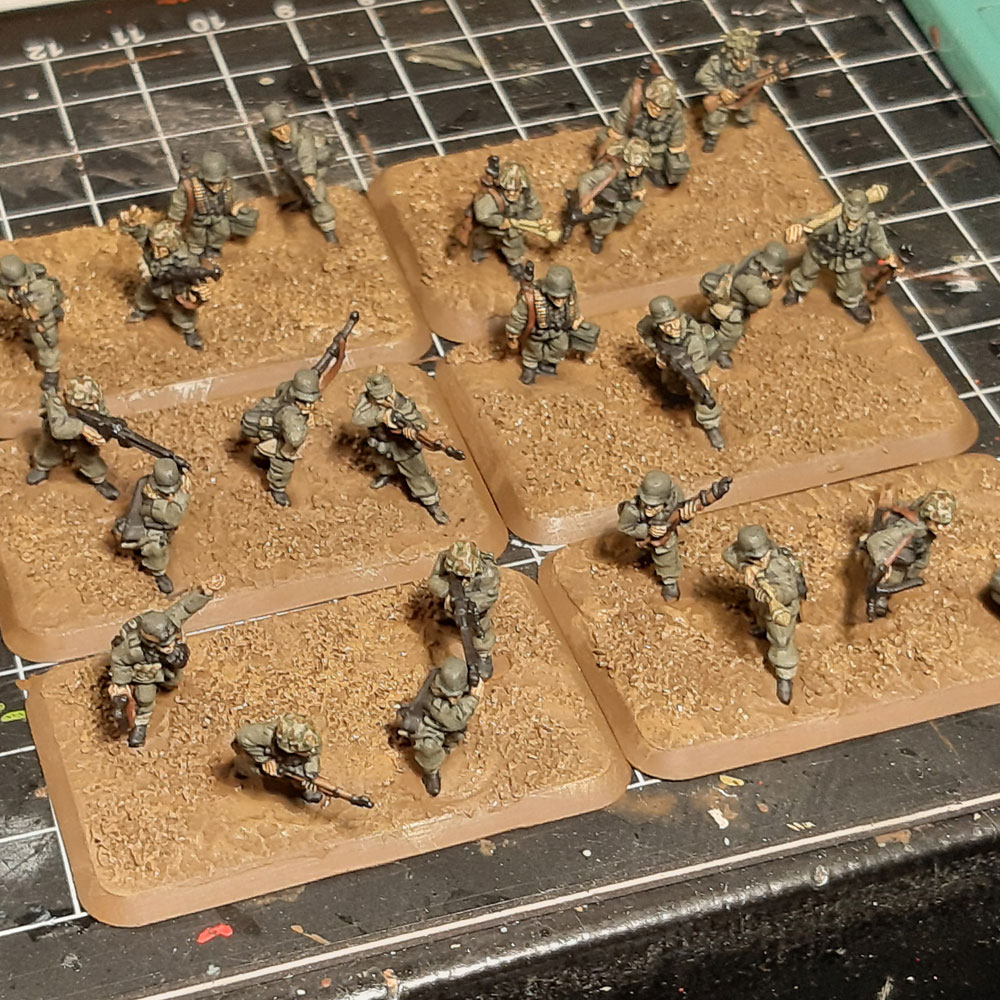
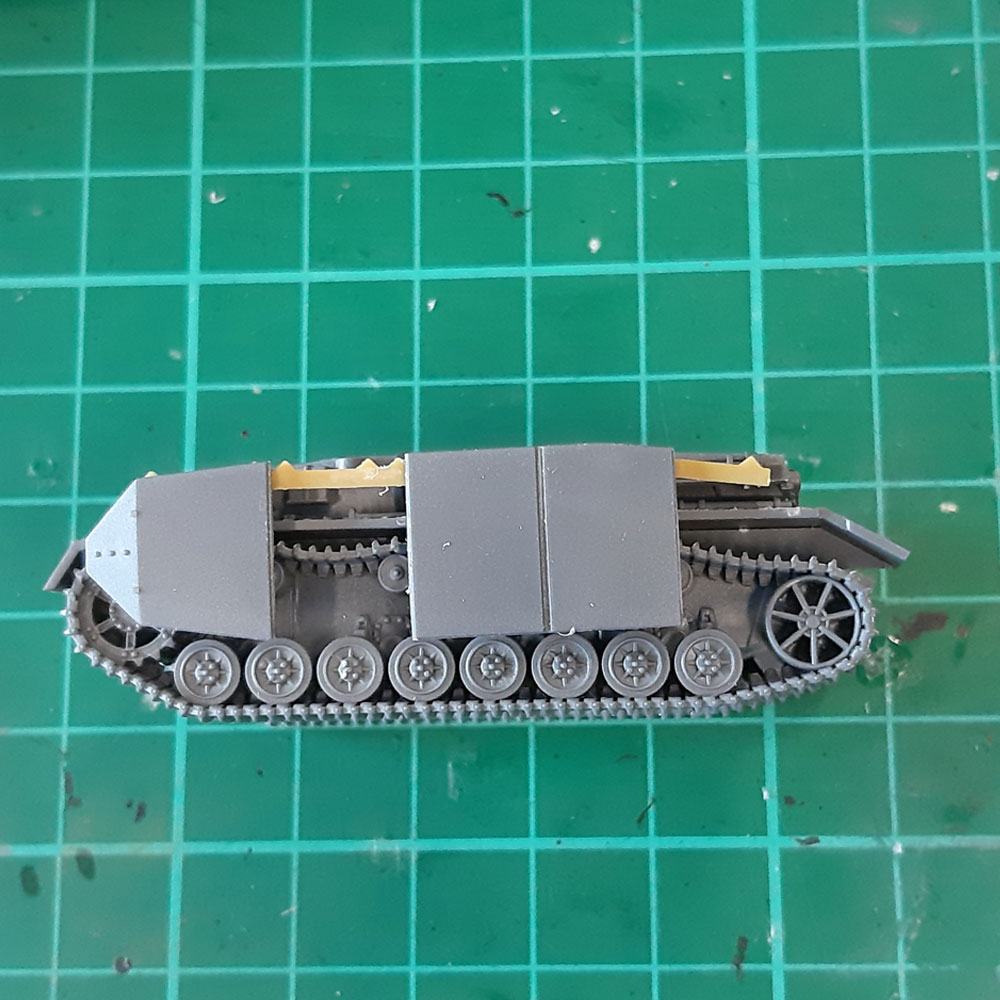
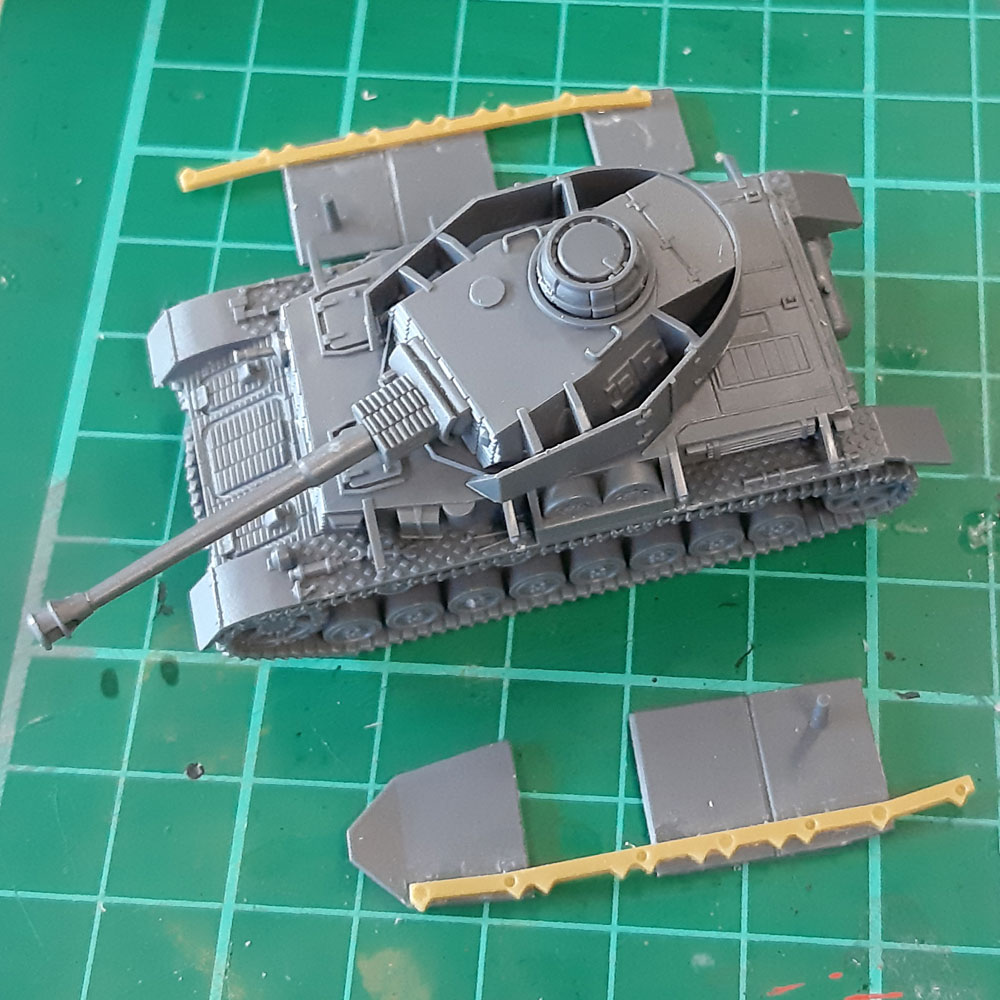
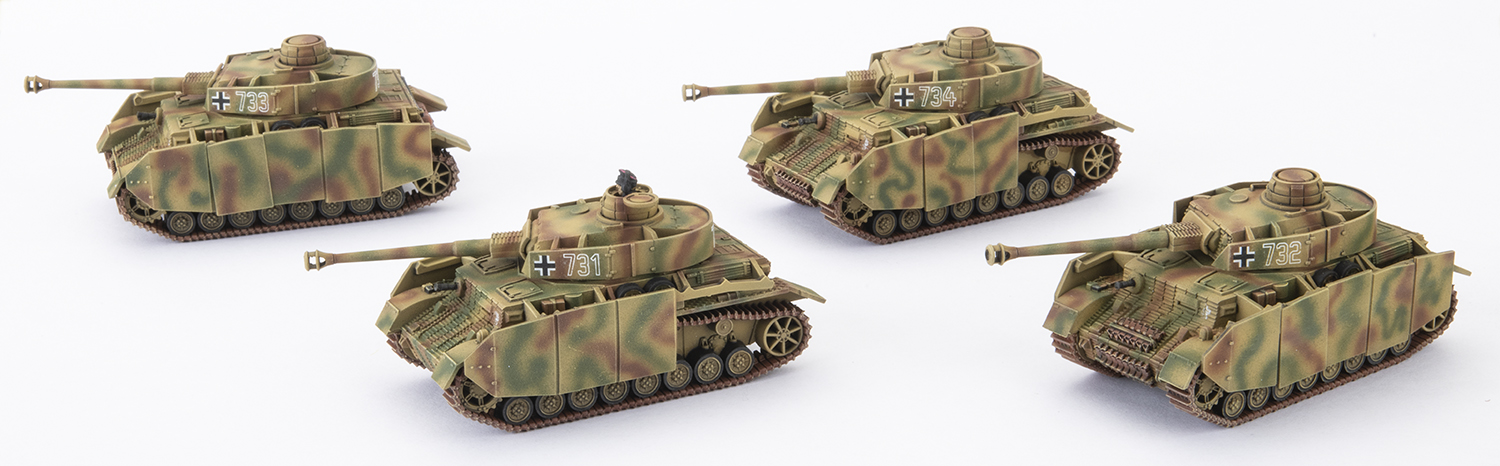
 With the next Late-war book out after Bulge: American being Bulge: German I thought I would update you on what I’ve been painting since the release of Bagration: German. I’ve added to my forces I’d built for D-Day: German with entire company of Panzer IV/70s, some Panthers, and Flakpanzer AA tanks. If I was to field everything I’d painted since I began my Germans for Big Four of Late-war I have over 280 points, and I still have more things to finish just from these first two German books, let alone all the goodies coming with the release of Bulge: German.