
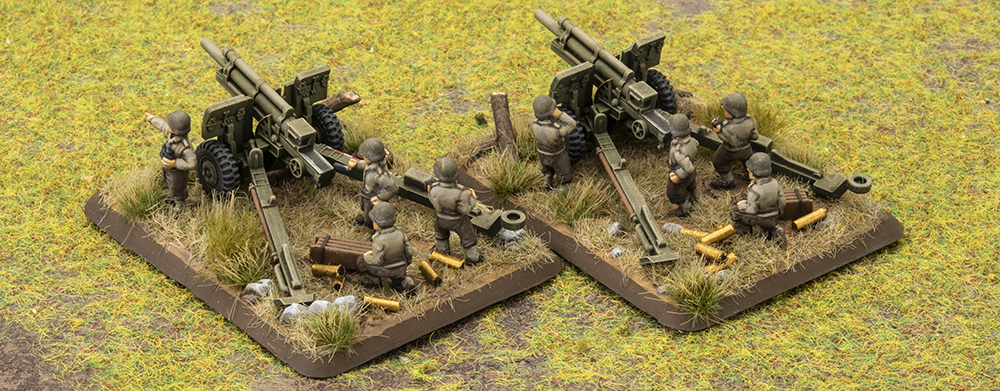
 When working on my 105mm Howitzers I wanted to give them a lot of spent shells to show they’ve been busy!
Here’s how I did it.
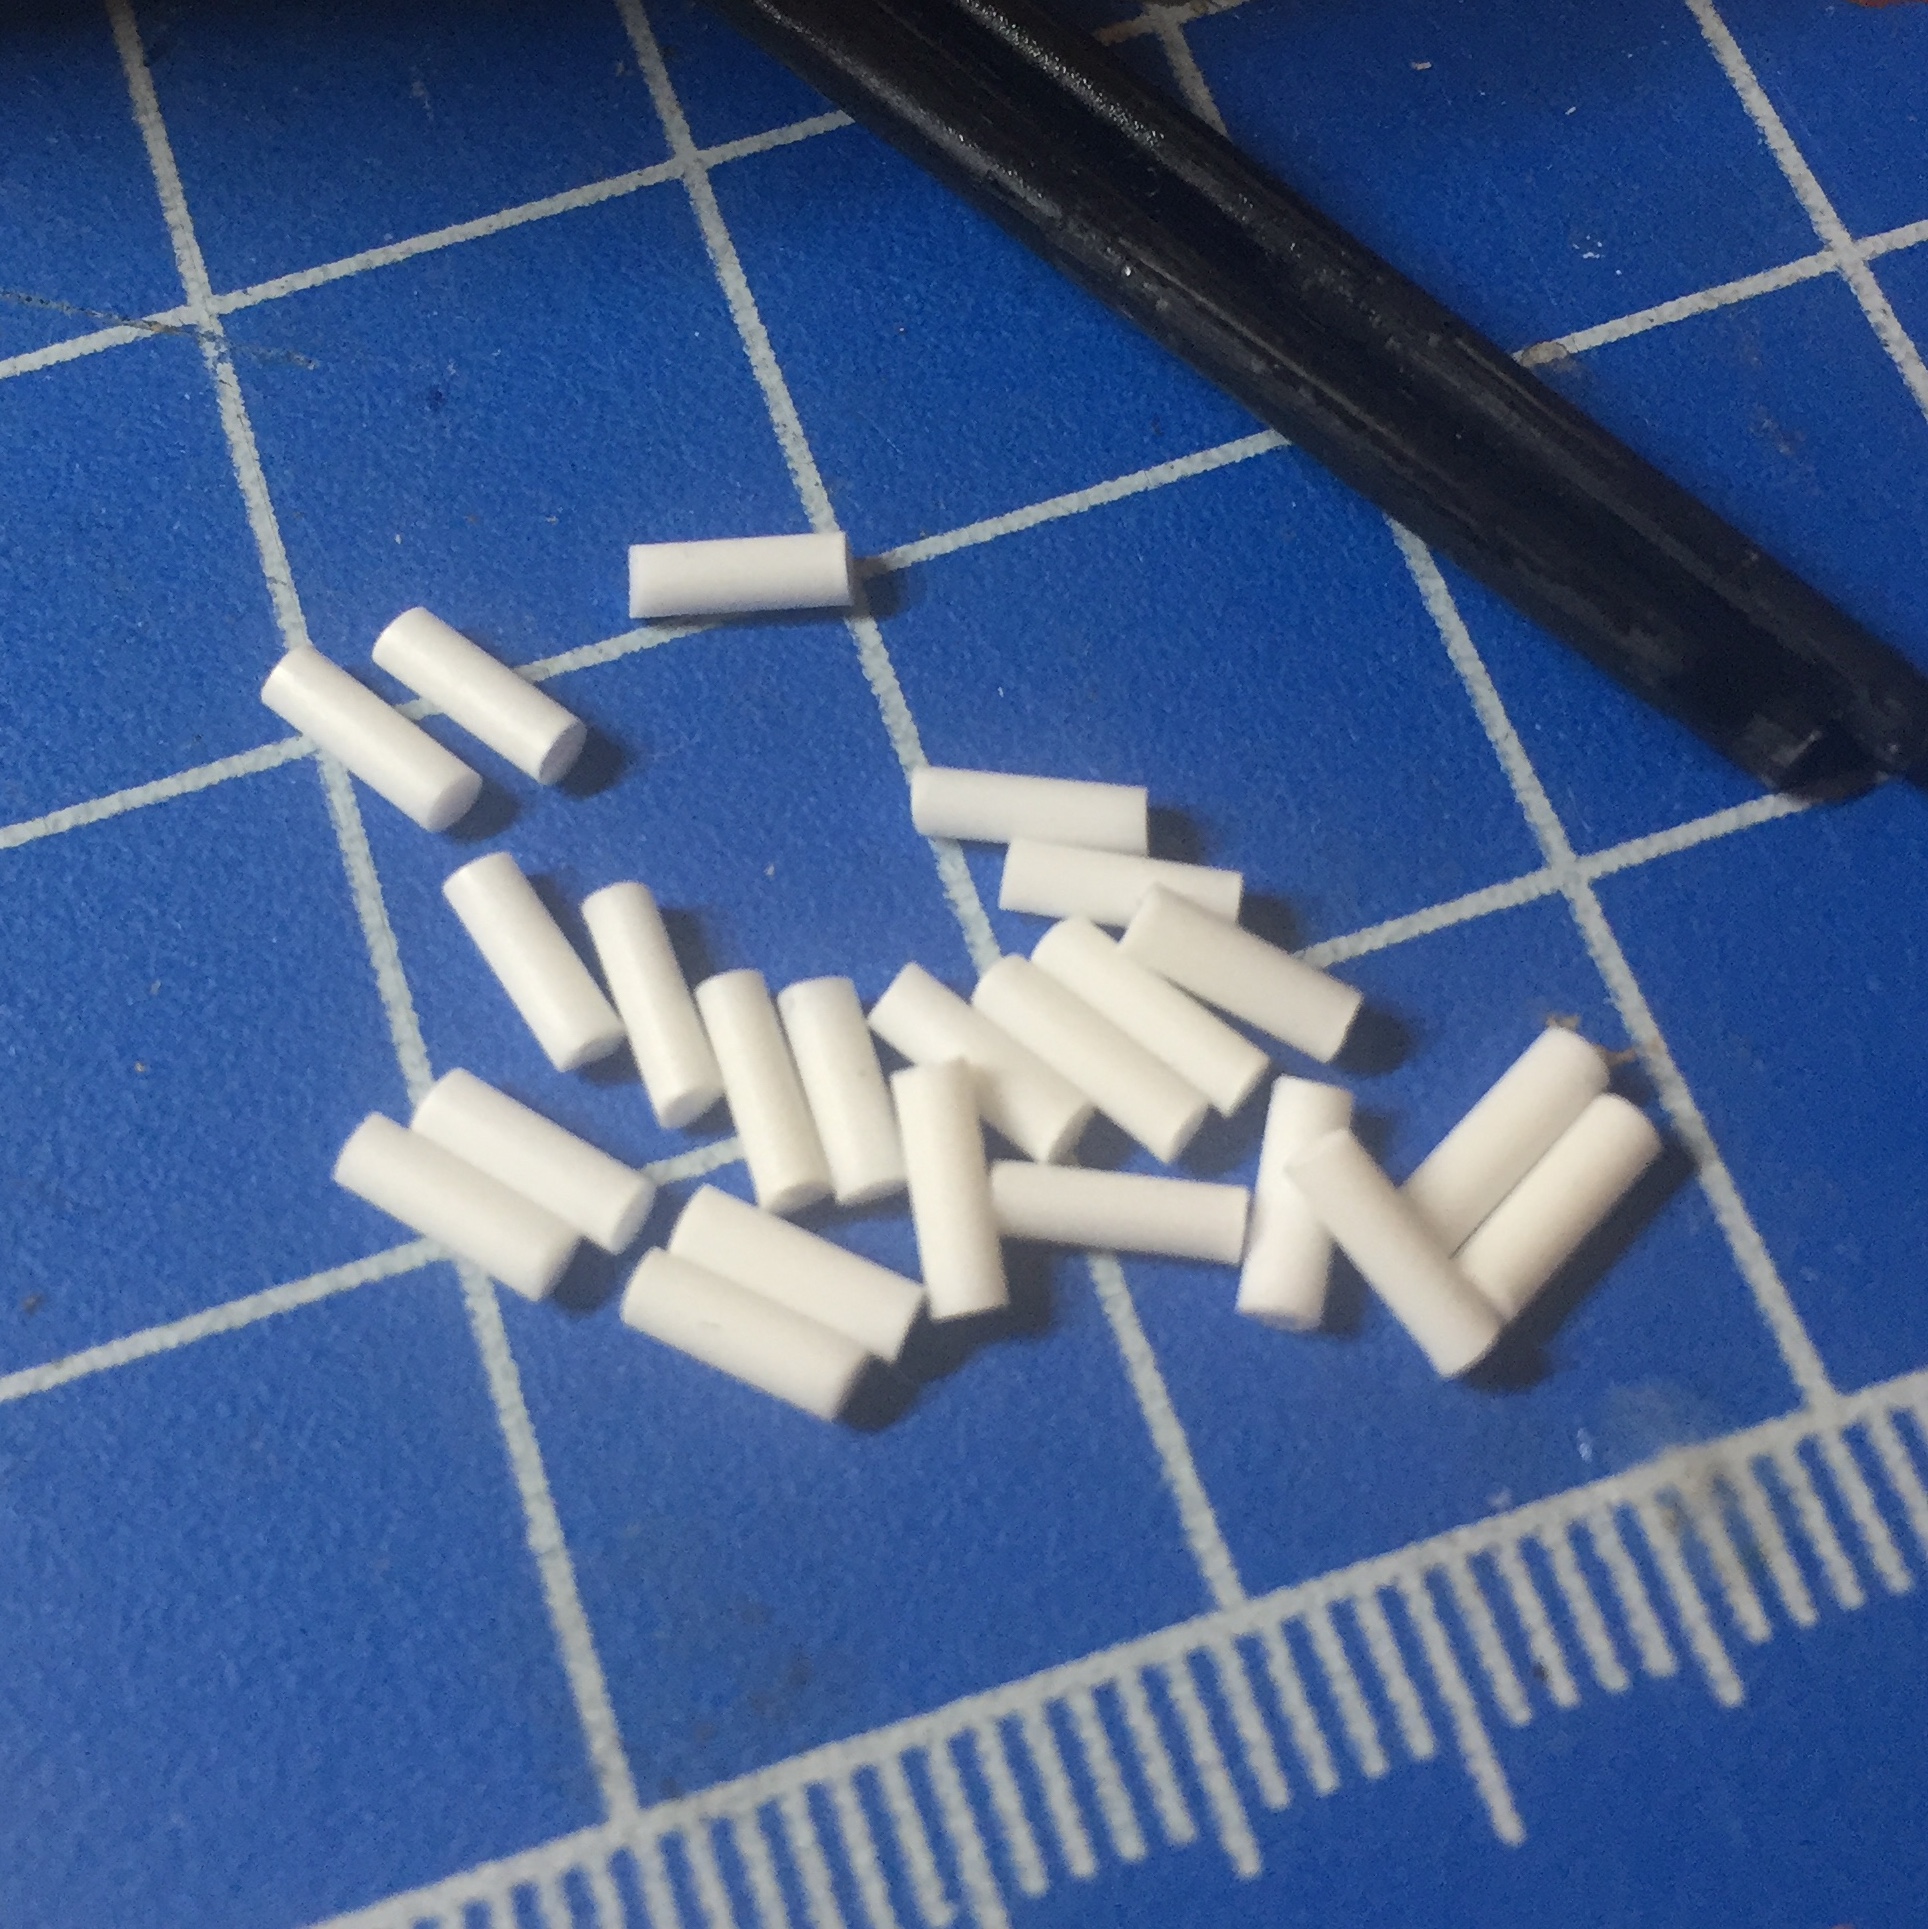
I decided to use plasticard rod as it’s easy to cut to the length I need. You could instead use brass rod. This would have advantage of being the right colour so wouldn’t require painting, but the downside is it’s a lot harder to cut (especially when doing a lot of shells!) and the cuts will often need to be filed smooth.
I used the loader figure that comes with the guns to approximate the thickness of the rod I’d need, and how long to make them. You could be extra expert and convert the real world measurements to 1/100!
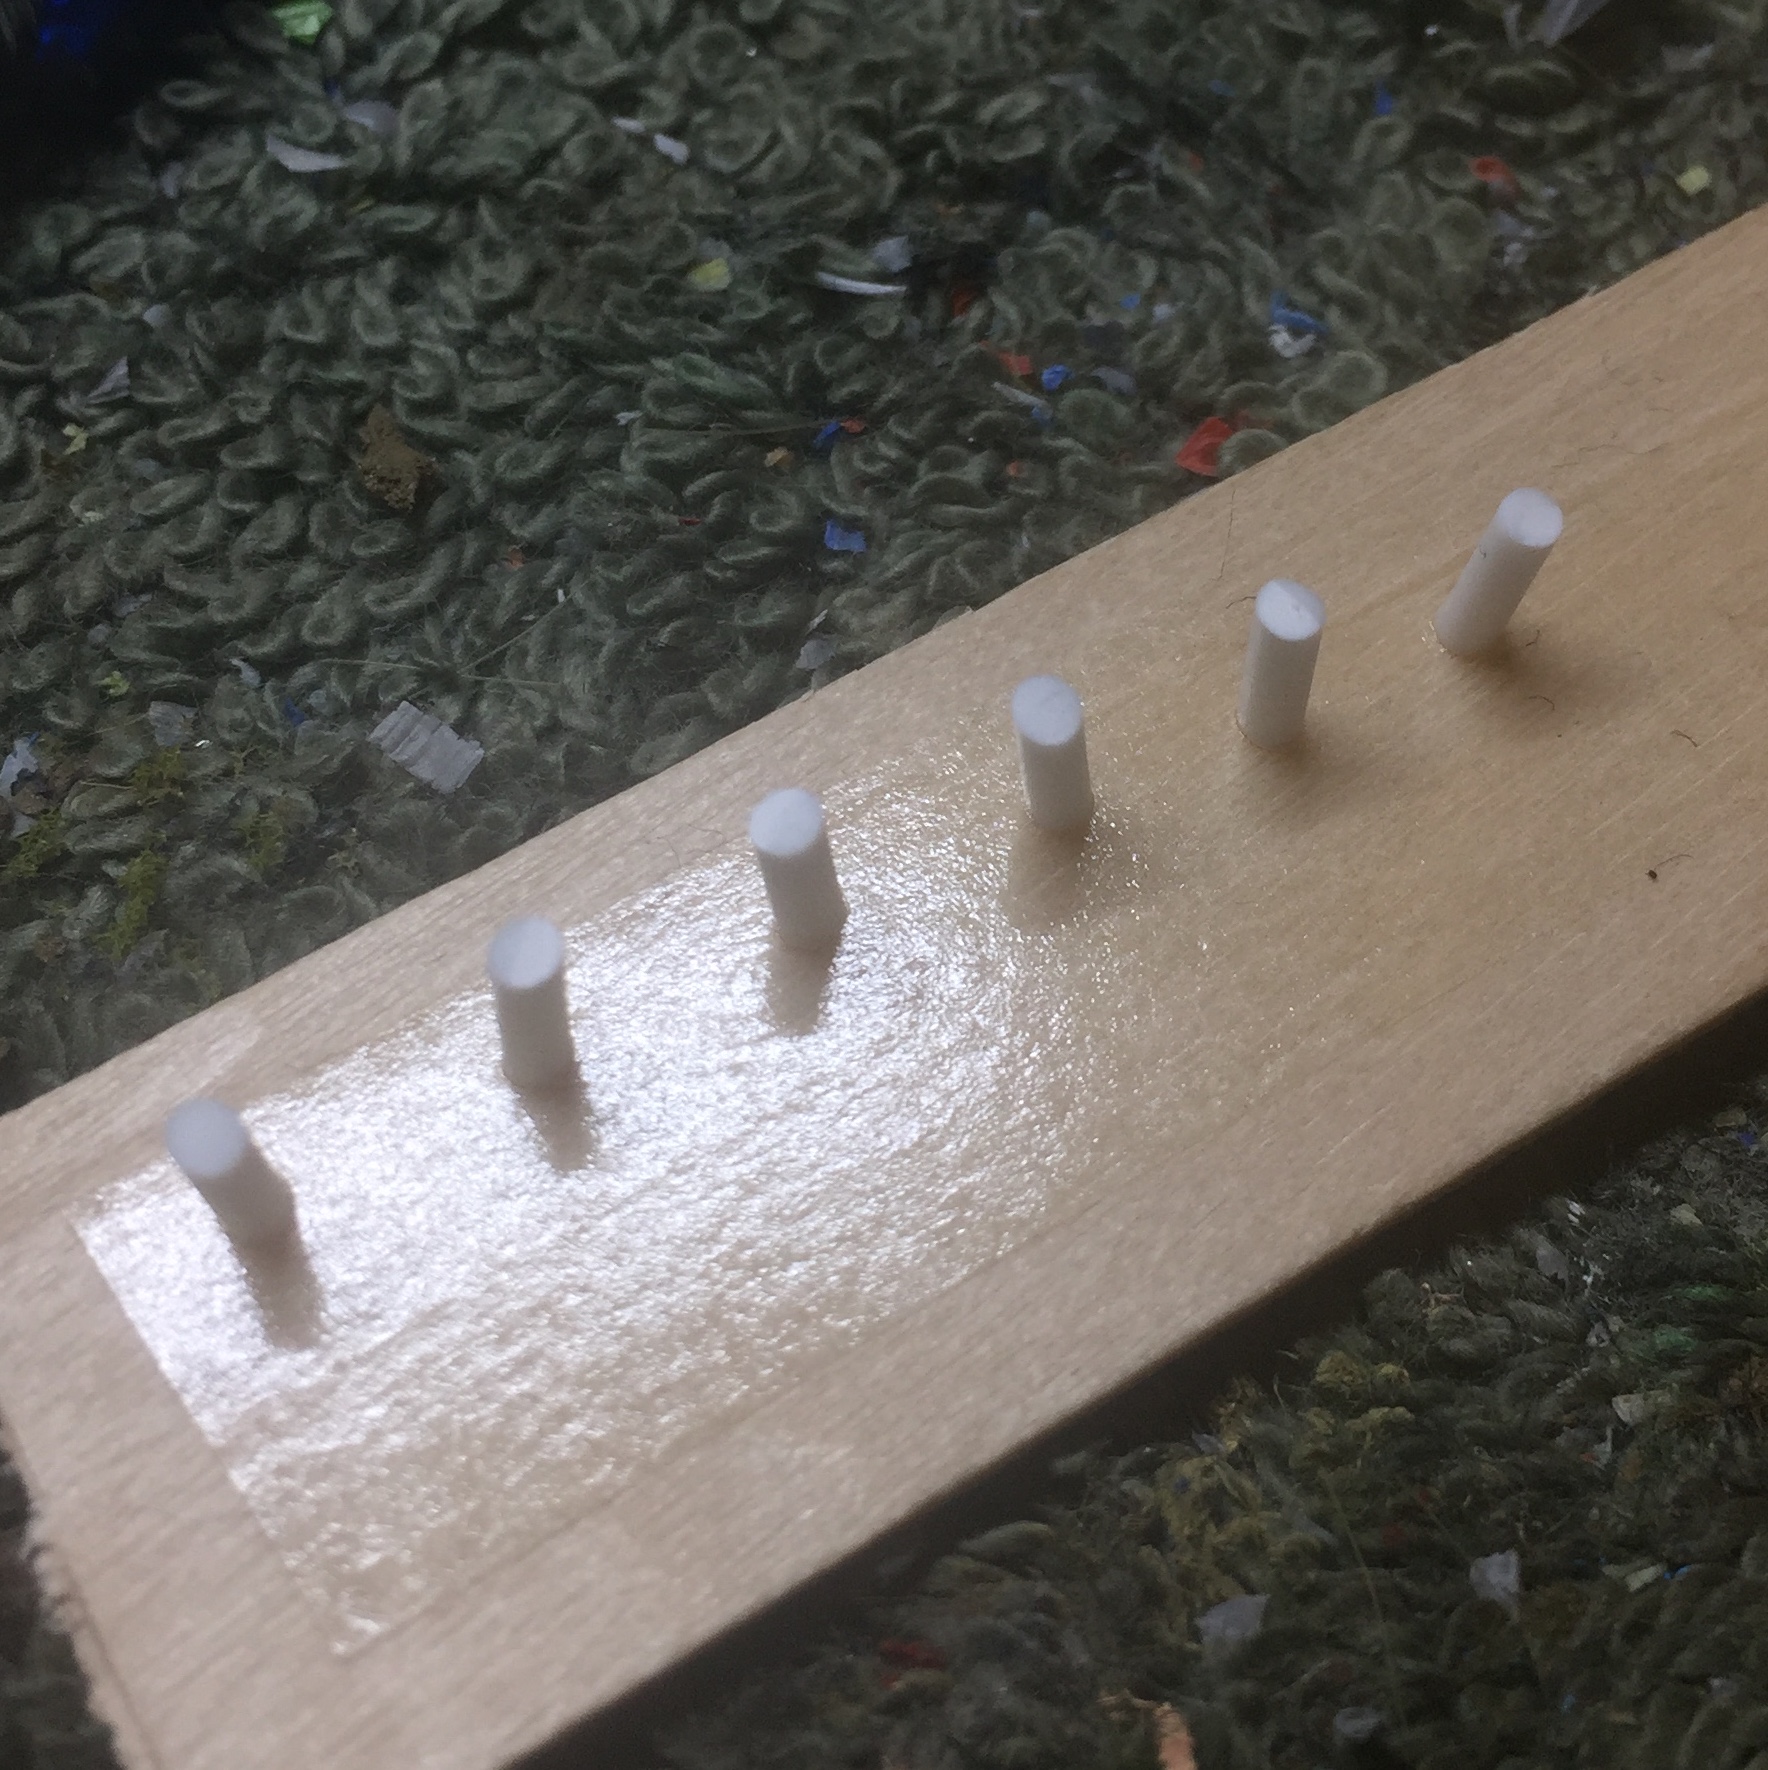
To make them easy to paint, I mounted them to a popsicle stick with double sided tape. This holds them fairly well along as you don’t go too heavy with the brush work.
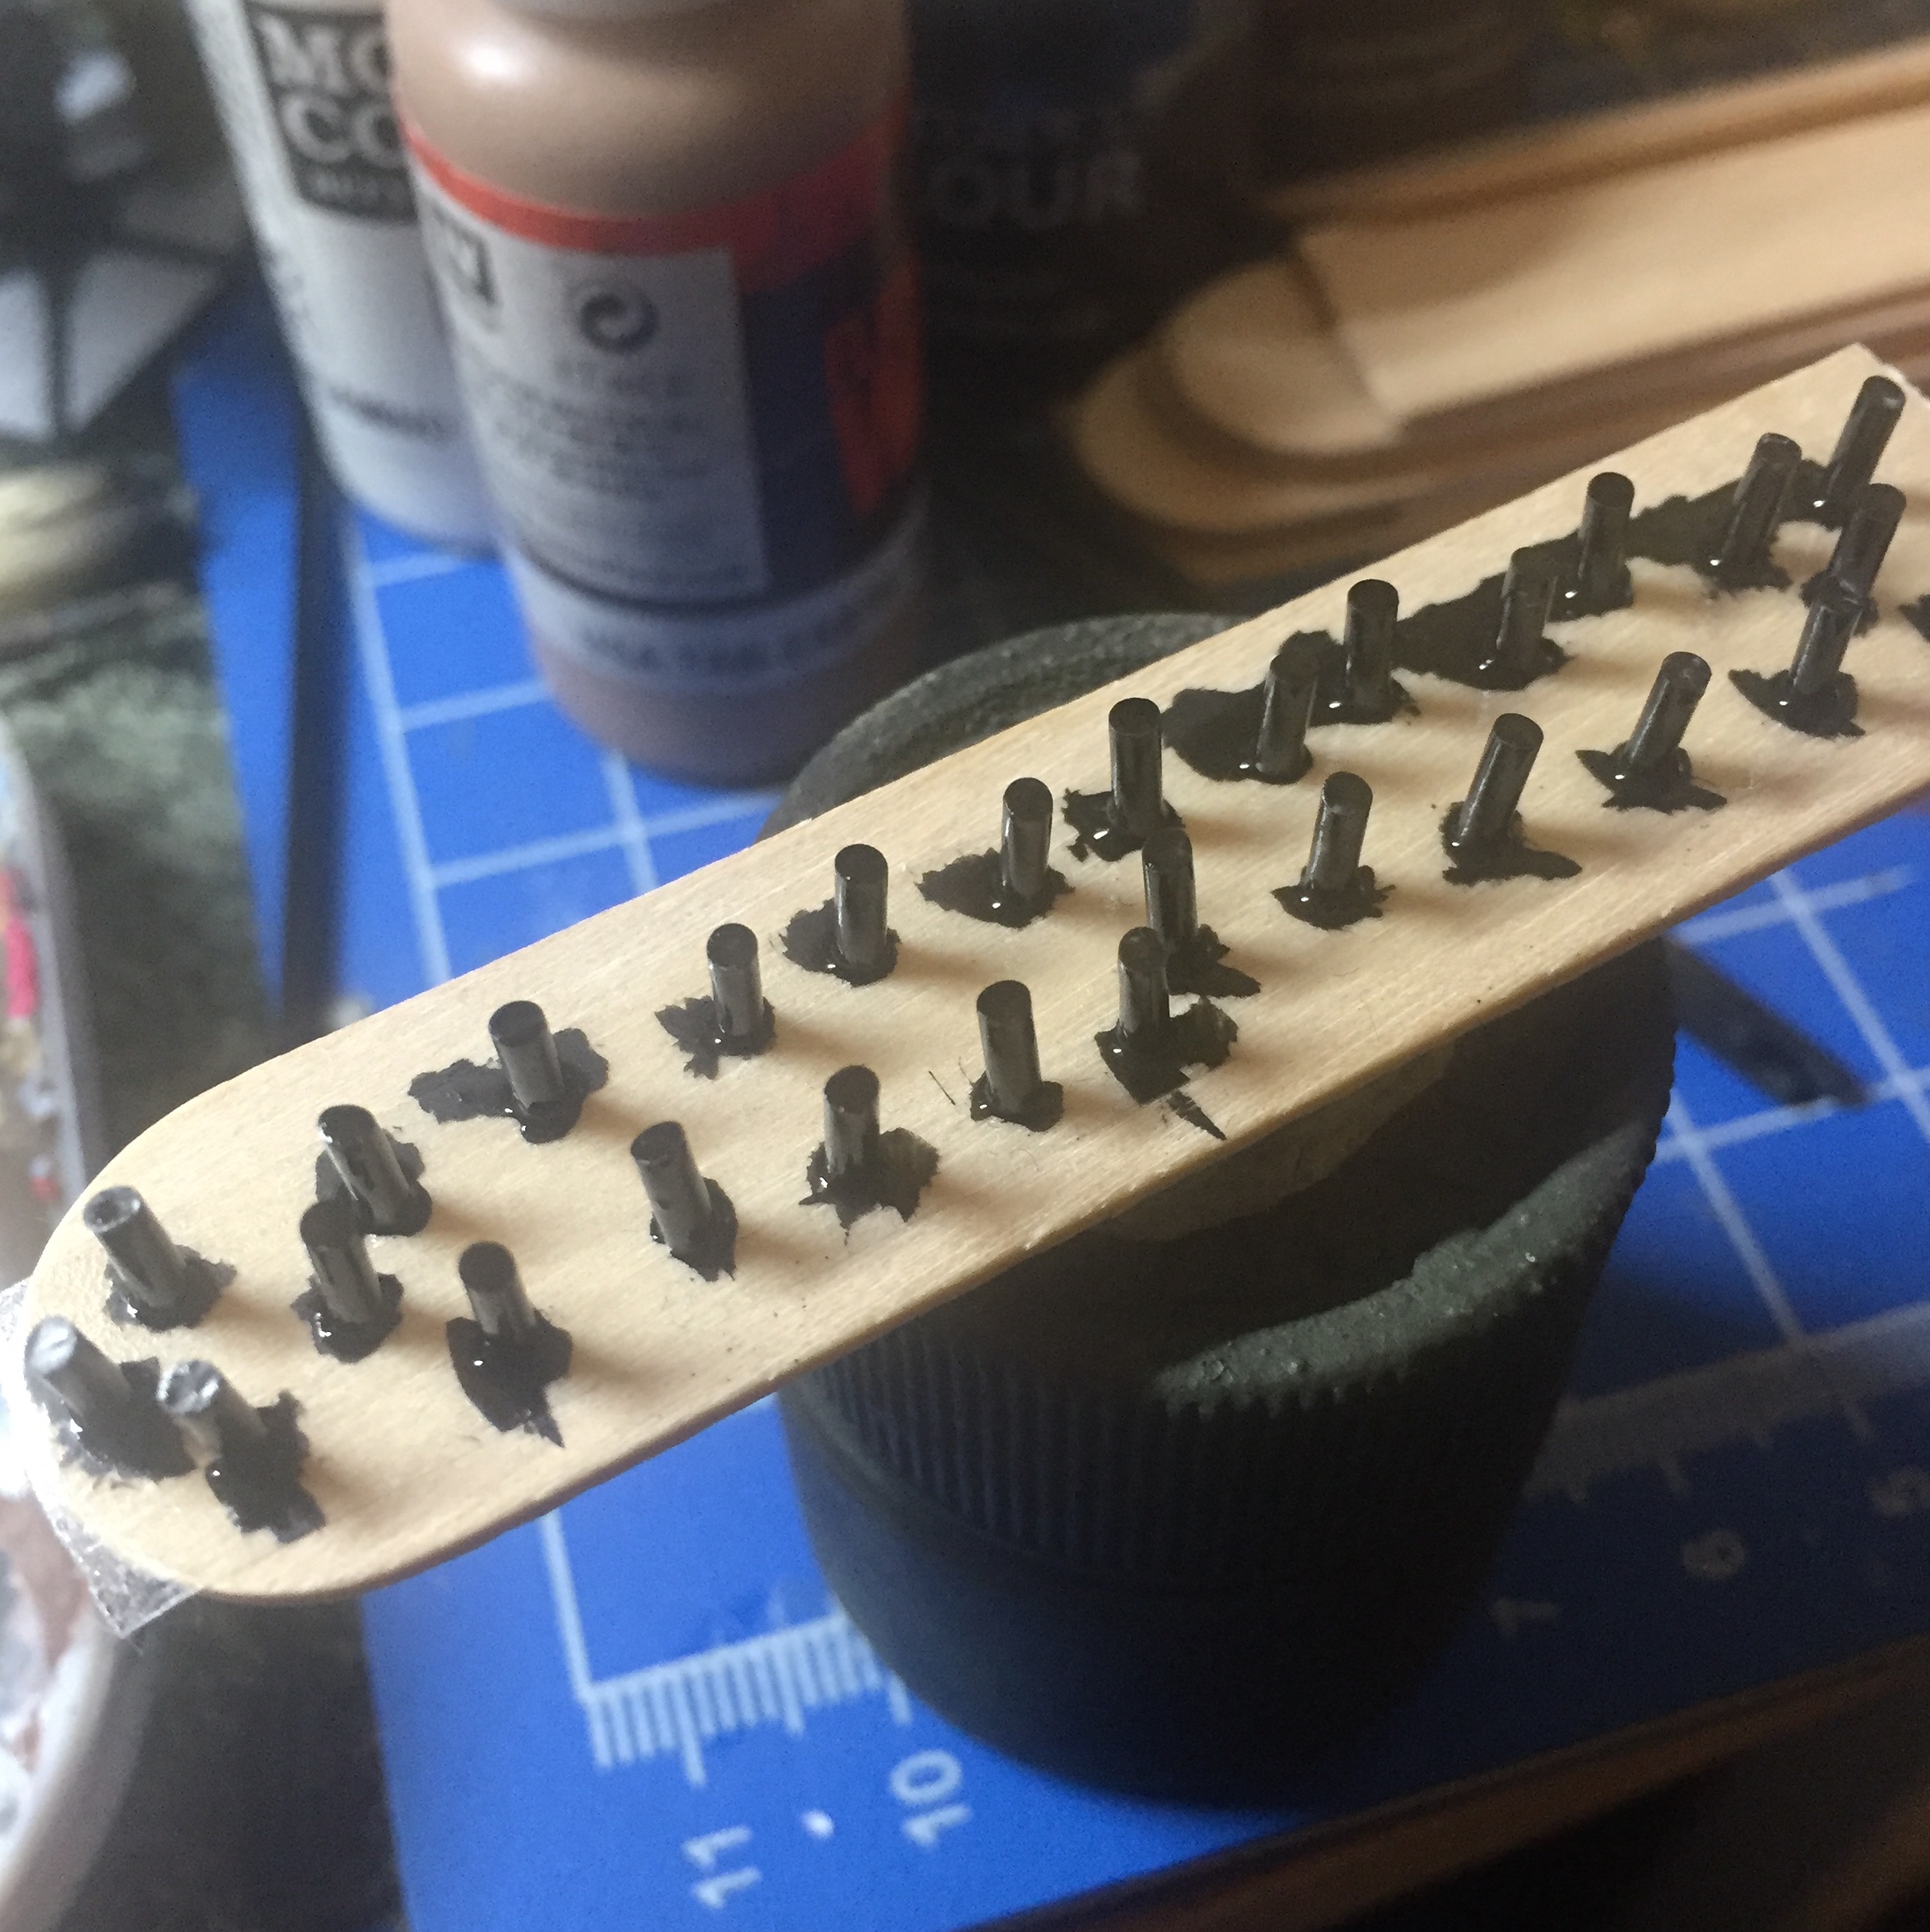
To paint them I brushed on black primer (but you could spray them) and then did two coats of Vallejo Brass.
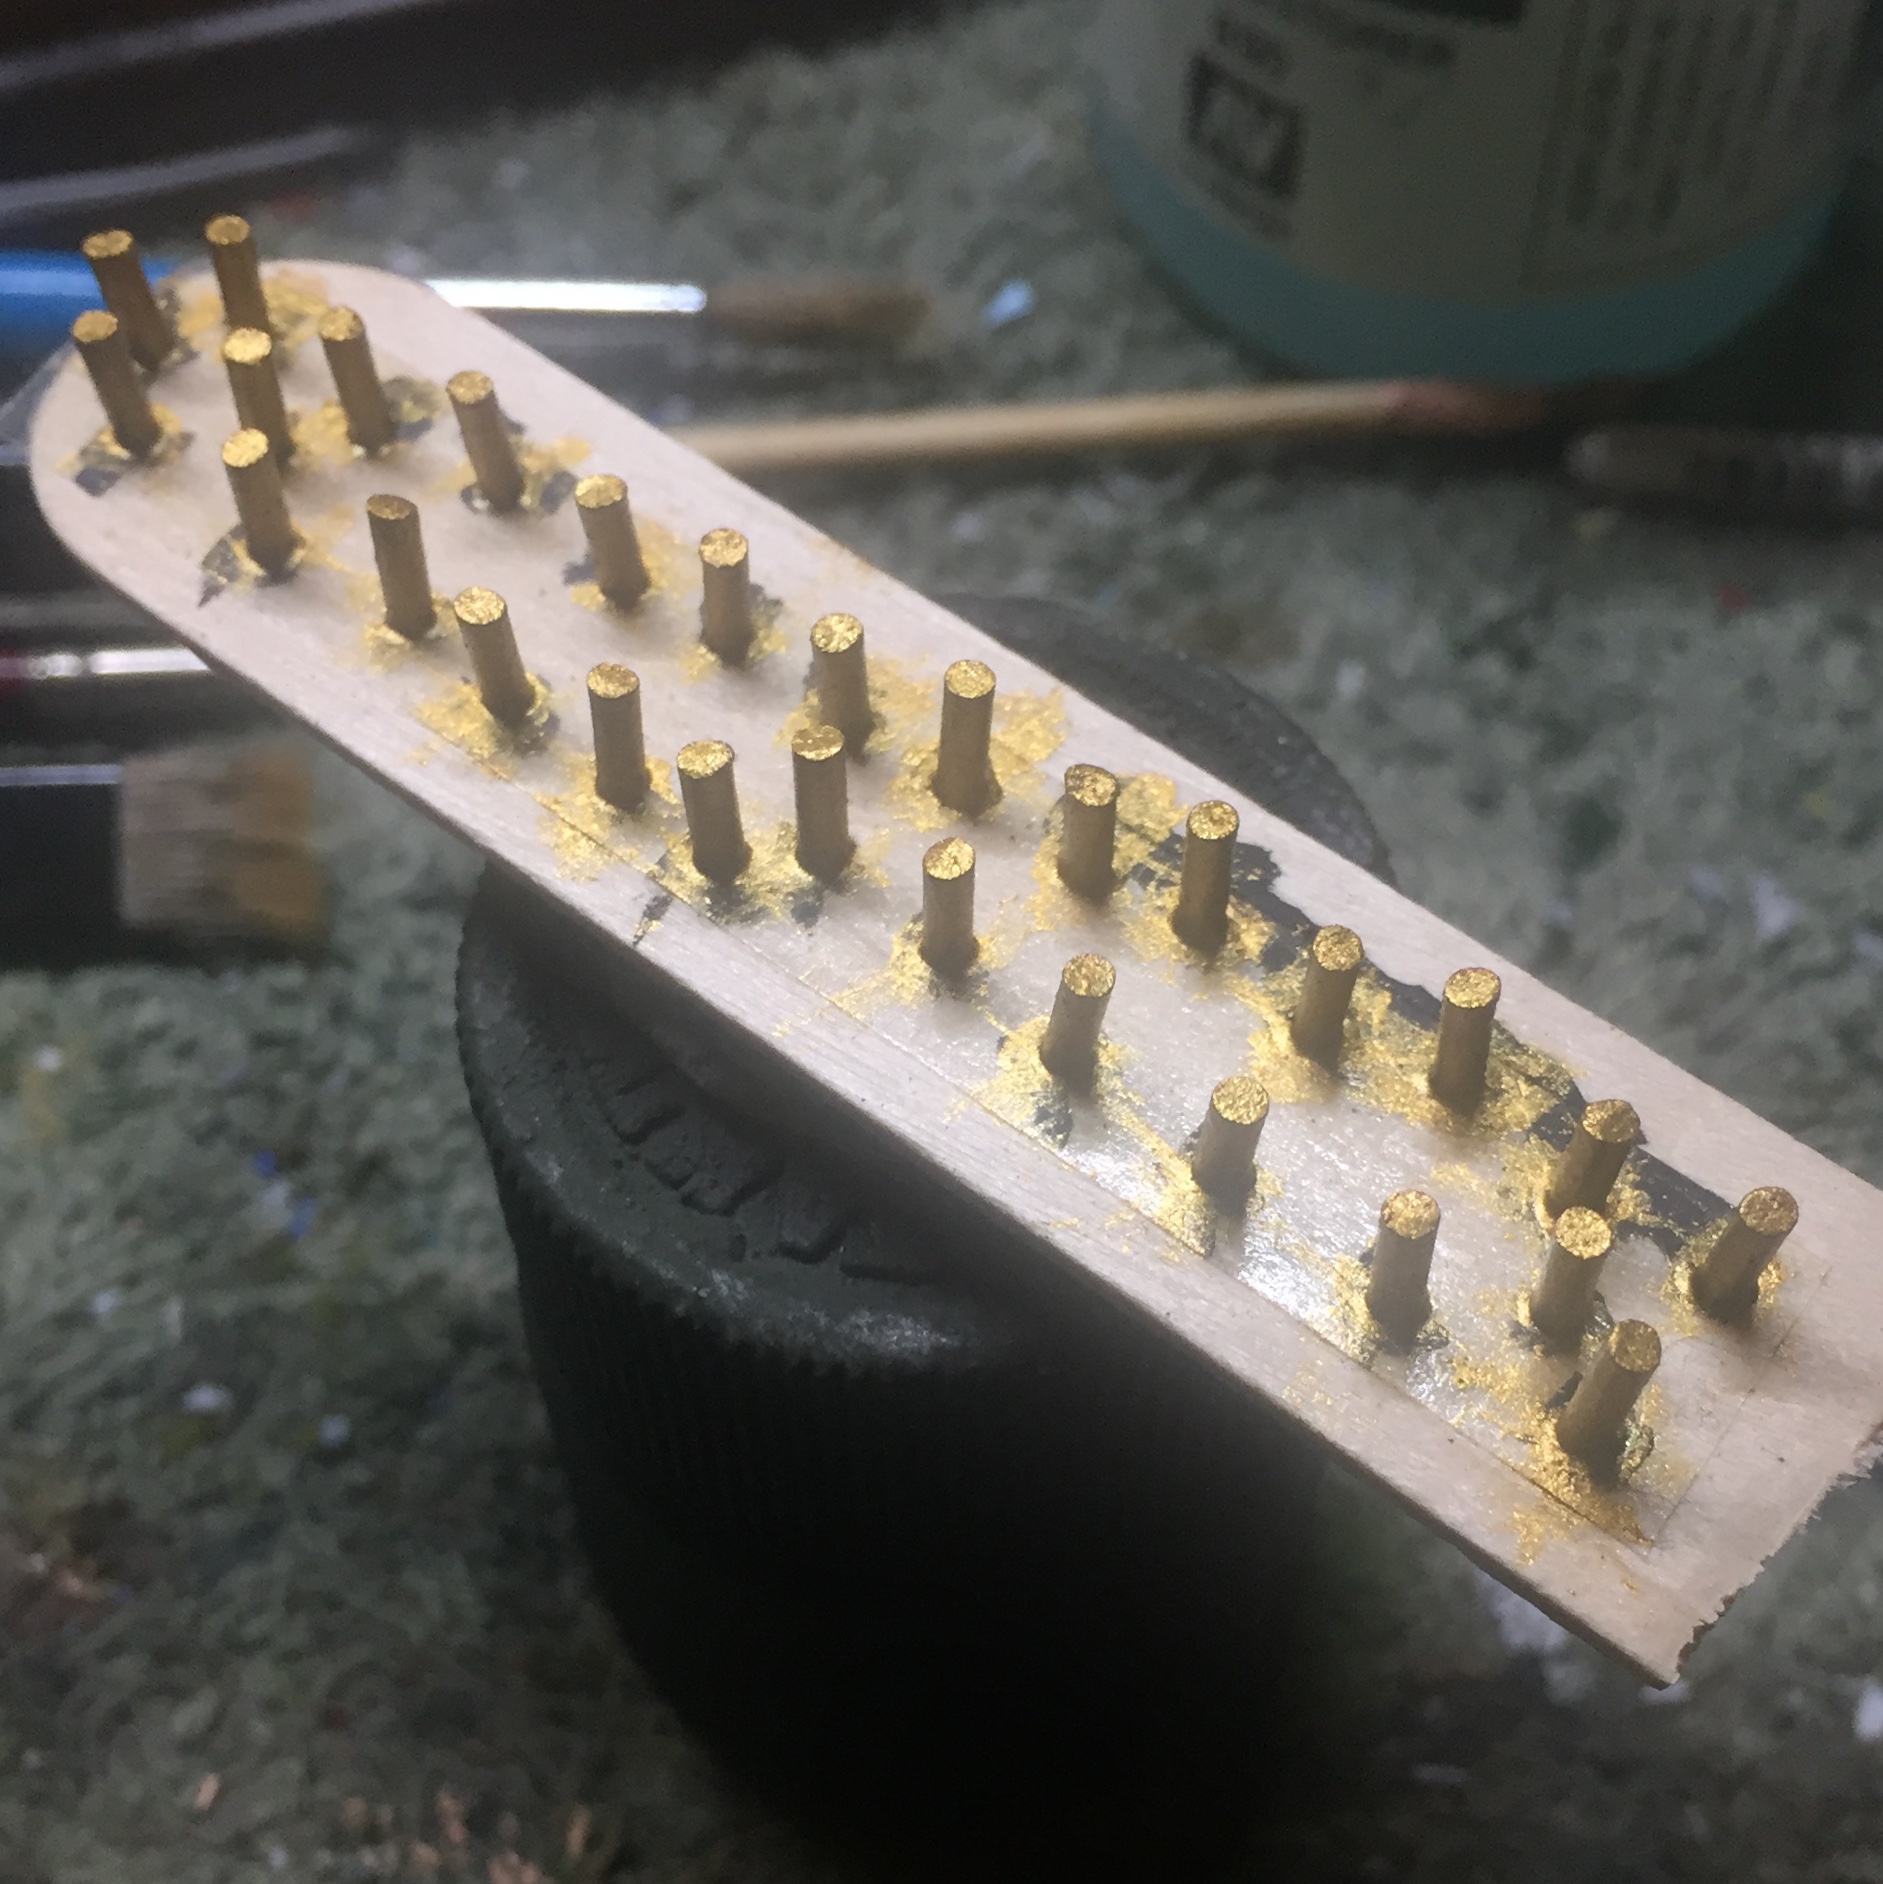
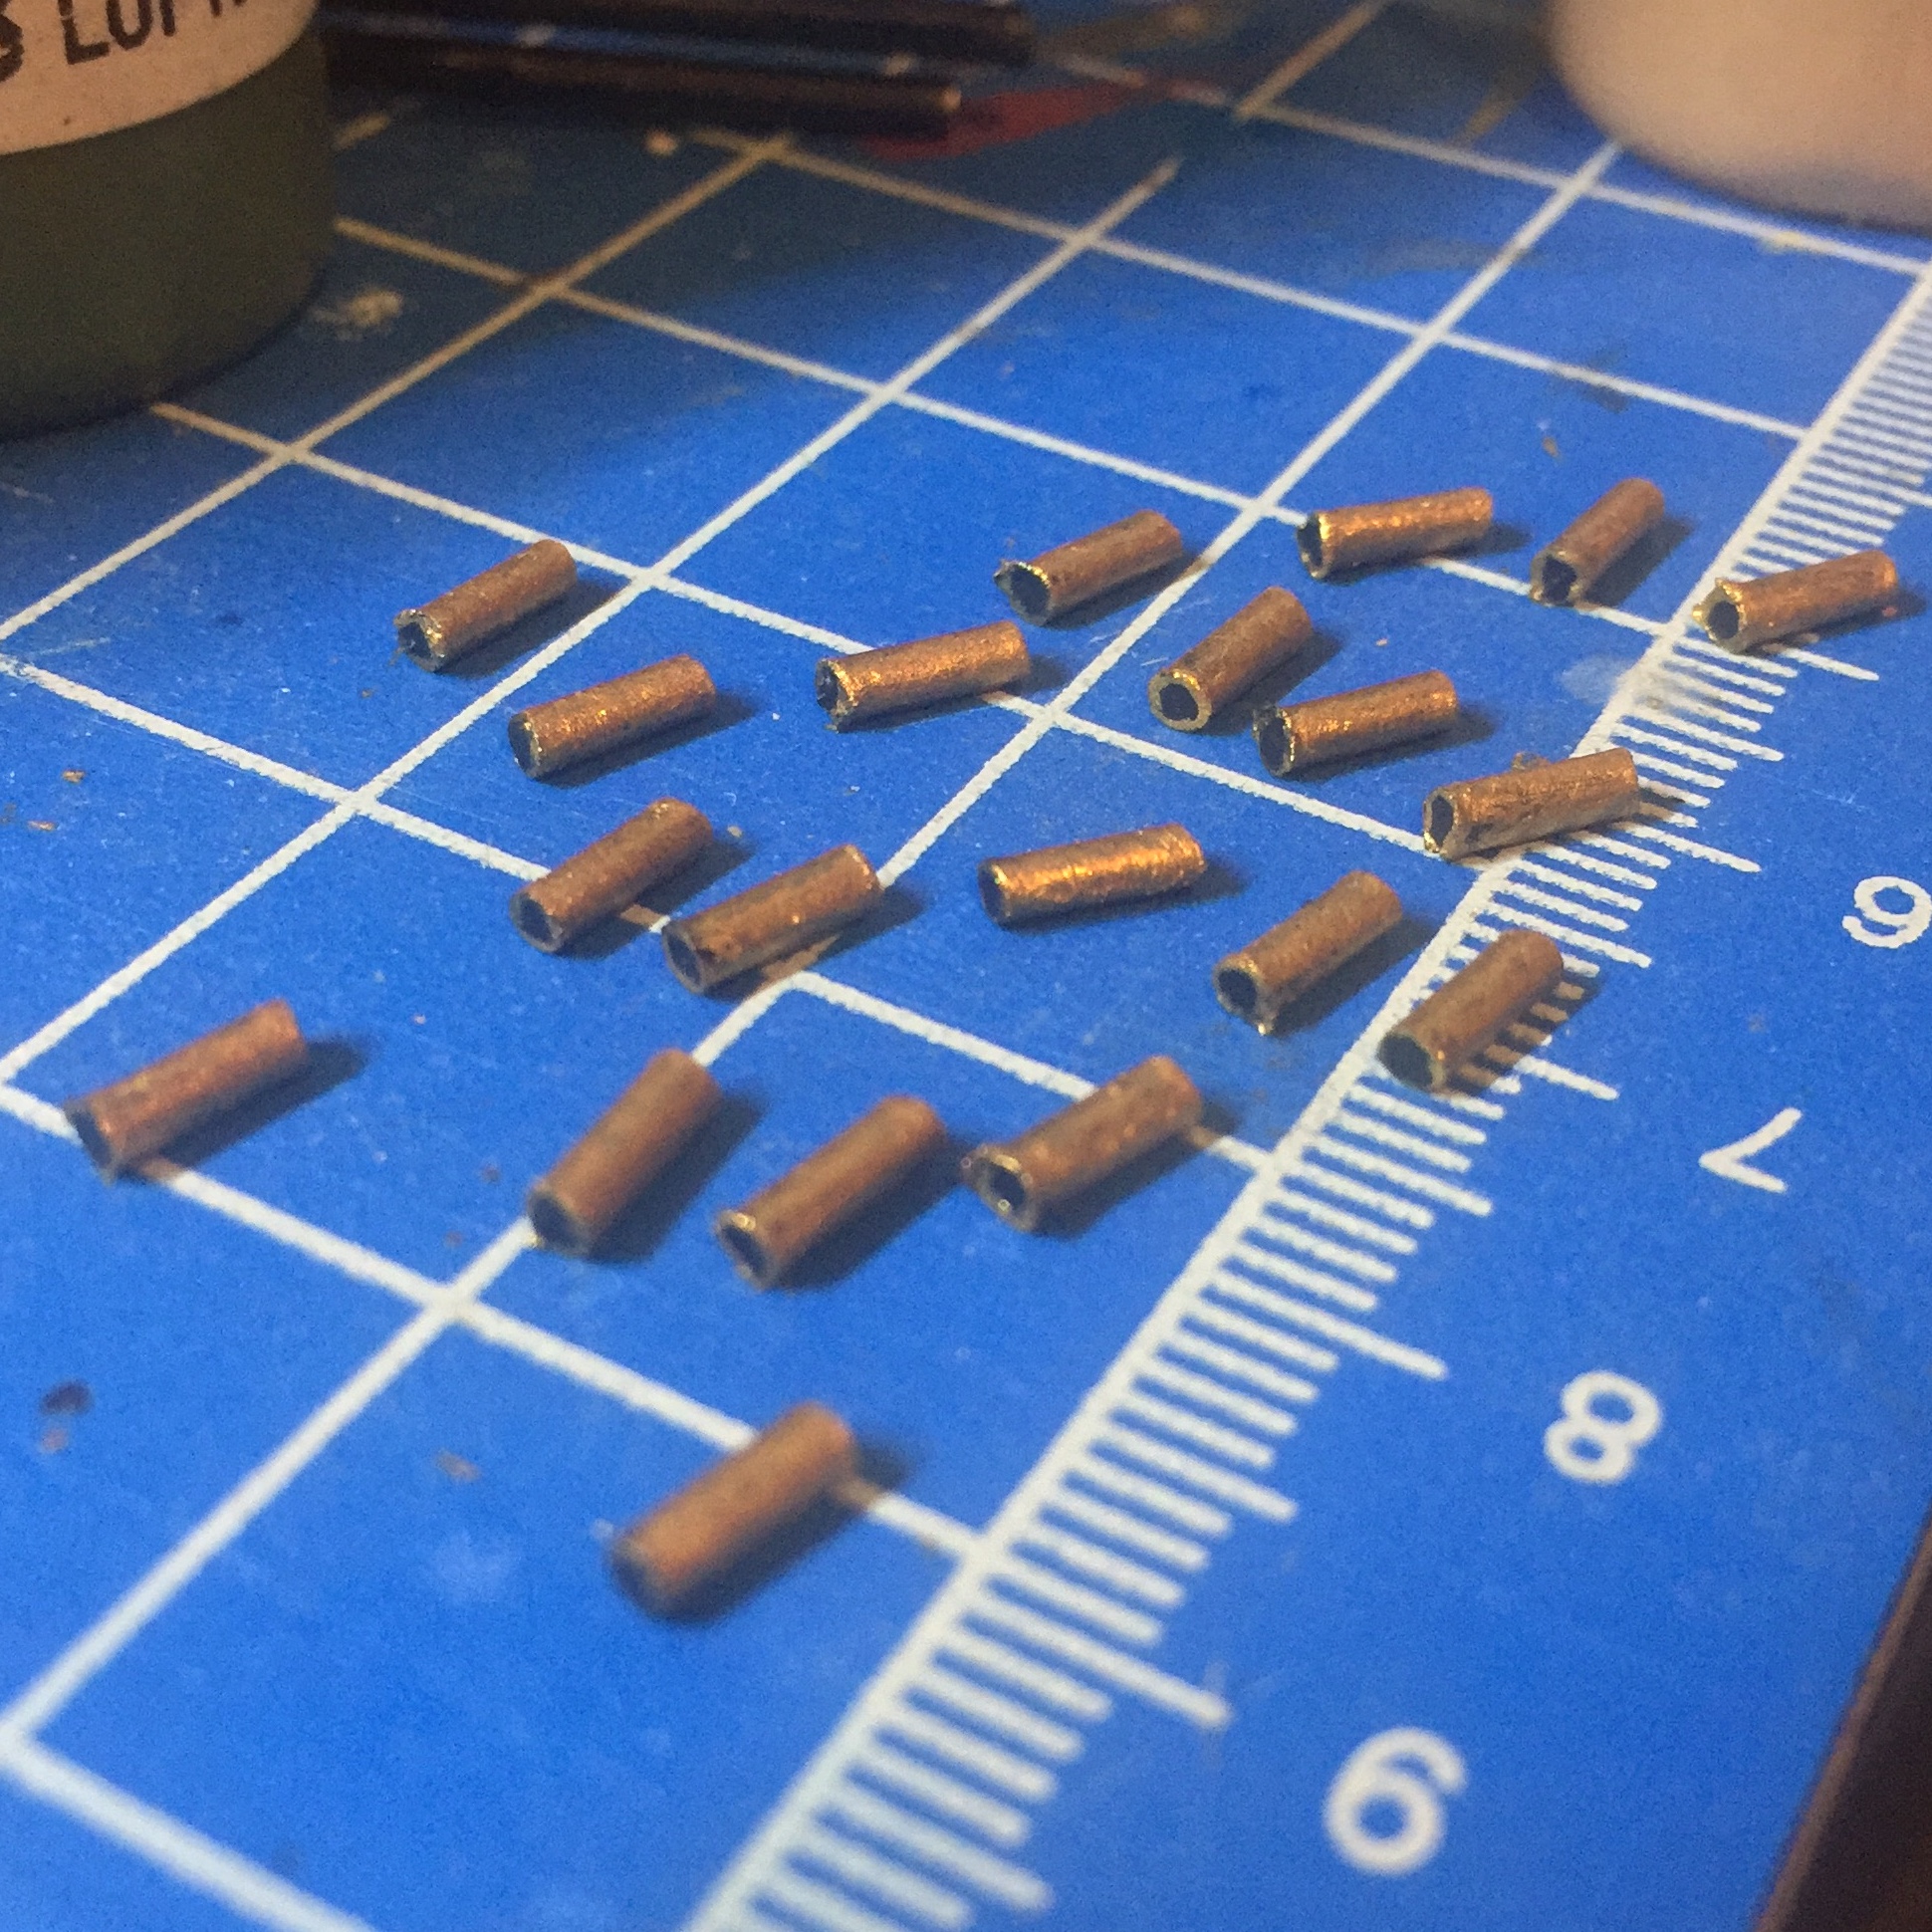
Once dry I removed them from the mounting, and painted the end that was stuck down with black, to emulate the hollow end of a spent shell. I also went around the edge with brass again.
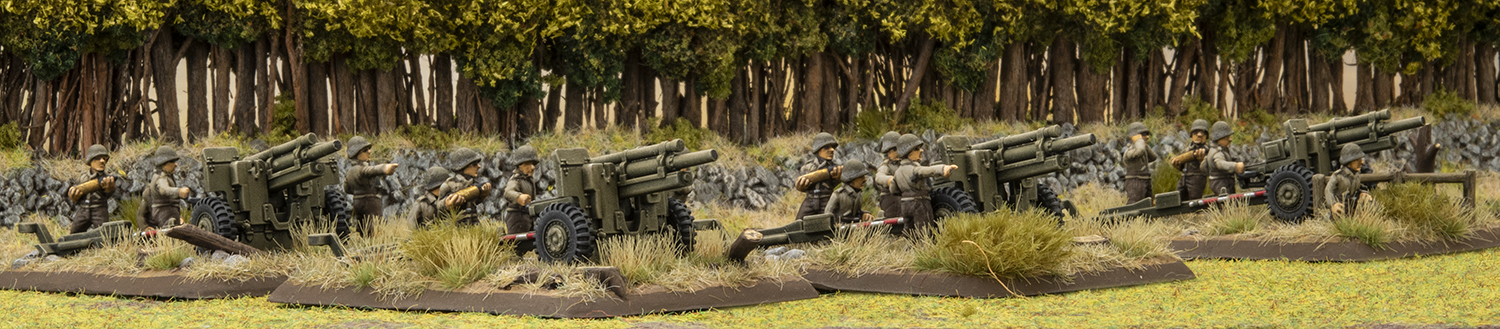
 All that’s left to do is glue them onto the bases with superglue. I chose to do it after flocking and really push them into the grass.
Hopefully this helps you get your artillery teams looking the part on the table. You could also use this method for spent shells on mobile artillery engine decks!
Click on the image to the left for a much bigger version…
~Victor