
 During some of my Instagram posts for Big Four Of Late-war a couple people asked about basing, so I thought I’d put together a basic basing guide. It is all pretty simple stuff, nothing fancy going on, I’ll leave that for Victor.
You can click on any of the images below for larger versions
Some preliminary notes
First off I will point out that I like to paint my miniatures before I do the basing as I find it easier to paint the miniatures lightly glued (usually with PVA) to card. This makes it easier to paint each individual miniature without the team base getting in the way. All paints are Vallejo Model Color unless stated.
Step 1
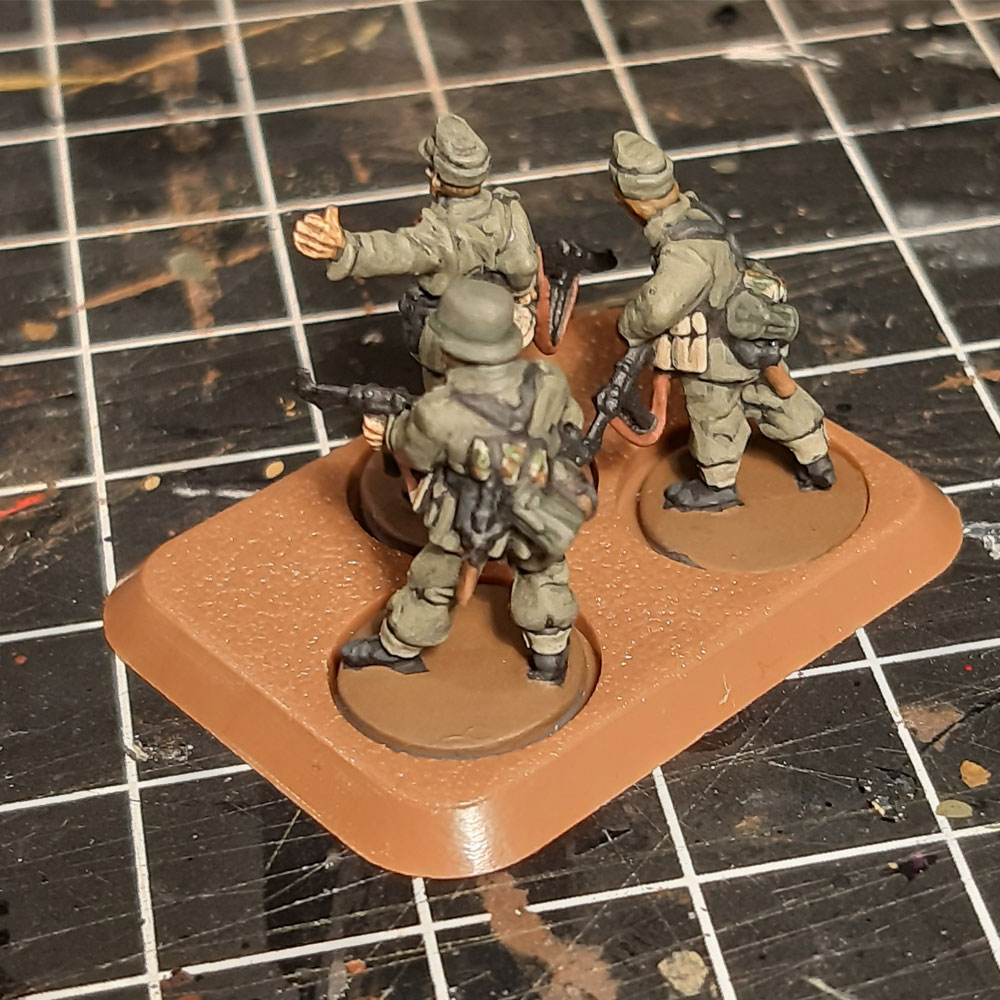
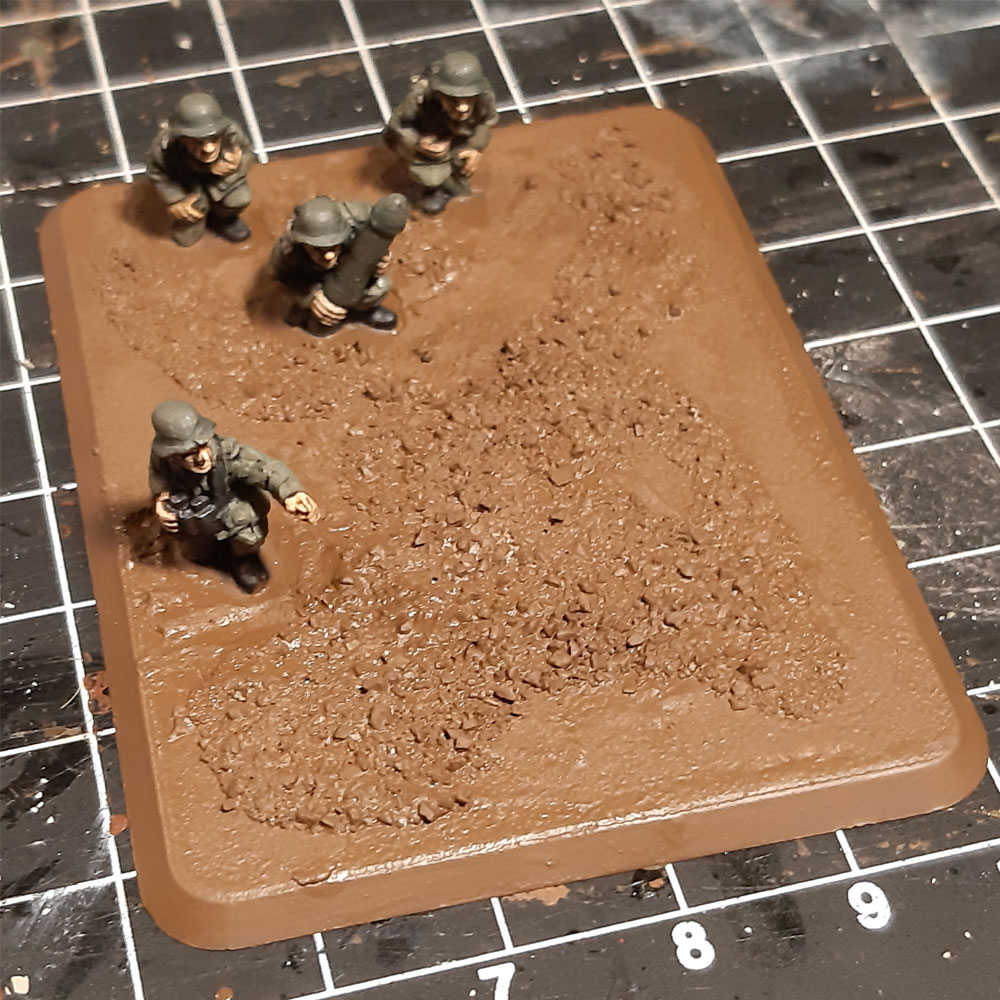
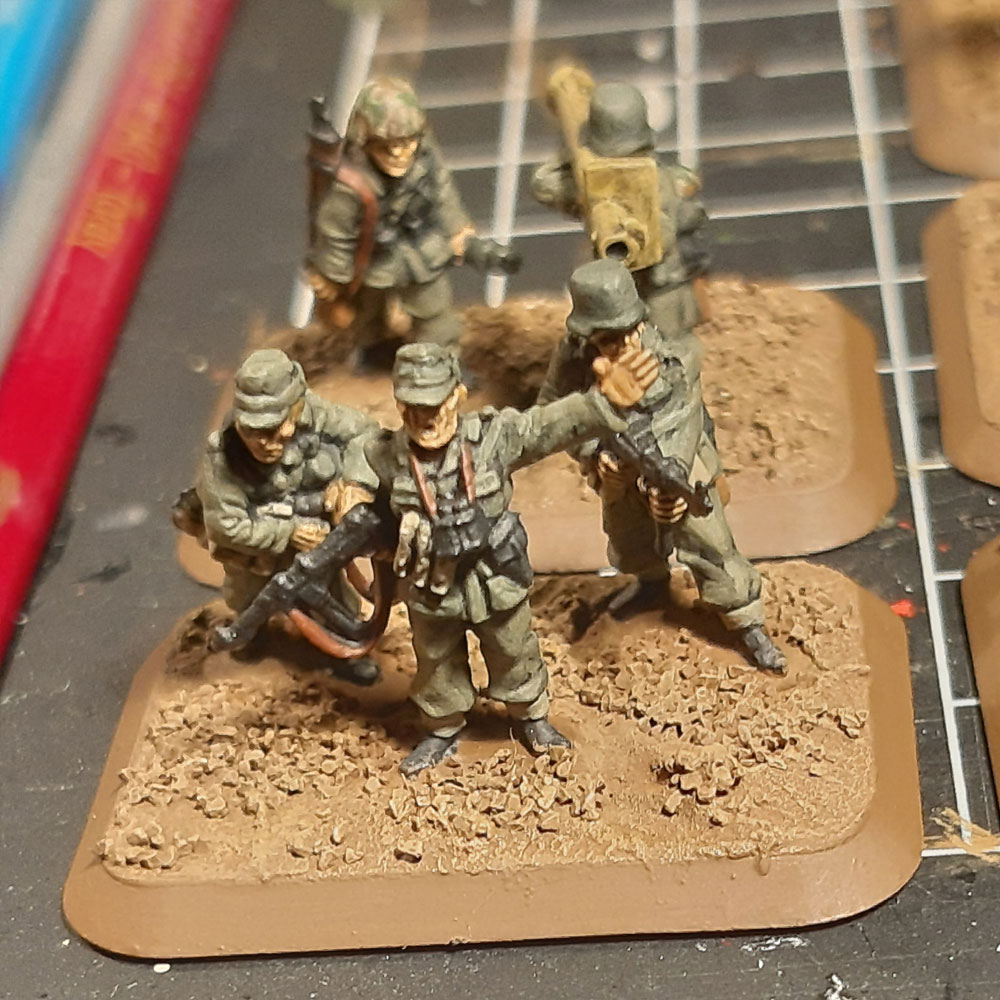
Once I’ve painting my miniatures, I paint the round base the same base colour I plan to use for my earth base colour, in this case German Camo Medium Brown (826). I then glue them into the holes on the bases, bearing in mind where any guns may go etc. I like to do this without glue first to try different arrangements out. If it is a gun team like my Nebelwerfer example, having an assembled gun available to help with the arrangement of the crew is a good idea. Once you are happy with your arrangement glue in your miniatures. For hard plastic (like my panzergrenadiers) you can use plastic glue (poly cement), but for the flexible plastic (like the Nebelwerfer crew) use super glue. Also remember to fill in any unused holes with the plastic discs that come with your bases.


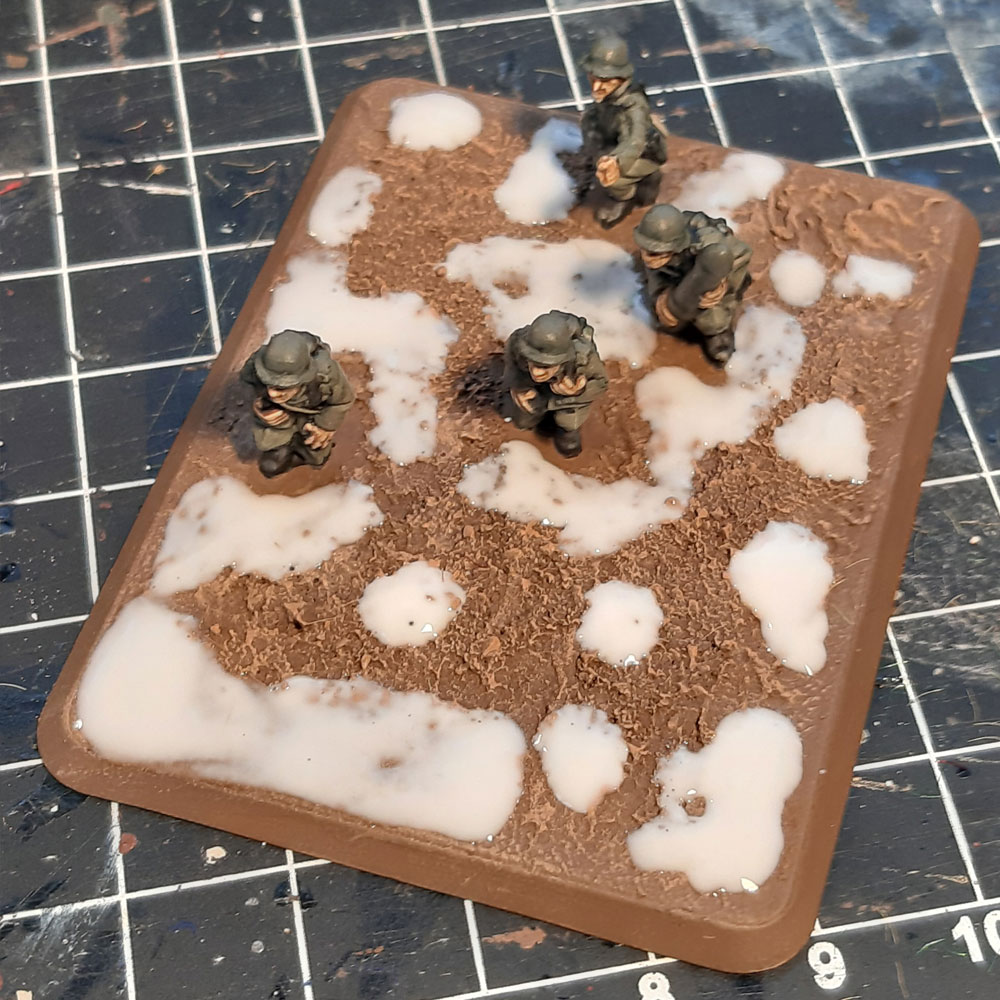
Step 2
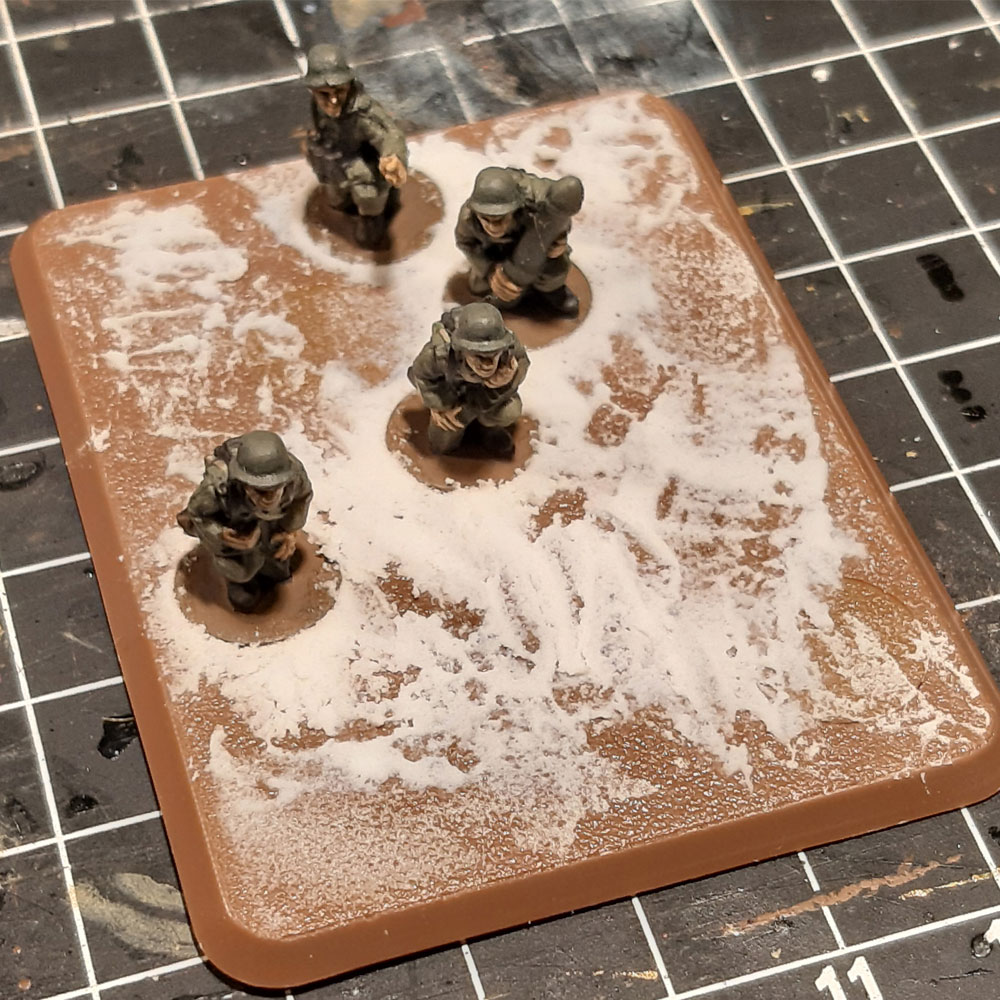
There will be a few gaps around where the bases fit into the holes. I fill these with pre-mixed interior filler. The kind of stuff you get from the hardware store for filling gaps in drywall etc. I work this around with an old paint brush. These products are usually water soluble so you can wet your brush to make it easier to push around. I also use it to add a bit more texture to the surface of the base and generally blend the miniature bases in with the rest of the base.

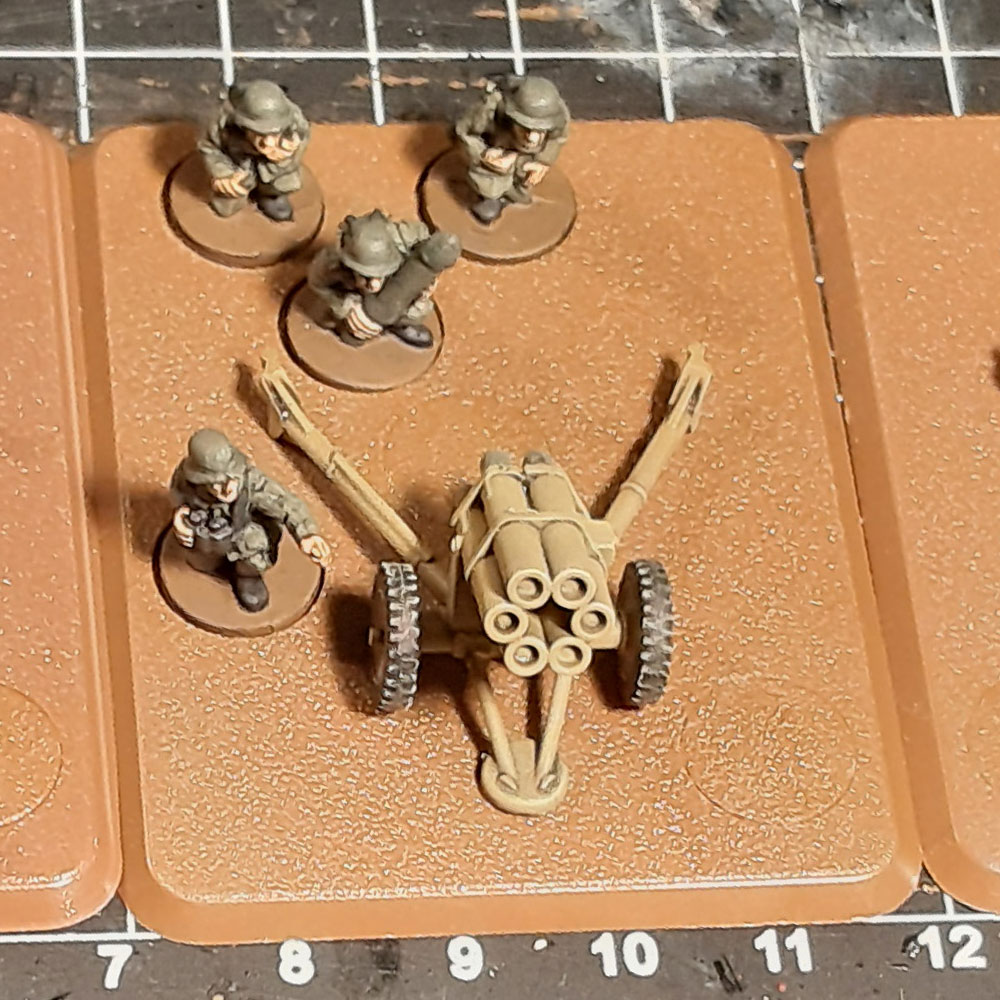
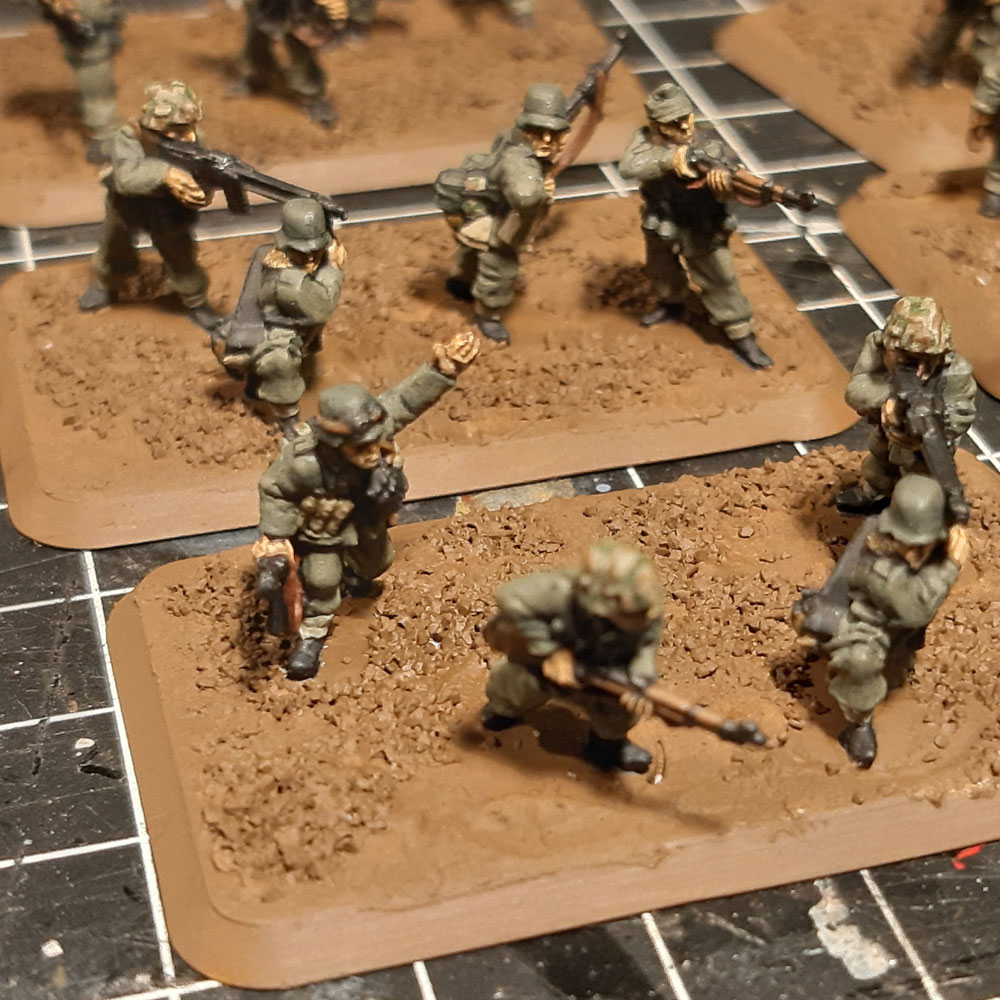
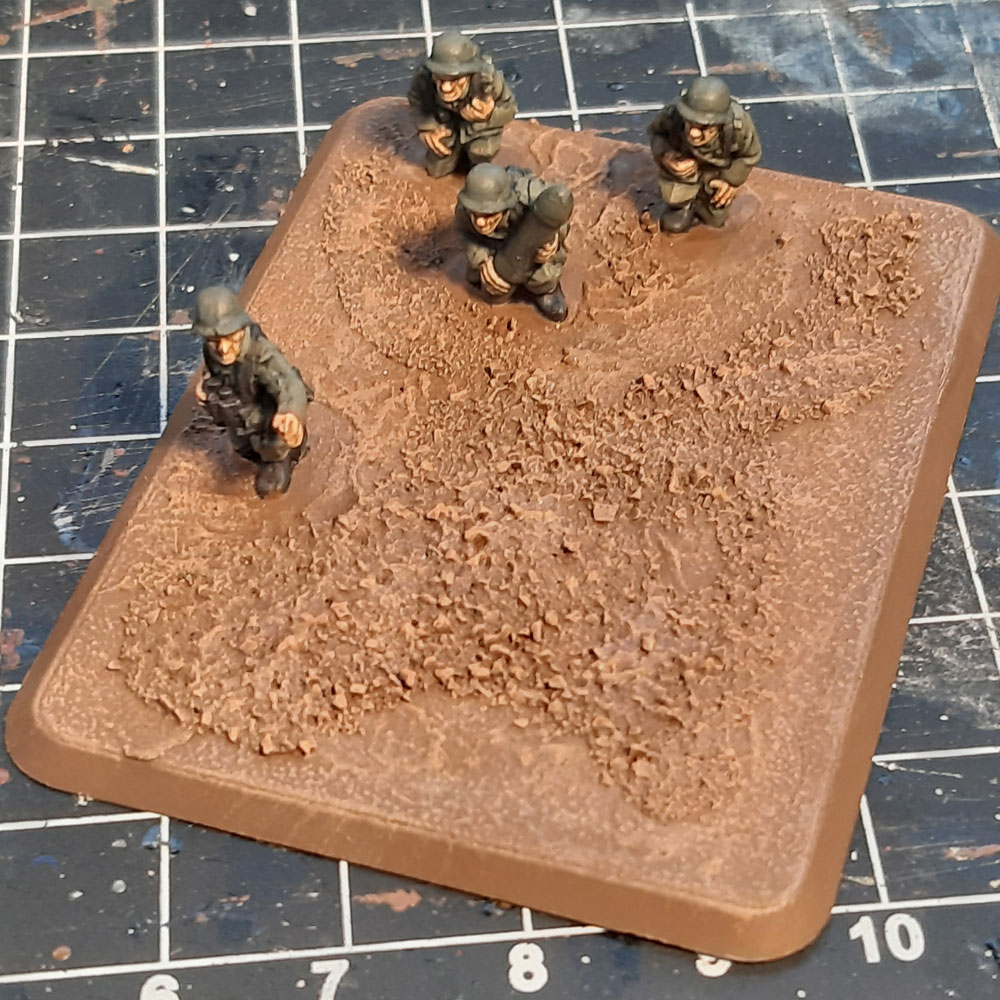
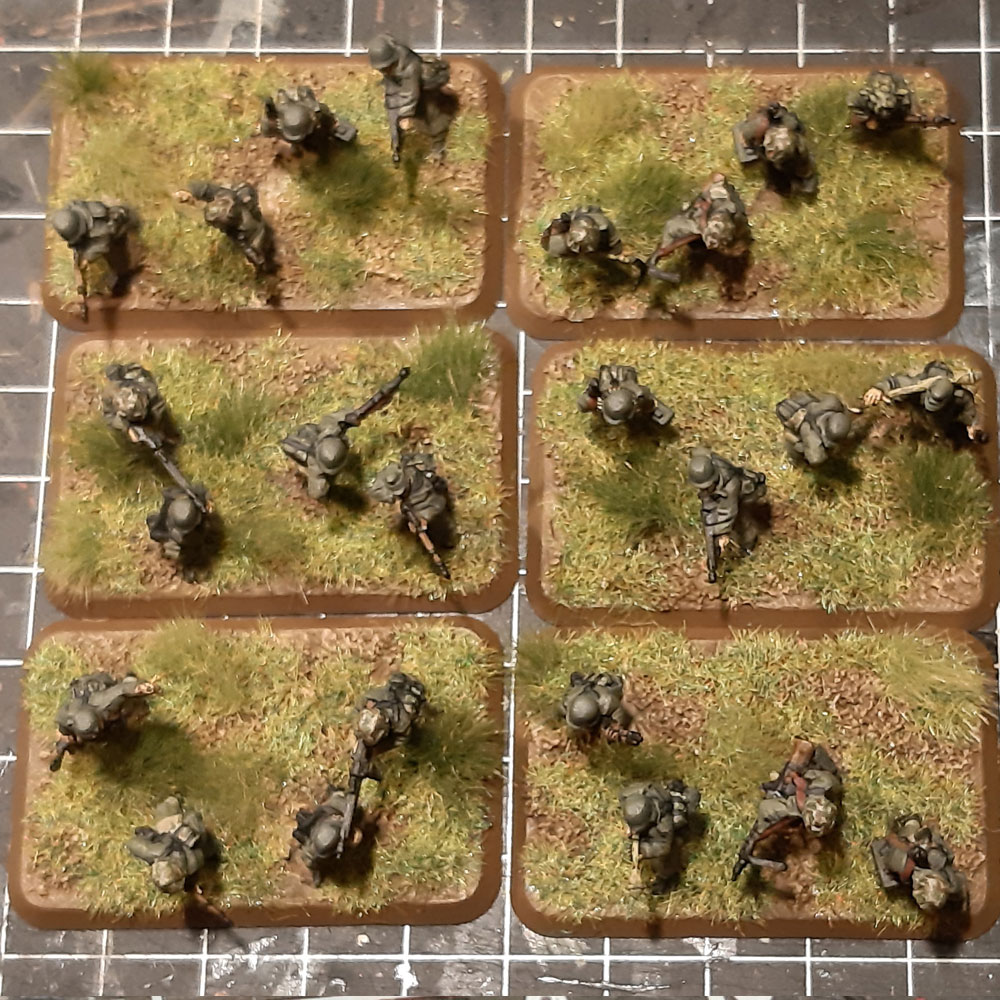
Step 3 (image #3 above)
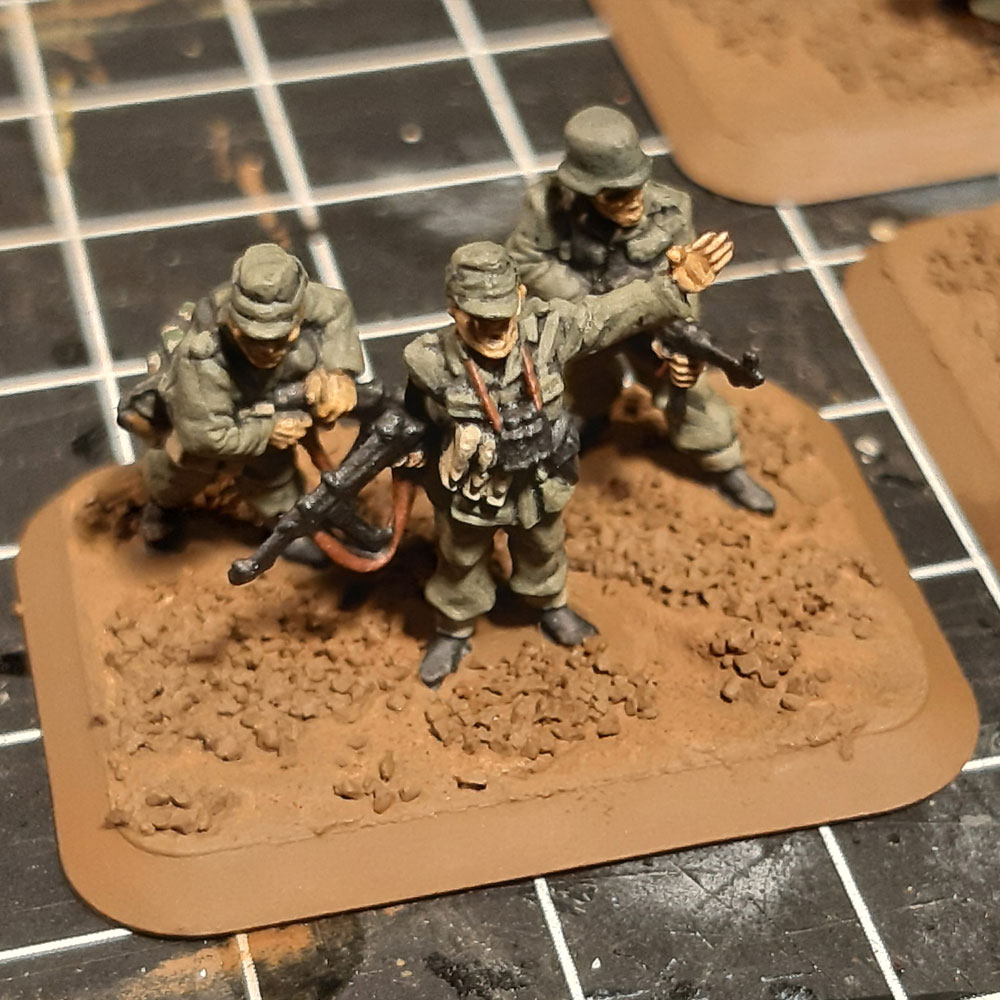
After the filler is dry (it dries pretty fast, no more than an hour or so) I then spread some PVA glue in patches on the base. On top of this I sprinkle sand and other various sizes of grit. You could even add a few large stones (though keep in mind the scale of your miniatures) depending on the look you are going for. Once the glue is dry, brush off the excess loose bits with a large brush.
Step 4
Once you are sure your sand and grit is dry you can paint the base whatever earth colour you have gone for. Here I’ve used German Camo Medium Brown (826). Don’t worry too much about the base edge as you can touch that up at the end.
Step 5
Now you can give your texture a drybrush to bring out its earthy detail. I’ve put two layers of drybrushing on. First with US Field Drab Earth (873), then Cork Brown (843).
Step 6
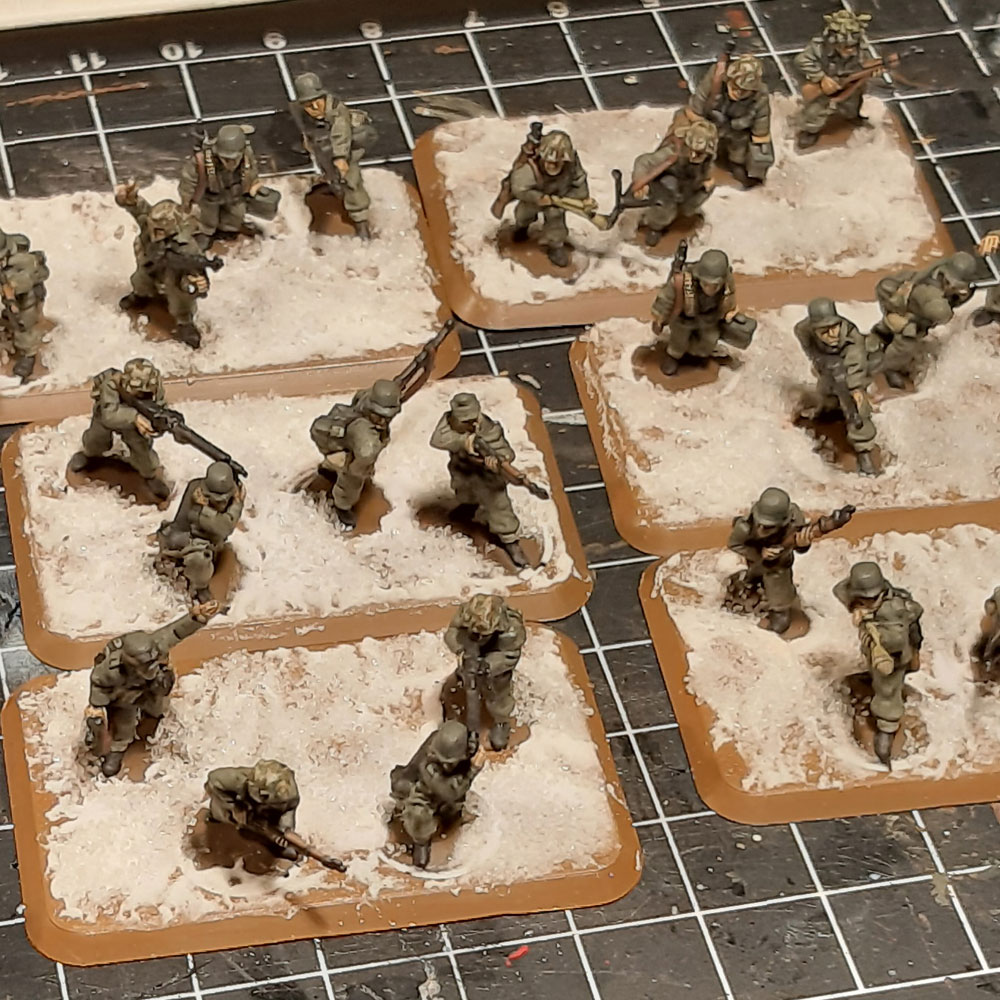
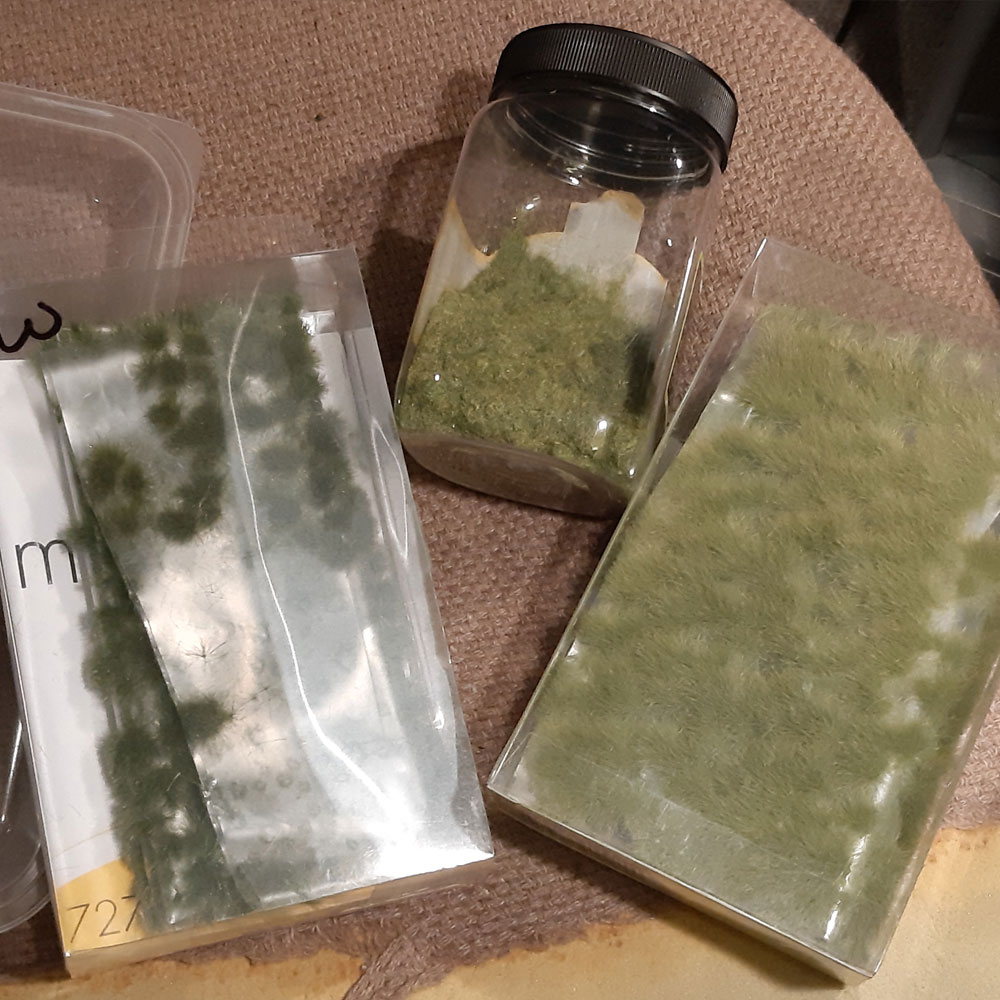
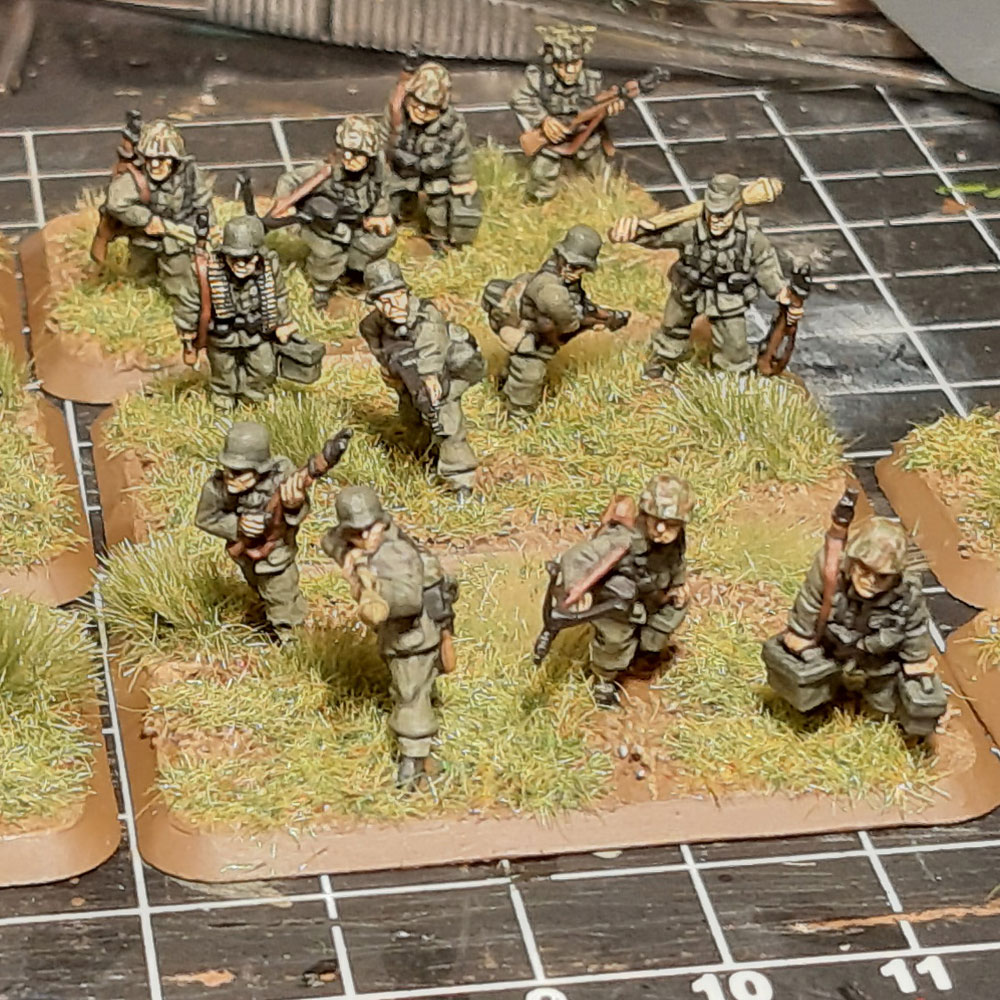
Once the paint is dry it is time for some vegetation. I’m using a mix of two types of tufts (these are available from great a many manufacturers these days) and some static grass I mixed up myself from about three different colours. Colour is up to you, but I go for tufts and static grass that complement each other.
First I spread on some PVA glue with a brush in irregular patches.
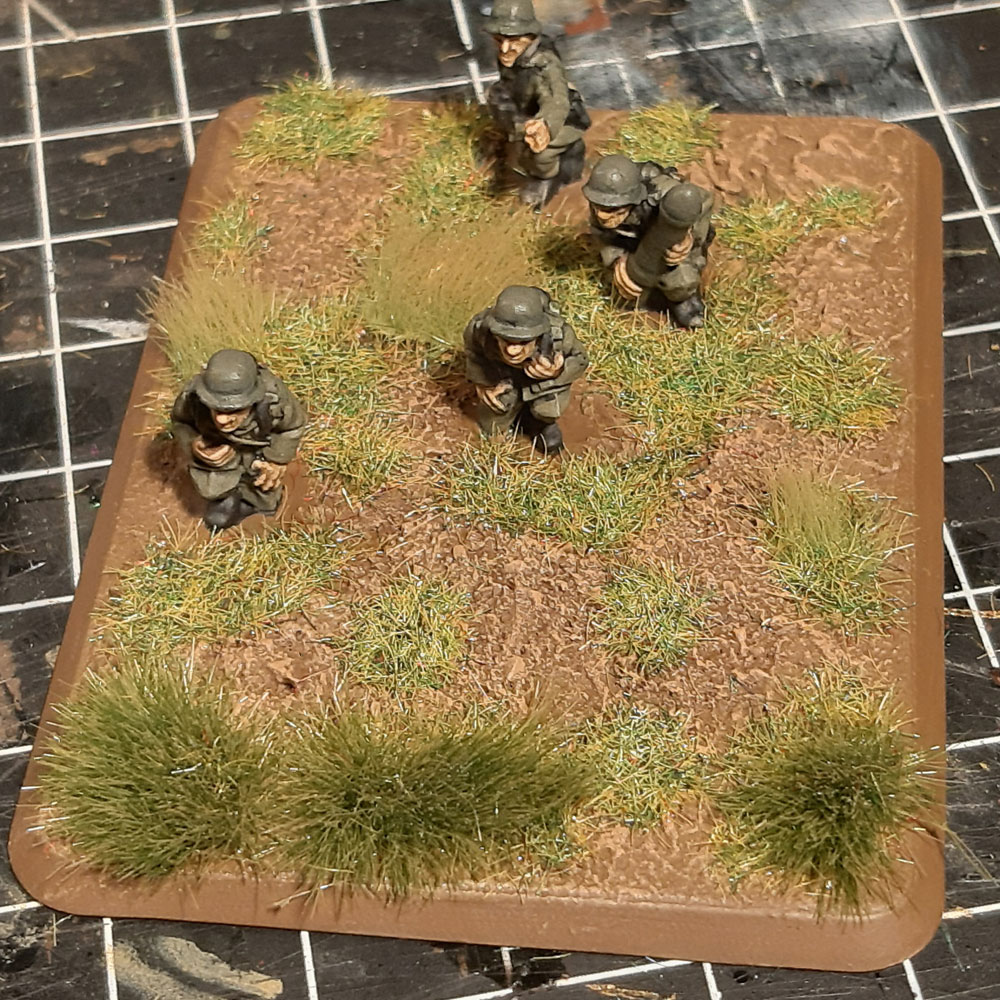
Step 7
Then I place the tufts in position on the glue patches, before I sprinkle/dump on the static grass. Once the static grass is heaped on I press it down a bit with a brush handle. I then leave it to dry. I give this a good length of time, depending on the weather (the colder it is the longer the PVA takes to dry). Once it is dry I brush off the excess static grass into its container.
It is worth keeping in mind where you will place guns as you don’t what a particularly large tuft getting in the way of where you want your gun to go.
With infantry this is usually where you finish.

Step 8
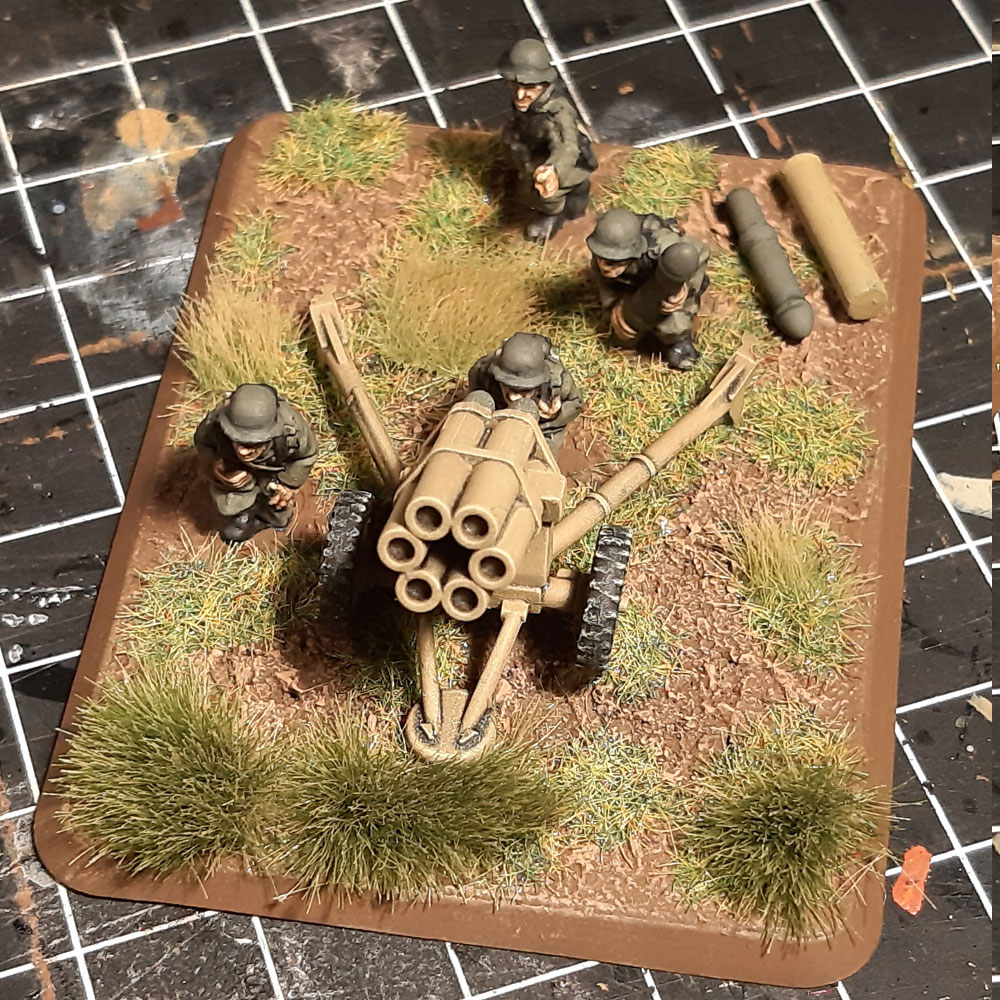
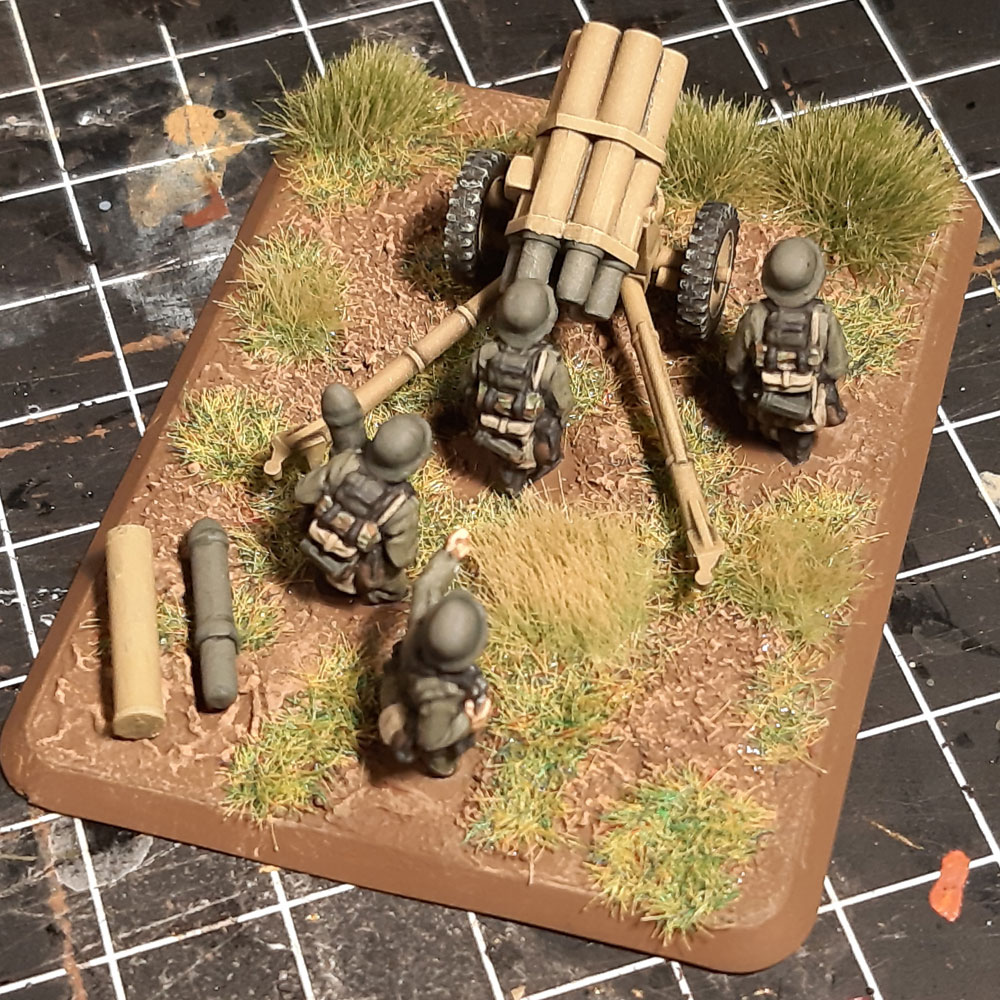
However, if you are basing a gun team you will still have to attach your guns. Some people like to just place their guns on the base so they can change type of gun. I don’t. I like to glue mine down. I just put a spot of PVA on the points that will touch the base, like the bottom of the wheels and the end of the trails. Depending on how fluffy your flocking is you may have to apply some weight to the gun so the glue holds. With the Nebelwerfers I just rested my metal pin vice along the trail until the glue was dry.


Step 9
Another item you may have to add to a gun team is ammunition, be it unfired rounds, spent cases, or ammunition crates. These all look great and many gun kits already come with these items. Just paint them up at the same time you paint your guns. I just glue these down with PVA like I do with the guns.
Finally once all the glue is dry give the whole team a spray with a can of matt varnish. This takes the shine off the tufts and static grass, and ensures your ground texture is nice and matt.


I hope that gives you an idea about how I go about my basing.
Happy basing,
~Wayne