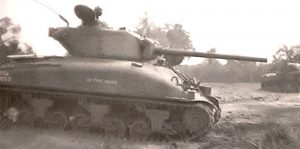
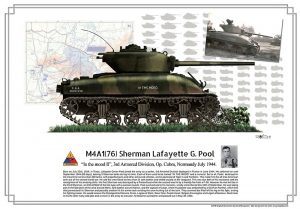
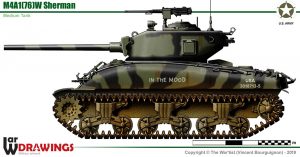
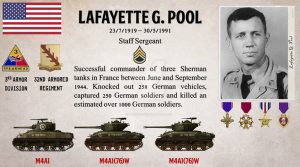
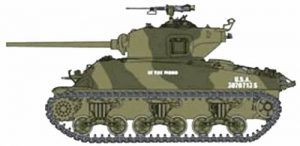
 Previously I mentioned how I like to do a test model before I begin a large army. In this case I’ve chosen to do Lafayette Pool’s M4A1 76mm Sherman “In The Mood”, for a few reasons:
- If I end up learning from it and changing the painting plan for the rest of the force, it’ll be ok that my warrior looks slightly different.
- I want to try black camo on at least one tank, and Pool’s tank certainly has some camo.
- I was eager to paint the new plastic kit!
With a project as big as this I felt it was worth completing a full model to completion, but sometimes a spare hull top is enough to try out colours.
I started as I usually do with a black primer, and then airbrushed on Brown Violet. Next, I added some Buff (about 75/25 Brown Violet/Buff) and airbrushed most of the upper surfaces, and then added even more Buff (about 50/50 now) and did some rough panel fading.
Switching from airbrush to brush, I dry brushed on German Camo Beige. This picked out all the raised edges and toned down some of my rough airbrushing. I then applied a very thinned down black wash, followed by a second dry brush of German Camo Beige to tidy up the wash.
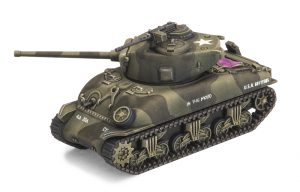 Next it was time to try out the camo. The obvious choices would be to either airbrush on black for a soft-edged pattern, or brush on black for hard-edged.
From looking at photos and artists renderings of pool’s tanks, it seemed to me brushed on would be the best approach, as even though the real camo would have likely been sprayed on, from a distance and at our scale the edges would appear hard anyway.
I wanted a way to try retain some of the shading I had done with the olive drab colour. This was my eureka moment… Black wash!
I painted on patches of Black Wash, loosely copying some photos. This way my airbrush shading and dry brush shows through, and the tank looks like it’s highlighted consistently across the base colour and camo colour. I also liked that it gives a sort of faded look, and not a solid deep black, which is the impression I get from photos. It needed two coats to give me the contrast I was happy with, but the second coat goes quickly as I’d already traced out the pattern.
 With the base and camo complete, it was time for details. I didn’t do anything too adventurous here; Beige Brown for tool handles, Gunmetal for tools and machine-guns, German Grey for rubber, etc. These all got a black wash as well.
Lastly was decals, which I kept to a minimum this time as Pool’s tank seems to have been pretty bare. I had a go at writing “IN THE MOOD” on the sides of the tank, just as Pool would’ve done.
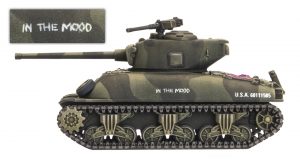 Oh, and you may have noticed the pink rectangle on the engine deck. More on that another time…
I’m really pleased with how this Sherman has turned out, and luckily, I don’t think I’ll need to change anything about the process going forward. It’s quick, easily repeatable, and I’m happy with the result, so it’s ticking all the boxes for me.
 The only thing left to decide now is if I want to continue the black camo across the whole force. I certainly like the look, but I’d like to find out more about the application and how common it was.
Time to do some research…
– Victor
* All colours referenced are Vallejo Model Colour.
