Motivation and Skill are two of the most important stats in Flames Of War, determining how keen your troops are to do scary things, and how good they are at doing them. Selecting a Nation and an Army for the Big Four Project (for me at least) tapped in to the same two things…
Motivation: what drives us to do something. In the case of the Big Four we all wanted to go on the Late War Journey as a group of friends, whilst sharing it with a community of (hopefully) interested Flames Of War players. Drilling down further we see that:
- Victor: wants to build a great looking, visually thematic American force that he can plug in new units into.
- Casey: also wants a visually themed force, but one that challenges his ability (Skill) but working on a different painting style.
- Wayne: is planning a historically themed force that fought throughout Late War.
- Chris: well….
I am drawing on a few different areas, TV and Movies, Gaming, and a desire to finish a project that I have failed to complete previously…
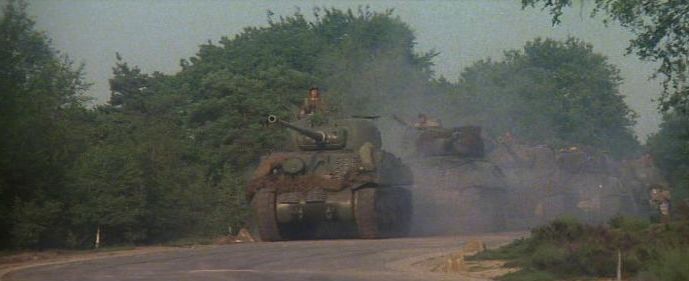
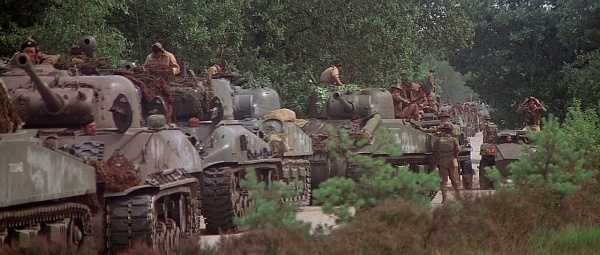
 TV, Movies and the Internet – if you haven’t watched A Bridge Too Far, then go to your favourite streaming service or movie rental and watch it… now!
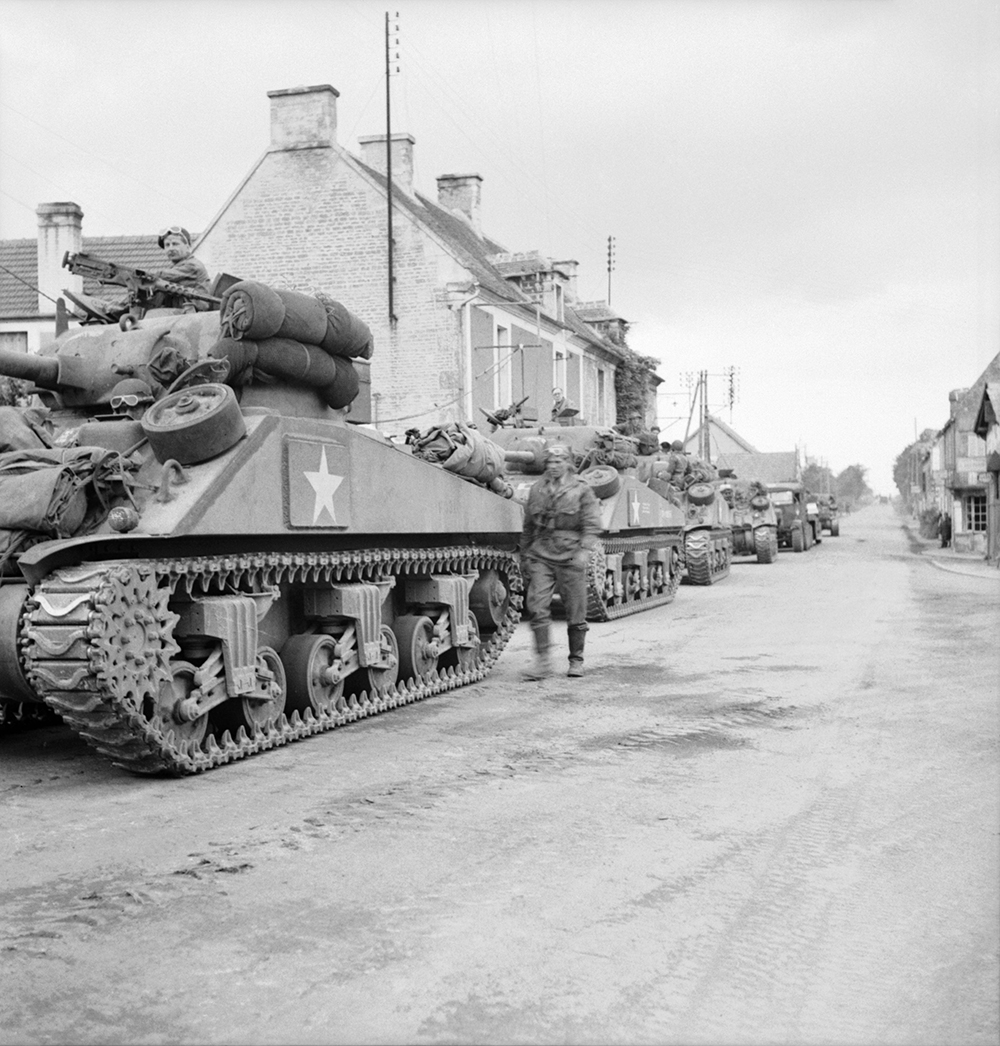
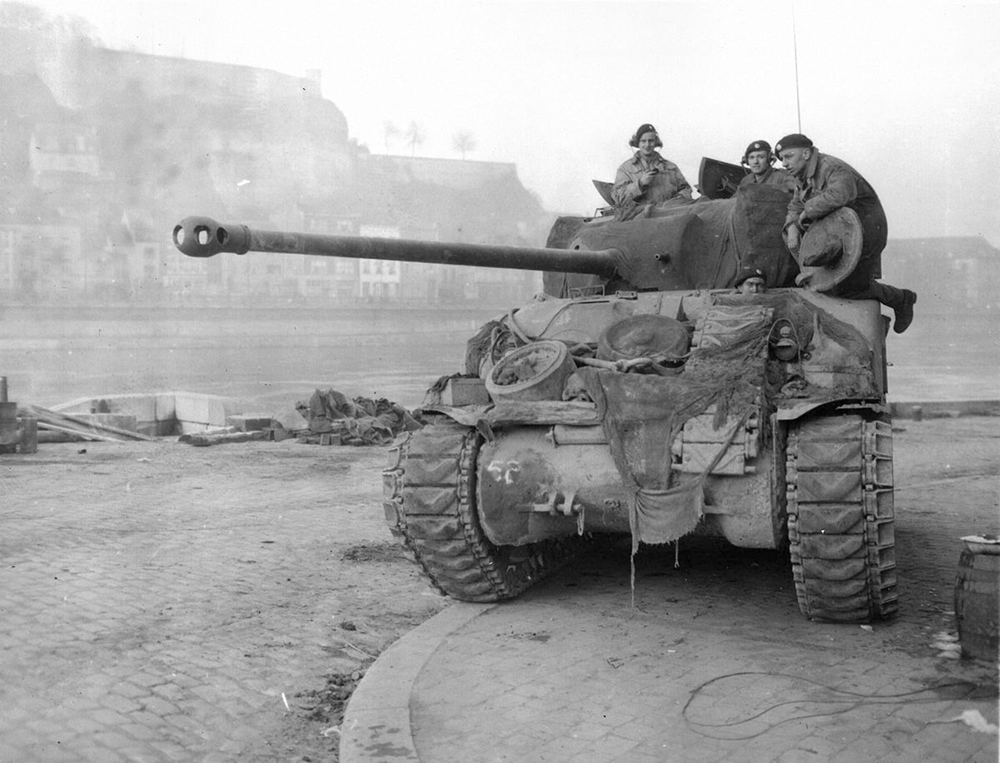
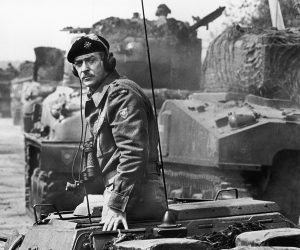
Obviously ABTF isn’t the only reference that I am drawing from but there is just something about that movie and its portrayal of not just the Paras, but also the Irish Guards and their columns of Sherman tanks pushing up the road to Arnhem that has really stuck with me.
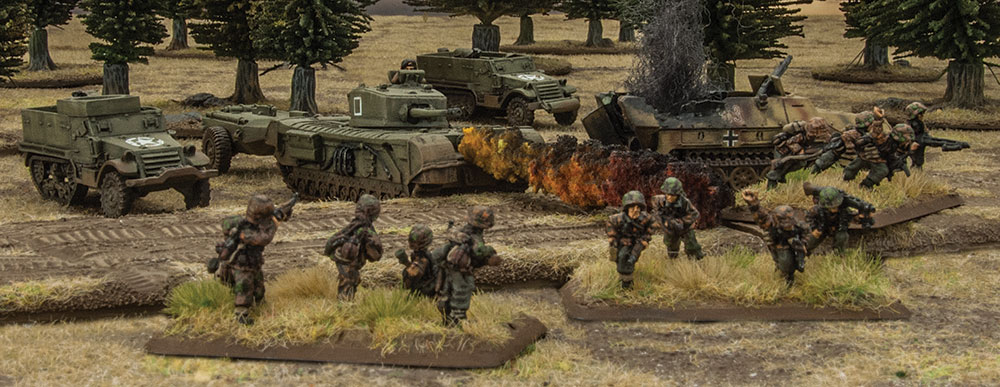
Then, just do a search on the internet for images of the British army in Normandy – from images of troops fighting in the hedgerows to Shermans covered in stowage and track links, there is plenty to draw inspiration from.
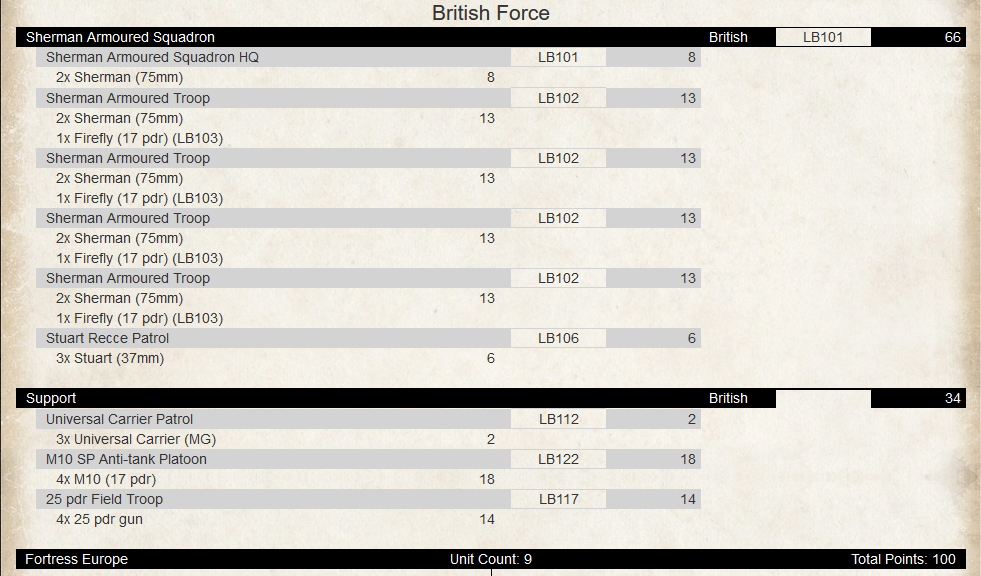
Gaming – I enjoy playing the mix of models that a British Army can run in Late War – middle of the road Sherman tanks, very shooty Firefly tanks, resilient Rifle Platoons, nippy (fast) Carriers, all rounders like the 25pdr gun, and heavily armoured Churchills. There is something for everyone, and in a game where you can field a good mix of models this means I am not short of options in my Army Building Toolbox. A balanced force can deal with anything…
Finishing Something – I’ve started British forces three times since I started at Battlefront… a Cromwell Company not long after I started, inspired by the individually sculpted resin models that Jeremy and James built and painted. A British Guards Sherman Company when we were working on the Bridge Too Far Firestorm Campaign – a terrible paint job left me too grumpy to complete the project. The final false start was my Comet Company, still sitting in a box, assembled and ready for painting, relegated to a box in the garage. Spoiler Alert – year four of the Journey it will be coming back to the painting table!
This brings me to Skill – I am the least capable painter/hobbyist of the group. I am handy with a paintbrush but my painting ability is not what brings me to the hobby. However, I have a plan here as I work alongside some pretty clever guys. I will be picking their brains to come up with a painting plan that means I can complete a nice looking (hopefully) tabletop army using some of the tips and tricks from Colours Of War, along with a few of the skills I have picked up along the way.
On the good side, British vehicles can have a lot of colourful markings on them and there is nothing like a pile of decals and a couple of interesting pieces of stowage to really help finish off a tank and make it look good.
Where I am backing myself is the gaming side of things. I feel like I have a very solid list to build initially that will let me dish out some hurt on the tabletop. Casey, Wayne and Victor’s tanks will all burn the same colour after my Firefly tanks brew them up…
So with the Late War Journey just beginning I feel like have the basis of solid plan put together – time to sort out an initial painting list and get it assembled.
~ Chris
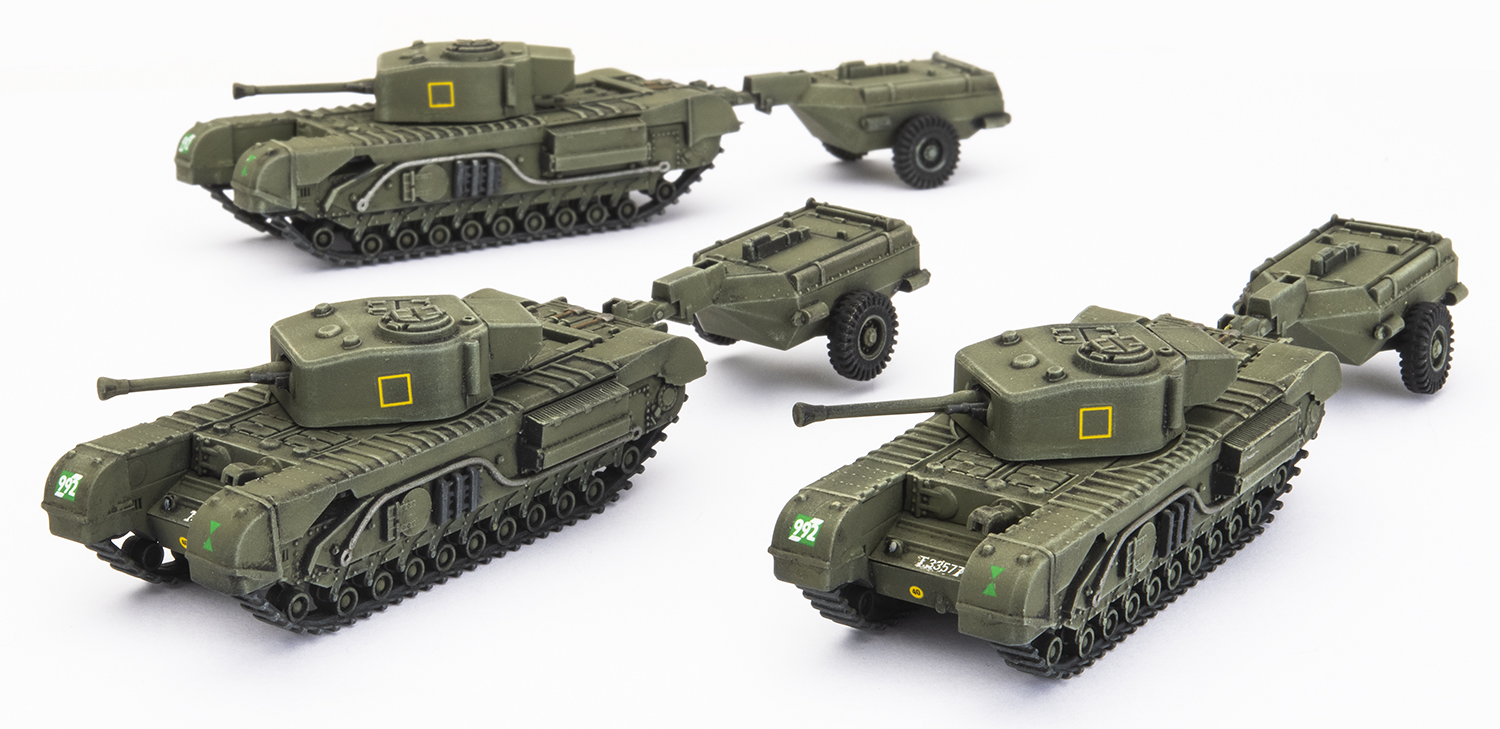
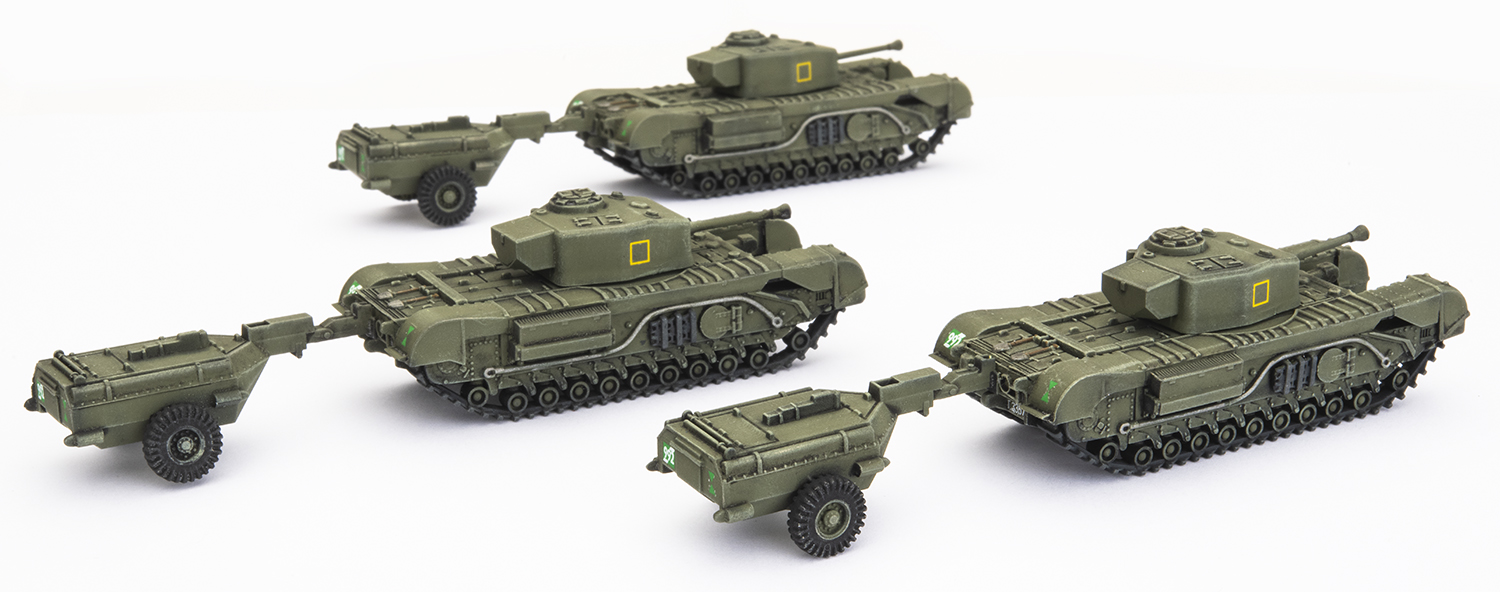
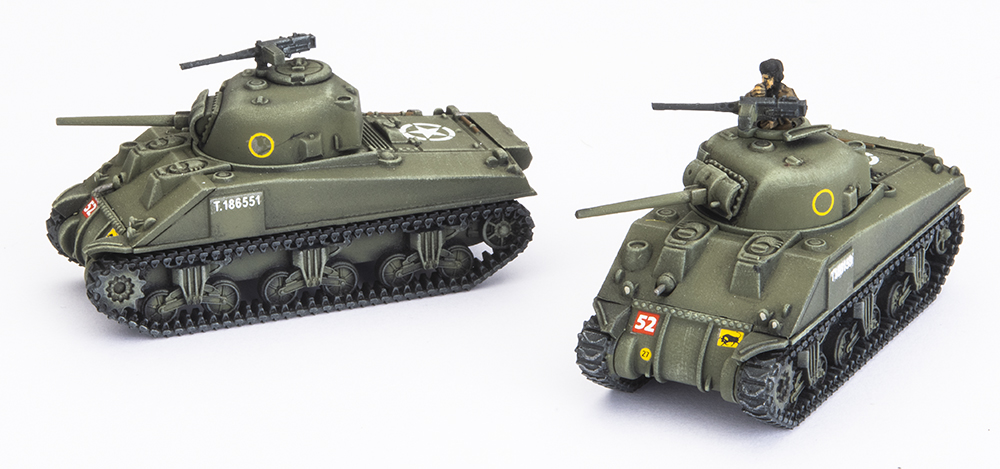
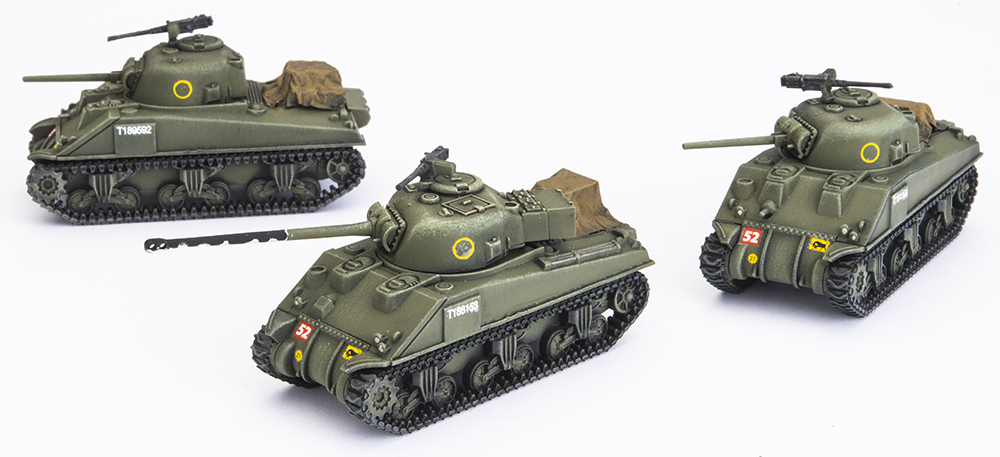
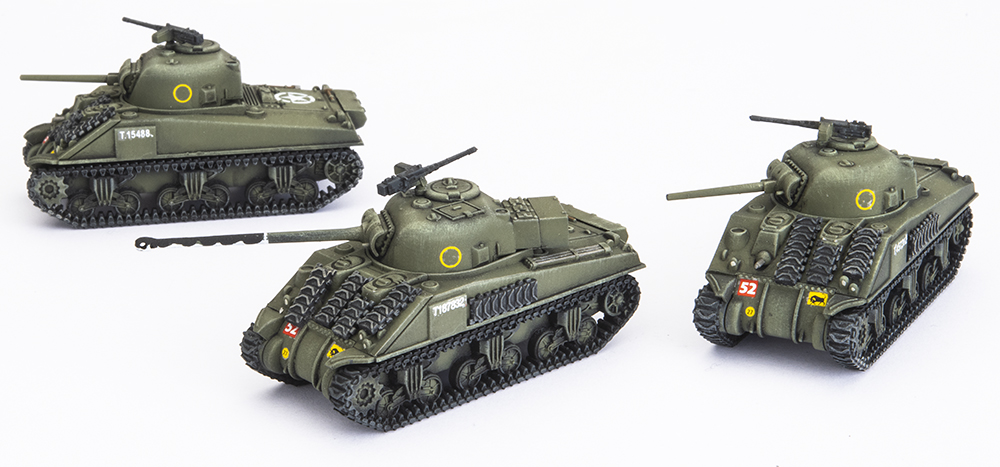
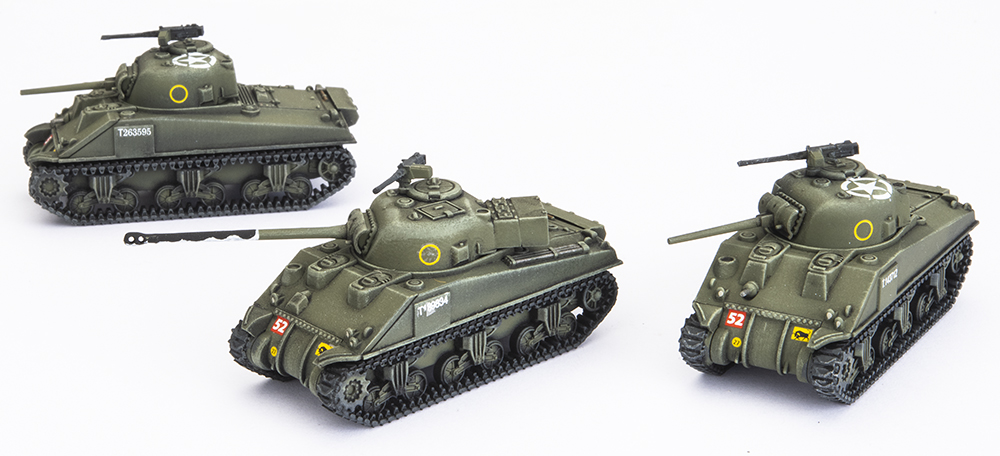
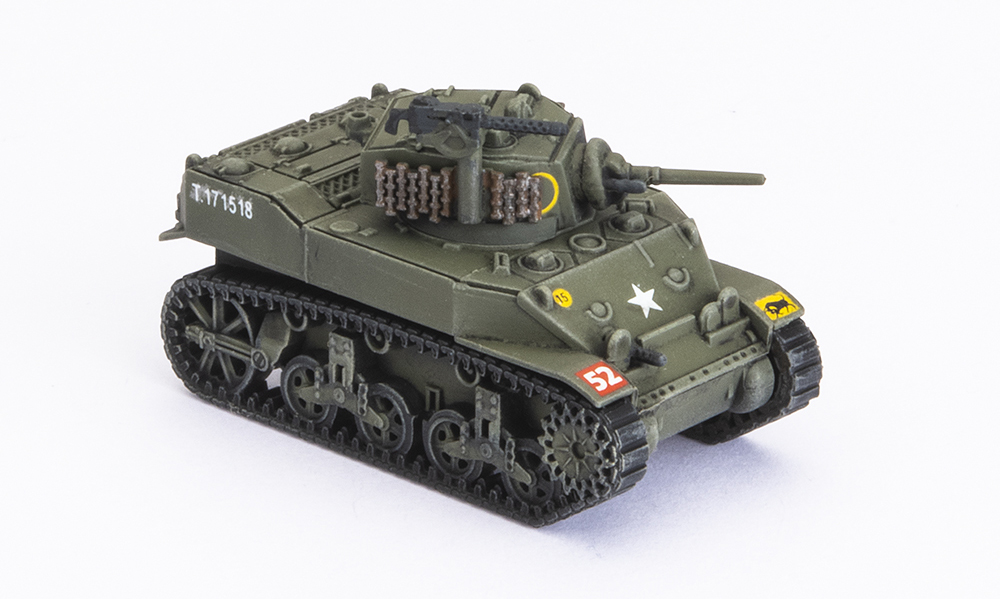
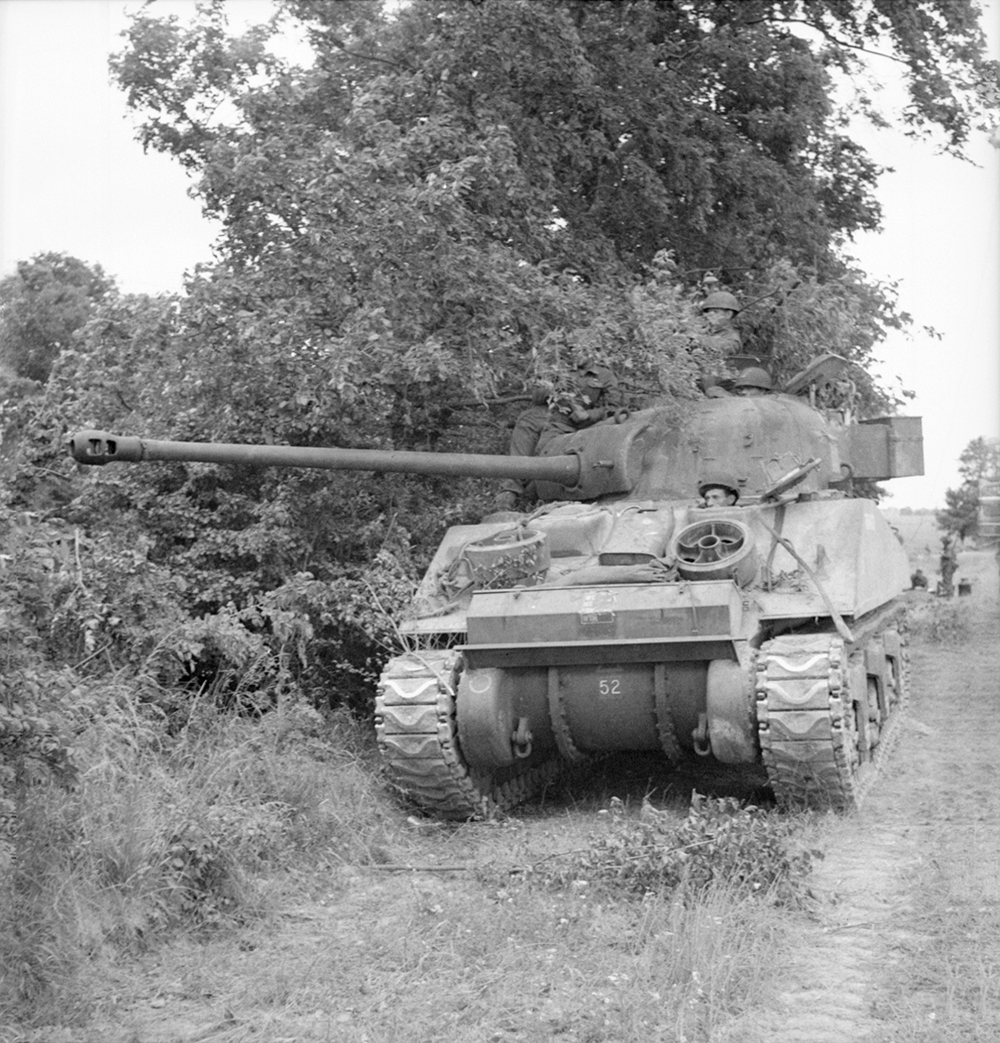
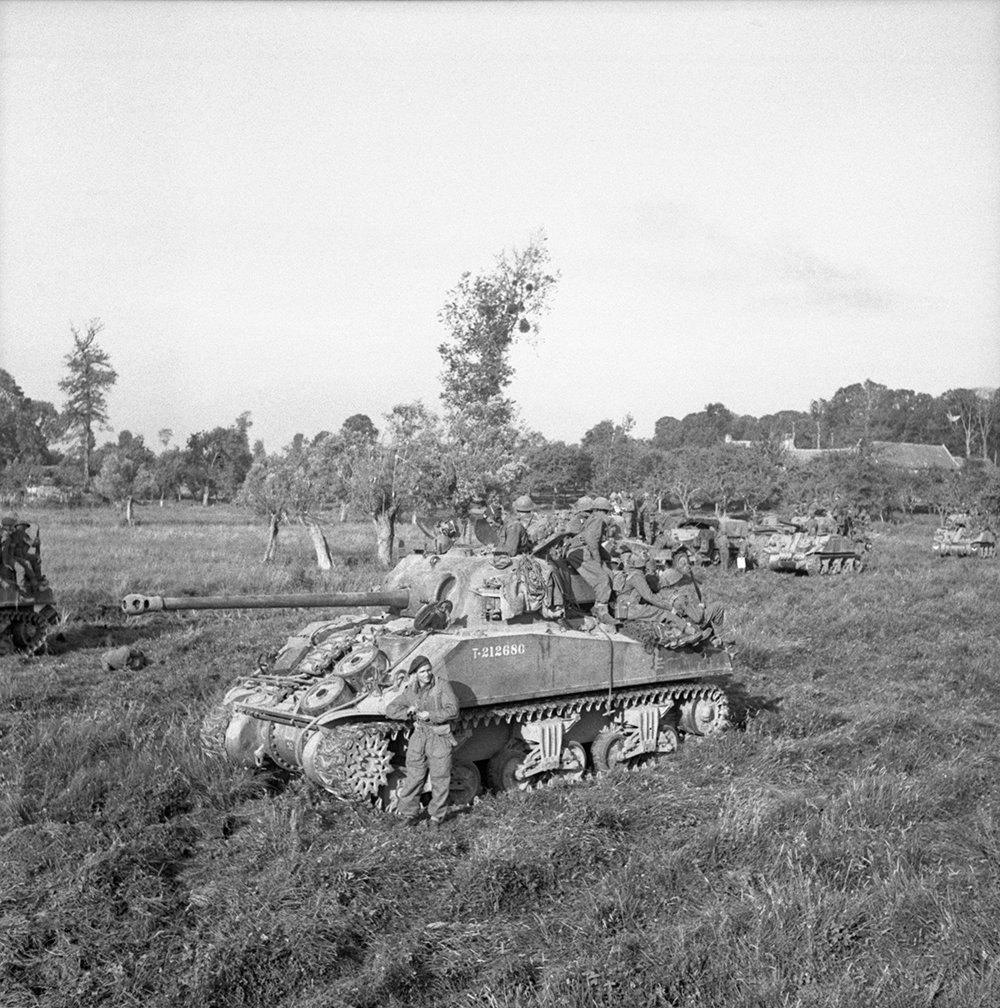
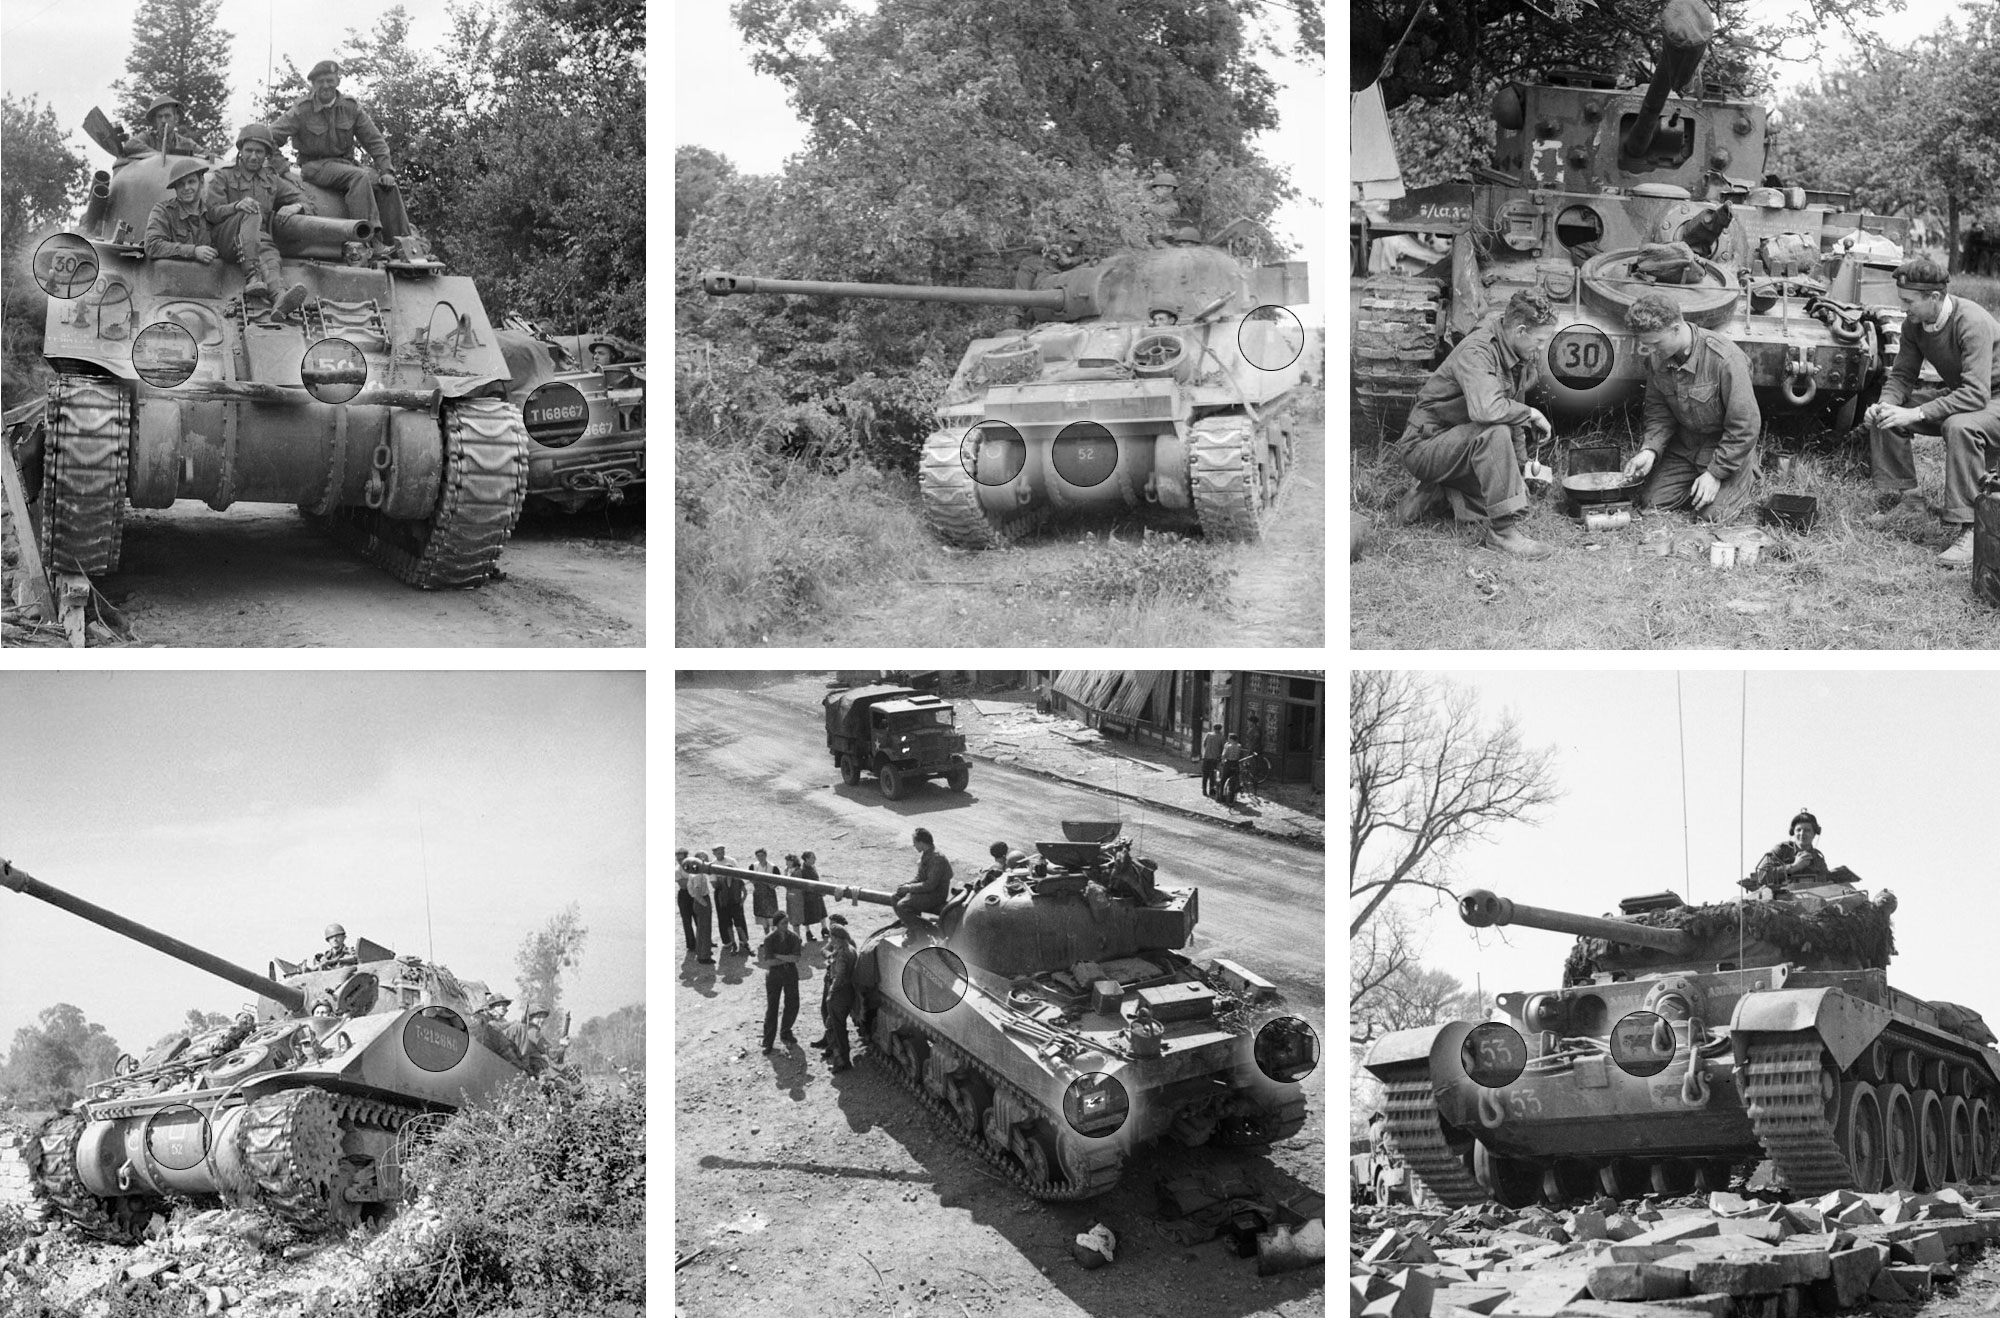
 I’ve mentioned this in the past, but one of the things that I think really makes my British army pop on the tabletop (and in photos) is the use of decals. I always feel that the application of decals to a tank is that final step that really helps to make a difference – much like good basing on infantry.
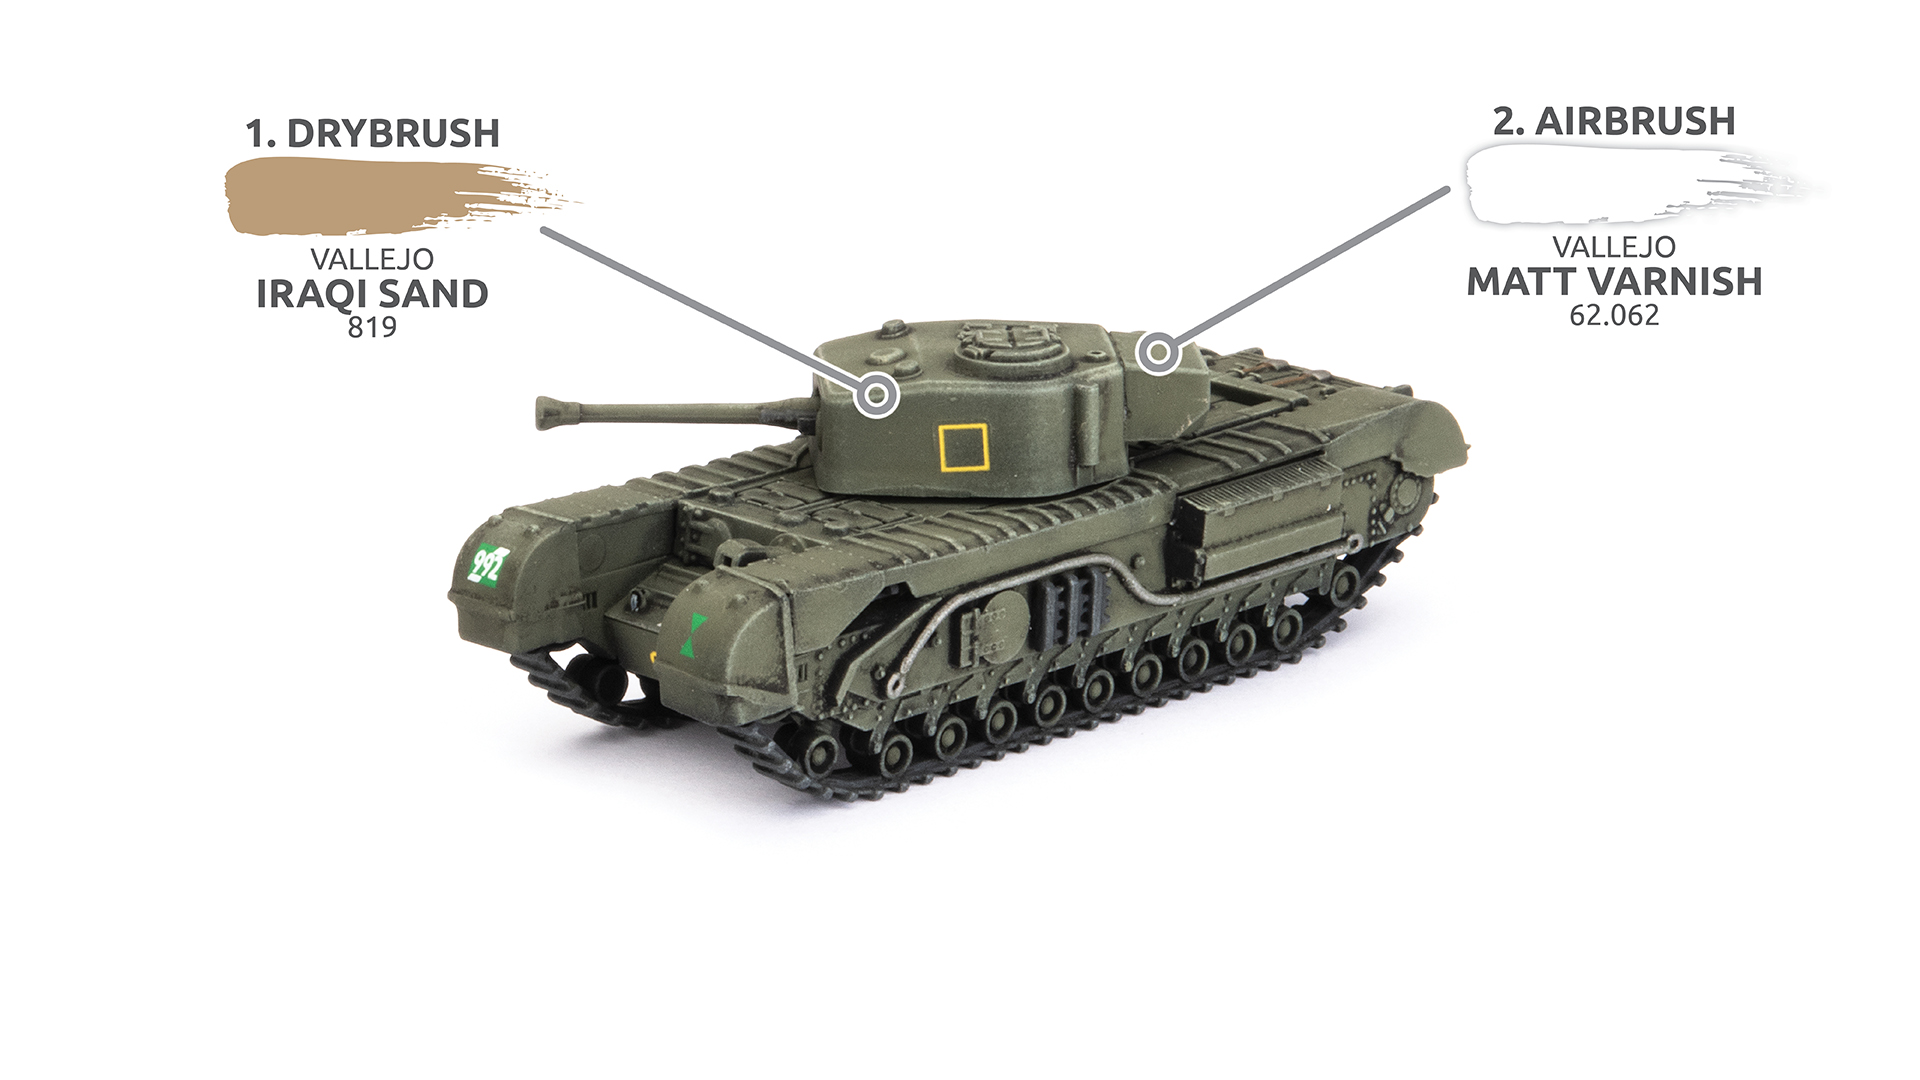
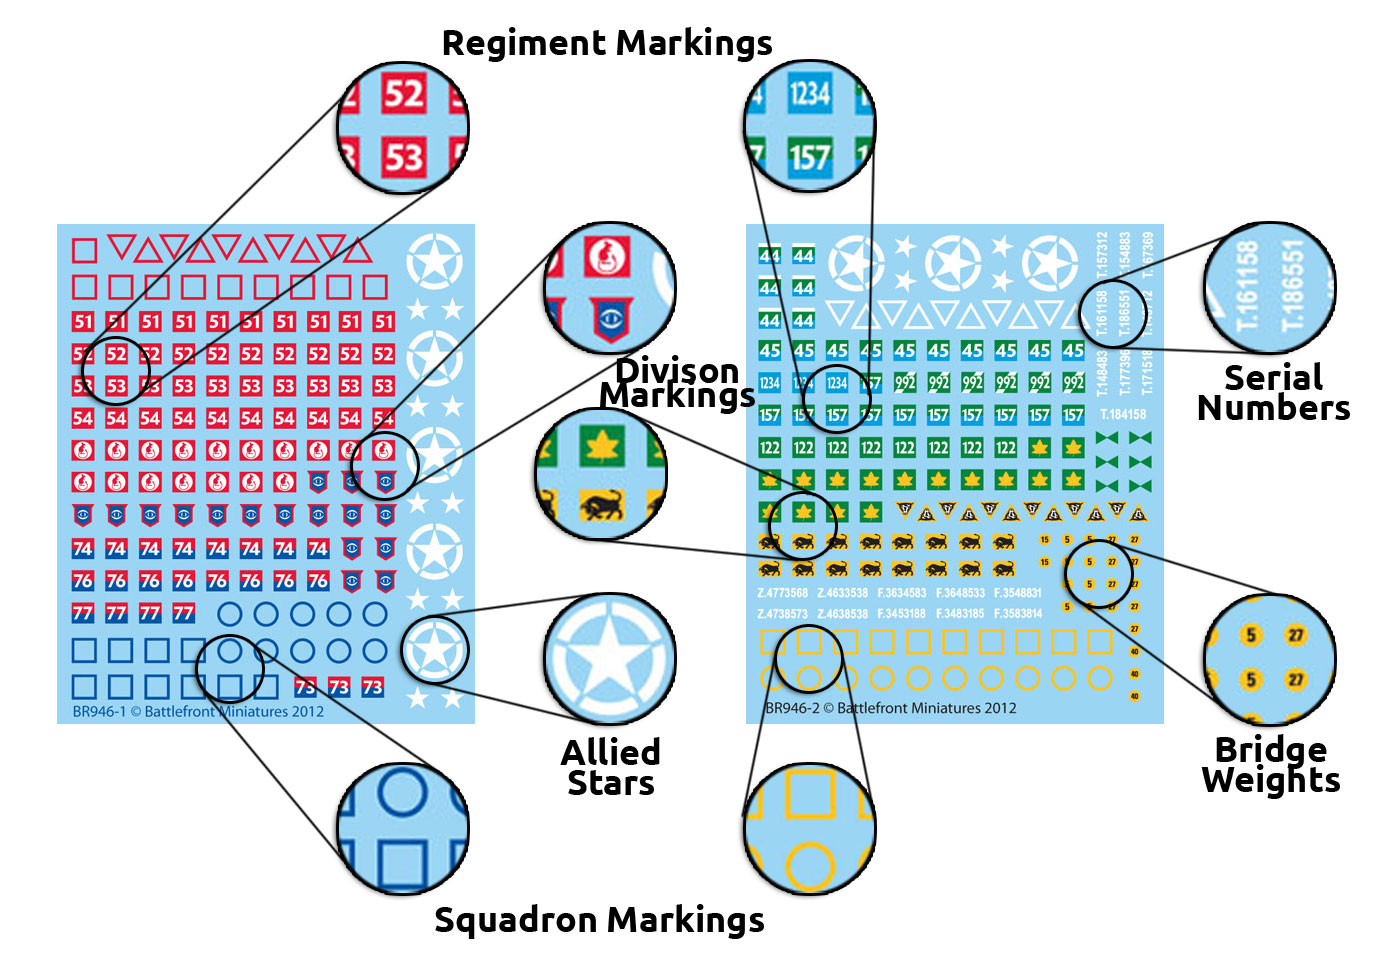 Looking at the tanks below you can see where I have chosen to apply the decals.
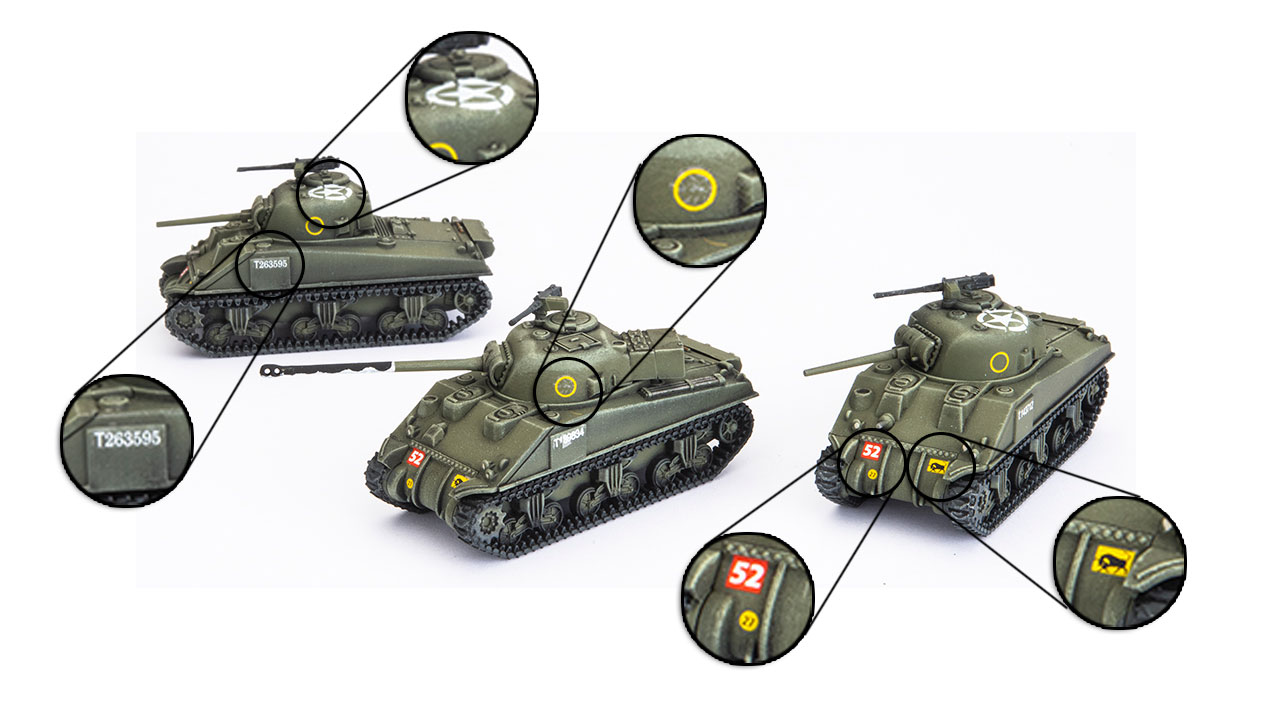
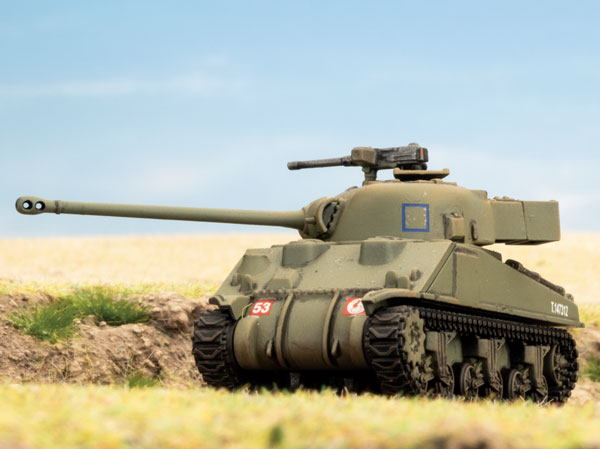
 If you don’t have a lot of experience adding decals to models, give it a go, they really make a huge difference. If you want to know more about how to do it, then check out Blake’s guide on our YouTube channel here…