Painting American Armored Fighting Vehicles

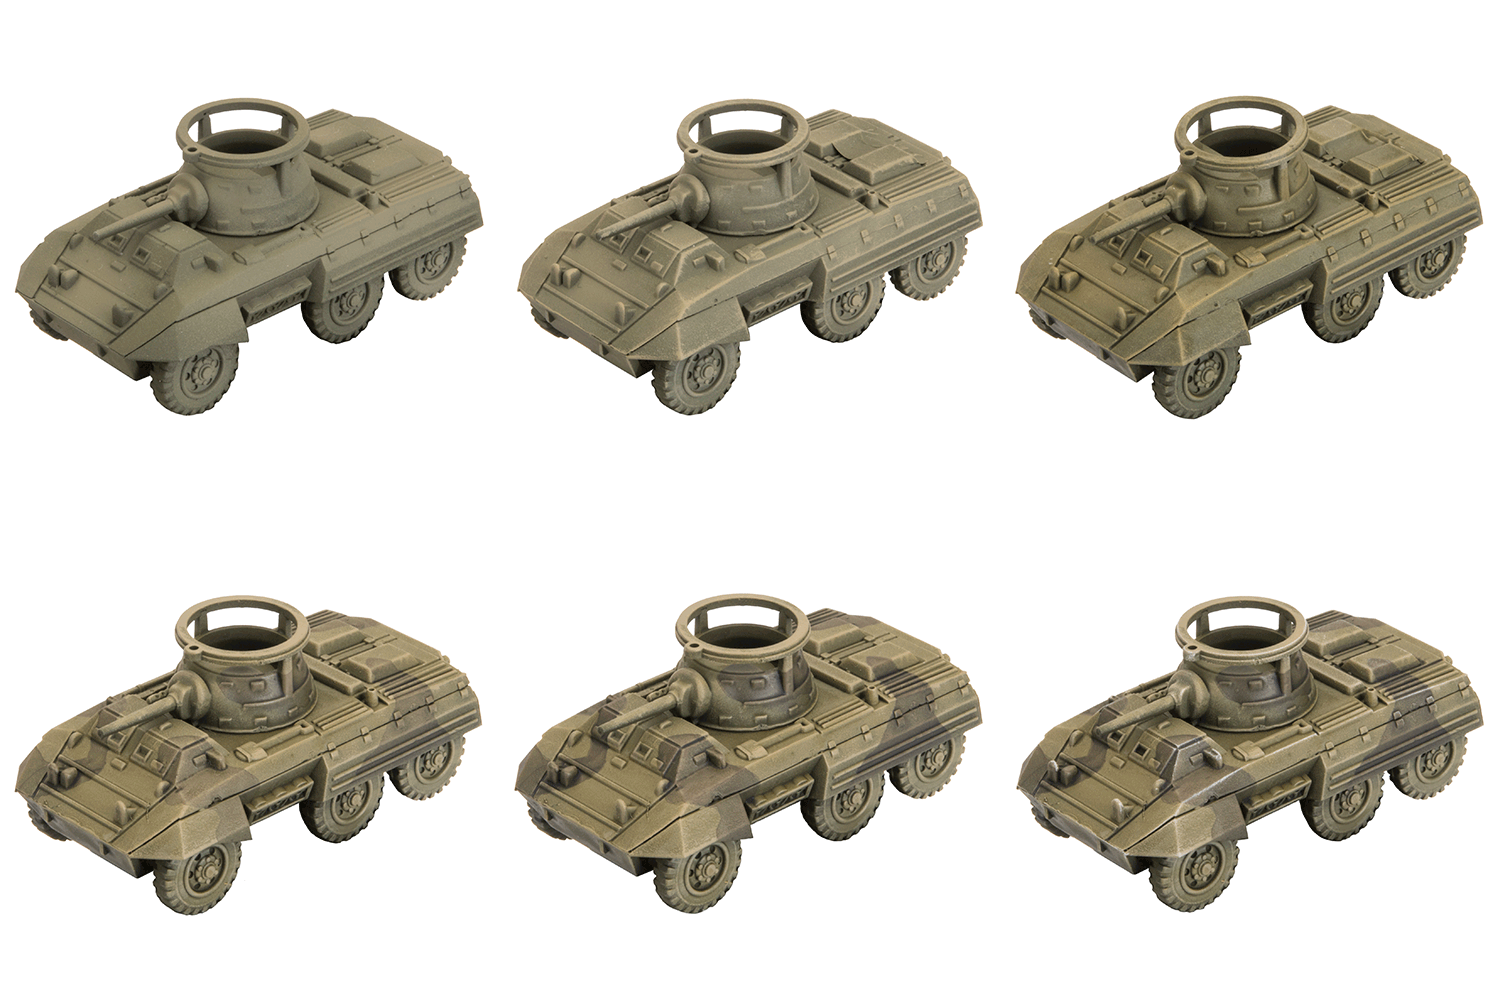
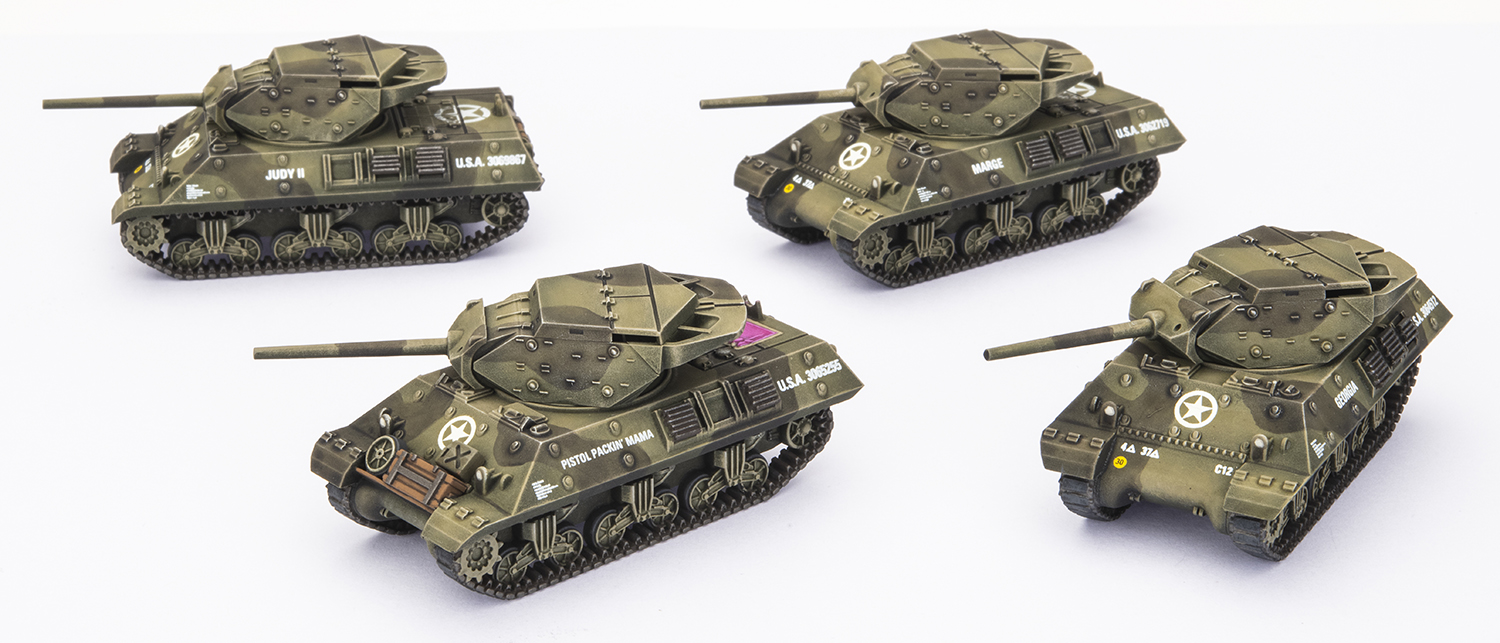
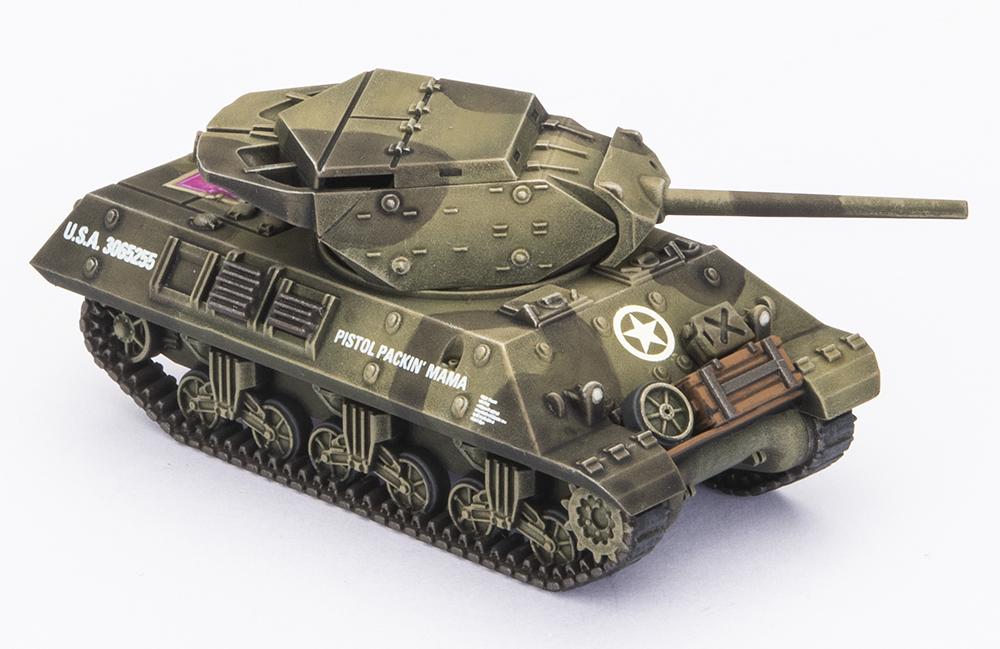
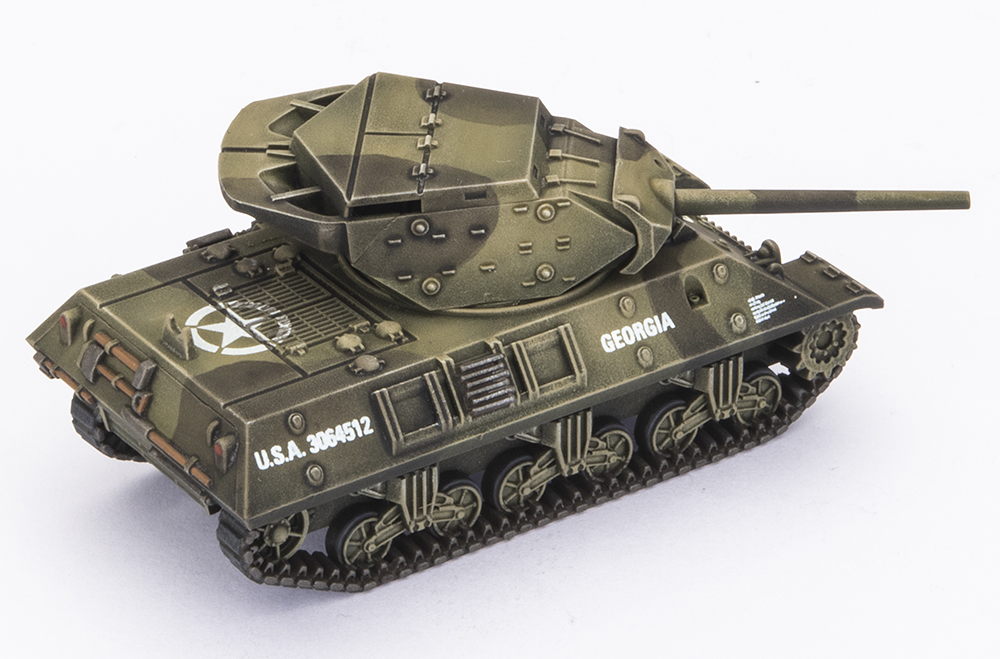
I’ve had a few requests on Instagram for a painting guide on how I do my American armour and camo. I was holding off until I had a chance to take step-by-step photos of the process, and the M8 Greyhounds seemed like a good candidate for that.

There’s so many ways to paint your tanks, and none of them are right or wrong. This here is my a way of achieving a fast paint job and easy camo, that I think is true to the historical subjects while still popping on the tabletop.

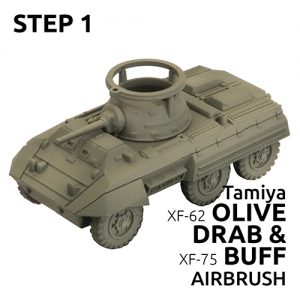
STEP 1
After priming with a flat black rattle can from a DIY store, I airbrush all over with Olive Drab. I then spray from the top with some Buff added to the Olive Drab (about 60/40 OD/Buff). This leaves the lower surfaces quite dark which I like. To finish the airbrushing, I panel fade (focus on the centres of surfaces) with a little more Buff added (about 40/60 OD/Buff). This ends up being quite light and pale, but it gets toned down by the wash later and creates a nice contrast for the black camo.

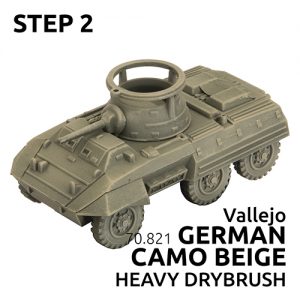
STEP 2
To bring out the details I do a heavy drybrush of German Camo Beige. I tested out a few drybrush colours when I was working out this scheme, and the beige seemed to work best. I think drybrush colour choice can often be the most important step when painting FOW tanks.

STEP 3
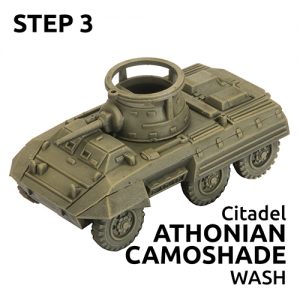
Next I applied an all over wash of Athonian Camoshade. This ties the previous shading together and also adds some vibrancy to the colour while shading the recesses.

STEP 4
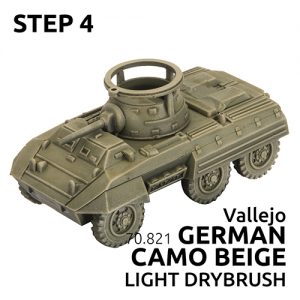
I go back with a second drybrush of German Camo Beige, this time a little lighter. I find doing a drybrush before and after a wash with the same colour helps to create smooth edge highlights and lessen some of the pitfalls of the drybrushing techniques (brush strokes).

STEP 5
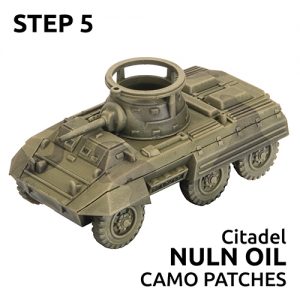
This is where the fun begins. Using temples a could find (in my article “Would you like to know more?“) I create a camo pattern using a medium brush and Nuln Oil. The reason I do this instead of black or grey paint is because it allows the previous shading and highlight work to show through and be consistent between the camo and non-camo areas. I try to move quickly so as not to get any pooling or drying marks.

STEP 6
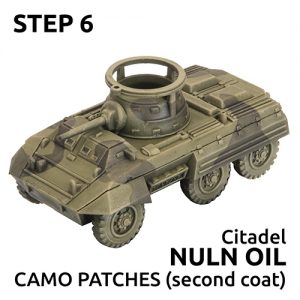
I now apply a second coat of Nuln Oil over the camo patches to darken them further. This is to taste, but I found 2 coats works well and gets close to the contrast in black and white photos of the real camo. If you like it more subtle stick to one coat, or try a third coat for darker patches.

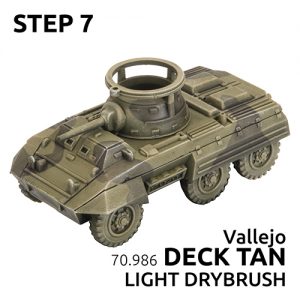
STEP 7
Lastly I ‘tickle’ some edges with a very light dry brush of Deck Tan. This just adds some pop and definition.

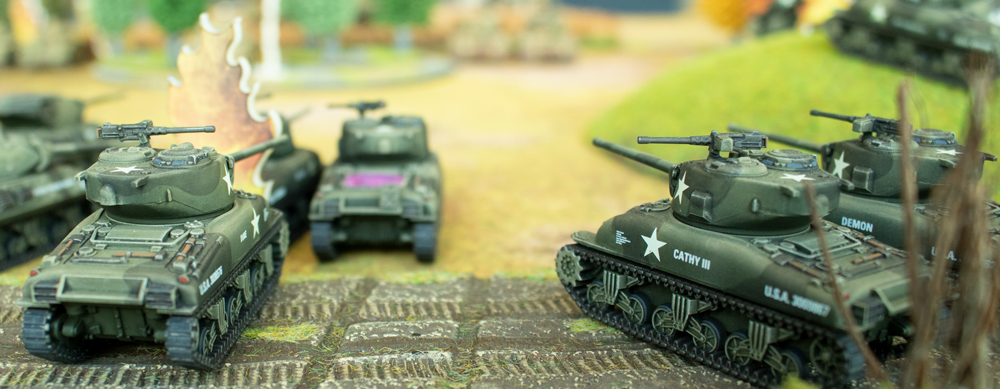
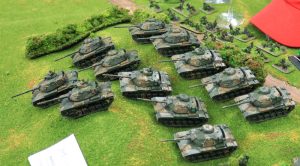
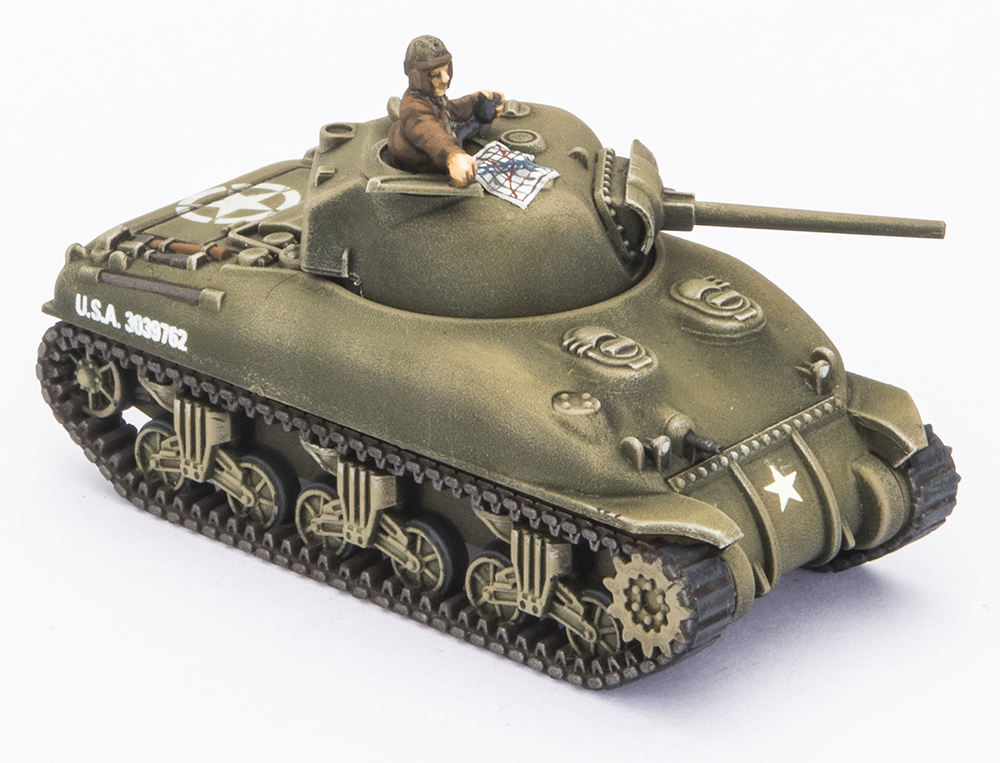
There you have it! Simple but effective. It of course starts to really come together with decals, tools, and wheels/tracks completed, so I’ll hope to show you the finished M8’s soon. In the meantime here’s some examples of the same scheme on some of my Shermans.

– Victor

Thunder In The Skies

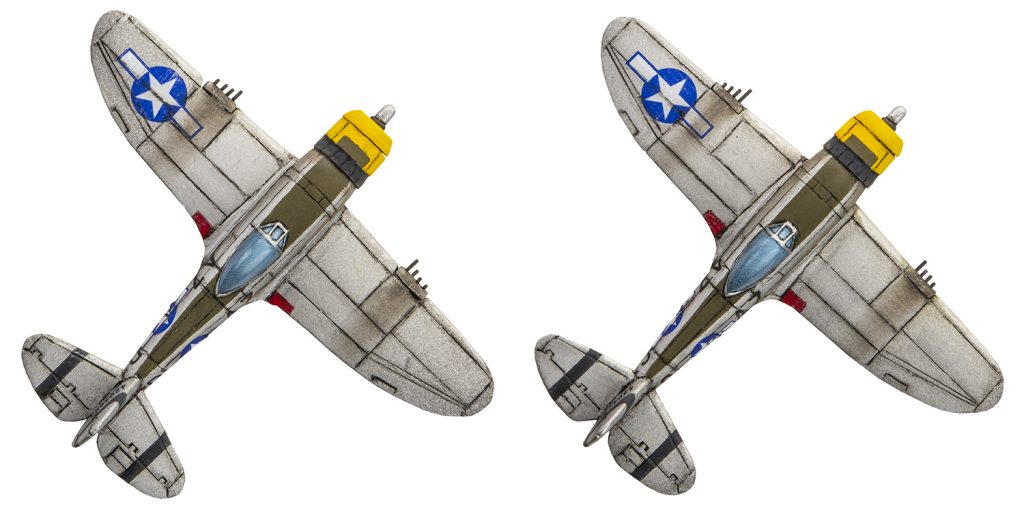
My American army is growing nicely and I have a few unit options now for list building. To add something new to the arsenal I decided to complete some air support; a pair of P-47 Thunderbolts!

As with most historical painting projects I tackle, I first spend a lot of time in Google image search. I hadn’t looked into American WW2 aircraft much before, and only really had the Flames Of War box cover examples to go by. I wanted to see what else was out there, and found quite a few examples with a simple yellow canard and not many other markings.

I liked the bare metal look which made these a nice break from painting olive drab vehicles.

I did however learn that the anti reflective strip down the top of the fuselage was sometimes olive drab instead of black, so this was a nice way of tying them in to the rest of my force.

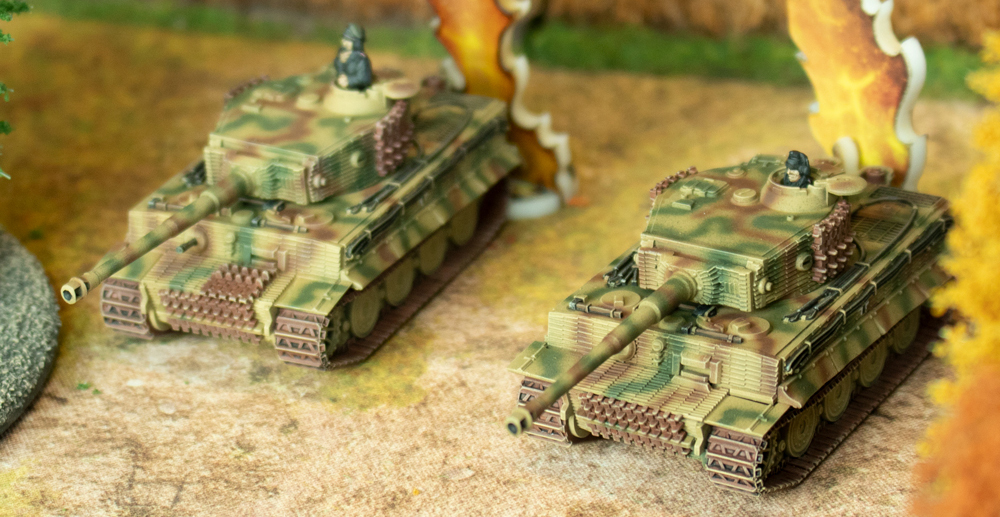
I’ve never used aircraft in a game before so I’m looking forward to trying them out and seeing if they can help me deal with those pesky Tigers!

– Victor

Div Arty, All In!

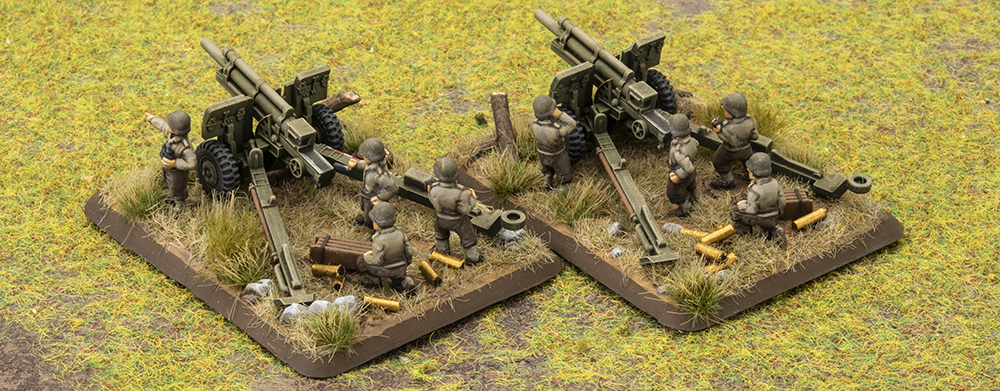
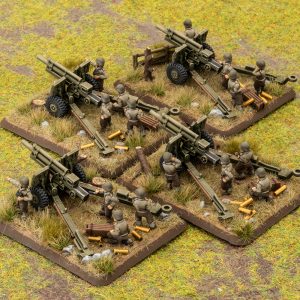
When working on my 105mm Howitzers I wanted to give them a lot of spent shells to show they’ve been busy!

Here’s how I did it.

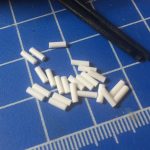
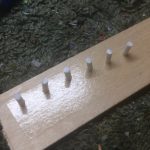
I decided to use plasticard rod as it’s easy to cut to the length I need. You could instead use brass rod. This would have advantage of being the right colour so wouldn’t require painting, but the downside is it’s a lot harder to cut (especially when doing a lot of shells!) and the cuts will often need to be filed smooth.

I used the loader figure that comes with the guns to approximate the thickness of the rod I’d need, and how long to make them. You could be extra expert and convert the real world measurements to 1/100!

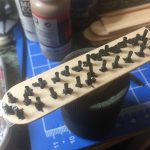
To make them easy to paint, I mounted them to a popsicle stick with double sided tape. This holds them fairly well along as you don’t go too heavy with the brush work.

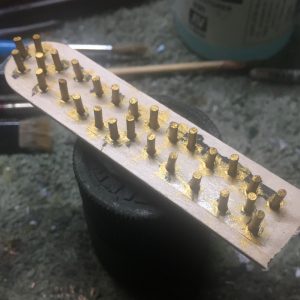
To paint them I brushed on black primer (but you could spray them) and then did two coats of Vallejo Brass.

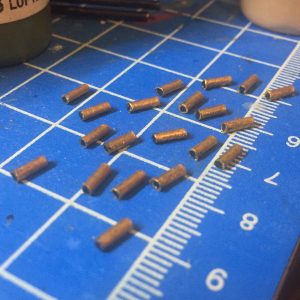
Once dry I removed them from the mounting, and painted the end that was stuck down with black, to emulate the hollow end of a spent shell. I also went around the edge with brass again.

All that’s left to do is glue them onto the bases with superglue. I chose to do it after flocking and really push them into the grass.

Hopefully this helps you get your artillery teams looking the part on the table. You could also use this method for spent shells on mobile artillery engine decks!

Click on the image to the left for a much bigger version…

~Victor

All American, All Finished!

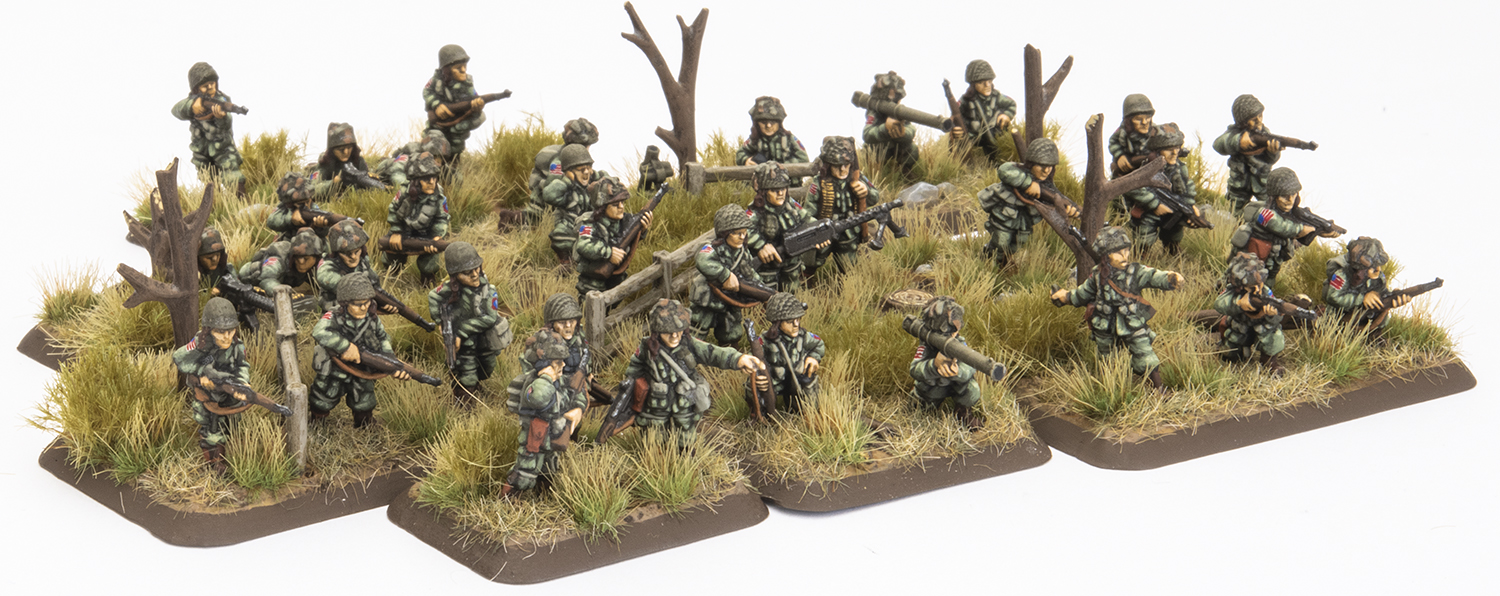
At the beginning of our Late-War Journey Wayne and I split a Hit The Beach box to give us extras to add to our Starter Army boxes. I’ve slowly been chipping away at the plastic Paratroopers and I can finally show them off!

I had a lot of fun painting these Paras, even though it took me a long time. I’ve accepted that my infantry painting speed is lacking but the end result makes me happy.

Since my American army is being planned to cover all of the Late-War period, I decided to go with the more green uniform introduced after Normandy. This means they’ll look at home for battles during Operation Market Garden, the Battle of the Bulge, and the push across the Elbe River. I used Vallejo US Dark Green and added Buff for highlights.

Painting the flag and unit patches was a fun challenge, but actually easier than I anticipated. I spent a while debating whether to go with ‘Screaming Eagles’ or ‘All American’. After polling the fine folks following us on our Instagram account, I went with the 82nd Airborne Division. The added bonus is that their patch uses the same colours as the flag on the opposite shoulder. I used Vallejo Deck Tan, Flat Red, and Dark Blue.

The basing was done using the plastic Rural bases, and a combination of Gamer Grass tufts, and GF9 Winter/Dead Static Grass.

With a basing style established I already have plans of doing an Armoured Rifle Company, but for now I need go paint something other than infantry to cleanse the palette.

~ Victor

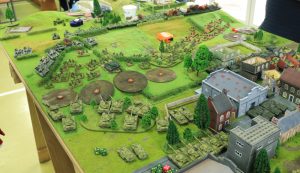
Big Four Battle Time – Wayne vs Victor

With the completion of Wayne’s first 100 points, Wayne and Victor thought they would have a game to celebrate another Big Four of Late-war army passing the 100 point mark and the release of D-Day: German.

Victor took a modified version of his US force he took against Casey on the release of D-Day: American. Wayne took his Panzer IV Tank Company.

They decided to play Free-for-All. Victor started deployment and Wayne won the dice off to see who goes first. Deployment was evenly spread, with both players concentrating their tank units on the forested side of the battlefield.

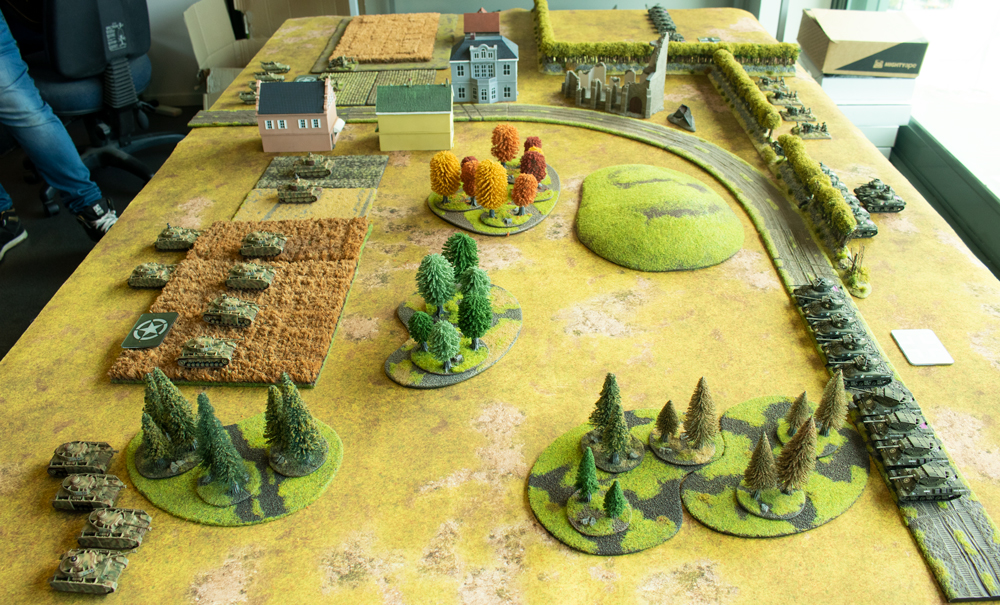
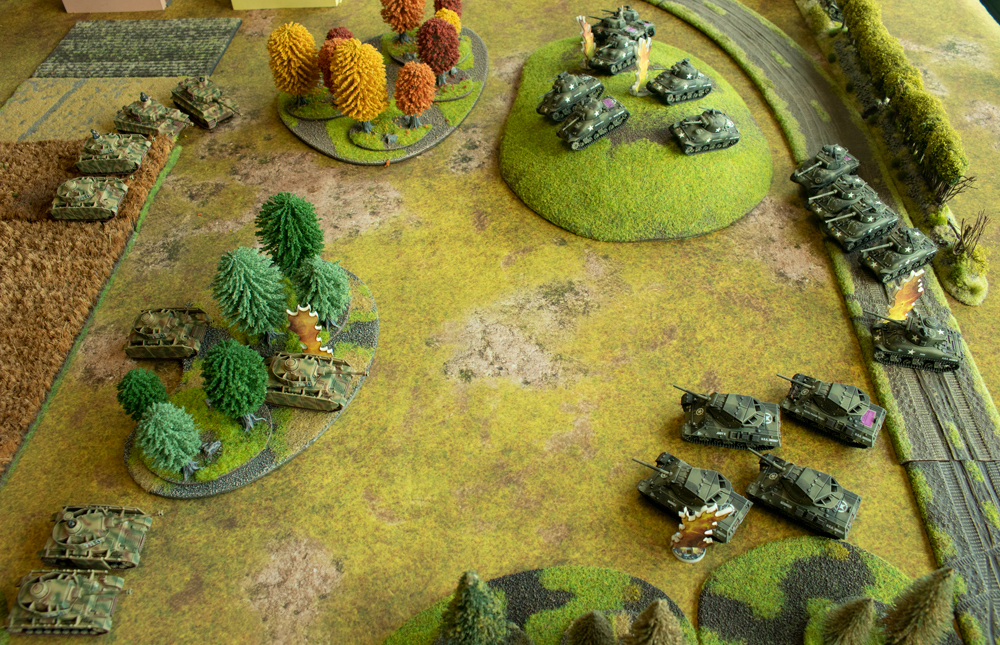
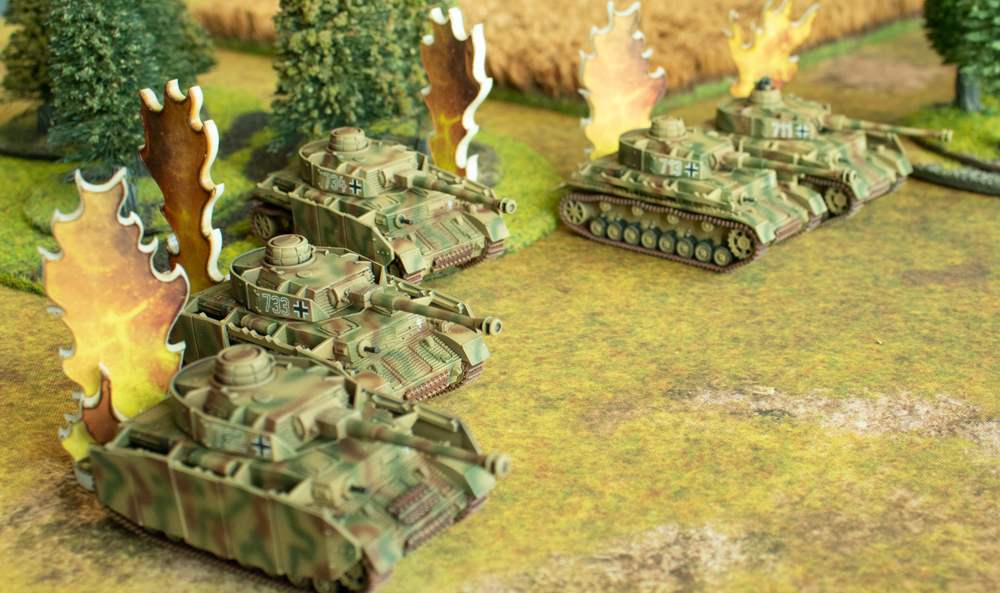
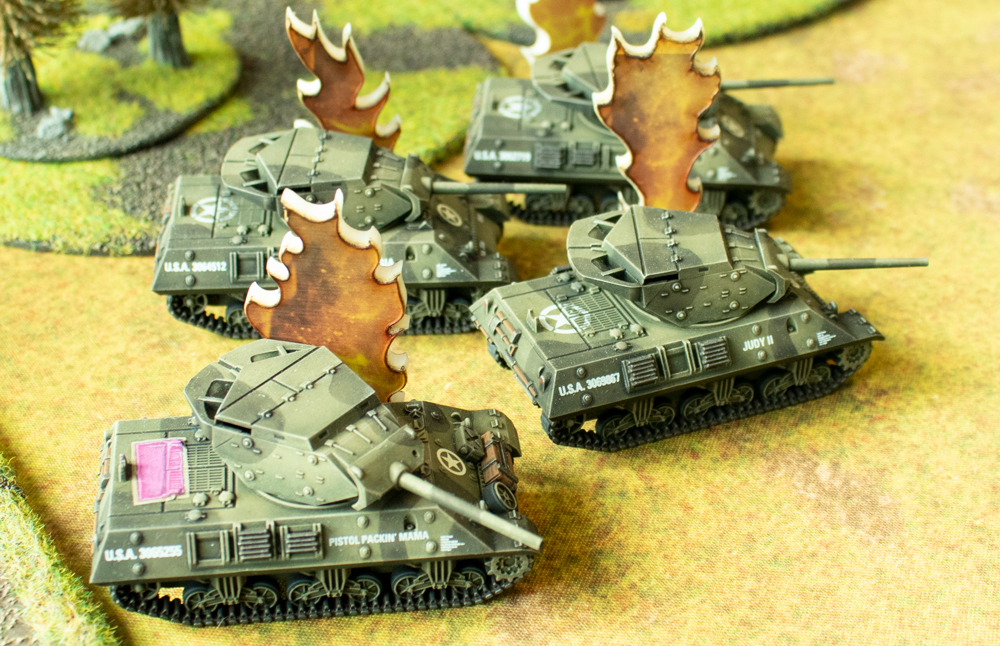
Turn 1:  The first turn saw Wayne push his Panzer IV platoons forward to engage the M10s and Shermans, but with only moving ROF just one Sherman was destroyed. Victor’s retaliation was swift and deadly three Panzer IVs were destroyed and one bailed out, all from flank platoon.

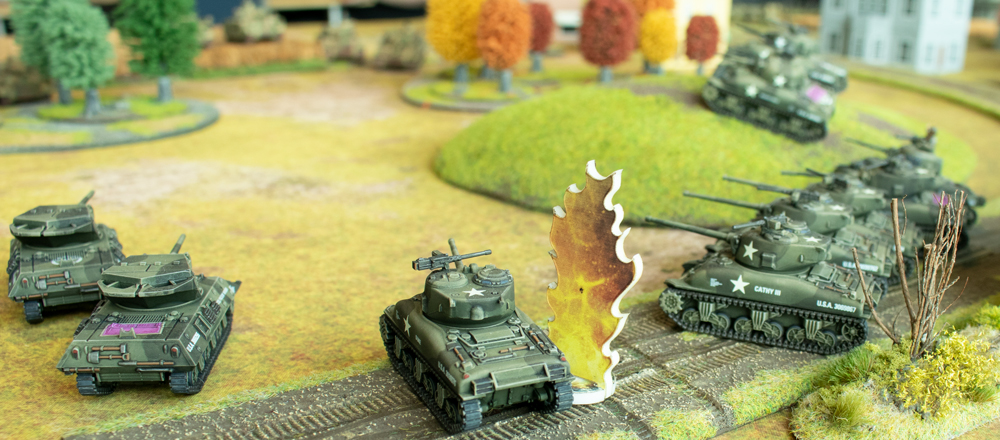
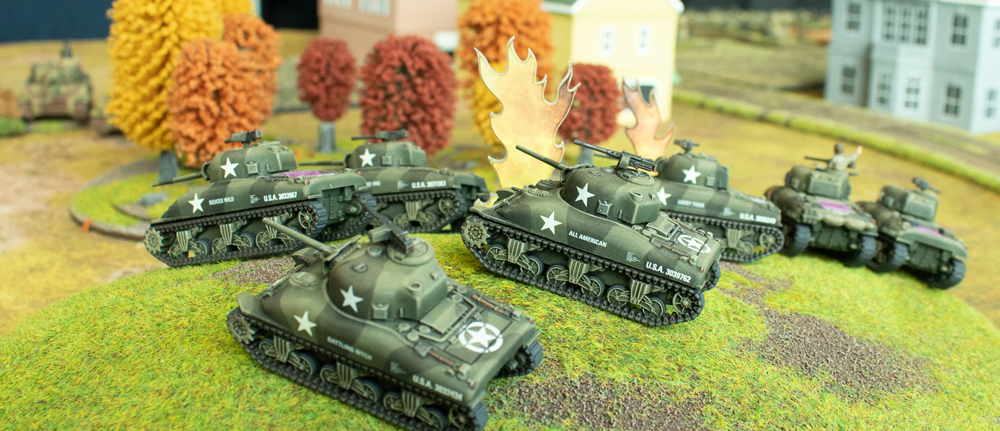
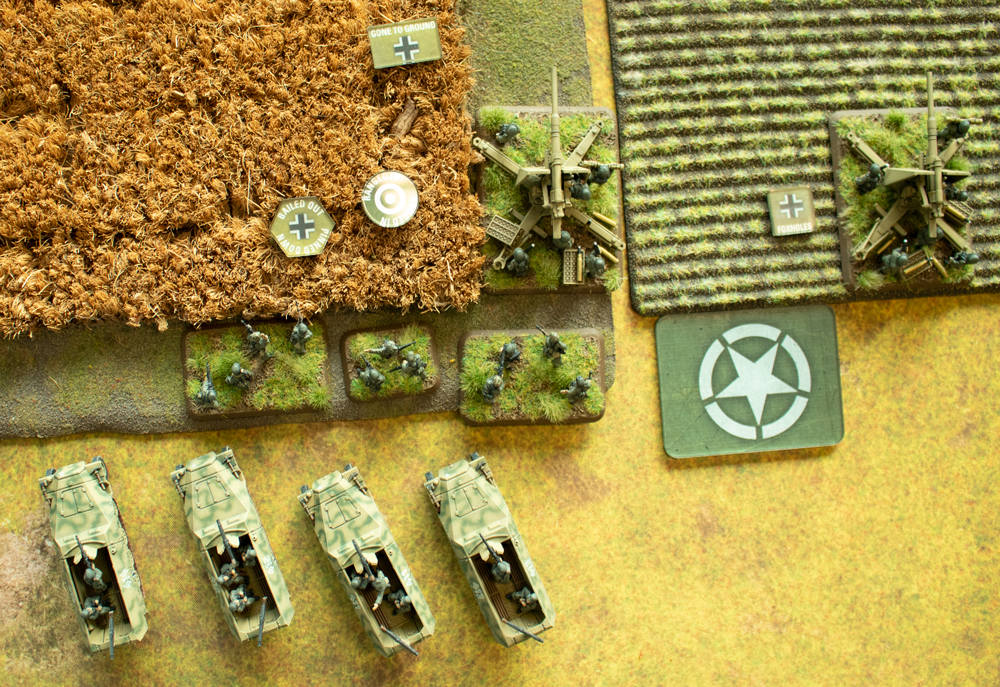
Turn 2:  The morale of the devastated Panzer IV platoon didn’t hold, and despite the last tank remounting, their Last Stand roll wasn’t so successful and he beat as hasty retreat. However, Wayne “88” began engaging the M4 Shermans on the hill knocking out two tanks. The last Panzer IV Platoon and the Tiger concentrated their fire on the M10 platoon which had advanced from behind the forest, destroying one and bailing out another. The HQ Panzer IVs knocked another two Shermans on the hill.

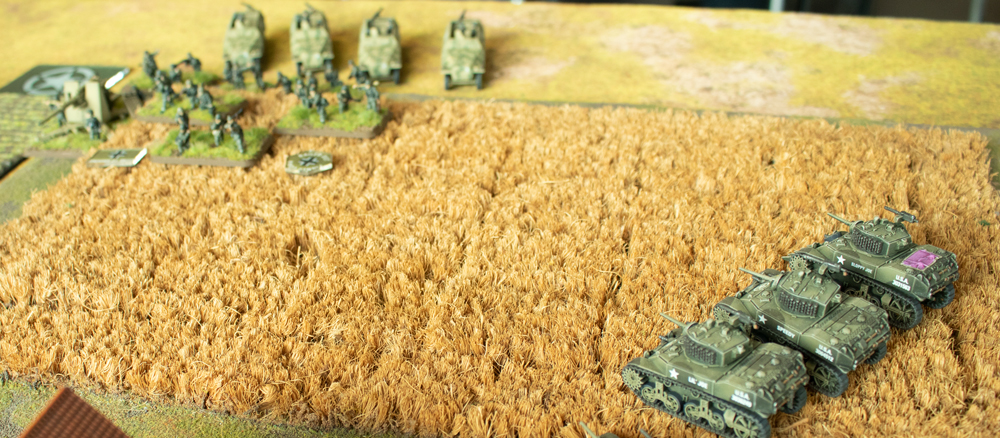
Victor returned fire on the flank, but only managed to destroy a single Panzer IV in the forest to the front of the M10s. On the other flank the M5 Stuart Tank Platoon pushed up and began machine-gunning the Panzergrenadier who had dismounted near the 88s and the objective. Despite massive firepower (25 MG dice), they only managed to kill the one team after on scoring four hits! Meanwhile, Victor’s artillery has been ineffectually peppering the Panzergrenadiers and 88s.

Turn 3: The Stuart had done enough to attract the attention of one of the 88s, it swung around and destroyed two Stuarts. The other 88 took aim at the American HQ Shermans who had also moved to the hill and knocked out one tank. The Tigers and Panzer IV Platoon concentrated on the M10 tank destroyers, knocking out all but one. The HQ fired on the last M4 Sherman Tank Platoon tank on the hill, but failed to hit it.

Victor managed to pass the Last Stand for his M4 Sherman Tank Platoon, but failed for his M10s. Re-ranging in both his batteries he managed to knock out three more Panzergrenadier teams, then destroyed one more with his Stuarts. His 76mm Shermans destroyed two more Panzer IVs.

Turn 4: With only one Panzer IV left the second platoon also failed last stand and quit the field. The Panzergrenadiers also gave up. The 88s killed two more Stuart and bailed out American commander. The Tigers continued to fire at the 76mm Shermans, destroyed one and bailed two. The HQ took a long range snipe at the Sherman OP and the last stubborn Sherman on the hill.

Victor remounted his 76mm Shermans, but the Stuart ran off. The repeat bombardment on one 88 had no effect. However, on the other flank the game was one. Wayne failed to save two 76mm hits on the Tigers and Victor made the Firepower rolls. With only the HQ left in Wayne’s formation they are not in Good Spirit and are destroyed.

A Victory to Victor.

The Big Four Detour: Panzerschreck 2019 Report

Every year members of the New Zealand Studio travel down to sunny(ish) Palmerston North for the worlds longest running Flames Of War / Team Yankee tournament. This year the Big Four embarked on a road trip whilst other members of the team took the expedient option and flew.

The road trip down featured the customary stops at various model and gaming shops along the way, where some mistakes were made! At least there were no road closures resulting in 2-hour detours (unlike the last two years!).

Panzerschreck is normally a doubles event and under Team Yankee it was decided a force should contain a minimum of two Formations, using one Force diagram as the basis for the army. Wayne and Victor paired up, using West Germans and Israelis, whilst Casey and Chris teamed up with their Soviet and Czechoslovakian armies. The combined forces could be up to 140 points with no prescribed way as to how they are split.

Over the weekend we were fortunate enough to play some really great opponents, as well has facing off against some tough armies. Of course, Panzerschreck is known for being a hard but friendly event so this was no surprise.

In addition to the gaming activities during the day, in the evening we would retreat back to Evan’s (our NZ based sculptor) house for some post game debriefs and some boardgames.

Before we knew it the weekend was over and it was time to return to Auckland… of course we made time for a few more stops, including a quick visit to the New Zealand Army Museum at Waiouru.

To check out some of the armies and games, click on the thumbnails below

The Big Four Detour: Panzerschreck 2019

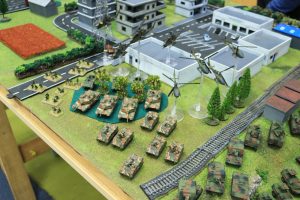
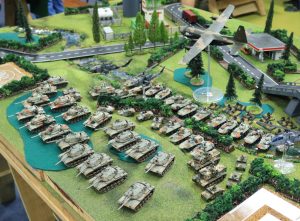
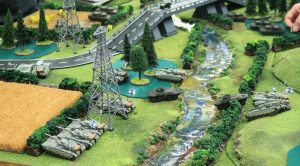
The Big Four have been working on a secret (or not so secret in some cases) project to get armies ready for this weeks Panzerschreck tournament. Panzerschreck is the longest running Flames Of War tournament in the world and this year it has been hijacked to run a Team Yankee doubles event.

The Big Four paired up along traditional lines, with Wayne and Victor (Bratwurst and Bagels) and Casey and Chris (Chalk and Cheese) each joining forces.

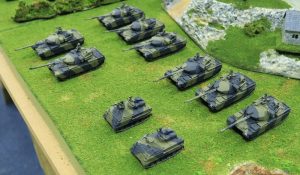
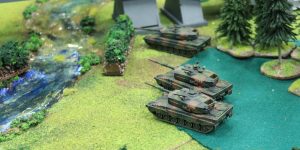
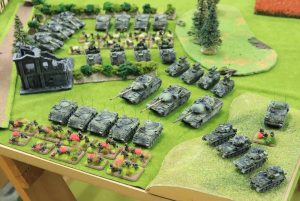
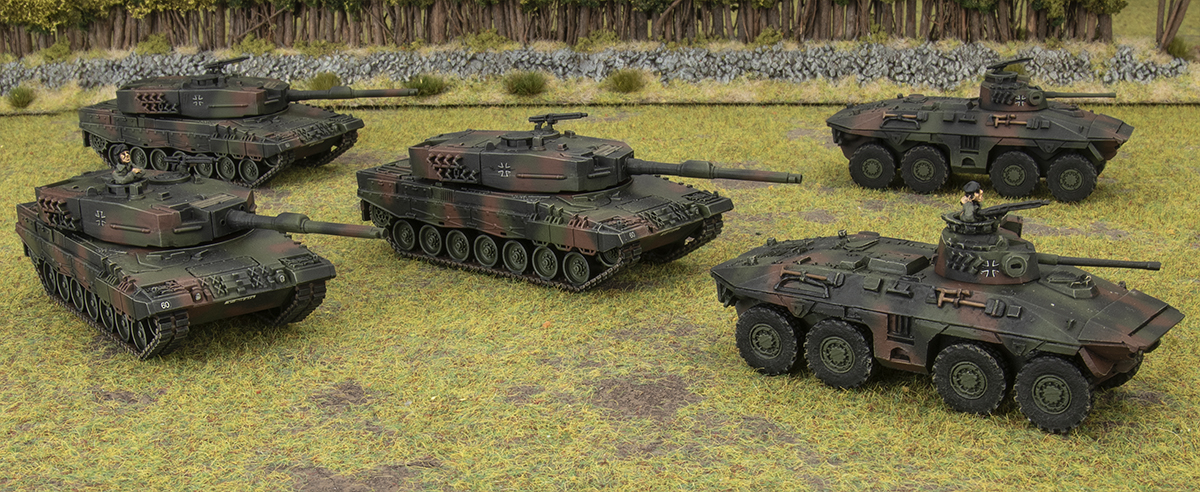
Wayne had most of his army already painted having taken his West Germans to a number of events over the past couple of years. His Panzergrenadier Company has a mix of Panzergrenadiers (no surprises there), Leopard 2 tanks and some support vehicles.

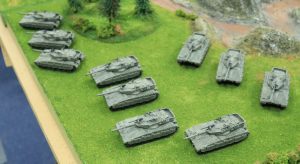
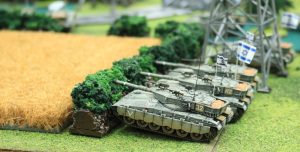
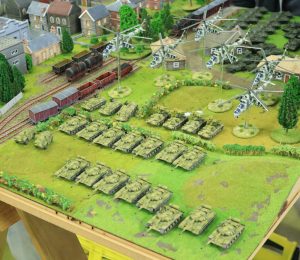
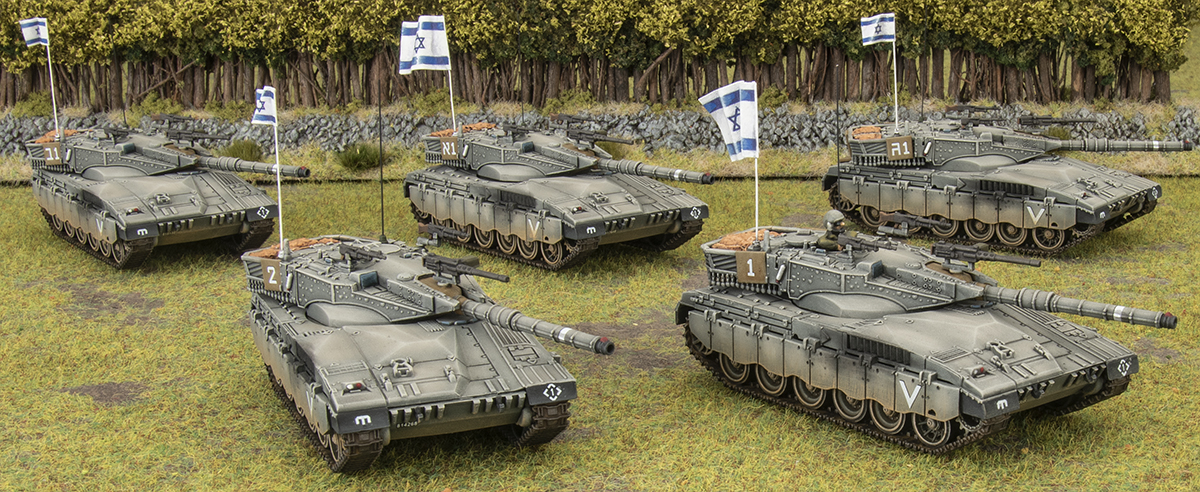
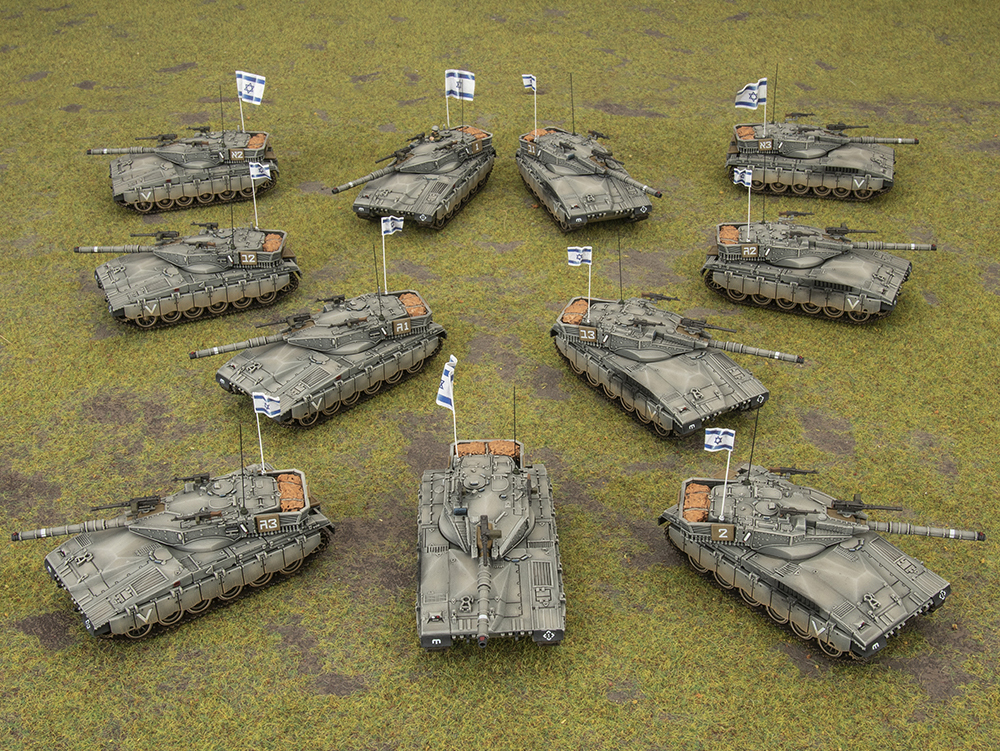
Victor painted (most) of his rather homogeneous force as part of the Oil War launch, having just completed the extra stowage and tank commander this week to complete the Company. He is bringing 11 Merkava 2 tanks to the battlefield and expects to be leading from the front, thanks to their heavy armour.

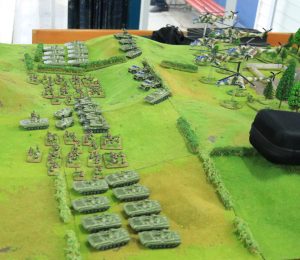
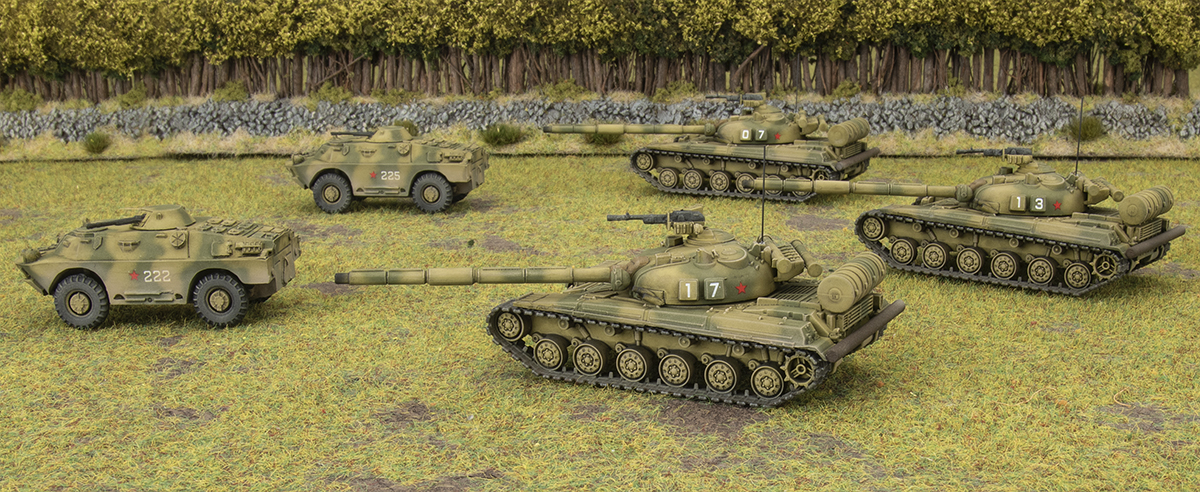
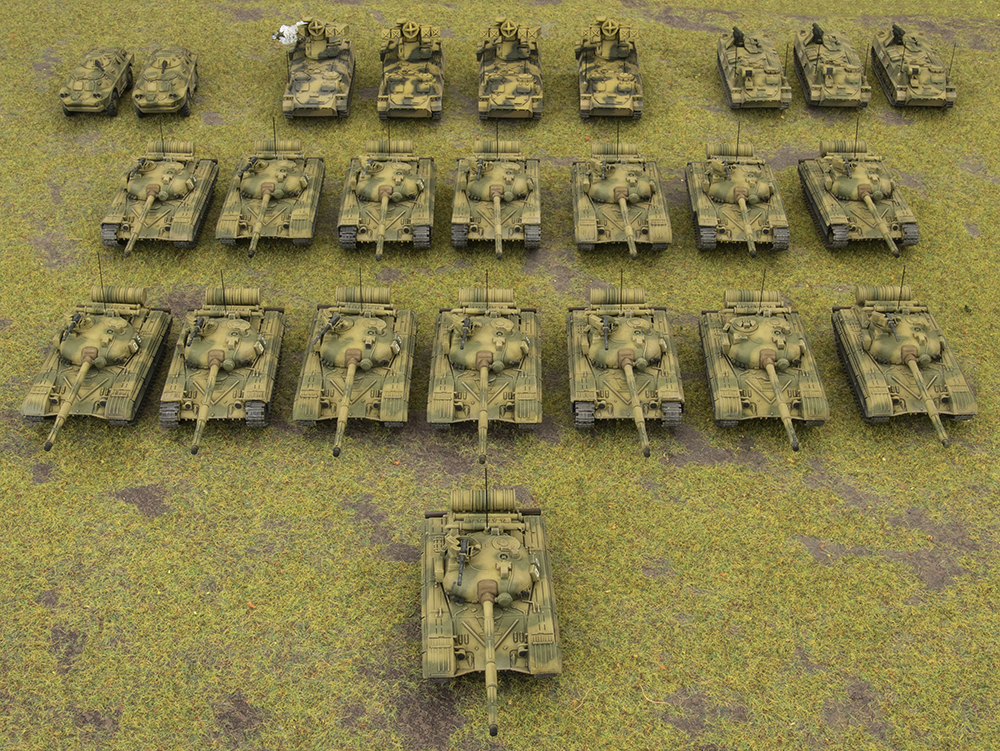
Casey, finally, finished his first Soviet army for Team Yankee after a couple of years – he did paint a pretty massive Soviet army for someone else during the time as well. His force consists of 15 T-64 tanks, as well as anti-aircraft launchers, anti-tank launchers and some recon.

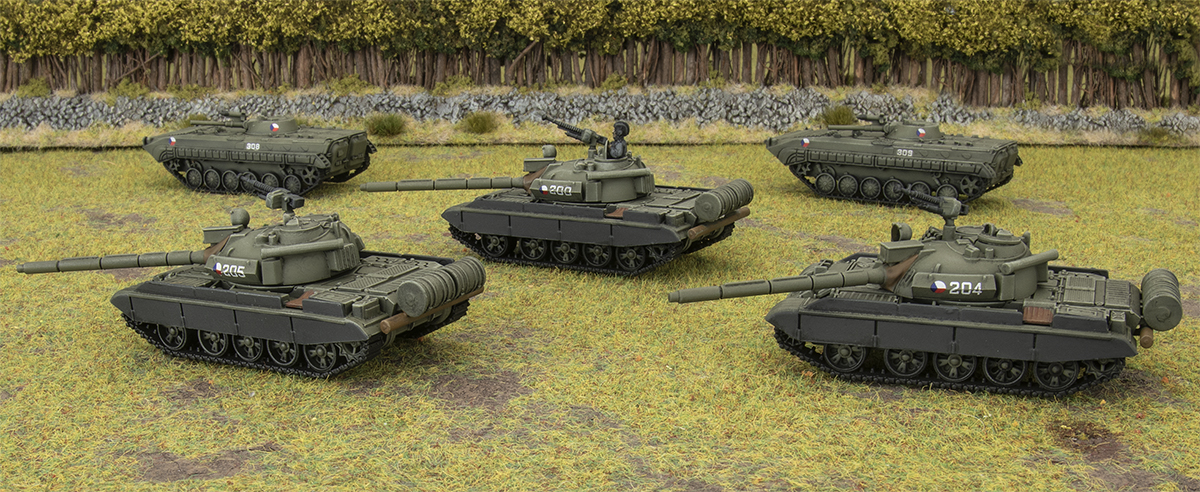
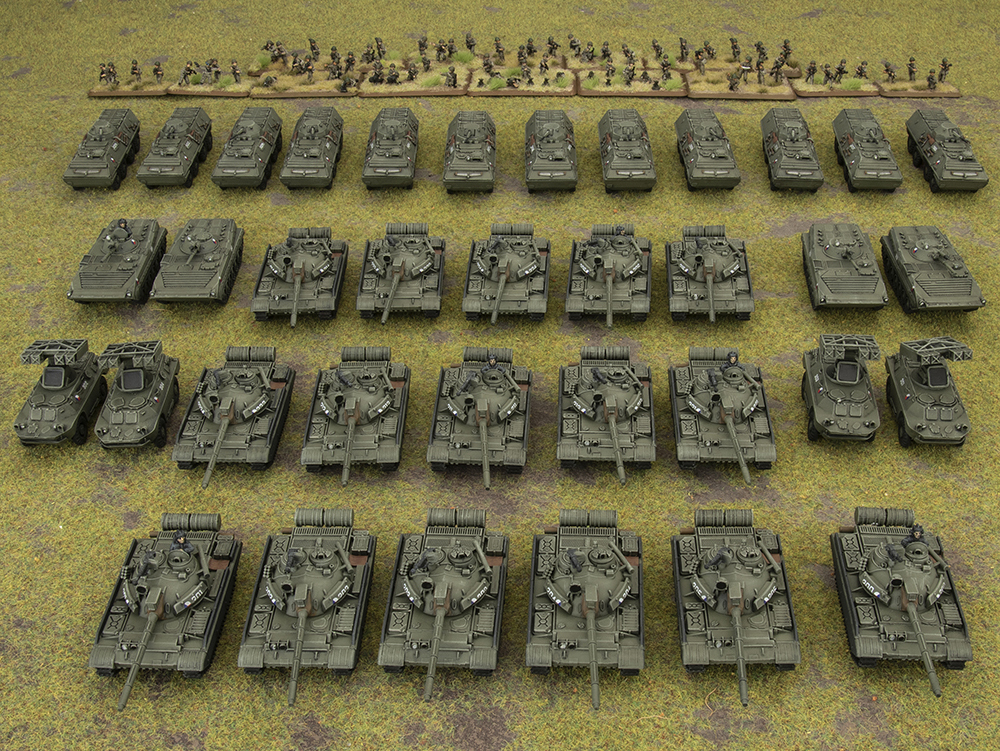
Last, but certainly not least, Chris has been gagging to do a Czechoslovakian force for some time now and has used this as a chance to get the first part of it finished and ready for battle. Of course, his pile of T-55 tanks, support vehicles and infantry only come out to 35 points, so he has quite a bit more work ahead of him (once he has finished his Big Four project) to complete it as a stand-alone army!

Stay tuned to the Big Four Instagram feed over the next few days to keep up with all of their progress and road trip activities!


Battle Report – Casey VS Victor

The first battle of the Big Four took place this weekend, both to celebrate the launch of D-Day: American, and a good excuse for Victor to put his new army to the test.

The Forces:
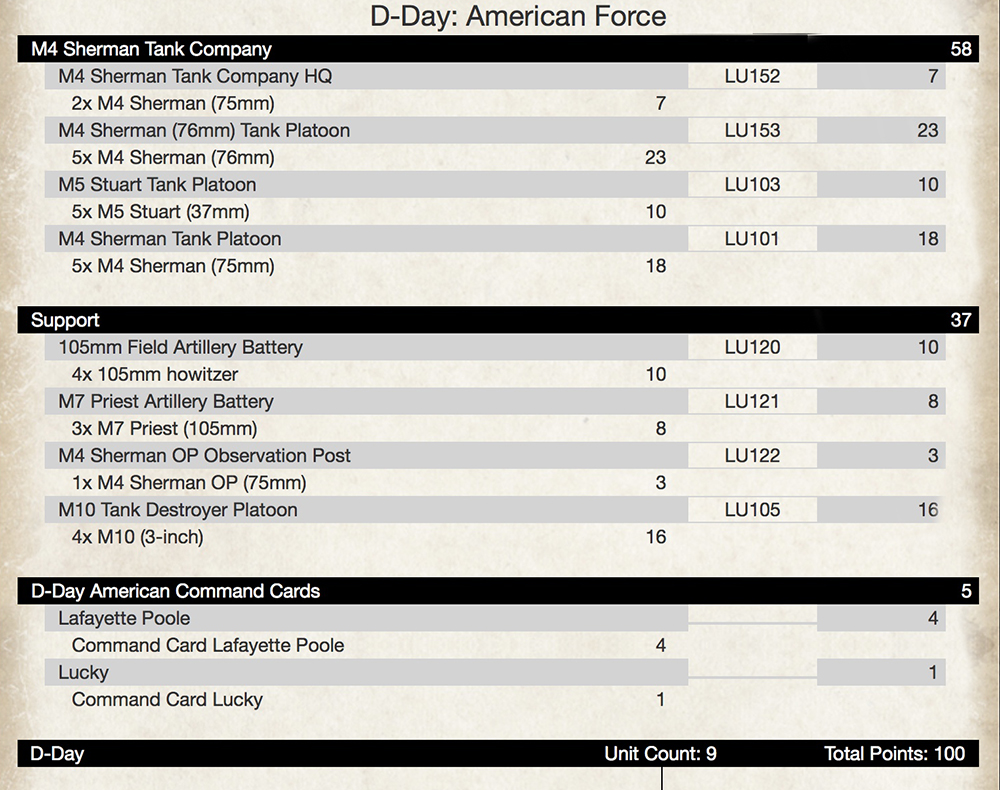
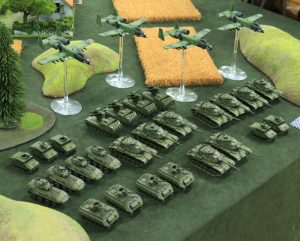
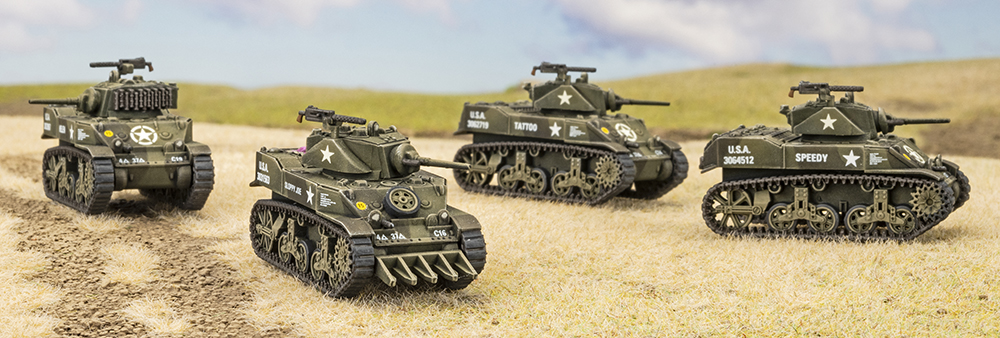
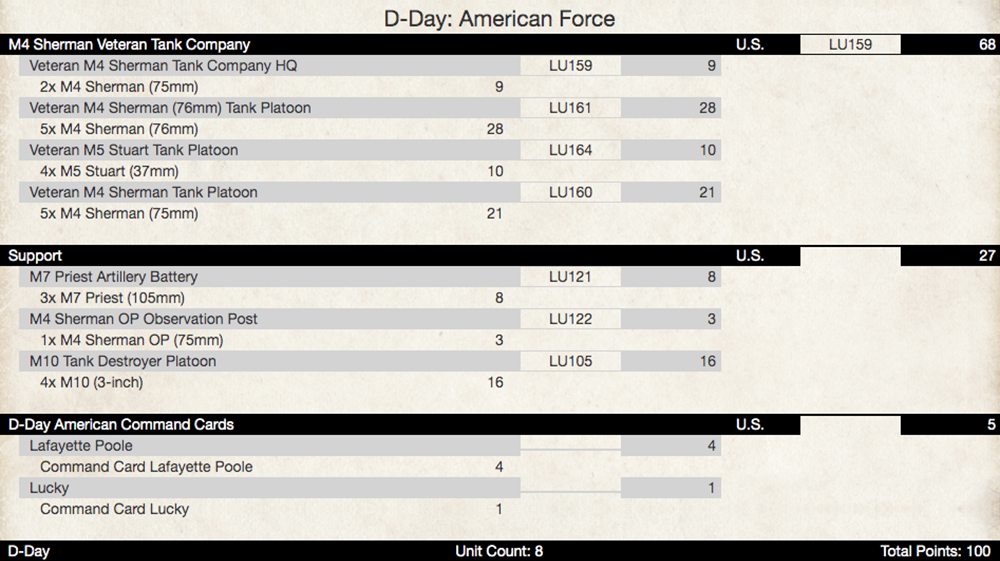
Victor used his recently finished American tank force. He’s hoping it will provide a good mix of tools, and the veteran status 4+ to hit should help mitigate any poor tactical choices.
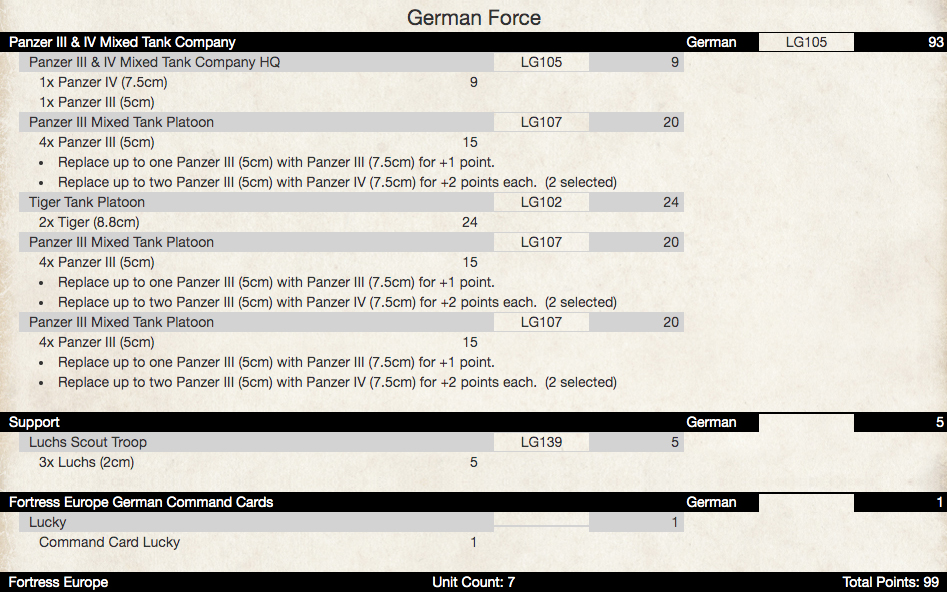
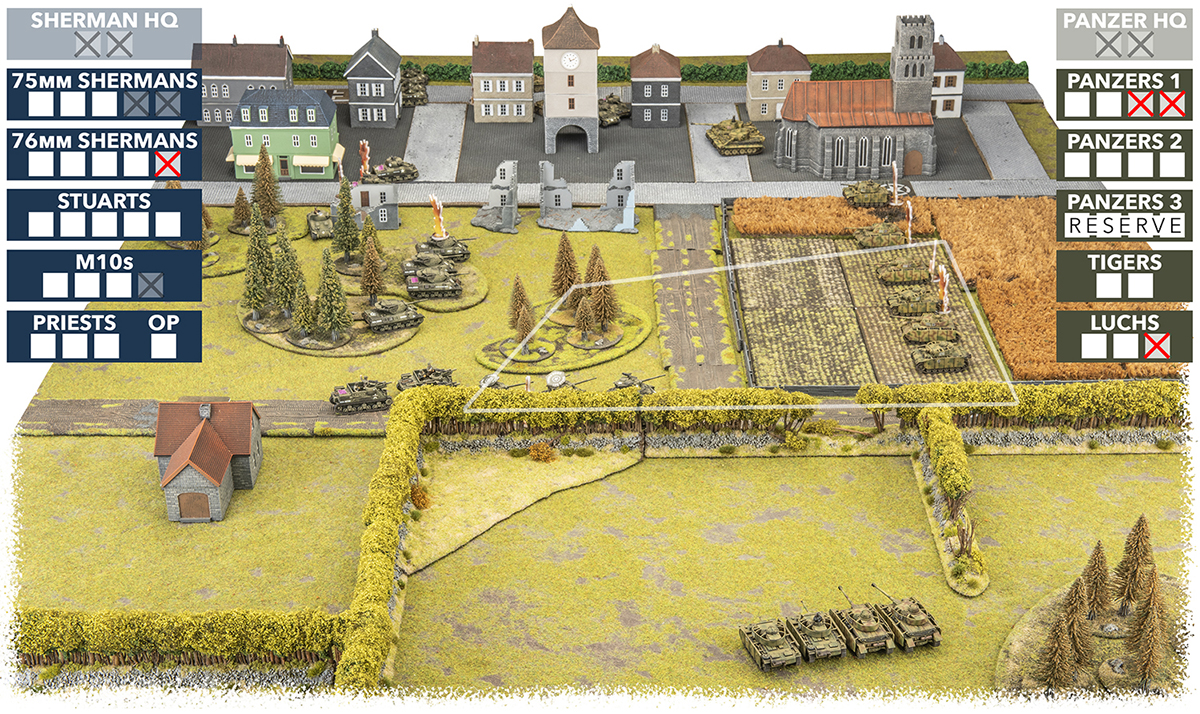
Casey revisited an old force he used to run, based around Hermann Goring Division in Italy. Fortress Europe allows you field a mix of Panzer III & IV’s, so Casey came up with the below list using Battlefronts Studio models.
Setup and Deployment:
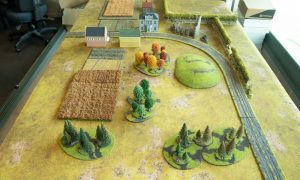
The table was set up with a third being a small town, the opposite third bocage, and the middle forest and fields. The bocage was just played as hedges, but when Casey finishes more of his terrain it would be cool to do a full bocage battle.
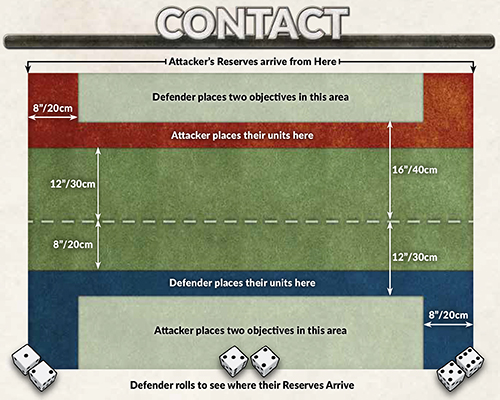
Contact was decided as the mission, and Casey chose to defend from the fields, with the Tigers in Ambush and two Panzer Platoons in reserve. Victor spread his units out to cover both objectives, but he would need his reserves, 76mm Shermans and Stuarts, to arrive quickly to reinforce his initial units.

Turn 1:
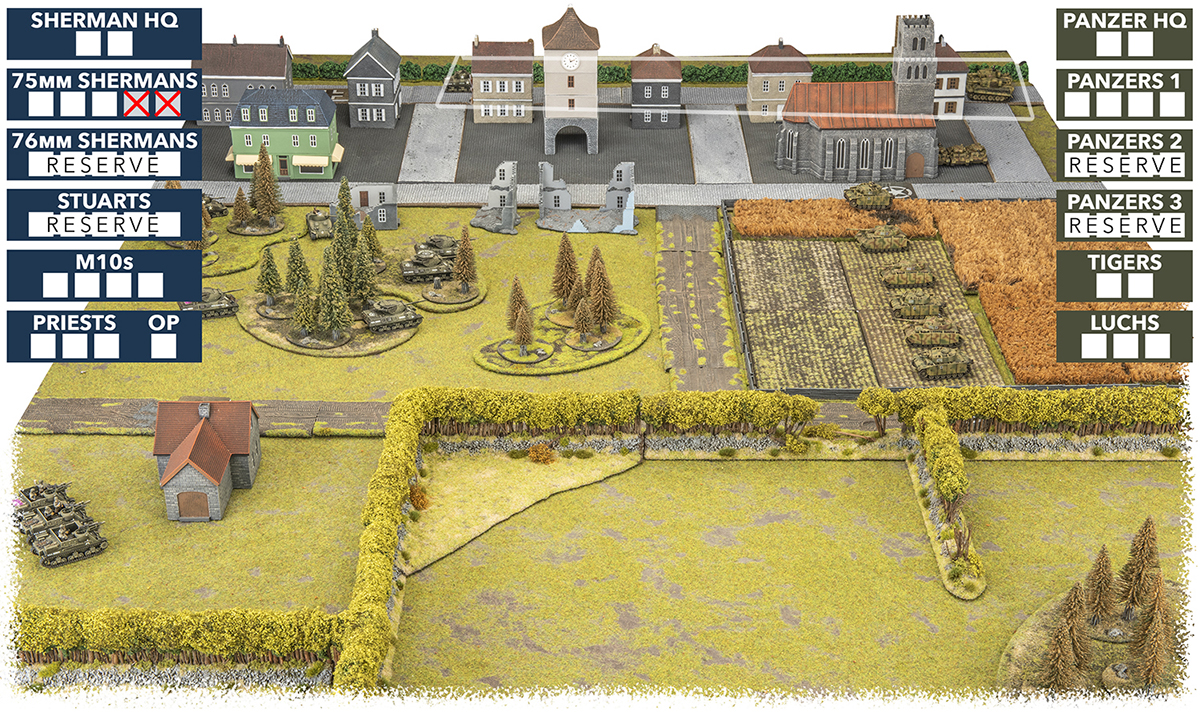
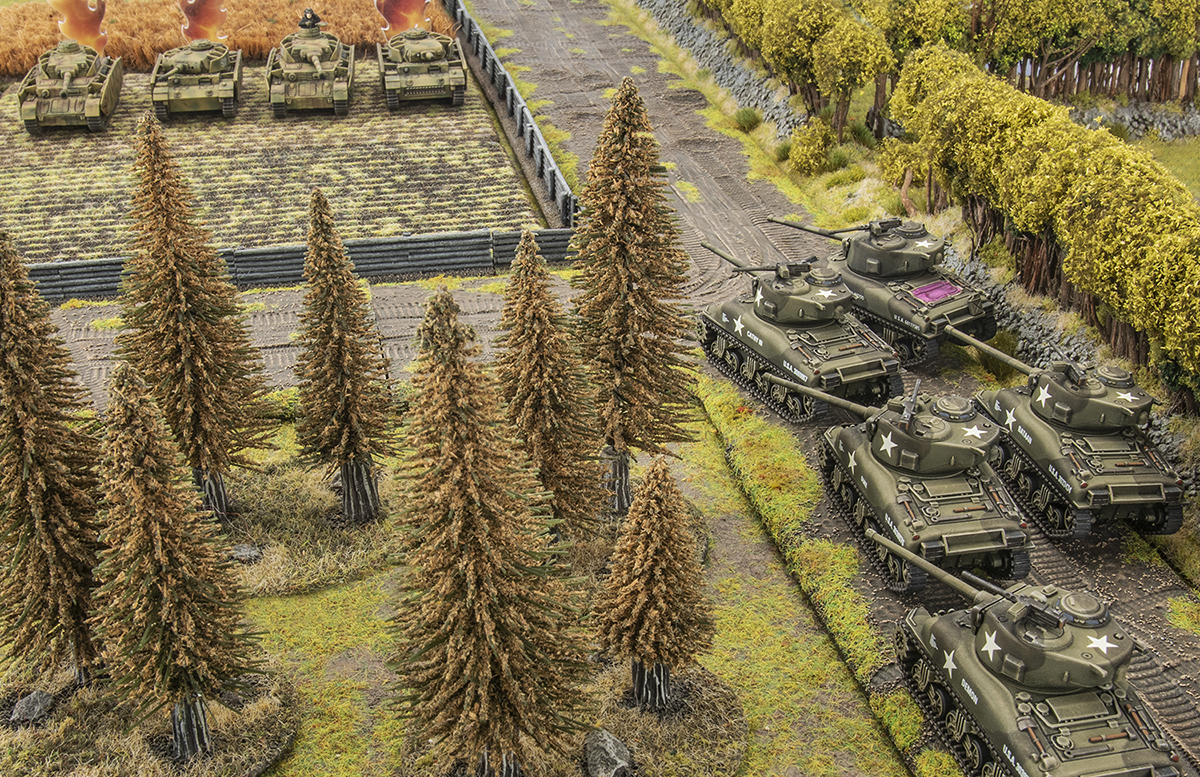
Victor failed to bring a reserve unit on, so simply moved his M10’s and 75mm Shermans forward for better firing positions next turn.

He may have been forgetting something though, as Casey pounced on the Shermans with his ambushing Tigers. They eliminated two of them, while the Panzers in the fields chose to remain Gone To Ground.
Turn 2:
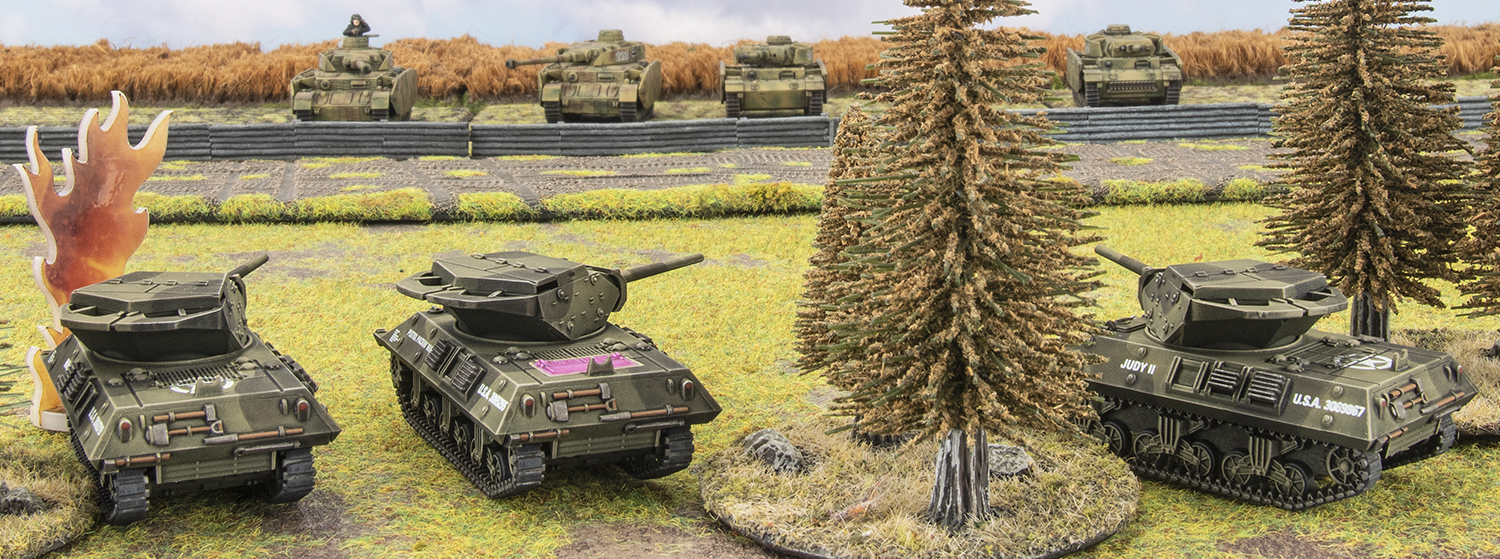
Again no reserves for Victor. The 75mm Shermans were forced to get out of the sights of the Tigers, and instead aiming for the Panzer HQ, as did the M10’s, but both units were unsuccessful in scoring any hits.

Casey’s Tigers, having tasted blood advanced forward and fired on the Sherman HQ but were not as deadly this time. Meanwhile the Luchs pushed for the objective on the far side of the town, and the Panzers in the field punished the M10s for revealing themselves and scored one kill.

Turn 3:
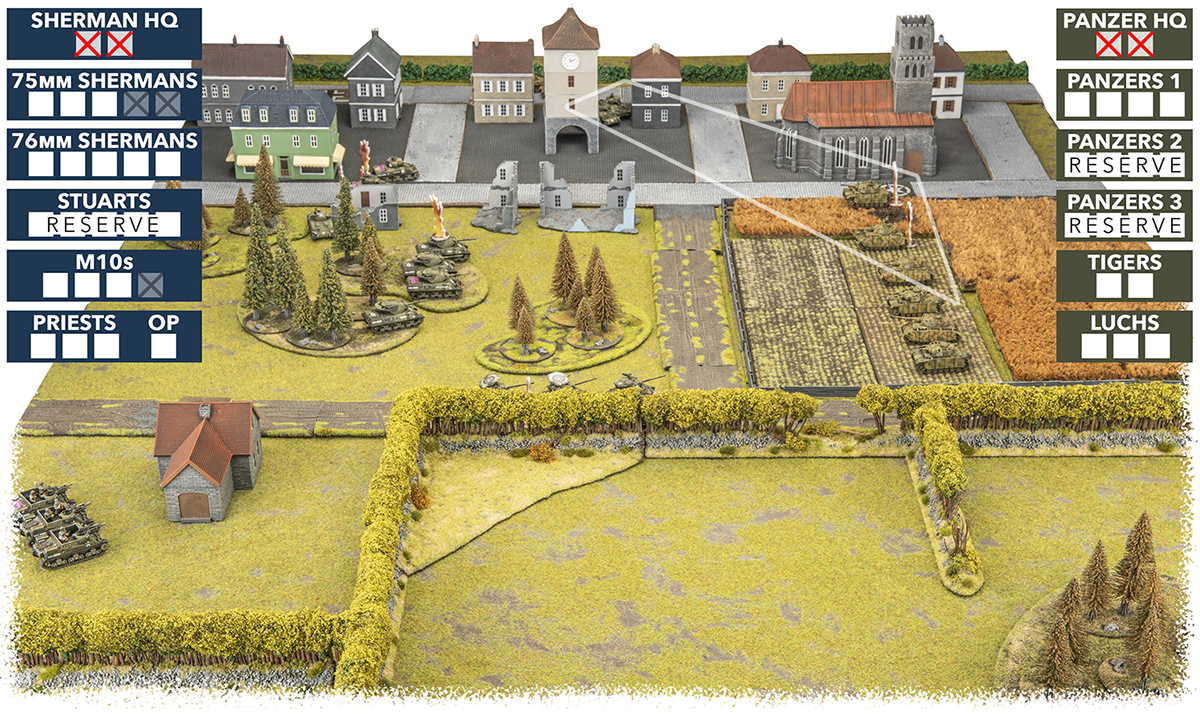
Victor now got his automatic reserve, and choose to bring on the 76mm’s, dashing them up the road to pressure the Panzers. The three remaining 75mm Shermans now in position opened fire on the Panzer HQ and destroyed both tanks. The M10’s however continued to miss the Panzers. It’s also worth mentioning that the Priests had been trying to range in on the Panzers every turn but no luck.

Casey started rolling for his Delayed Reserves now but he’d have to continue to wait. The Tigers returned the favour and killed Victors Company HQ, leaving both forces leaderless. The Luchs drove even closer to the objective.
Turn 4:
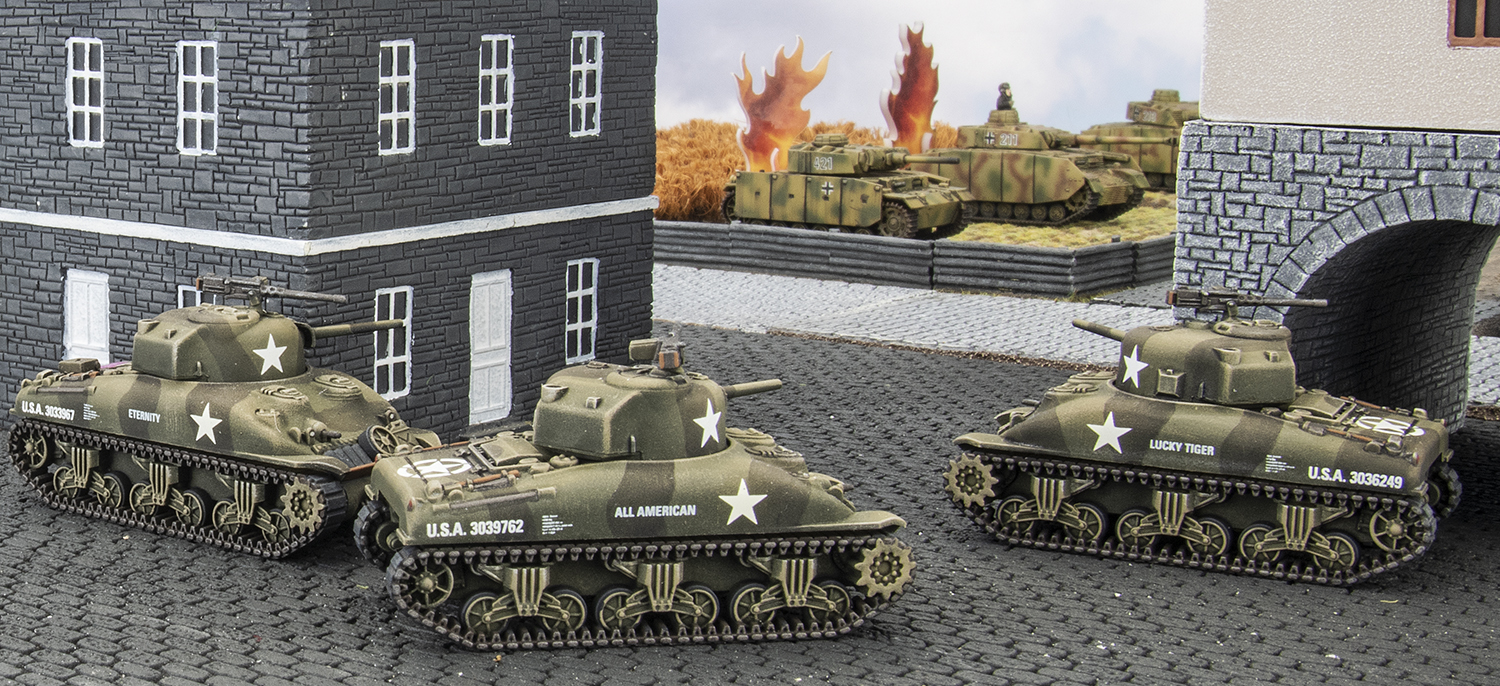
The American’s last reserve unit arrived and not a moment too soon. The Stuarts moved on to the objective and engaged the Luchs, killing one. Victor tried something different with the Priests and dashed them up to backup the 76mm Shermans. He used the 76mm Shermans to great effect and killed two Panzers and bailed a third. The 75mm Shermans and M10’s decided to fire on the Tigers, but their armour proved too much.

Casey got his first reserve Panzers and rolled the corner in the bocage. They immediately got to work and killed a 76mm through the hedges, and bailed two more. His Tigers moved forward to get a better angle on the M10s but missed with their 2 shots. The Luchs were also unlucky with the newly arrived Stuarts.
Turn 5:
Victor knew he needed to close on the Germans, and so moved his M10’s forward. Luckily they delivered, and killed a Tiger. The Priests Blitzed up to the hedges to direct fire on the fresh Panzer Platoon, and scored one kill. The Stuarts and 76mm Shermans were also hot with their shooting, killing a Luchs and a Panzer respectively.

At the beginning of Casey’s turn he had to make Last Stand tests for both the Panzer platoon in the field, and the Luchs. Unfortunately they both failed and sent their tanks and crews running.

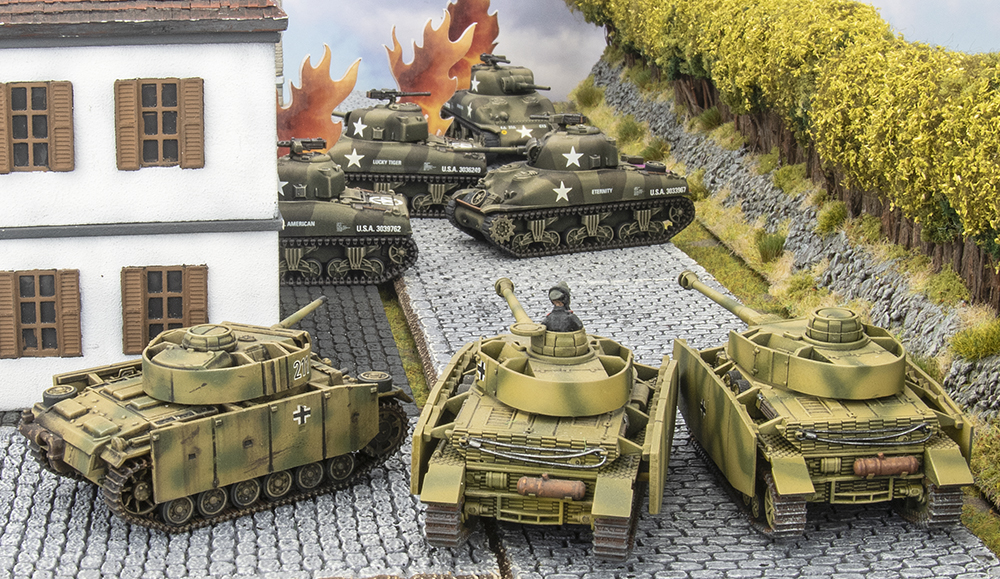
However Casey still had one unit to come on from Reserve, his third Panzer Platoon, which arrived in the perfect spot to finish off all 3 remaining 75mm Shermans. The rest of his force wasn’t so lucky, only managing to bail a 76mm.

Turn 6:
The 76mm Shermans drove up the road to contest the objective, and to get shots through the gap in the hedges. They fired on the Panzer Platoon and scored two kills, thanks in part to Lafayette Pool ignoring the +1 to hit with Stabilisers. The M10’s repeated what worked for them before, and eliminated the last Tiger. This left two out of four of Casey’s Formation units destroyed, with a third on the brink.

Casey was forced to make another last stand check, this time for the second Panzer Platoon. Their fate was the same was the others, so with all but one Panzer Platoon destroyed, Casey’s Formation broke. Pool’s platoon was also on the objective, so a convincing American win.
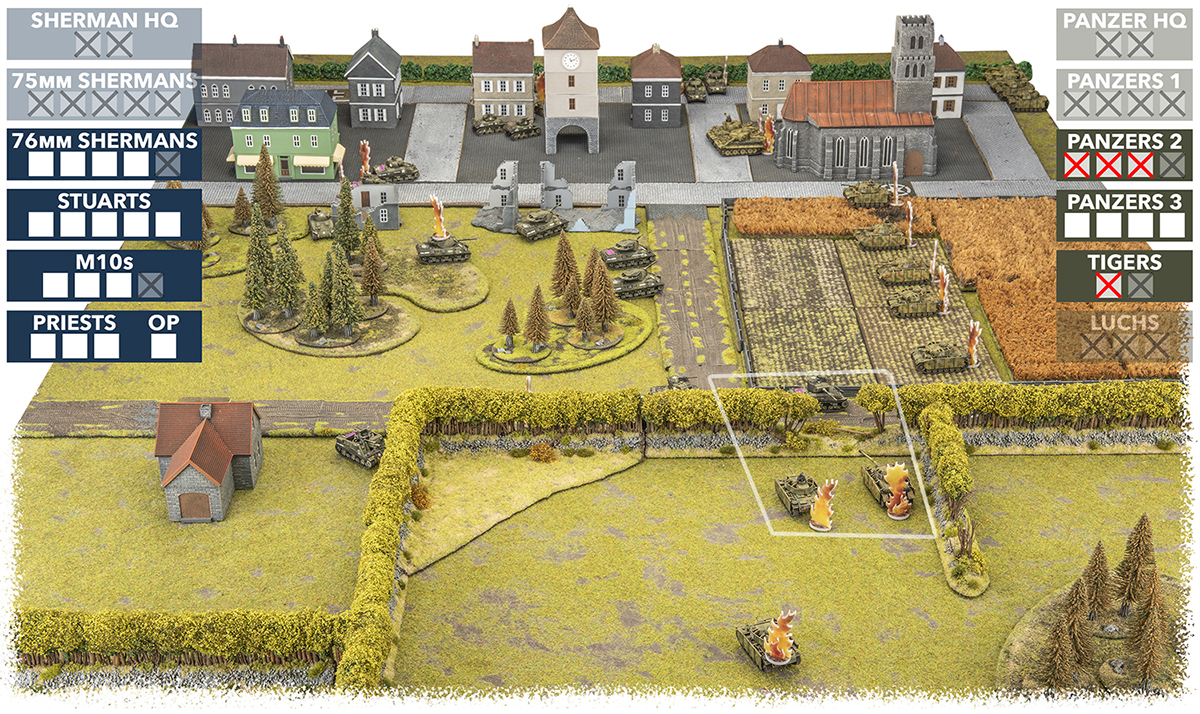
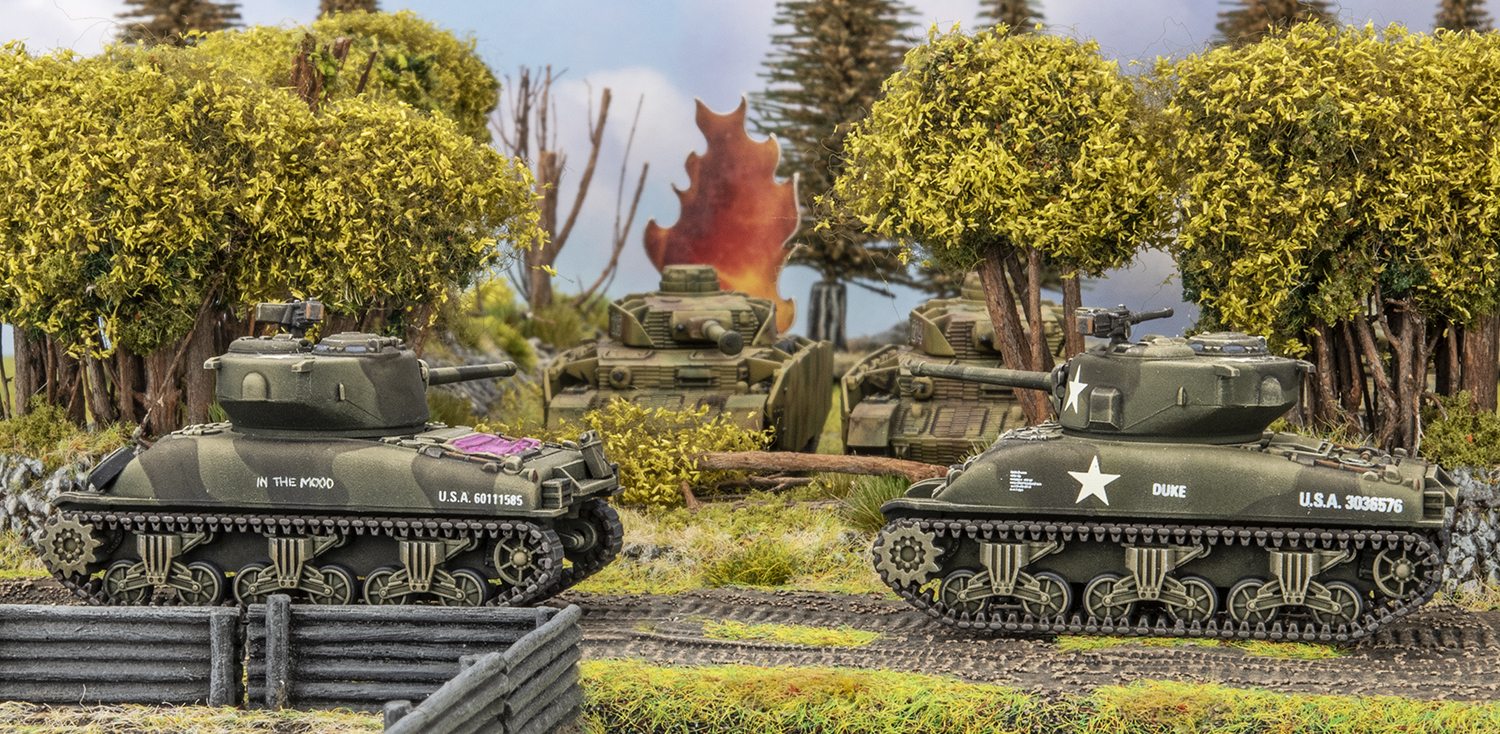
A close game that looked to be in Casey’s favour in the first few turns, but turns 5 and 6 really swung it to the Americans.
I was glad to get the win here, but I would say I have a lot to learn about running American armour. In a battle like this the Priests would’ve probably been better served laying down smoke while my tanks pushed forward to out flank. Long range and concealment made scoring hits tough going, but the M10’s getting lucky with the Tigers really helped. And of course the hero of the day was Lafayette Pool (when he finally turned up), breaking the German company and securing an objective.
Well that was a blast. I knew the game was going to come down to getting reserves at the right time in the right place. I was quite happy with the performance of the Panzers that started on the table. I always figured they were going to have a difficult time against the sheer number of tanks on the table. I think if my first reserve had of turned up on the first turn of rolling, and if the second platoon had of come onto the table in a more use full place then I think I would have won.

In hindsight I should have probably waited until the 76mm Shermans arrived and sprung my ambush against them. I was just too eager to get some runs on the board.

Fighting First

It’s been a “Fury”ous month of painting for me, but there’s nothing like finishing a whole new army ready to hit the table.


I’ve achieved my goal of having 100 points finished in time for the launch weekend, even if I’m tactically using the more expensive Veteran formation, and soaking 5 points into command cards… and most importantly I still have the enthusiasm to paint more!

I’ll putting the force to the test against Casey tomorrow to celebrate the release of D-Day: American.

~ Victor

Priest and M10 Showcase

With these two platoons completed, I now have all the units for my first 100 point list. These were both a nice change of pace from painting tanks.

The techniques and colours for these was the same as with the tanks, but the Priests offered the chance to do some crew.

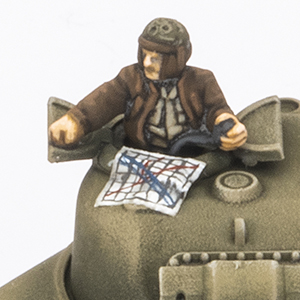
For the observer I decided to leave the camo off, to make him little different, and maybe he’s an older tank they had kicking around. I used the early transmission cover as well.

With the M10’s I used the roof that comes with the kit, as a way to speed up painting time (no crew or machine-gun) and because I quite liked the look. After completing them though, it does make me want to do my second platoon later with open tops. I like the way the Priests turned out so I’m not so scared of doing crew now!

– Victor