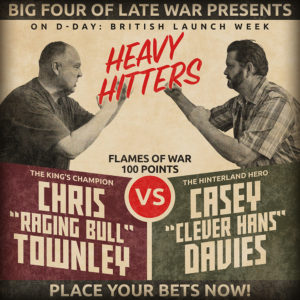
 With the D-Day: British Live Launch coming up tomorrow, it seemed like a perfect excuse to hang around one afternoon and play a game. Needless to say Chris was anxious to get his Churchill Armoured Squadron of the tabletop for its first game. Casey quickly volunteered to play against him as they have a long running gaming rivalry / partnership that stretches back about 15 years. Casey also saw it as a great change to dust off an old German army that had been sitting on the shelf and take it out for a spin!
The Forces:
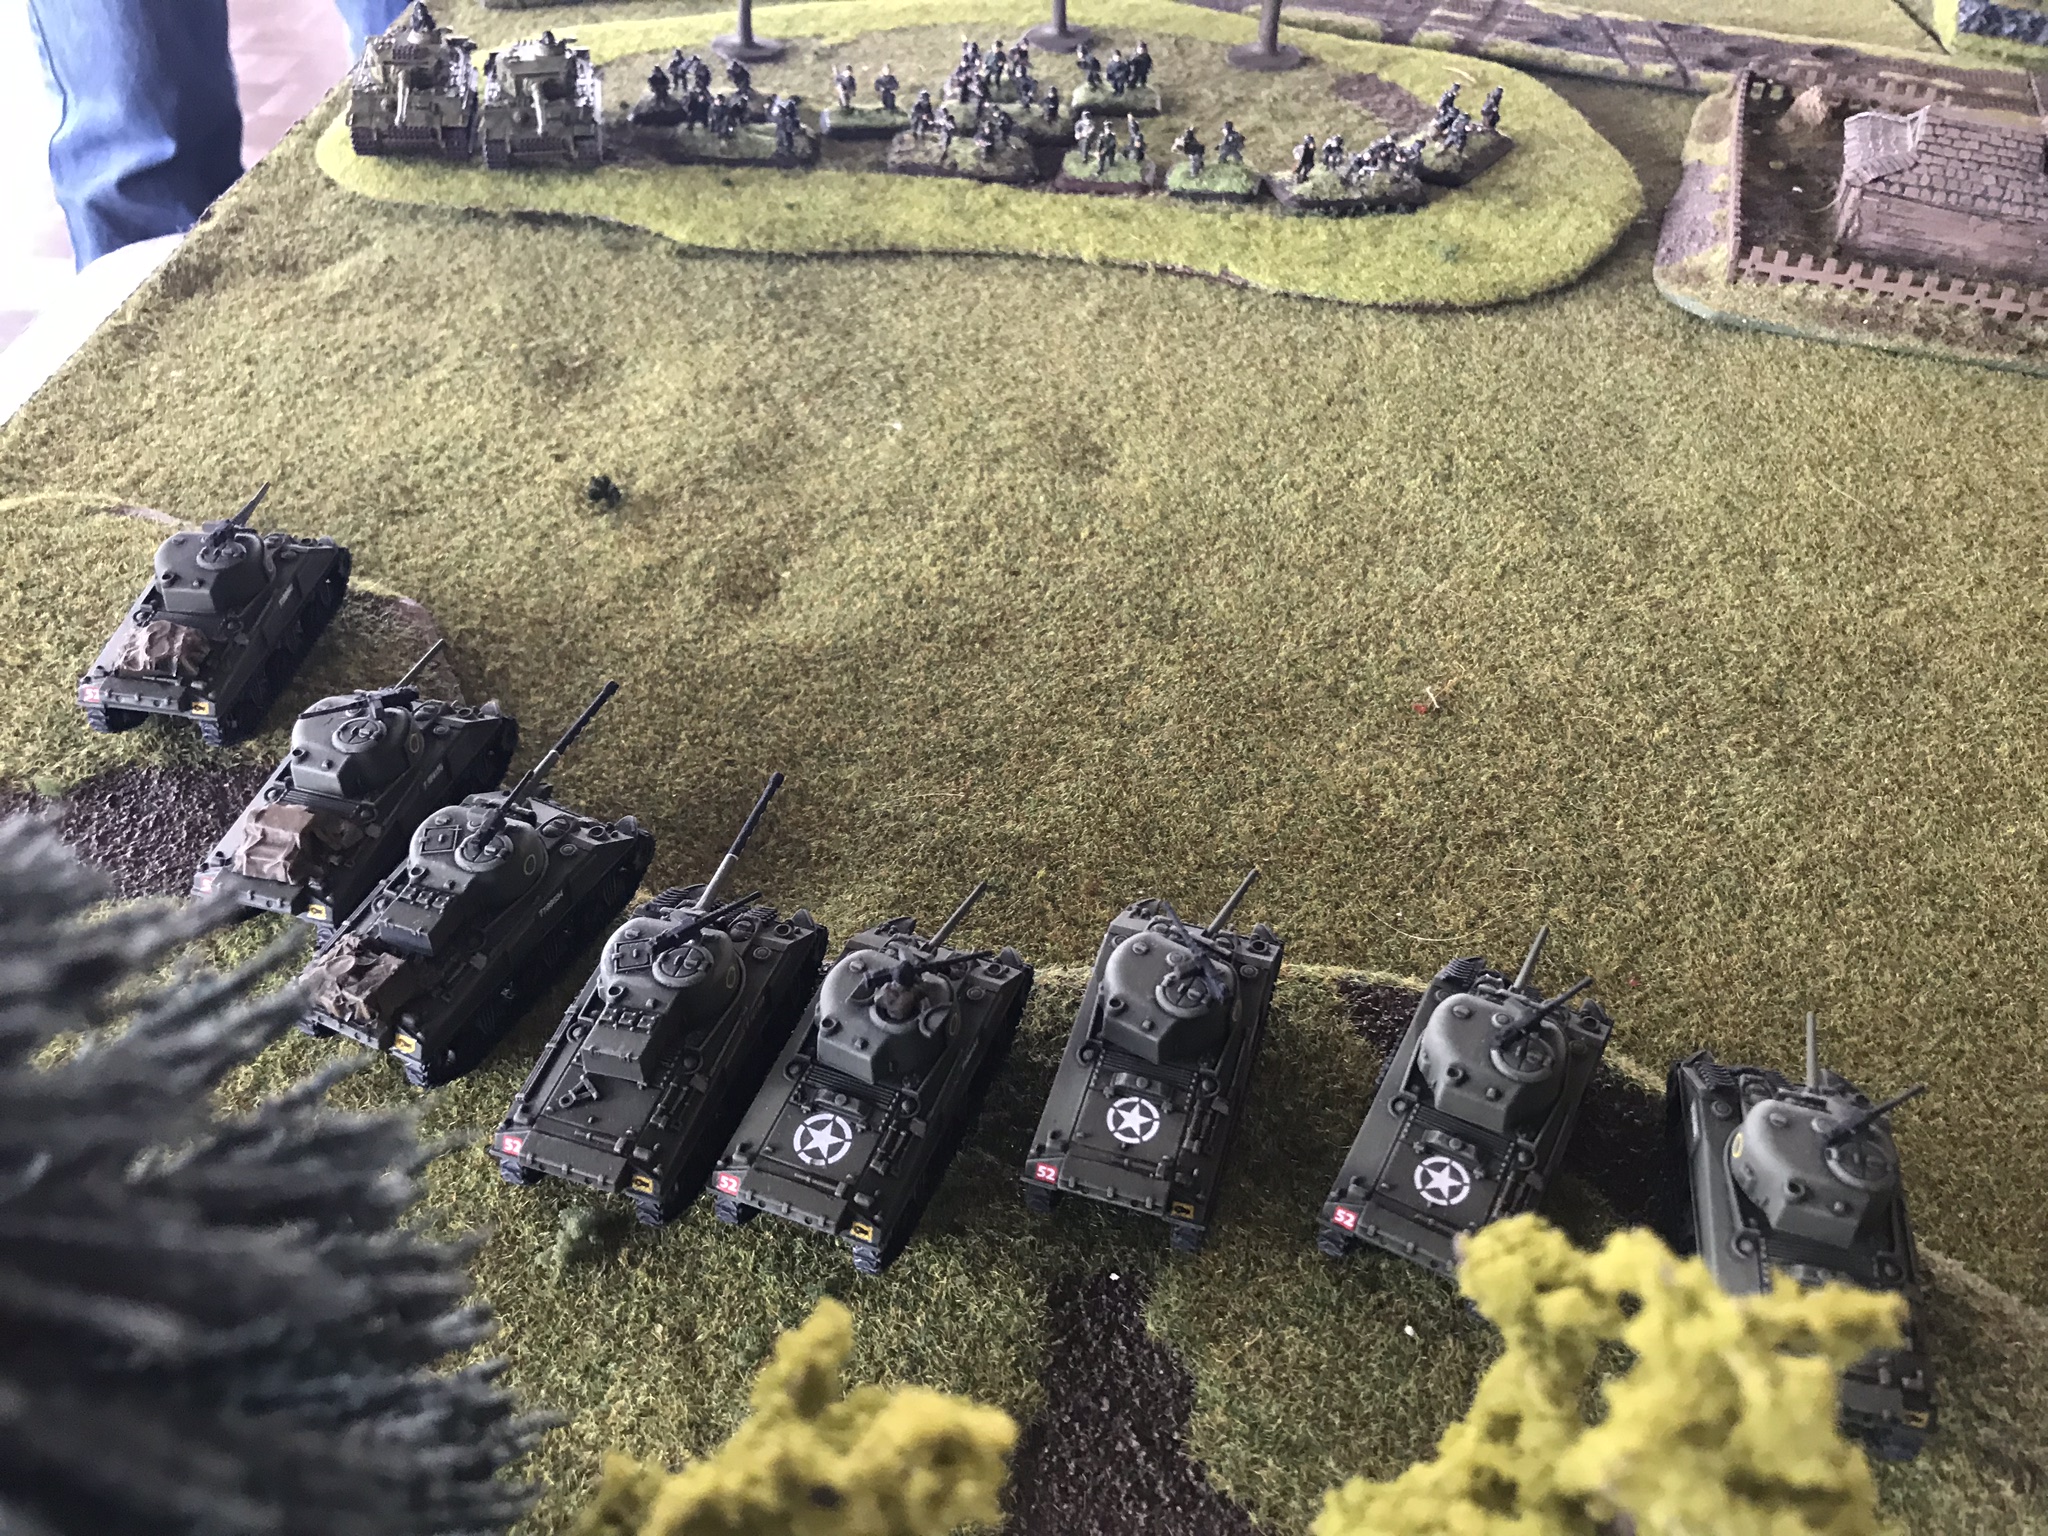
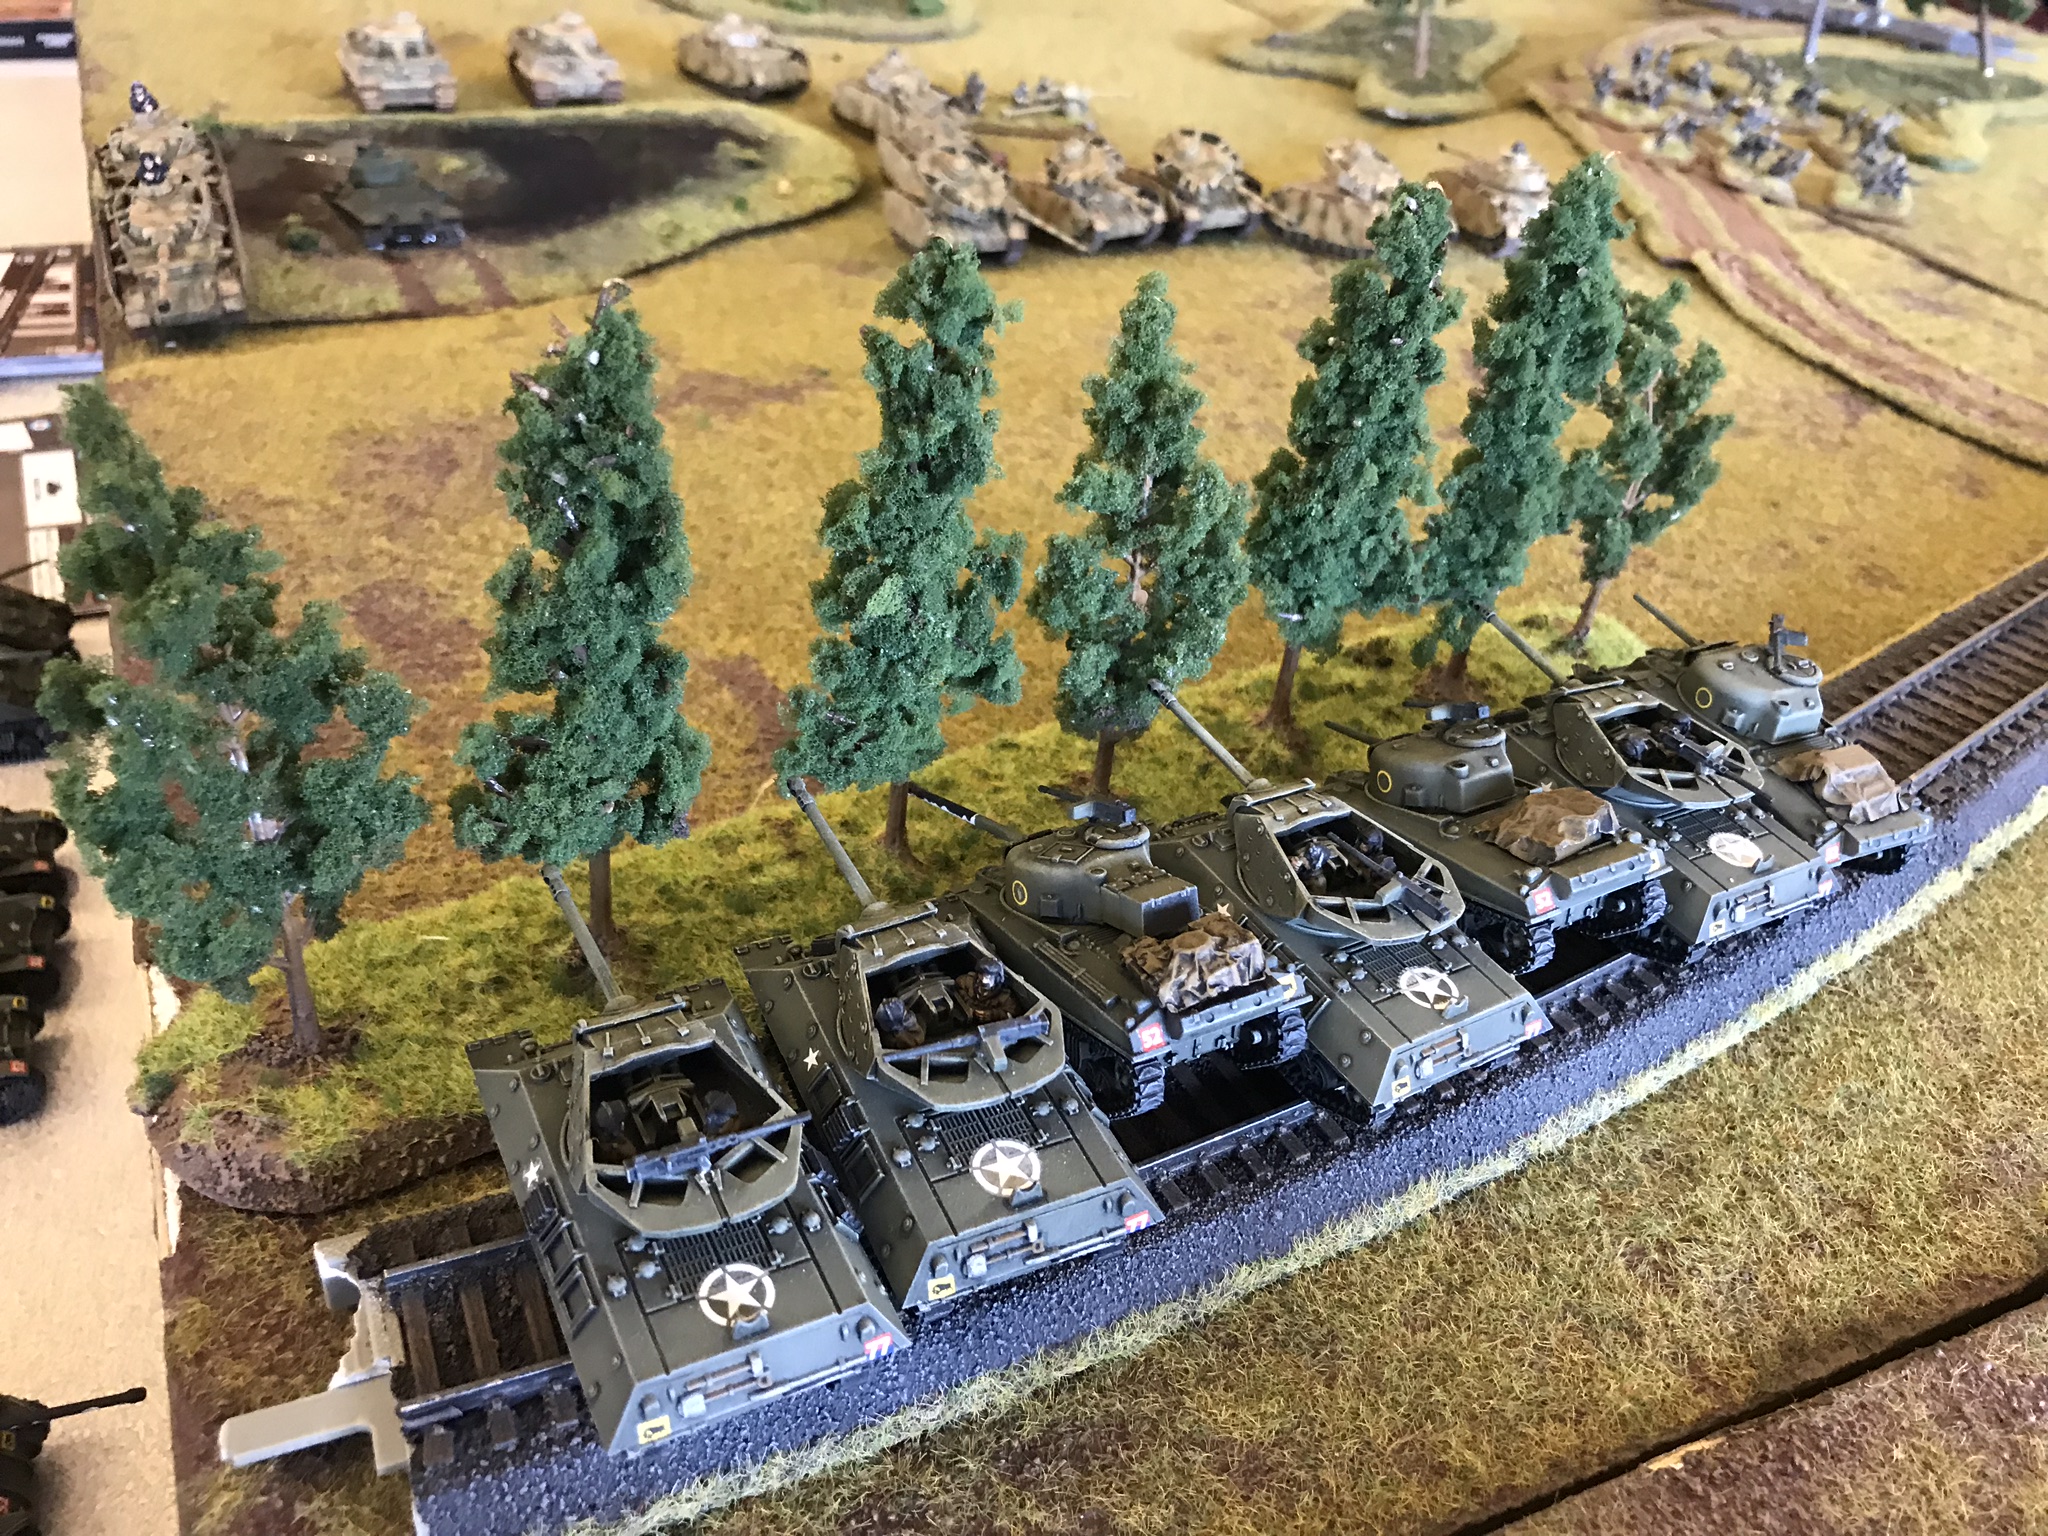
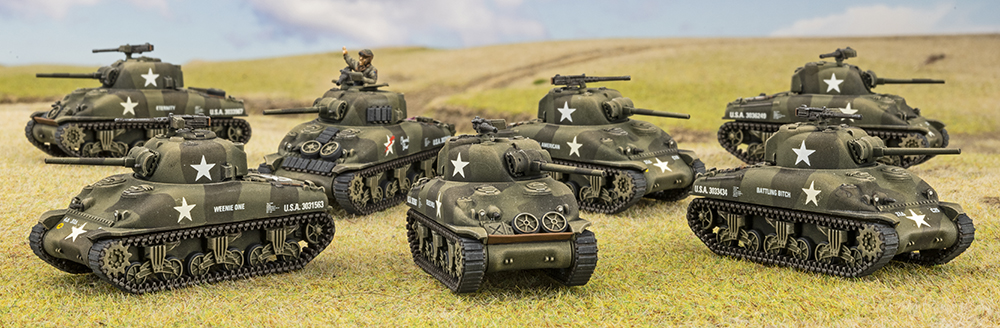
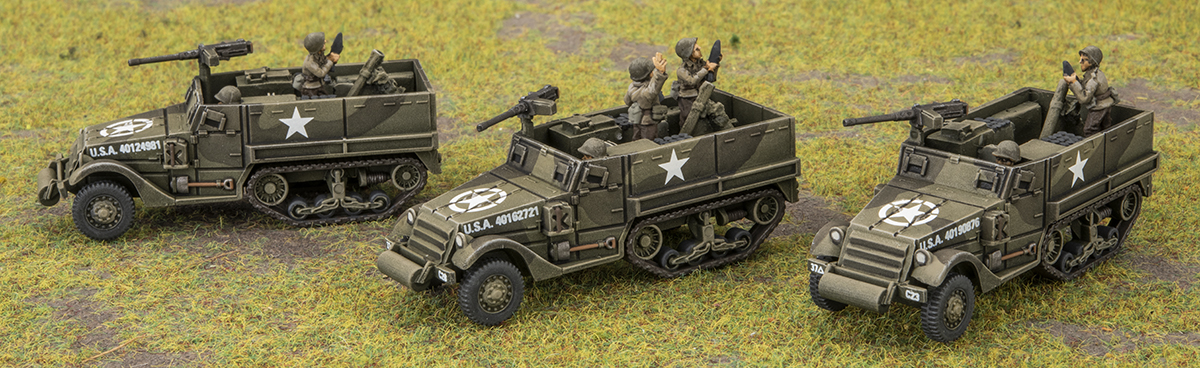
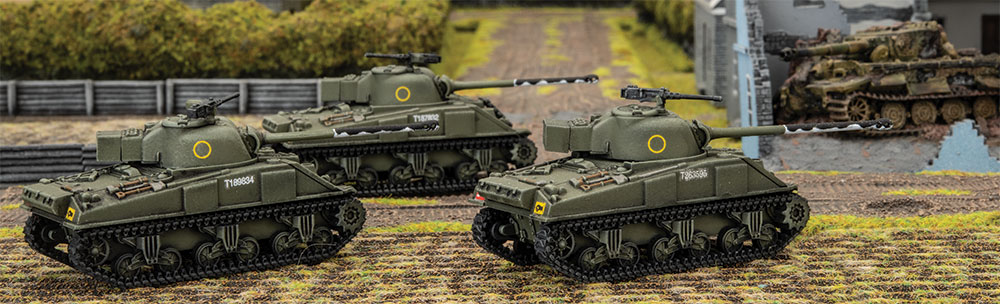
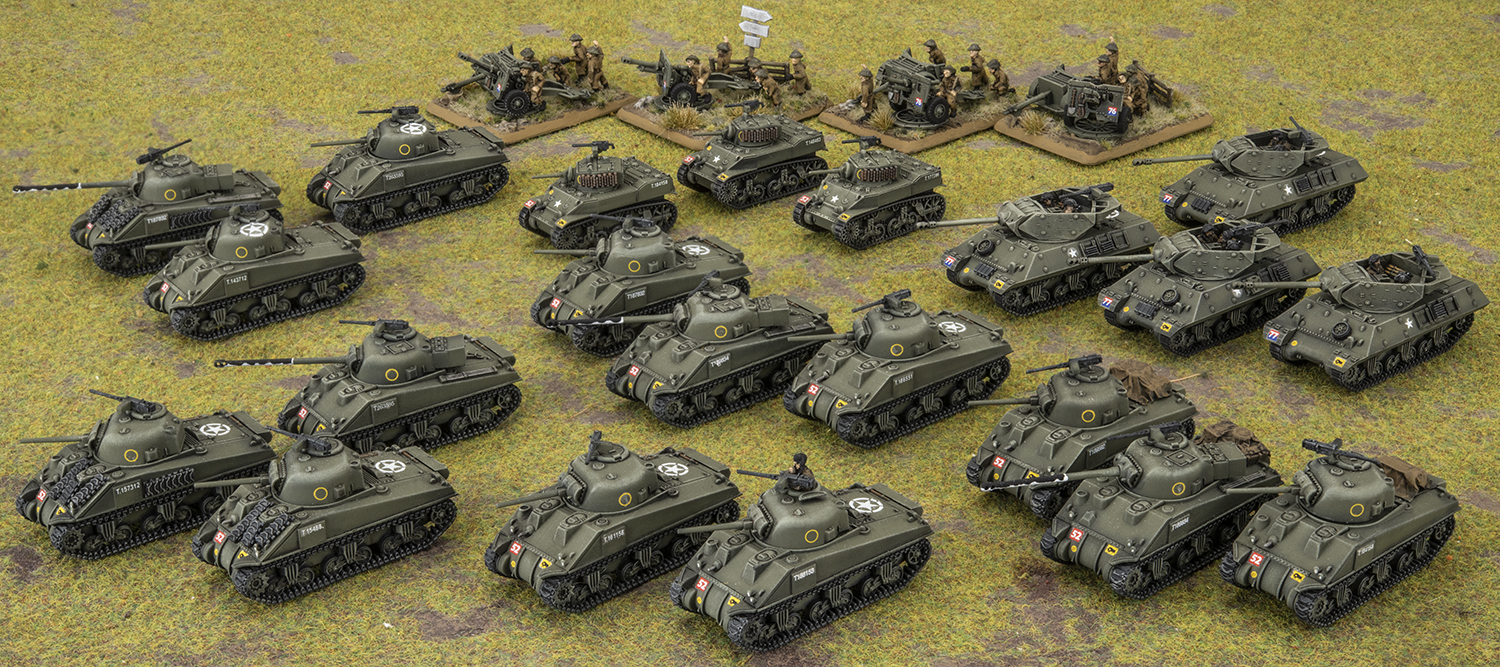
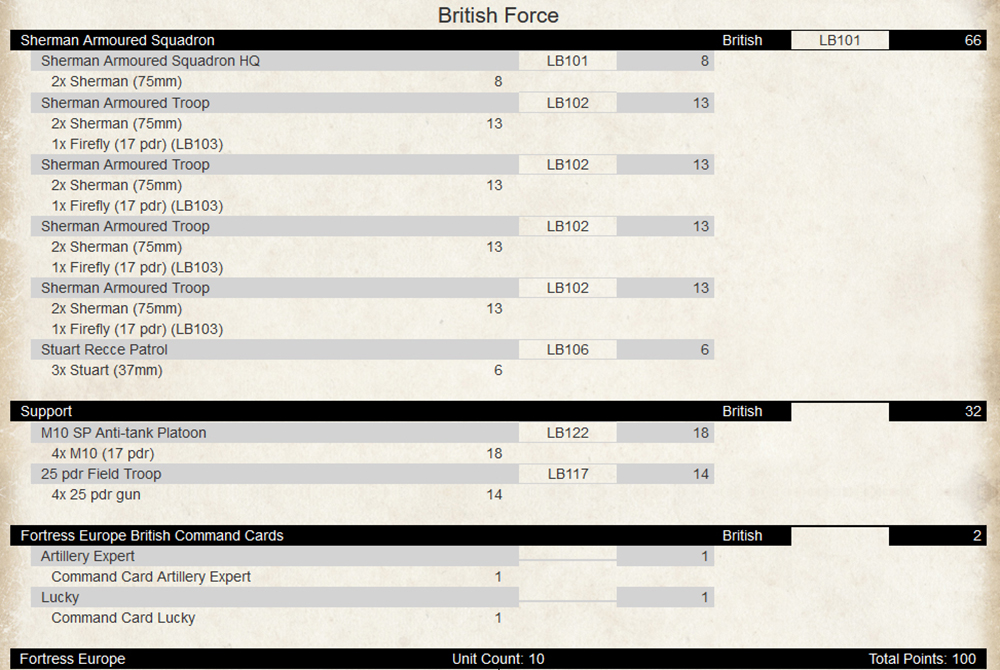
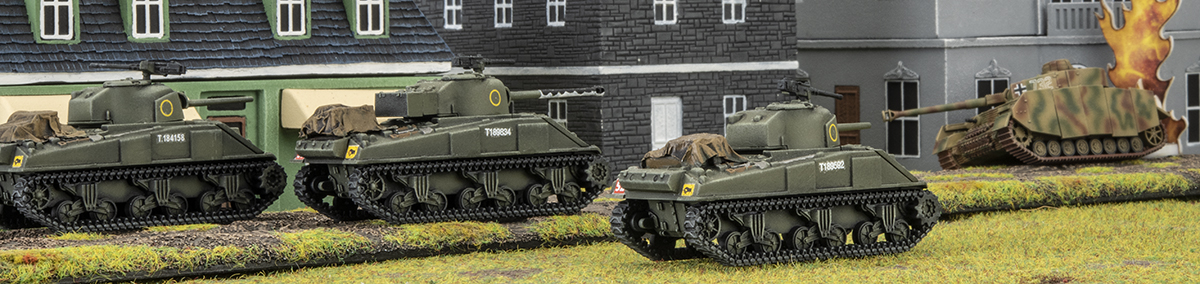
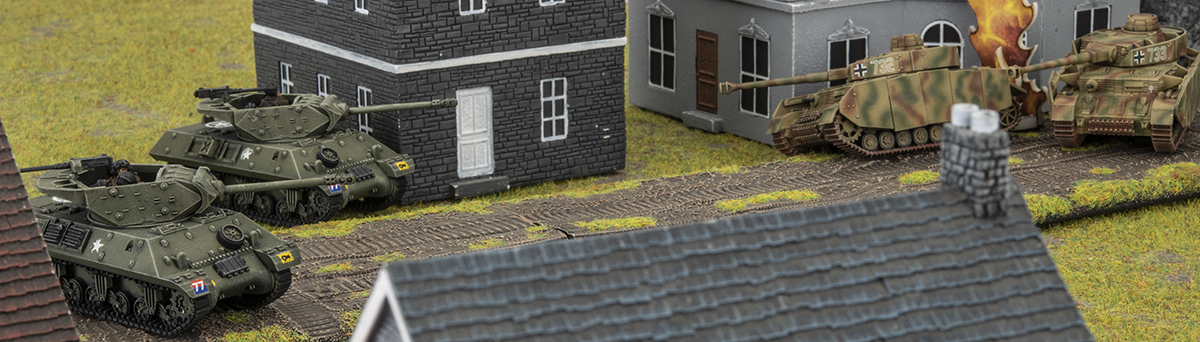
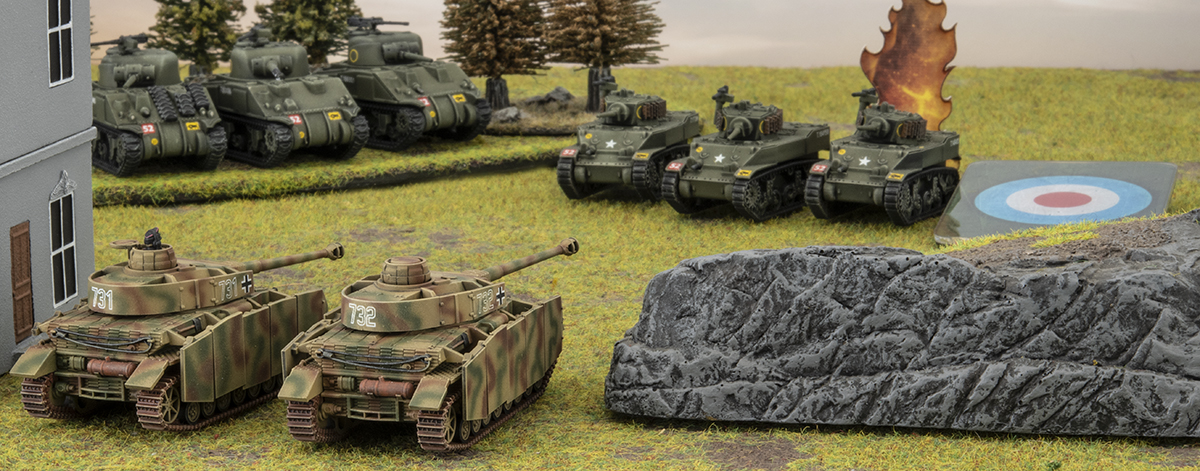
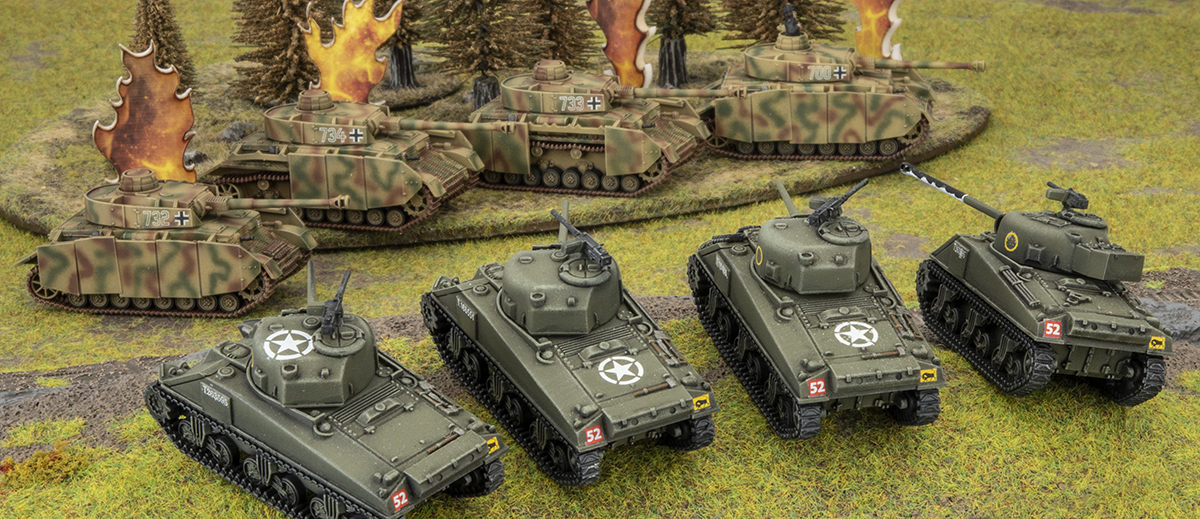
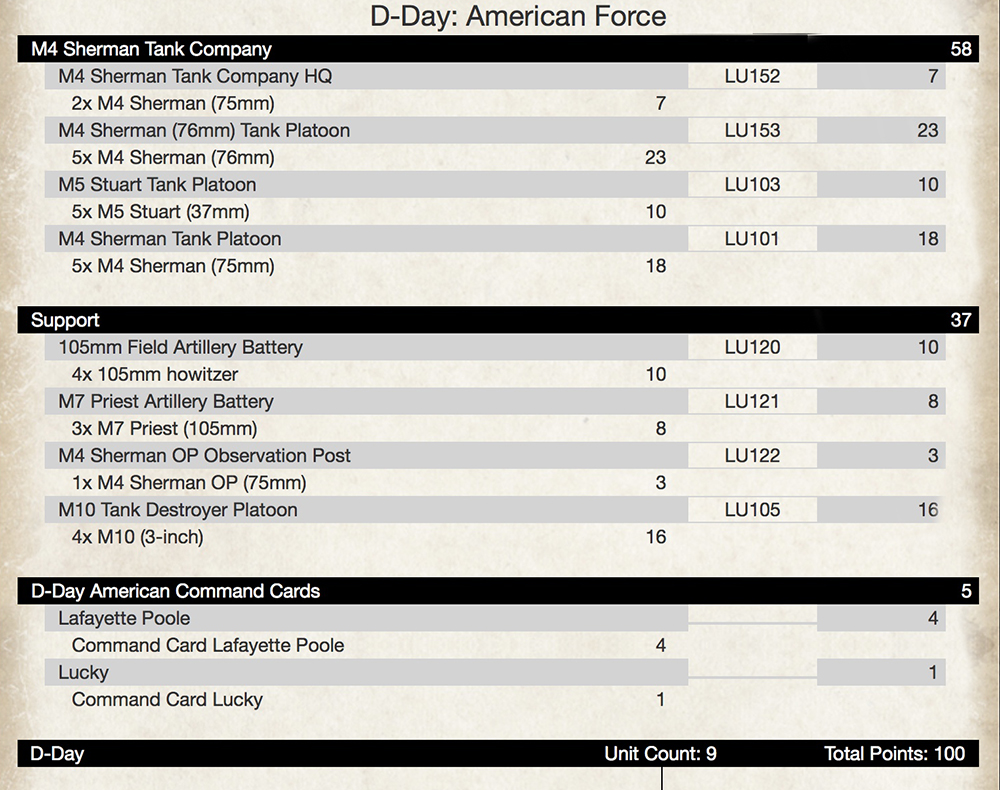
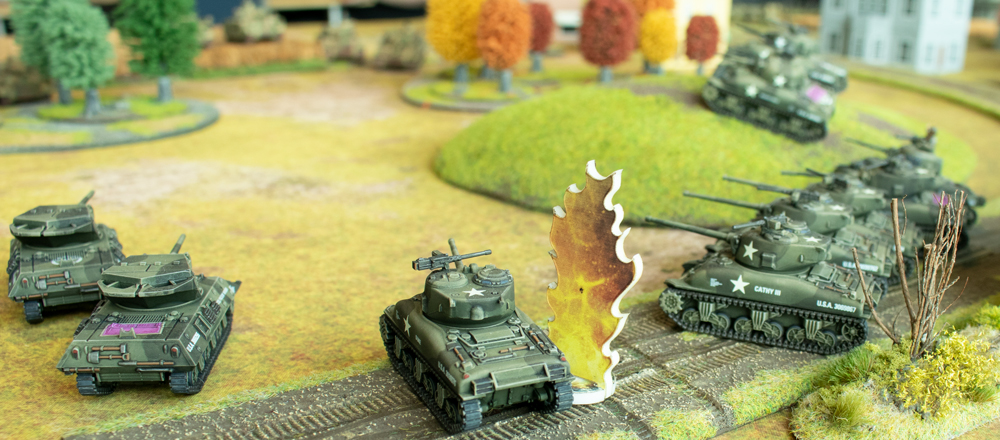
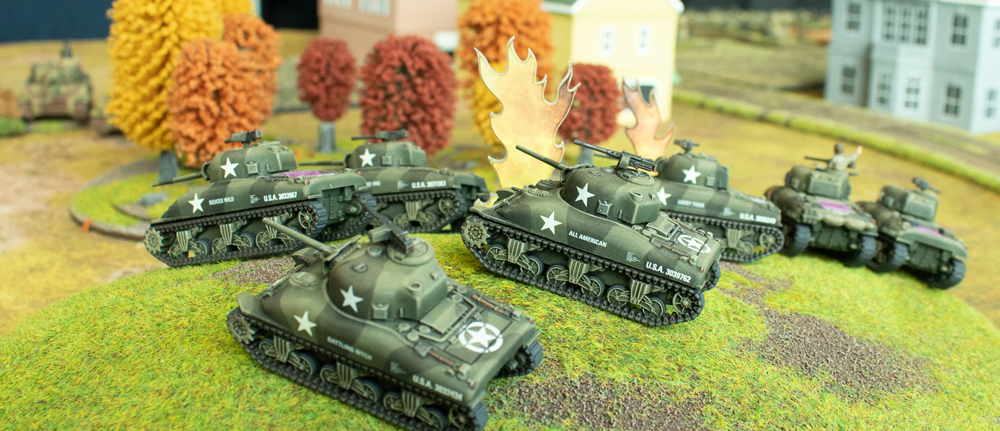
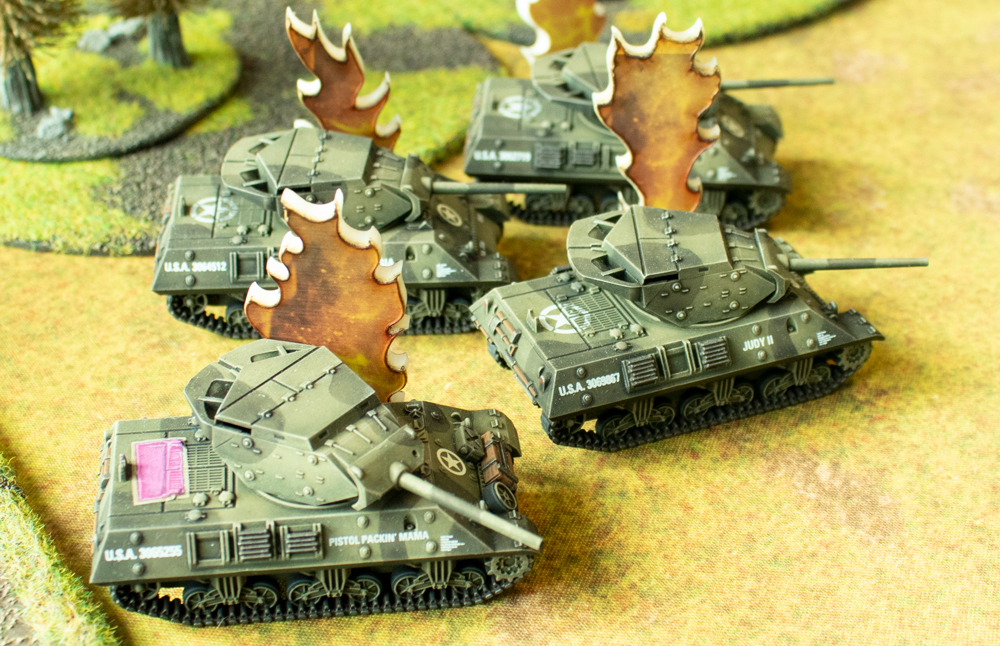
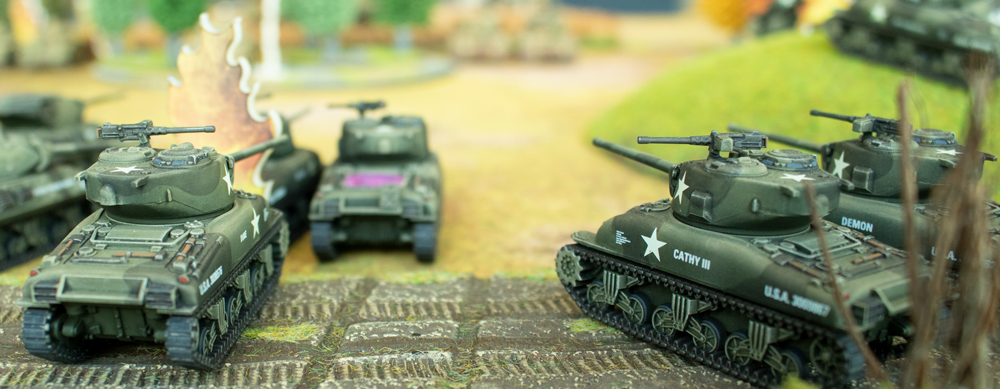
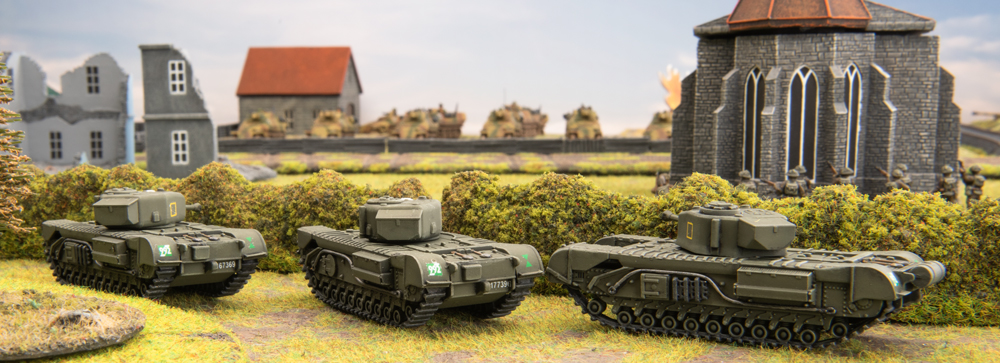
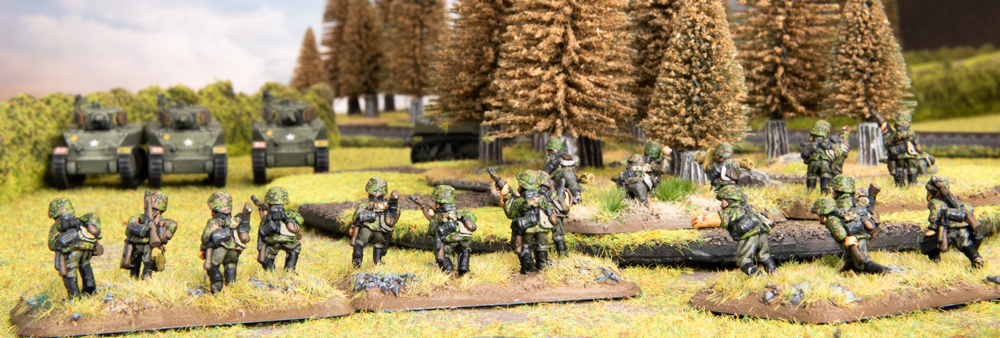
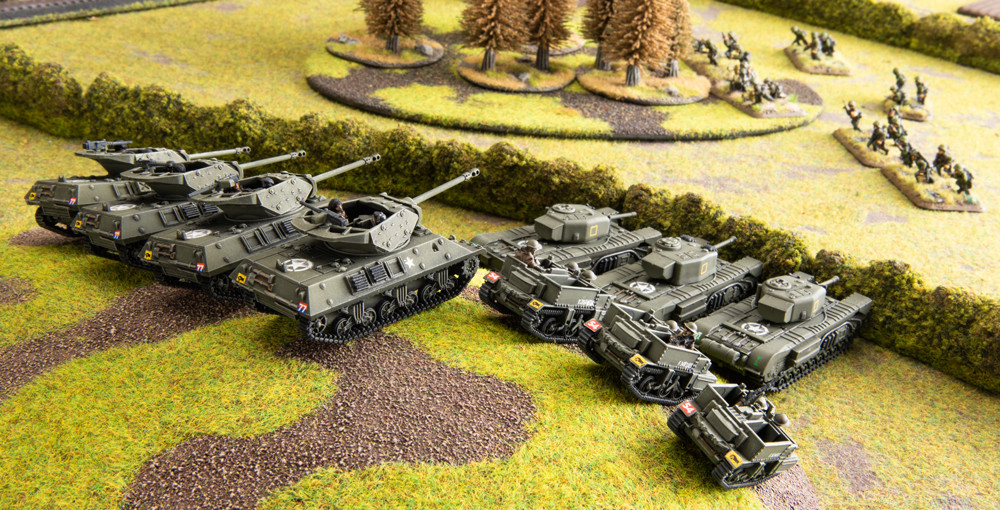
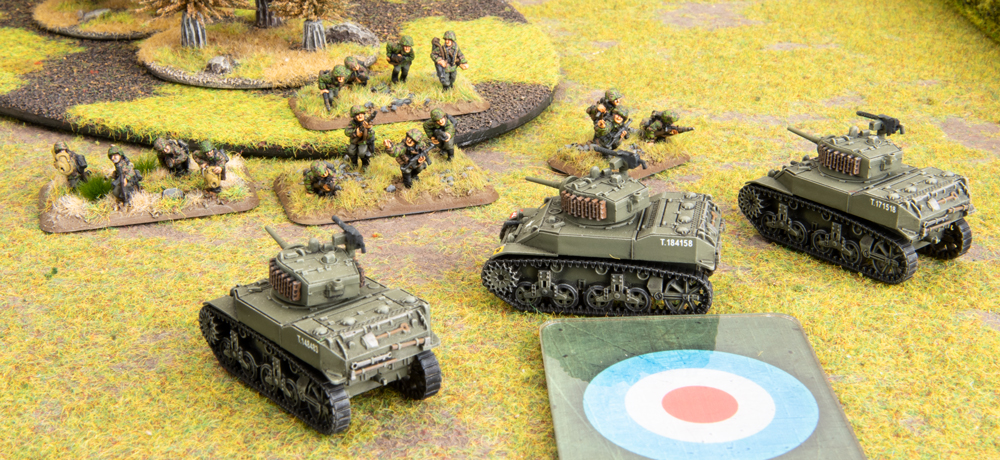
Chris had just finished his Churchill army the week before so it was no surprise that the core of the force was based around an HQ and two platoons of Churchills. Since he never leaves home without some M10s they were an obvious choice, especially since he knew Casey would have Tigers. Rounding out the force were Stuarts, Infantry, Carriers and Crusader AA (a cheap option to pad out the Formation and a useful way to cut down infantry).

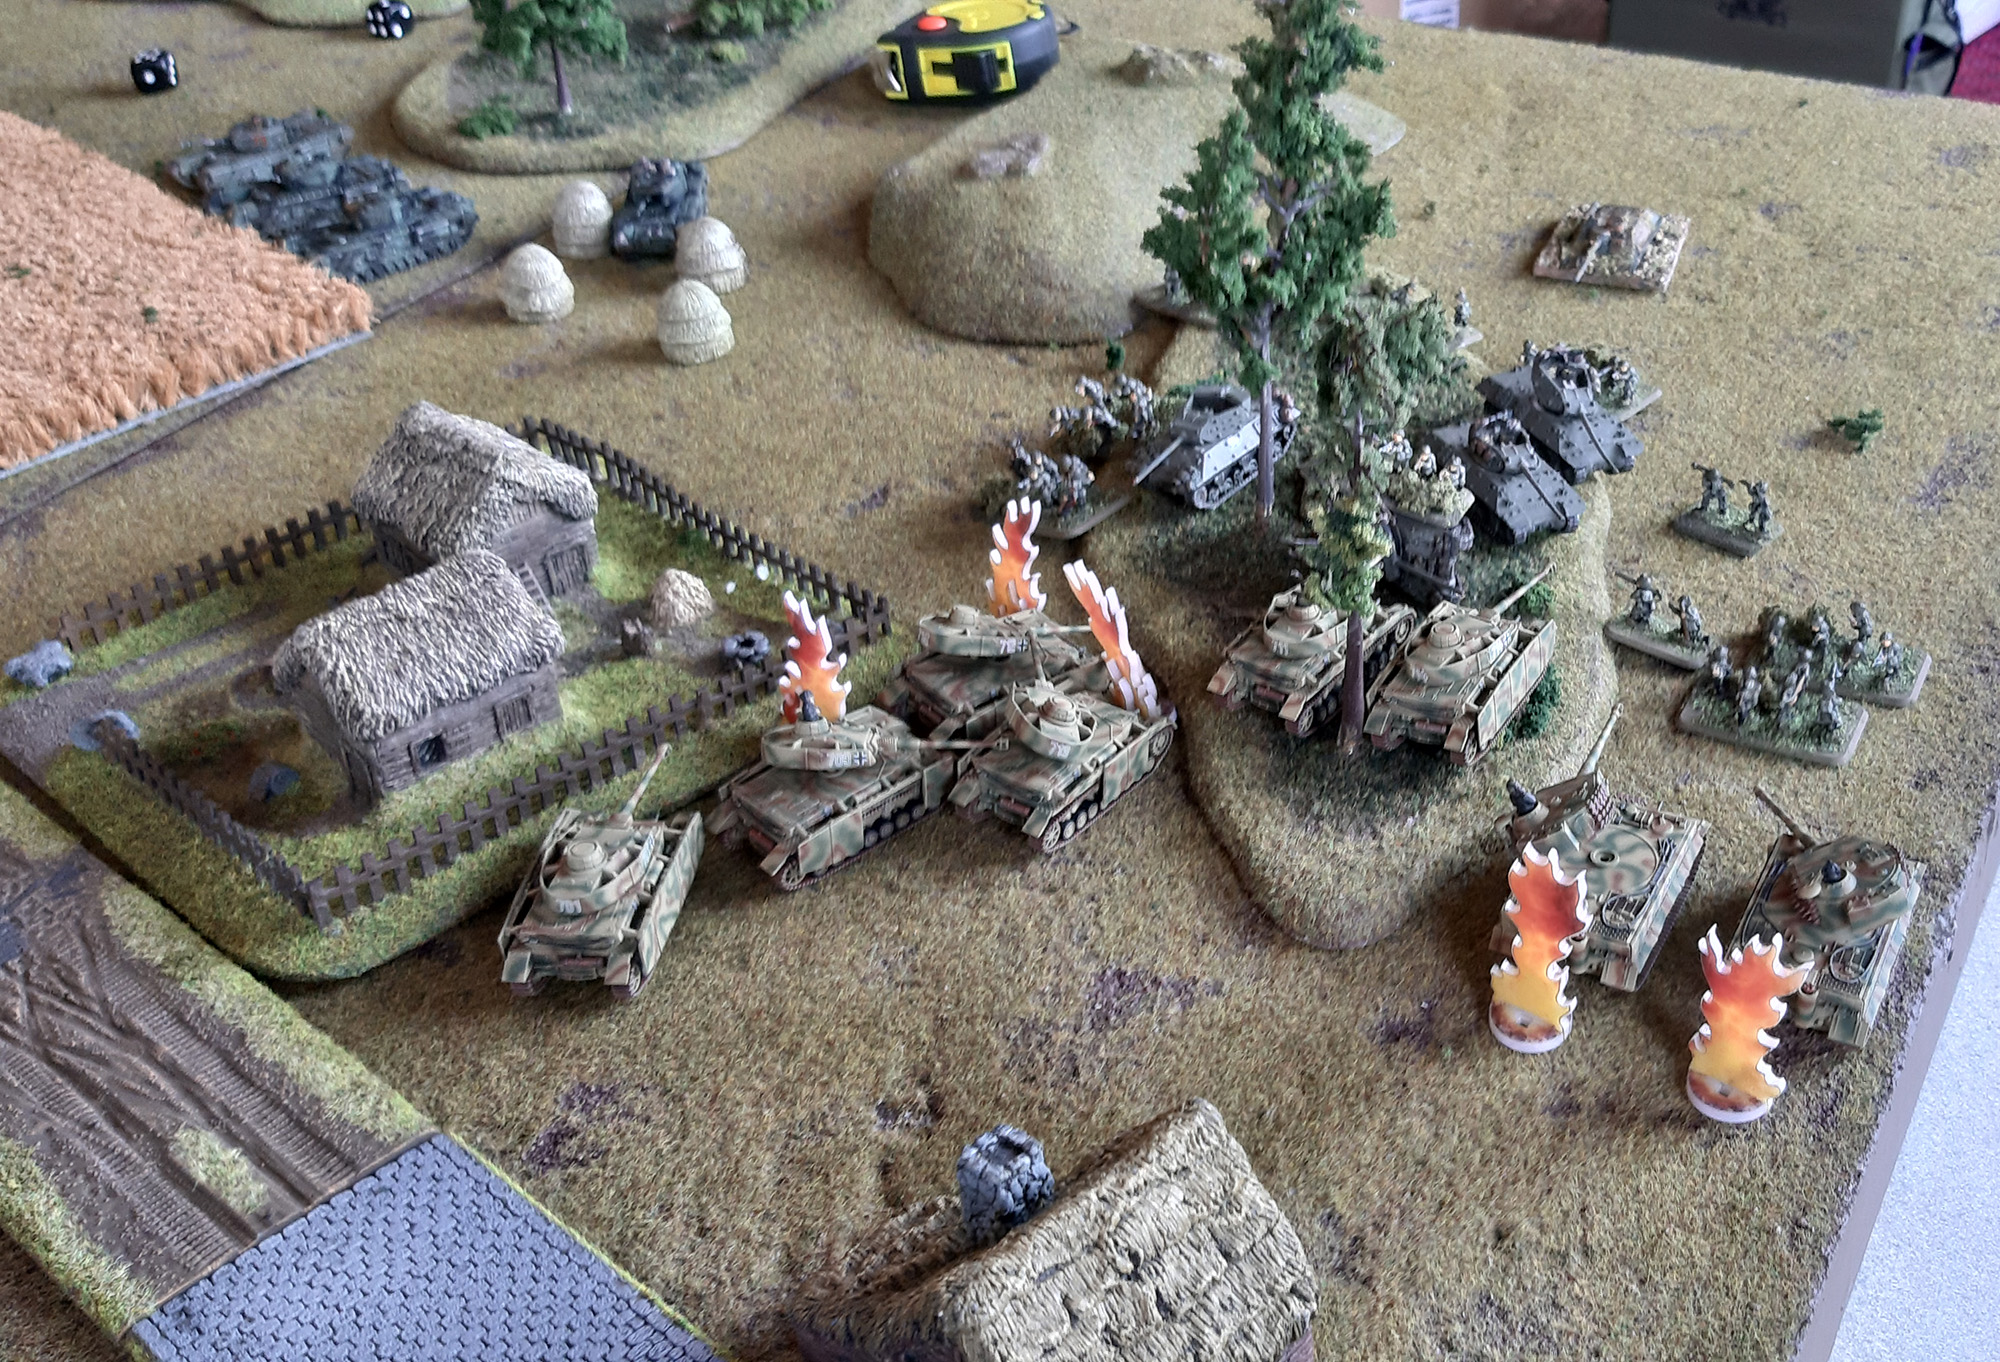
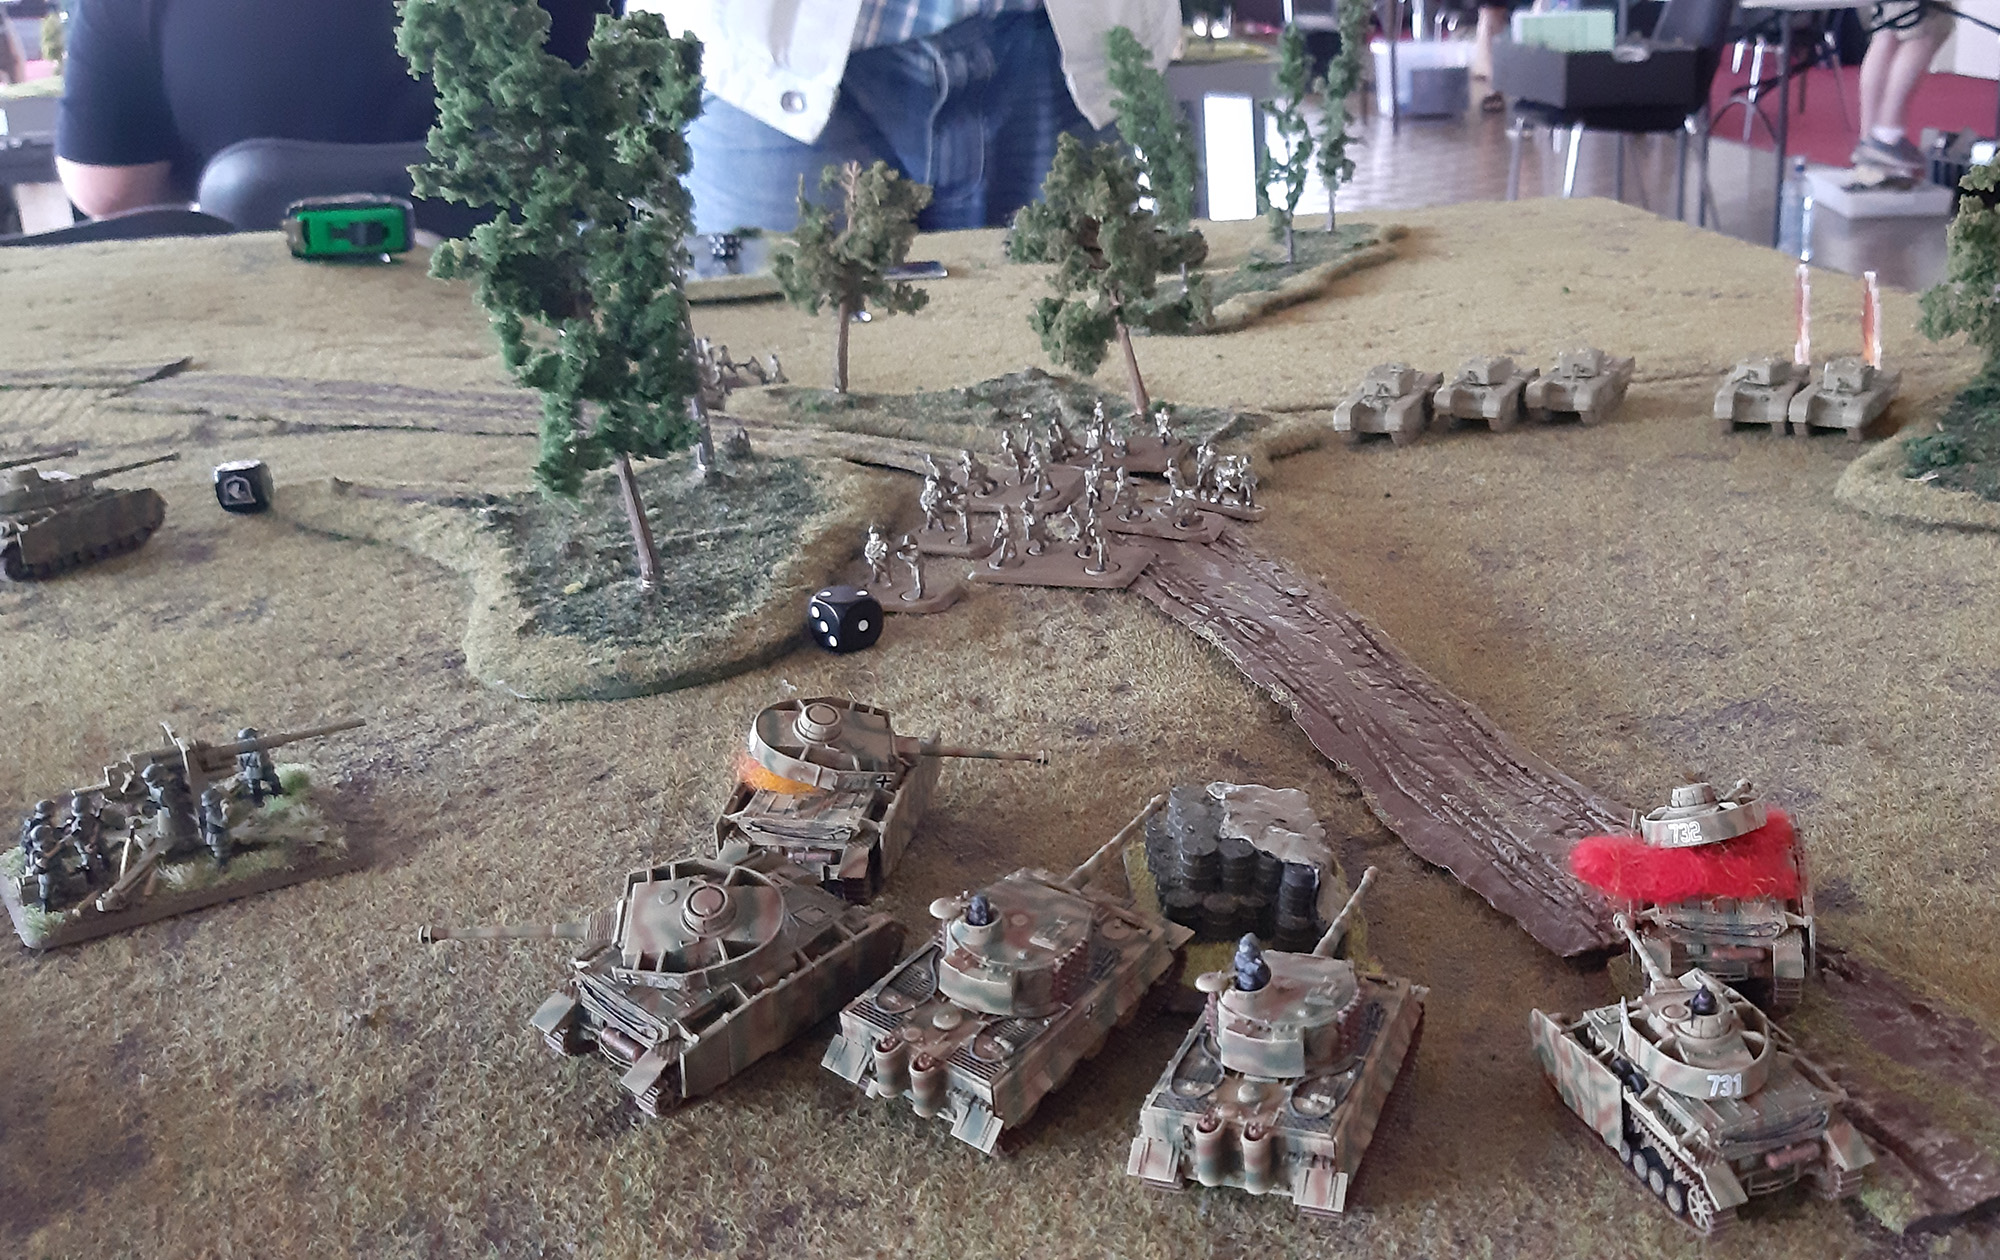
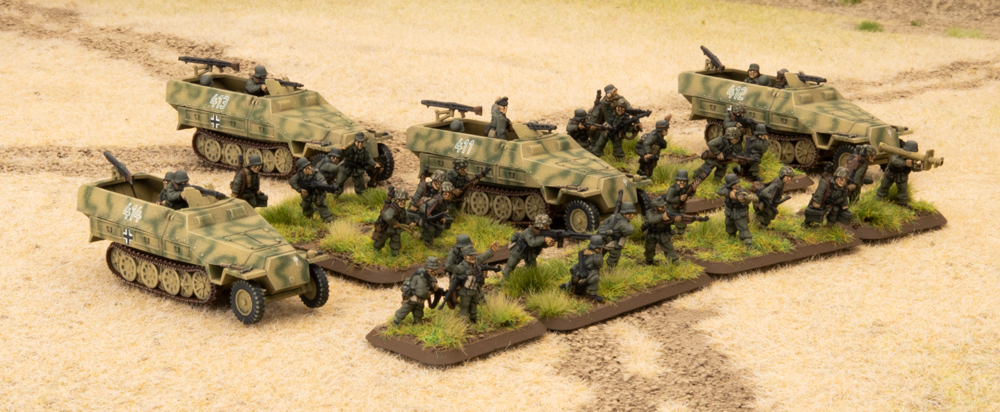
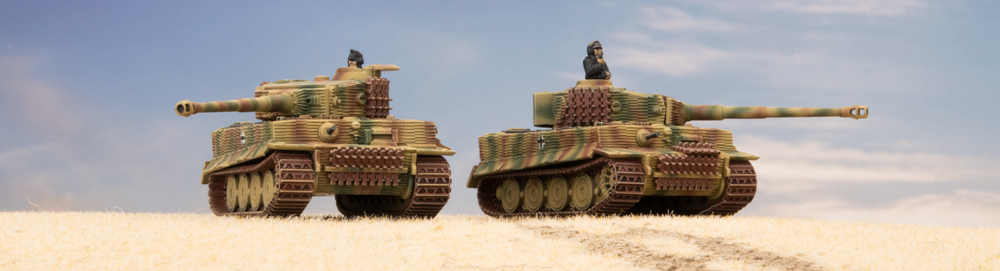
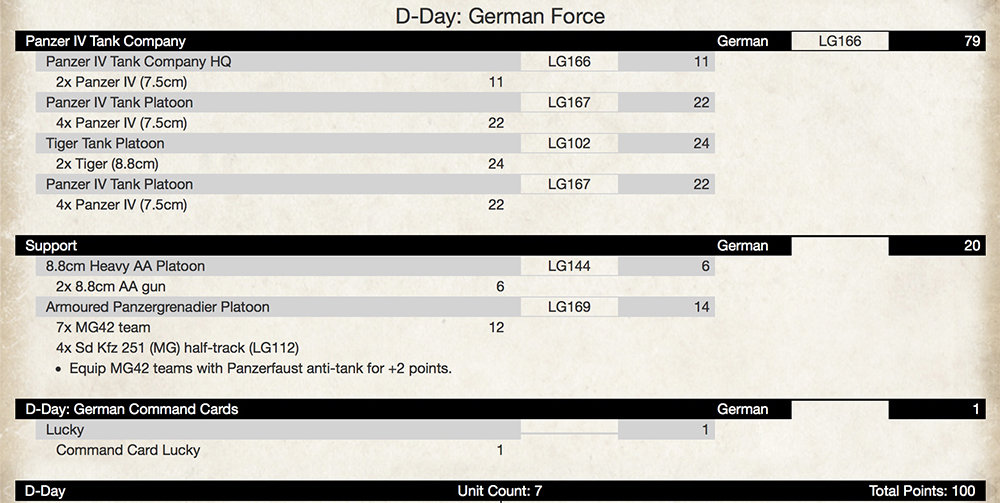
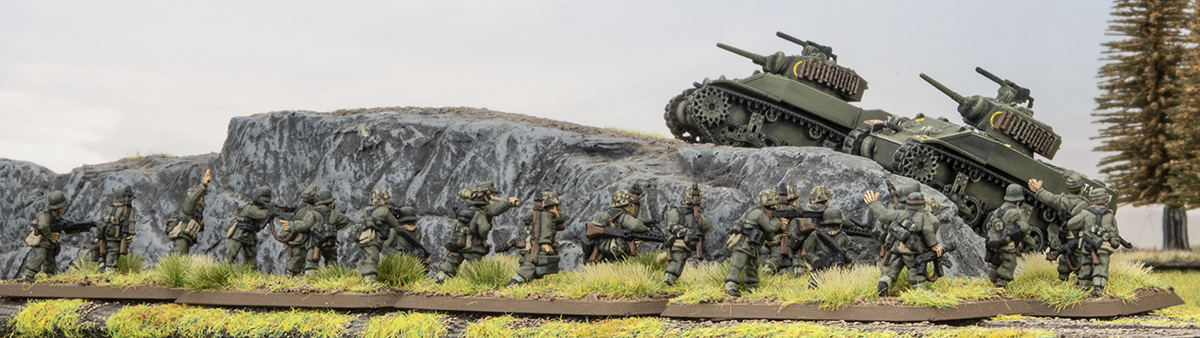
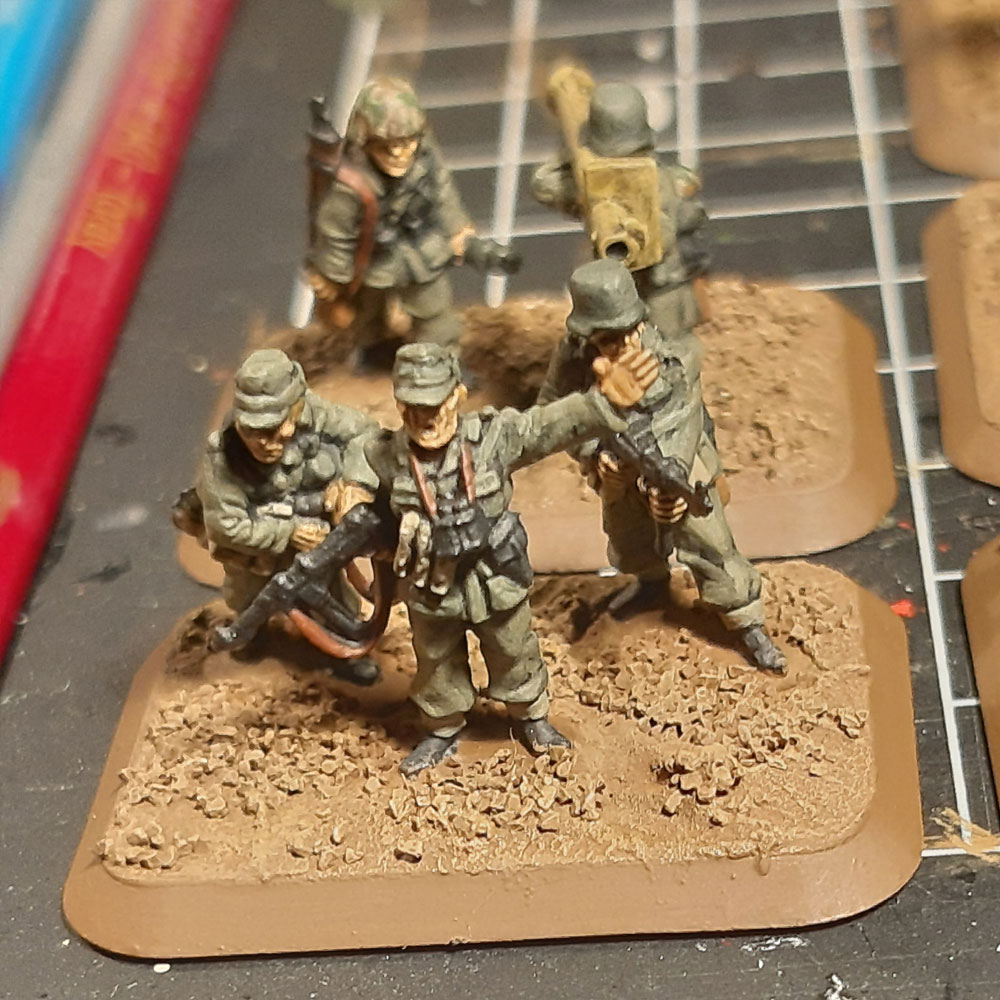
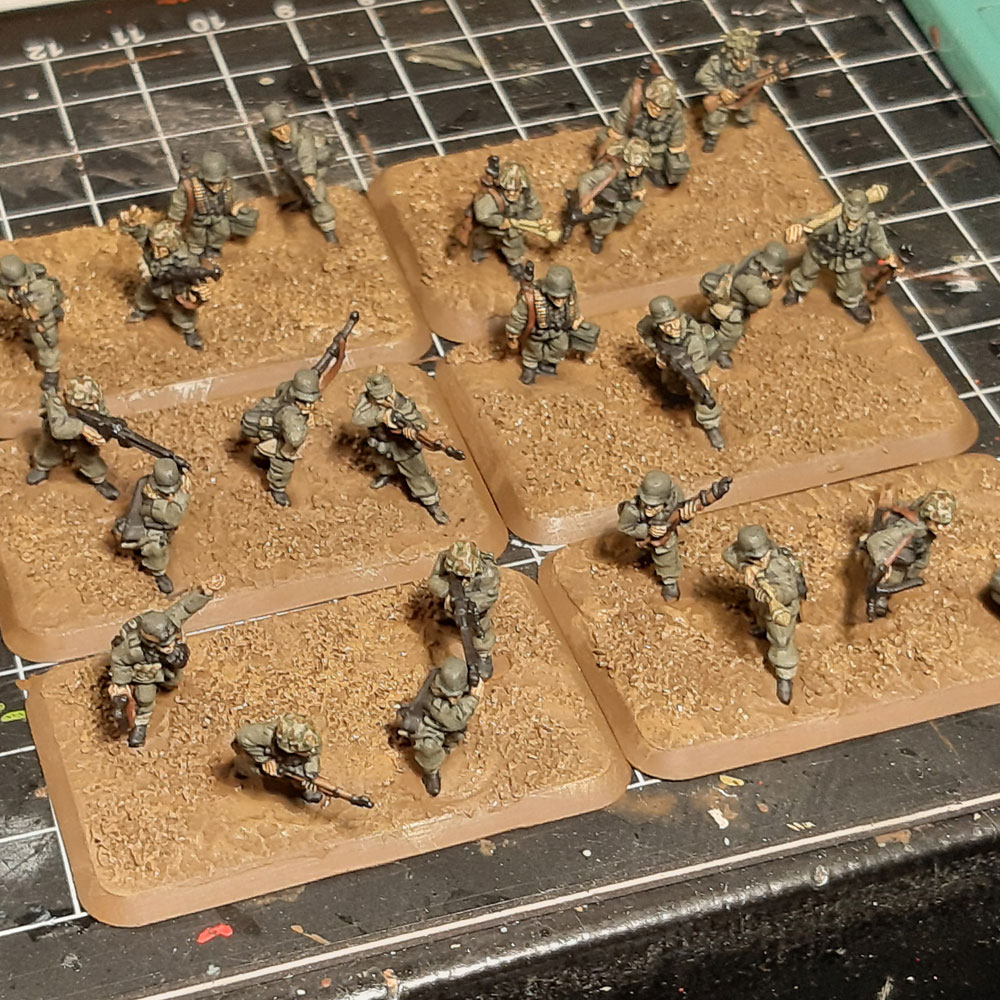
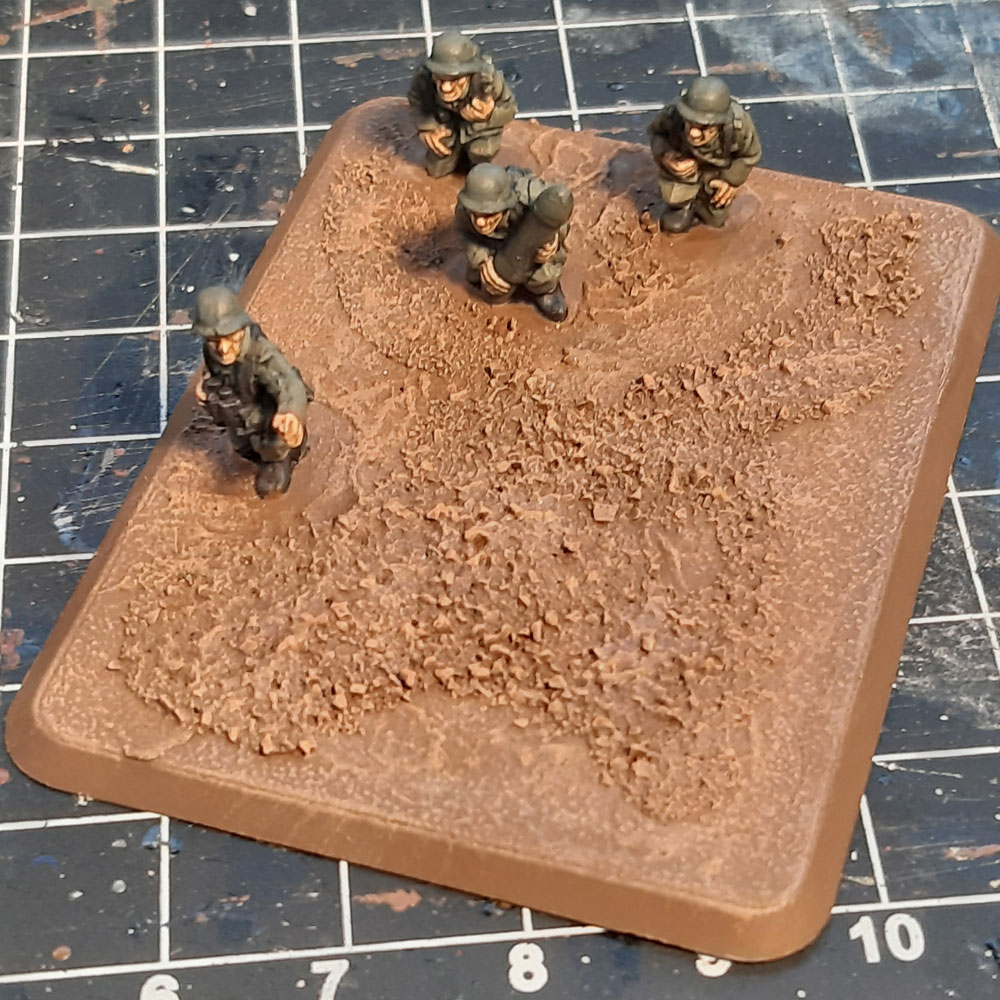
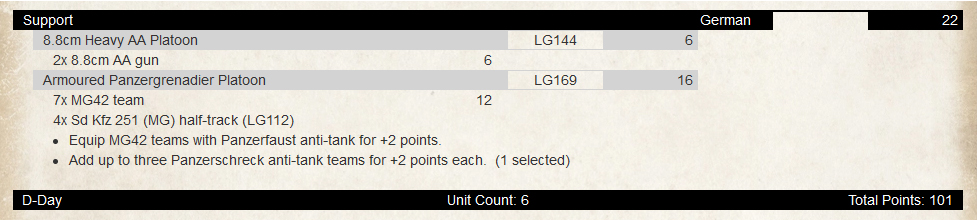
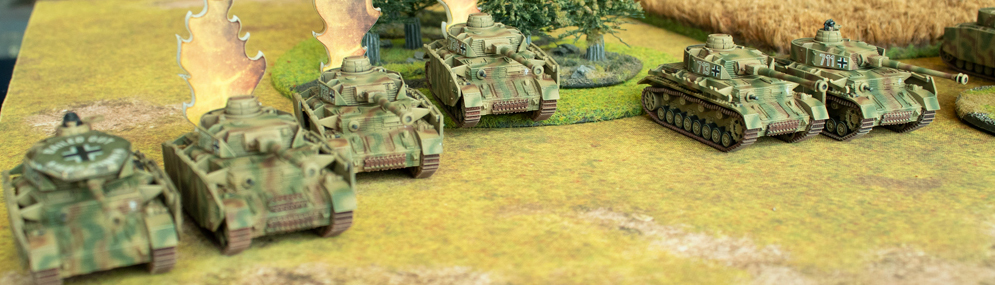
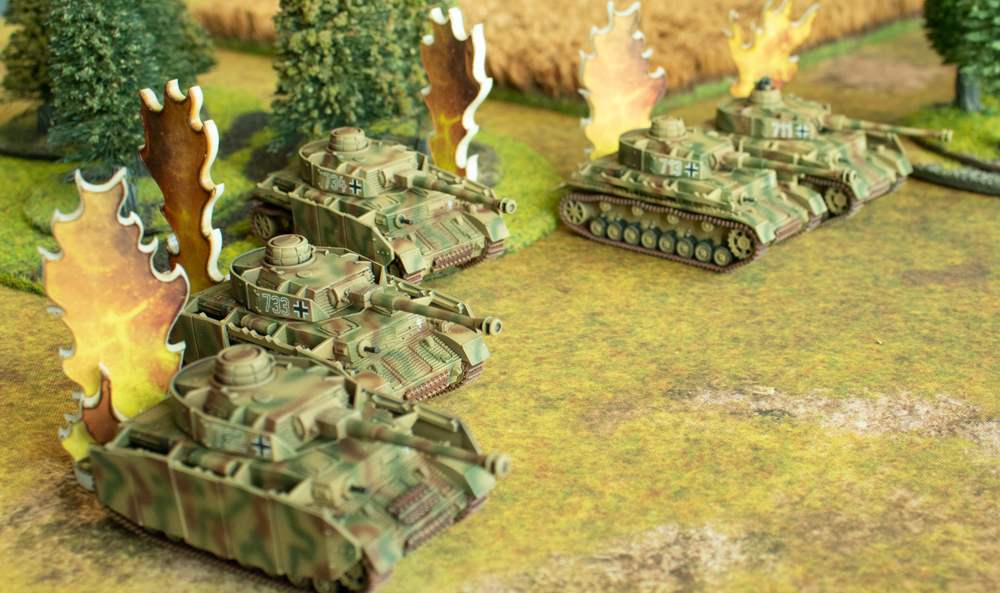
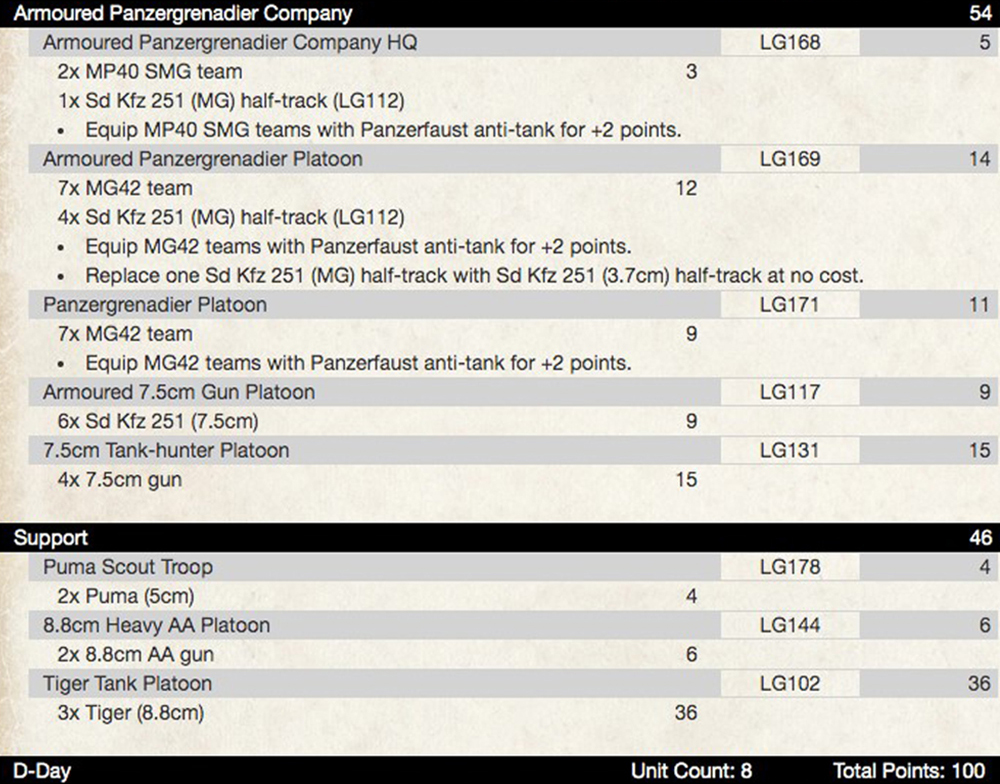
Casey went for a Panzergrenadier force, painted in an SS scheme, but using the normal D-Day: German book. The list was packed with heavy hitting guns including 75mm Anti-tank guns (PaK40s), 88s and Tigers, as well as a local favourite, the Sd Kfz 251 with 75mm cannon.
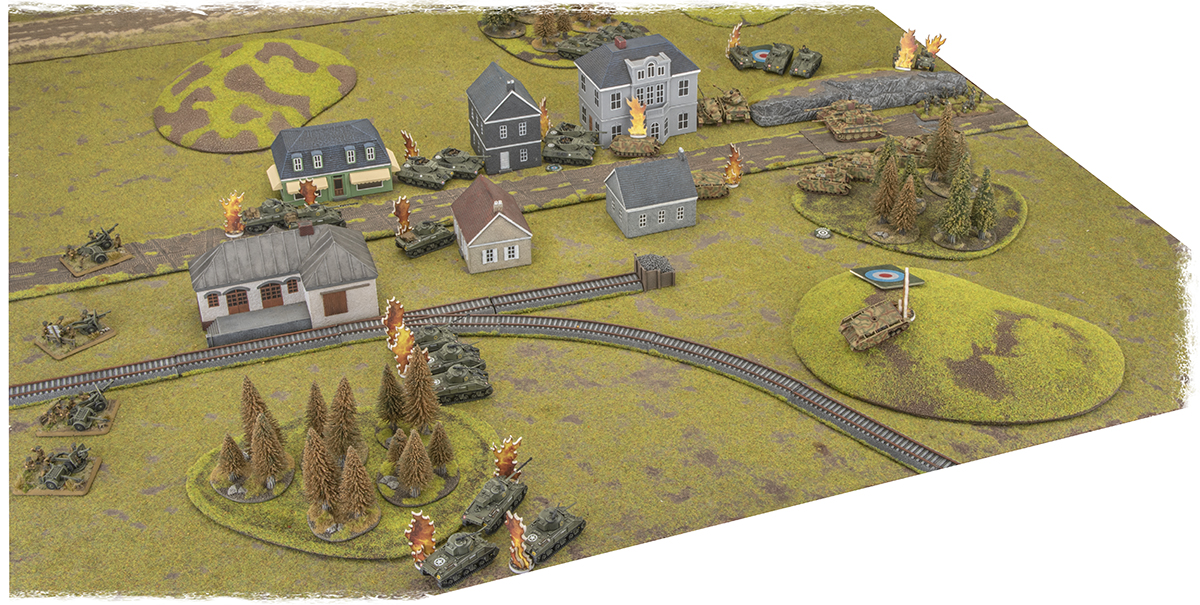
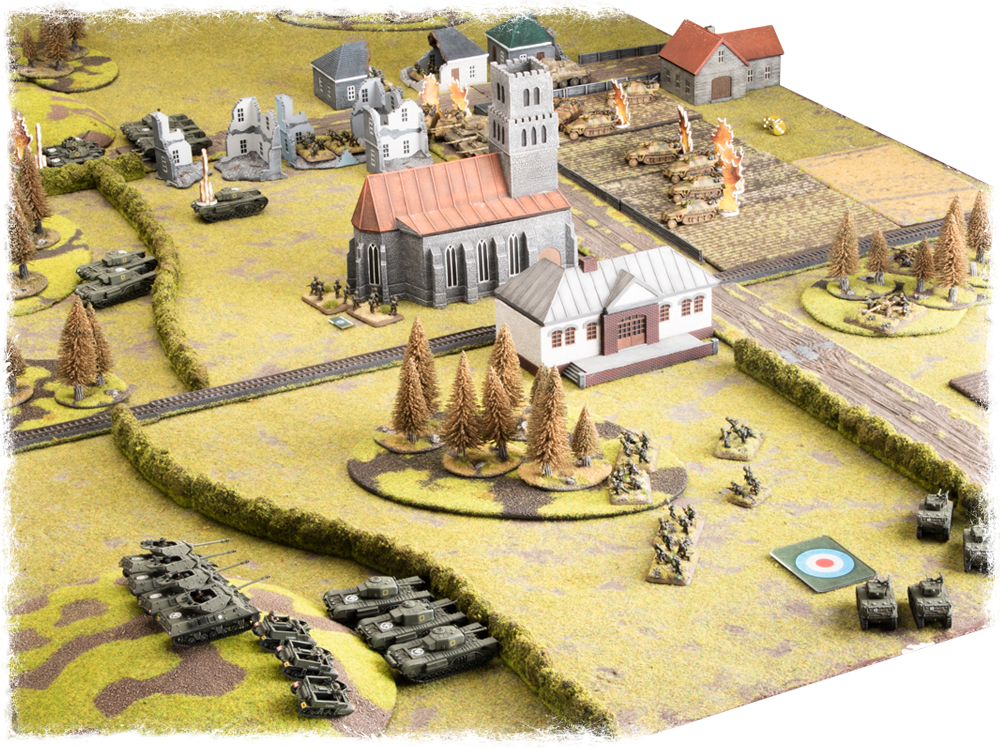
Setup and Deployment:
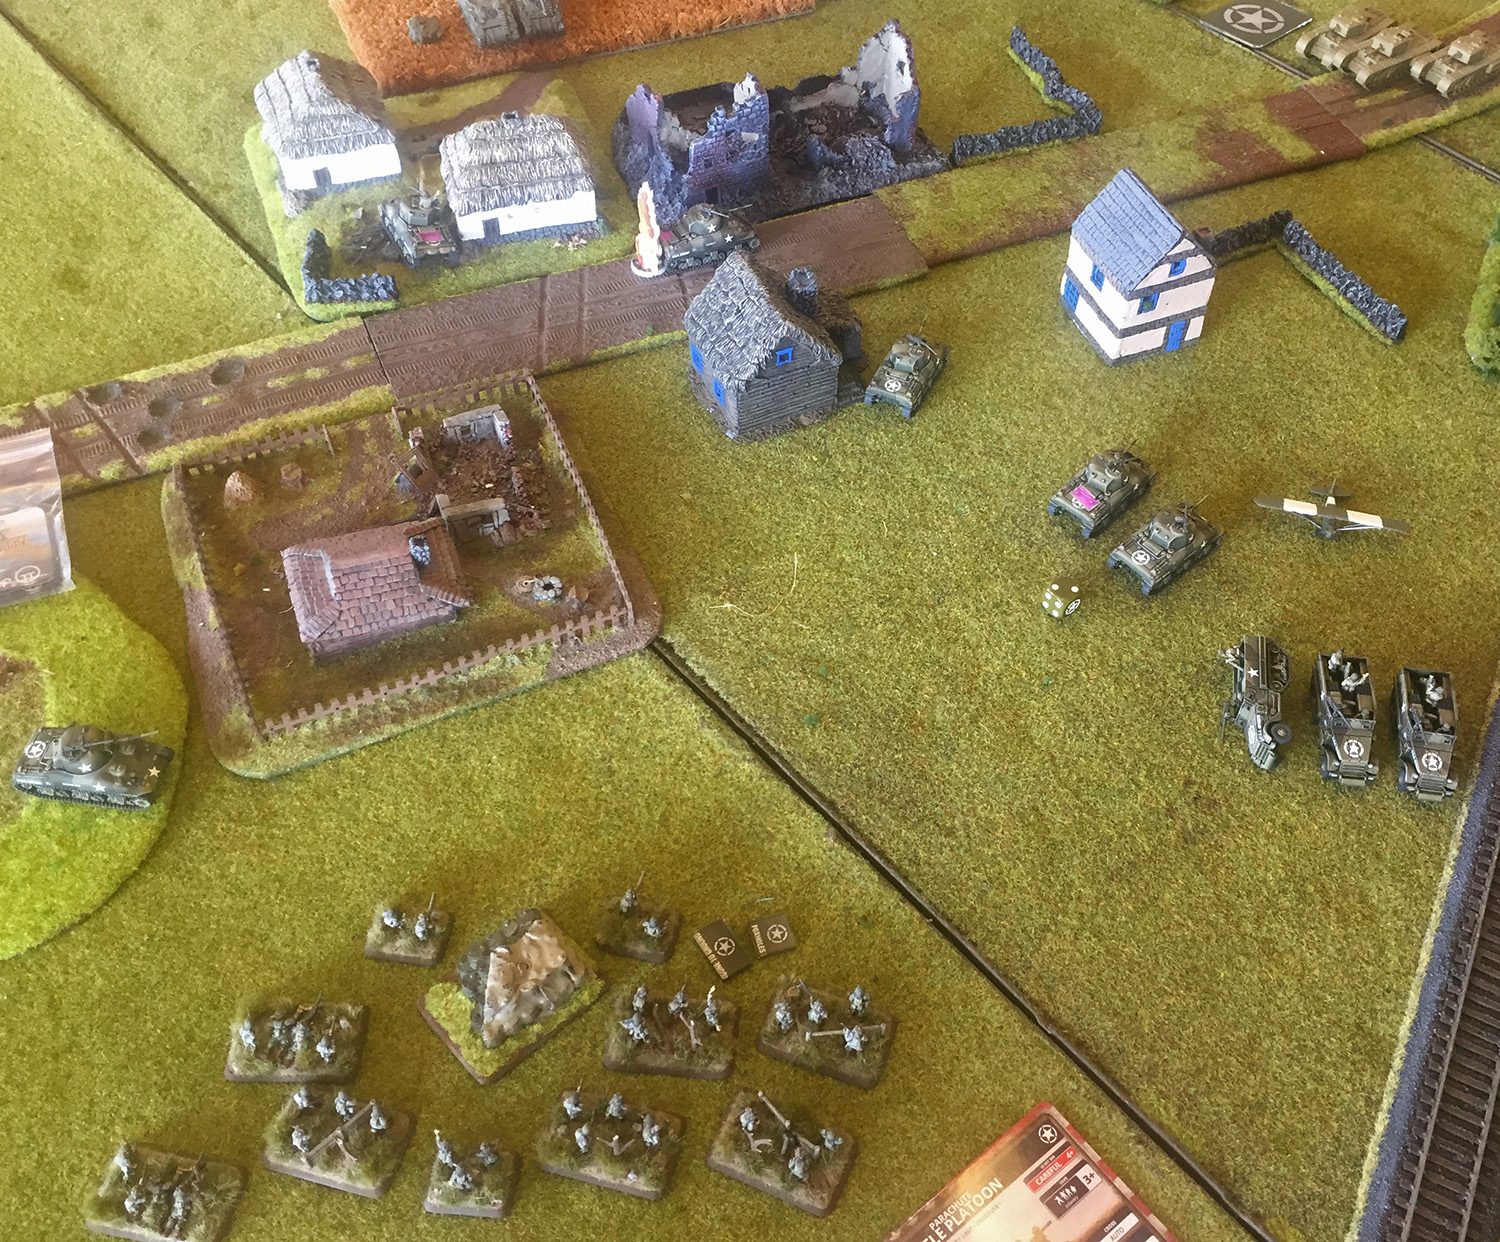
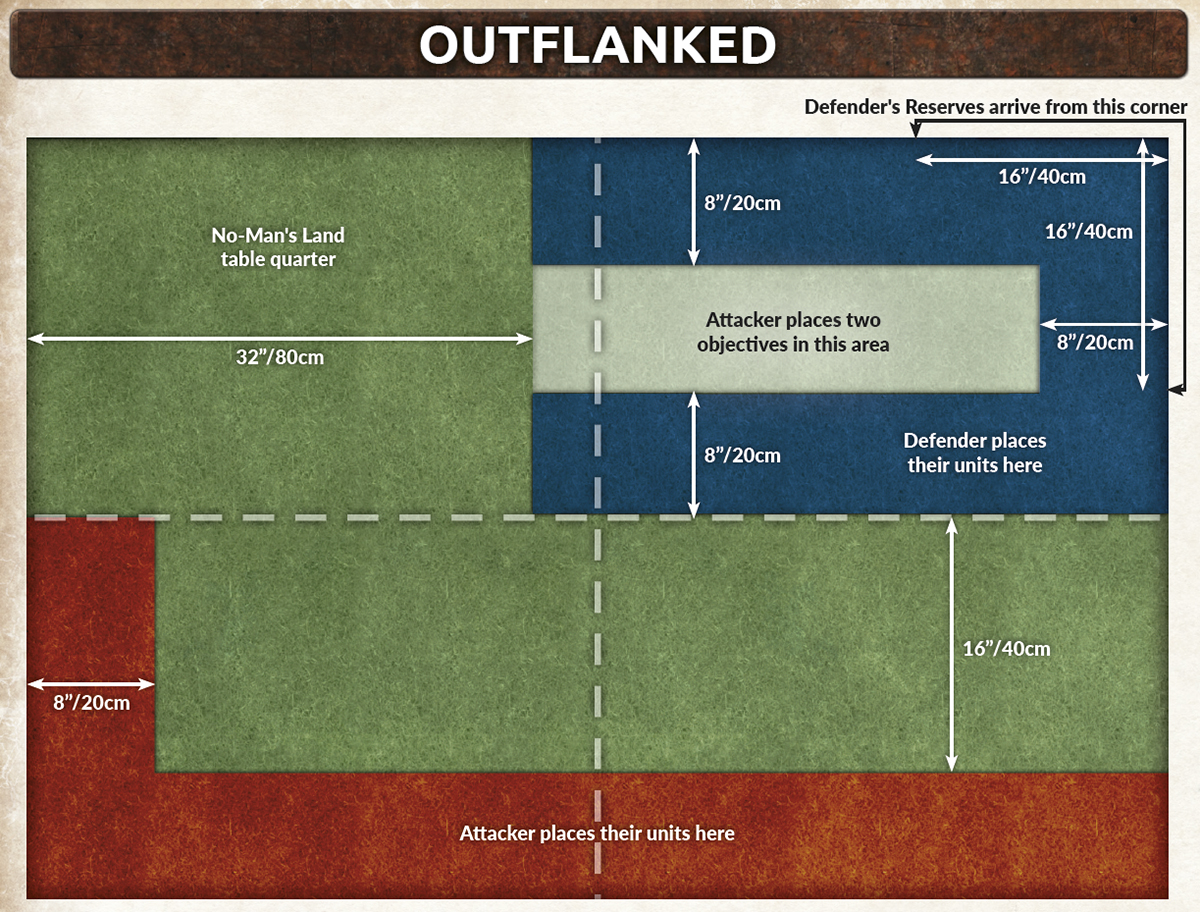
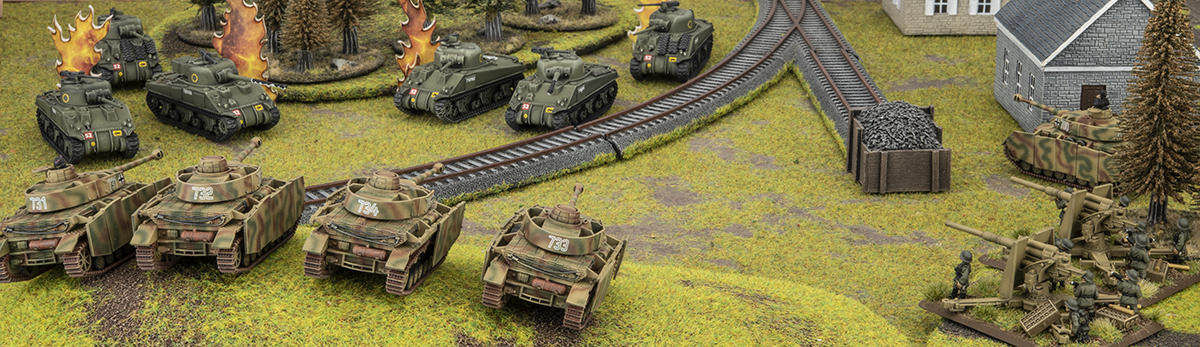
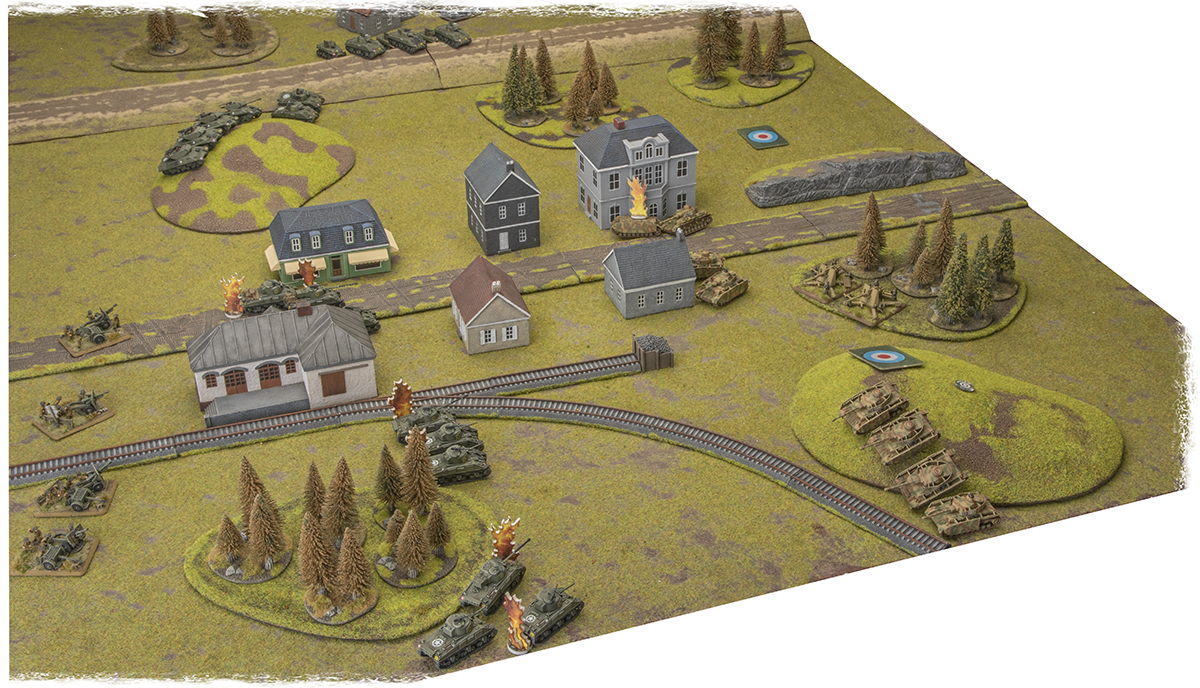
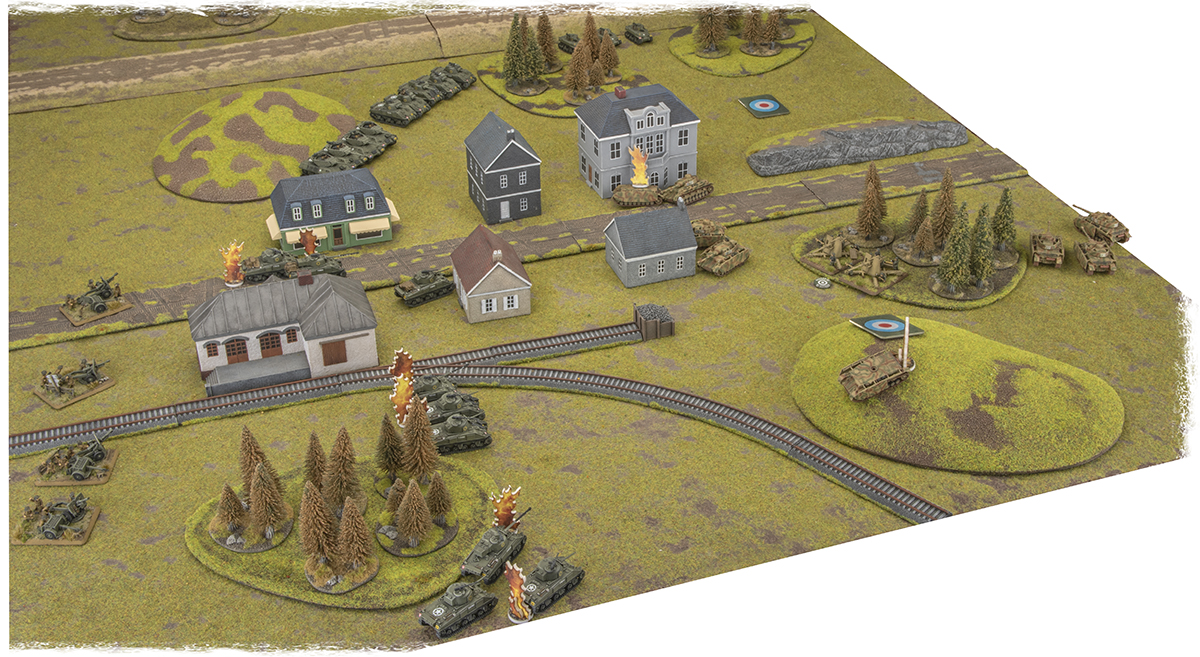
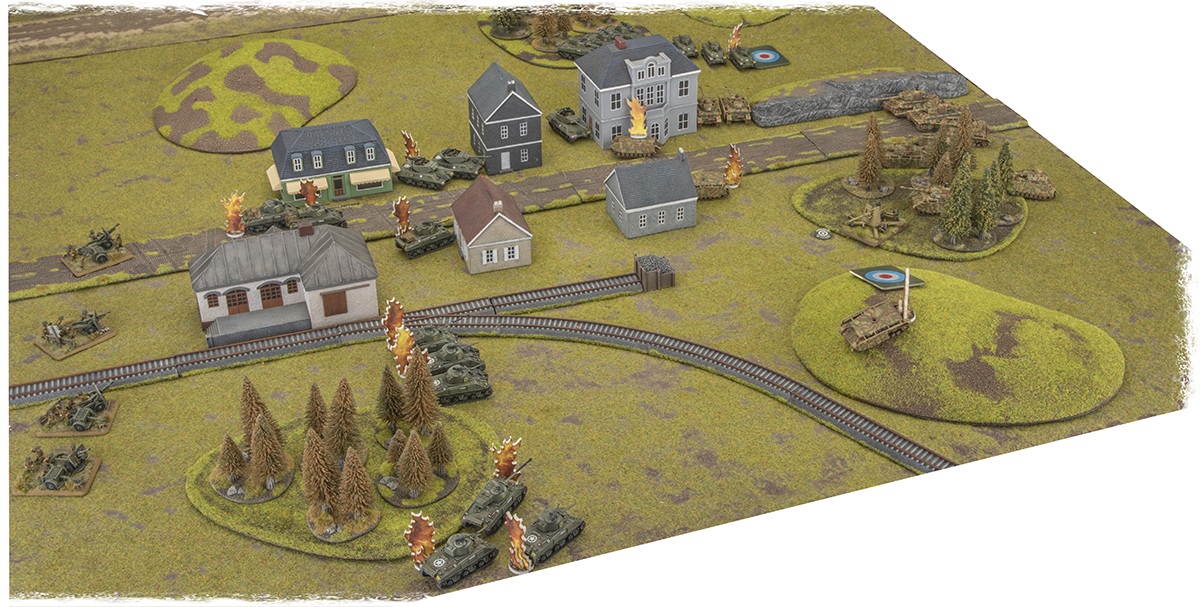
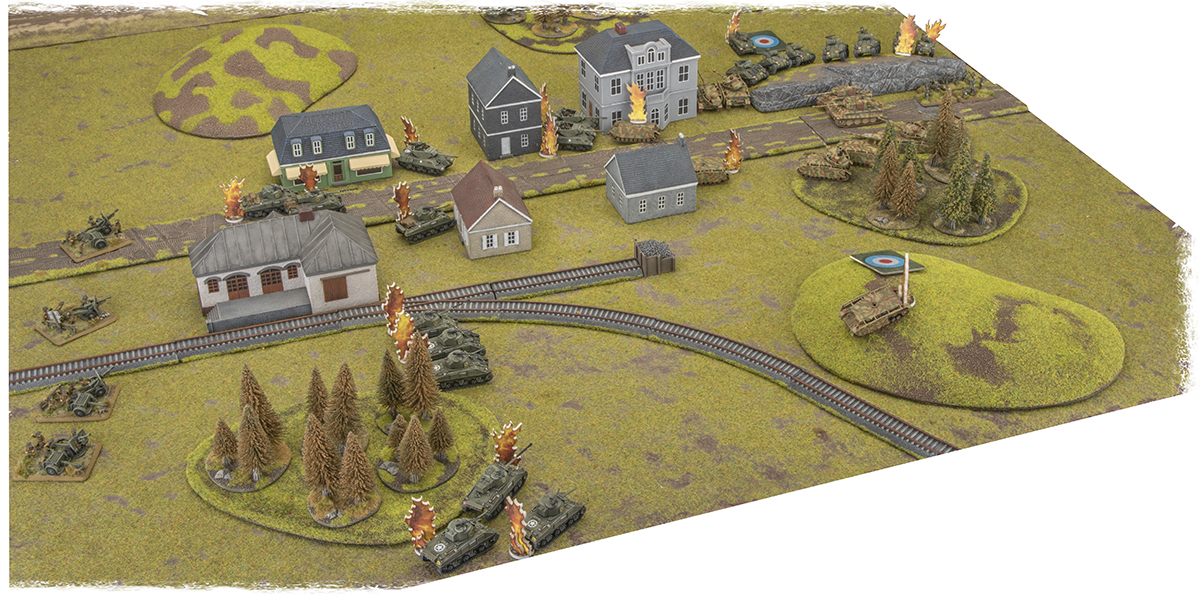
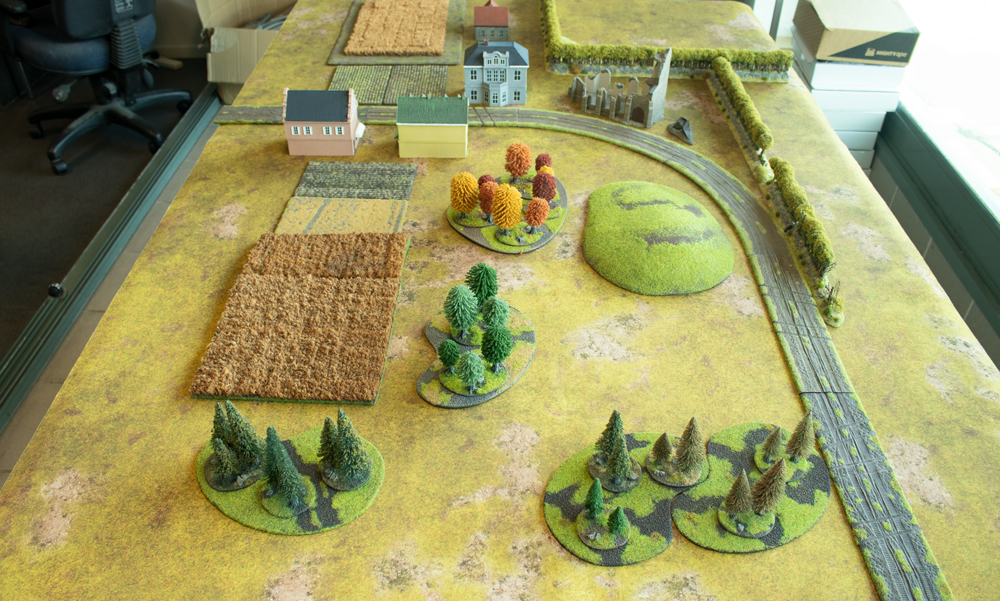
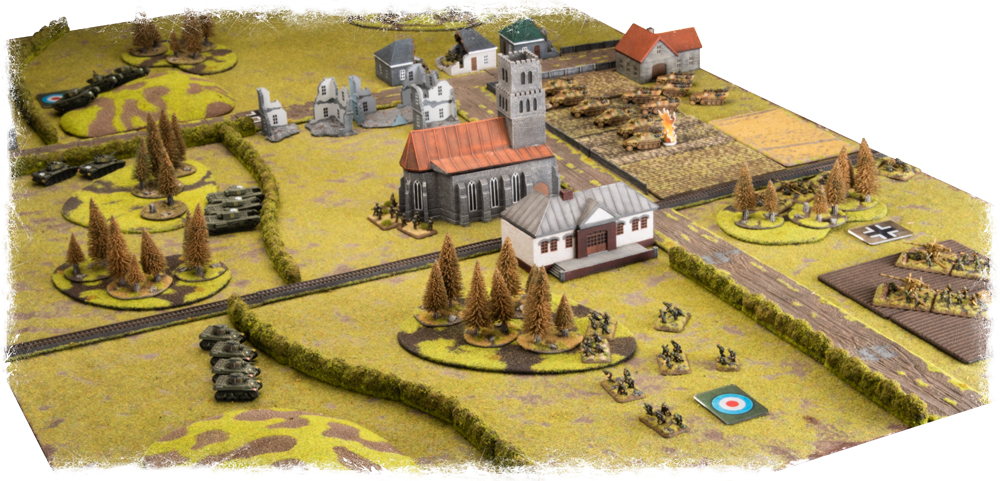
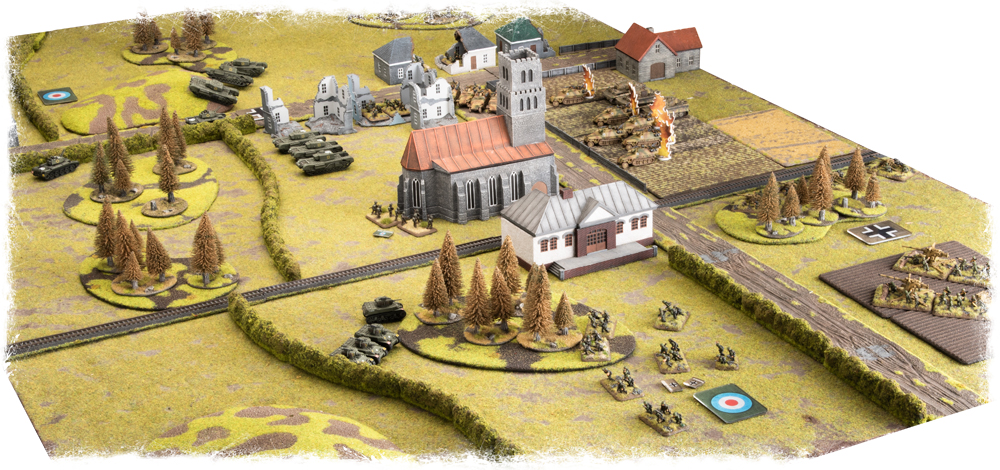
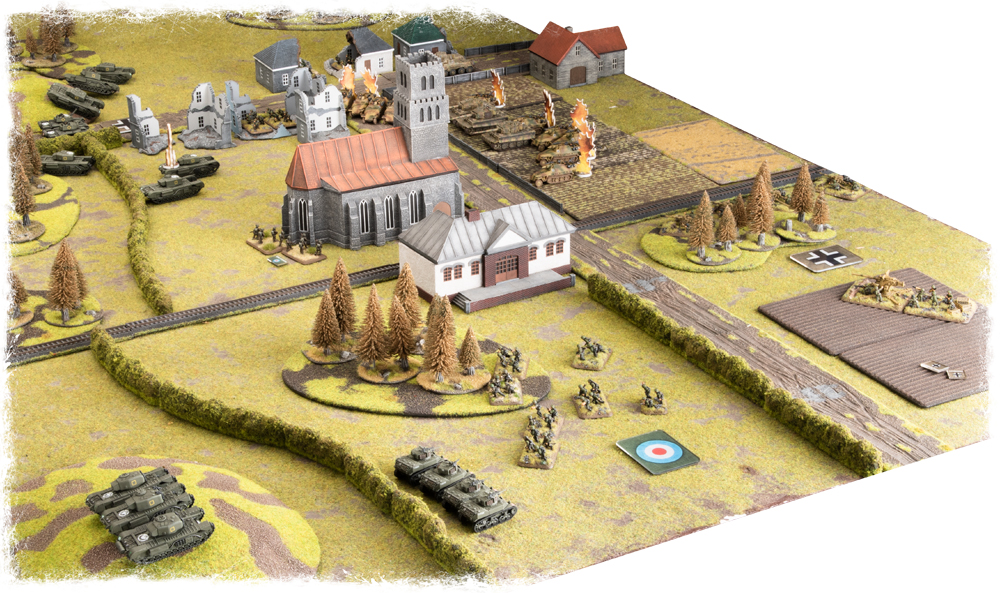
The table was set up with a small, rather ruined village off set from the middle of the table, surrounded by roads, woods and hedges. This meant that there were plenty of fields of fire, but they were often limited, and advancing troops could generally rely on some cover.
The mission selected was Dust Up, so Chris deployed in the left corner, whilst Casey had the right corner.
 Casey’s Plan:
Normally I’m quite a defensive player, but against Chris’ Churchill list I think I’ll need to be more aggressive and push towards the far objective before Chris gets too many reserves. Hopefully this will disrupt his plans so he has to not attack one of my objectives with the majority of his force.
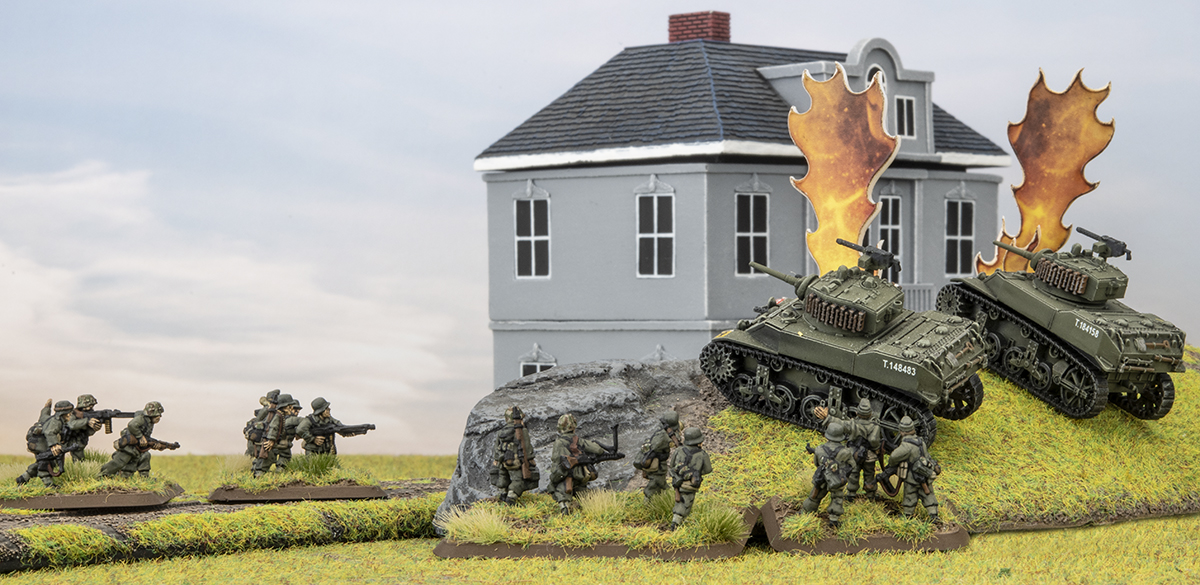
My plan is to hold my back objective with the Panzergrenadier Platoon. On the other flank I plan to push up through the ruined houses with the Armoured Panzergrenadier platoon, use the Sd Kfz 251 (7.5cm) half-tracks to cover them, and ready to hit the objective once my Tigers turn up.
Chris’ Plan:
My plan was simple. Hold the rear objective with my HQ platoon as the CS tanks and their 90mm guns can engage targets anywhere on the board (with indirect fire). In the centre, my infantry will push up to try and take the church to split the board in to two halves and make it difficult for Casey to send troops back to defend the objectives.
Whilst this is happening my tanks will hook around to hit the back objective. Any reserves that turn up will be well placed to support, or with a quick dash, could head over to reinforce my objectives.
Turn 1:
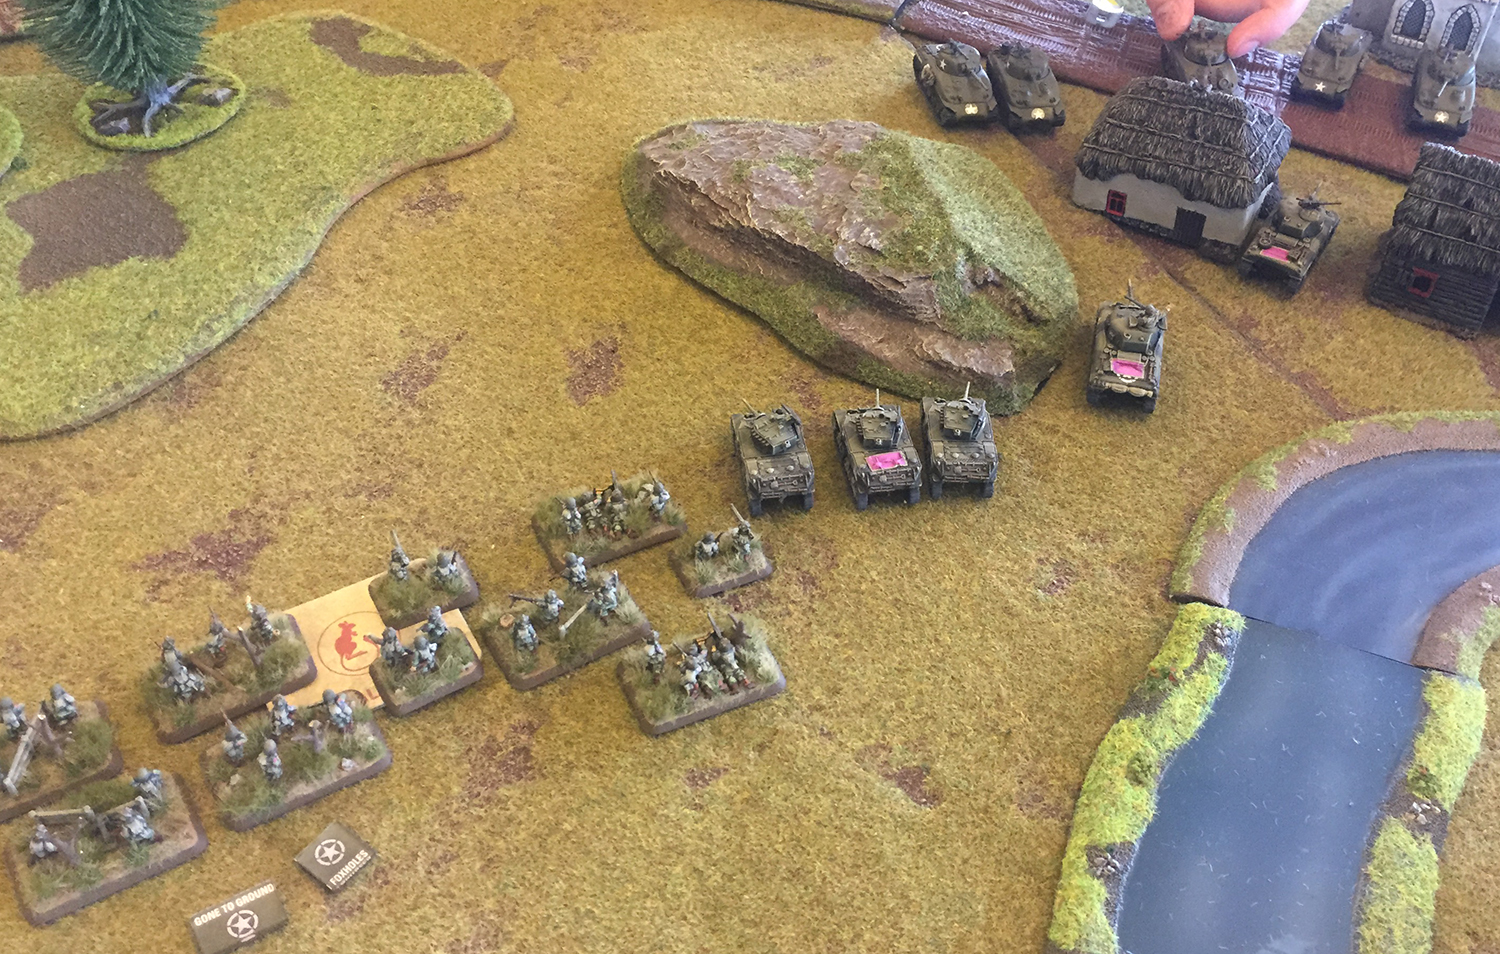
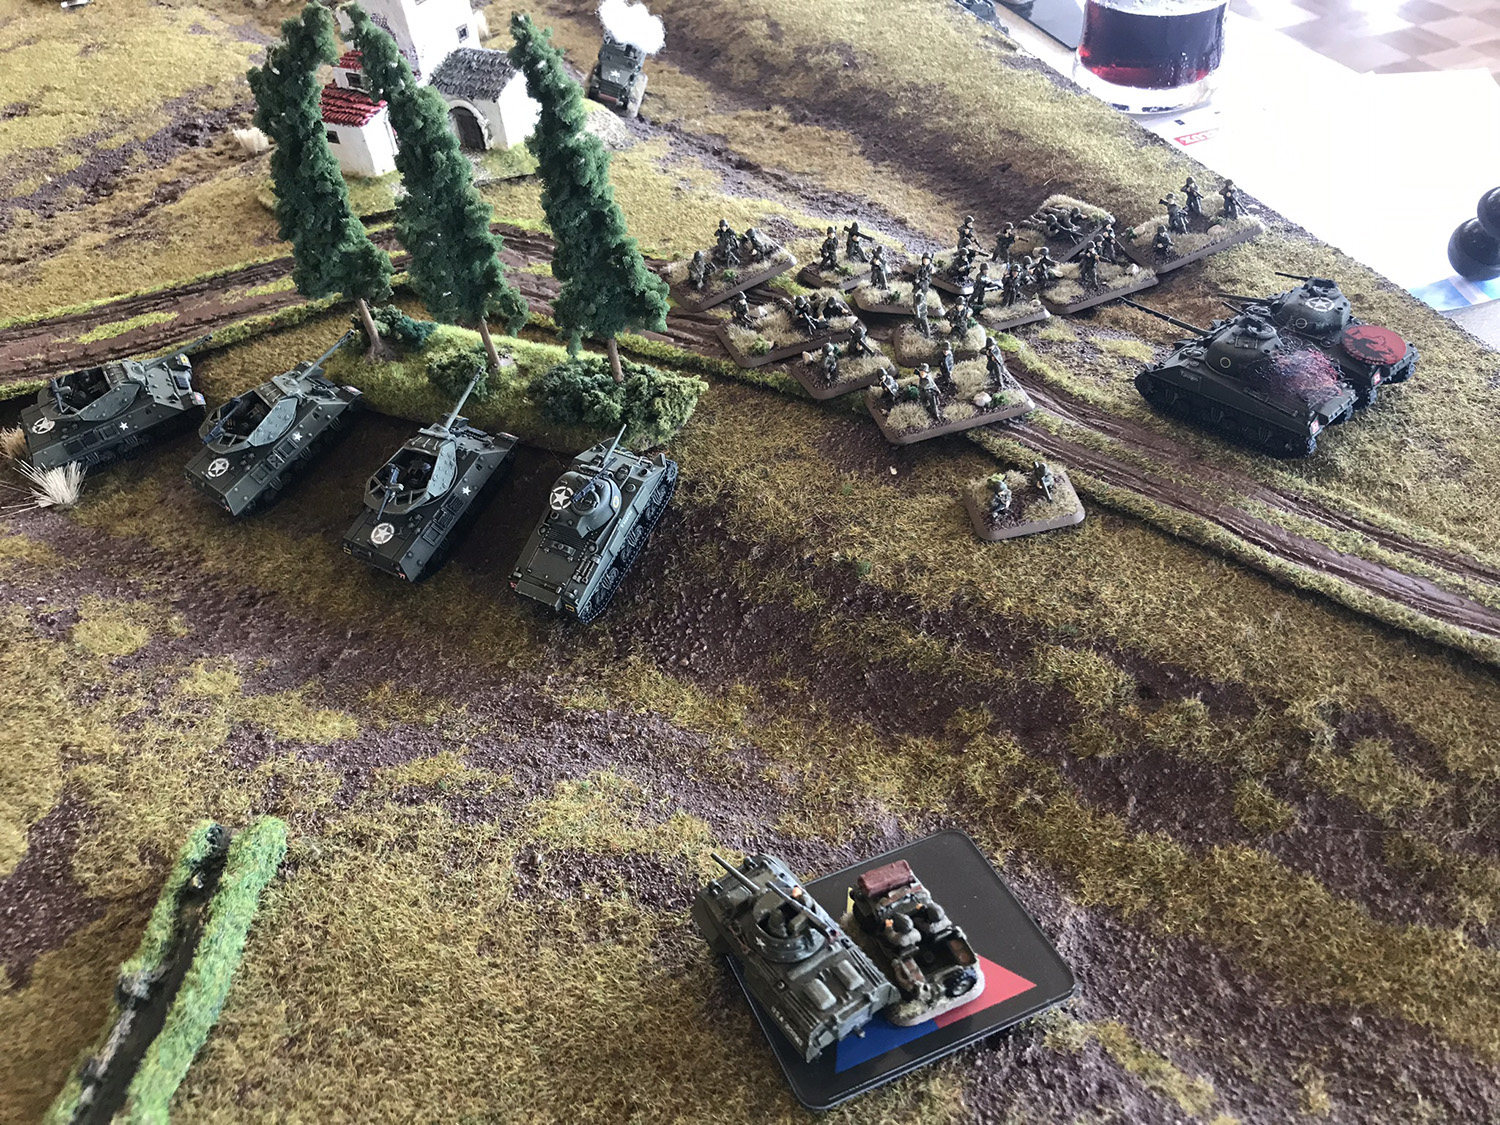
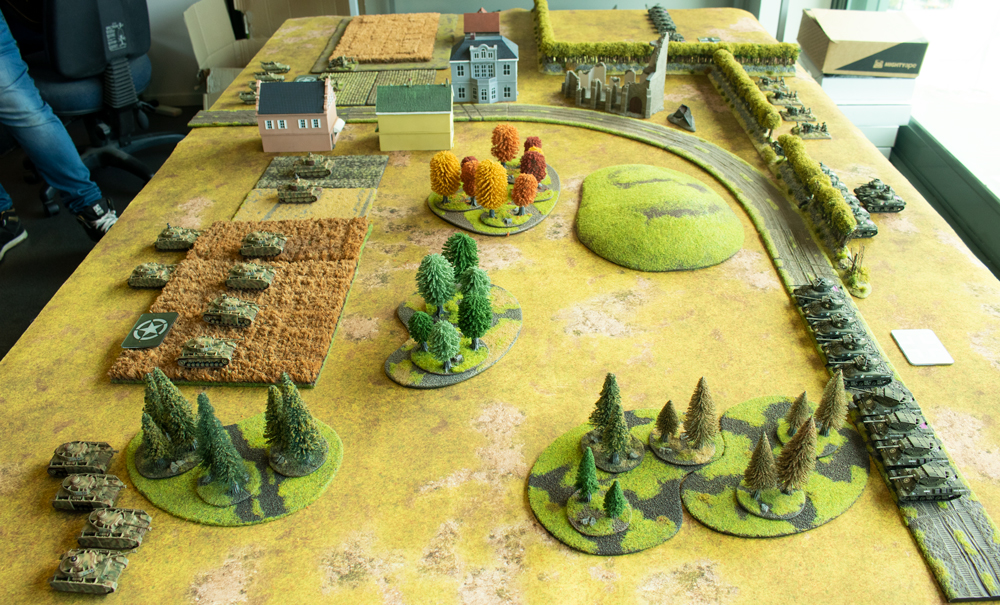
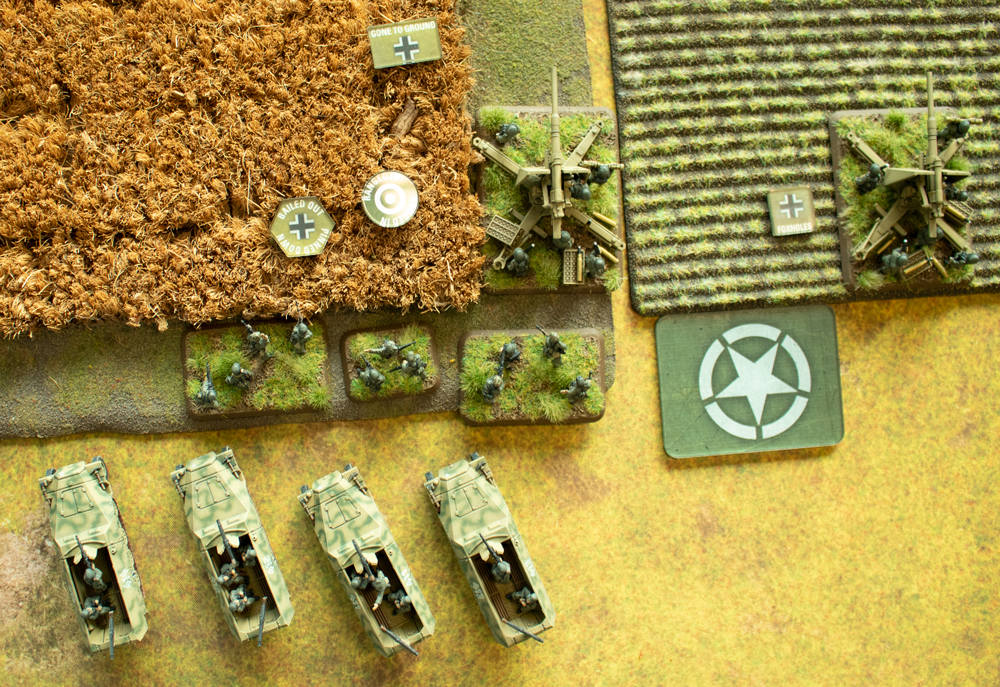
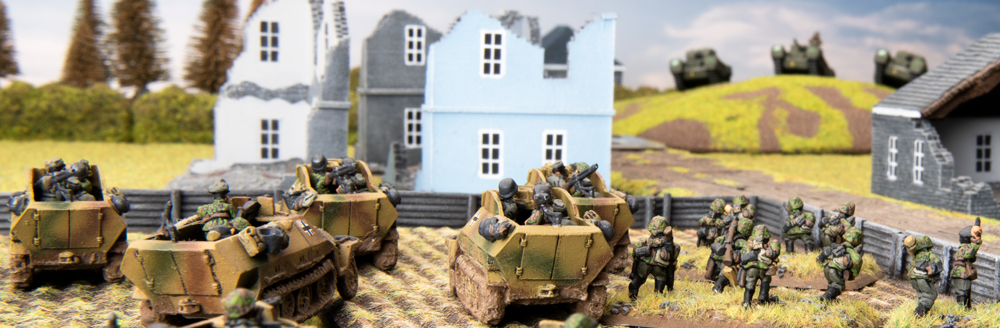 Casey’s force dashed laterally along the table, seeking the cover of the fields and ruined village, whilst his guns went to ground and waited for targets. His Panzergrenadier Platoon advanced on foot to secure the back objective.
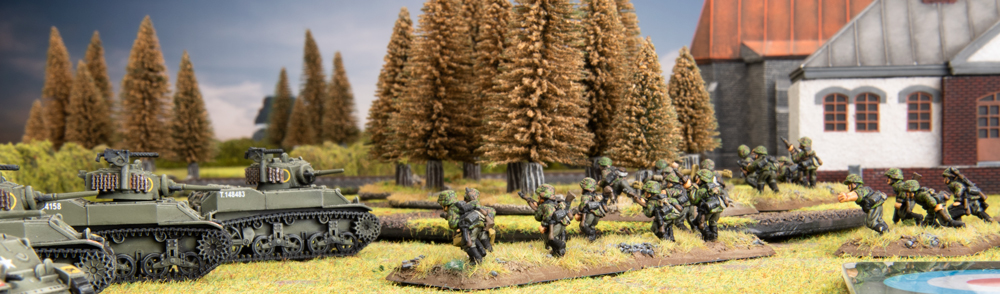
Chris pushed up his Stuarts to start heading for the same objective, hoping to catch the infantry in the open and not dug-in, whilst the infantry dashed up the hedge planning to head for the Church next turn. The Churchills supporting them engaged the 7.5cm halftracks, managing to bail one, whilst the HQ bombarded the dismounted Armoured Panzergrenadiers, killing two teams.
First blood to the Churchills!

Turn 2:
Casey’s Armoured Panzergrenadiers un-pinned and continued their advance up the road, using the ruins for cover. In the middle, the halftracks opened up on the advancing Rifle Platoon with everything they had, but only managed a single kill. The 88s and PaKs tried to knock out some tanks, but found the Churchill armour too tough to penetrate at long range. Meanwhile on the other flank the Panzergrenadiers found themselves too concerned with the advancing Stuarts and failed to dig in…
With infantry in the open the Stuarts blazed away… and only got one hit (which was saved). The Churchills failed their Blitz move so moved up to the hedge line but failed to achieve anything with their fire, whilst the infantry pushed up to the Church, planning to push forward and hit the anti-tank gun line in a couple of turns.
All round it was a fairly unspectacular turn, but did the ground work for both sides to keep the pressure on.
Turn 3:
With no sign of Reserves, Casey decided to be a little cautious this turn, finally digging in his Panzergrenadiers, advancing his other platoon further up the table and absolutely hosing down the infantry in the Churchill, killing two and pinning the Platoon.
Failing to unpin his infantry, Chris found himself with limited offensive options, especially since he too failed to get Reserves. The Churchills pushed up and engaged the 7.5cm halftracks, knocking out three of them, reducing Casey’s options to defend his PaKs if the Rifle Platoon decided to move forward and hit the PaKs, or flank the infantry via the Train Station. The Stuarts kept threatening the back objective but failed to actually do anything substantial.
Turn 4:
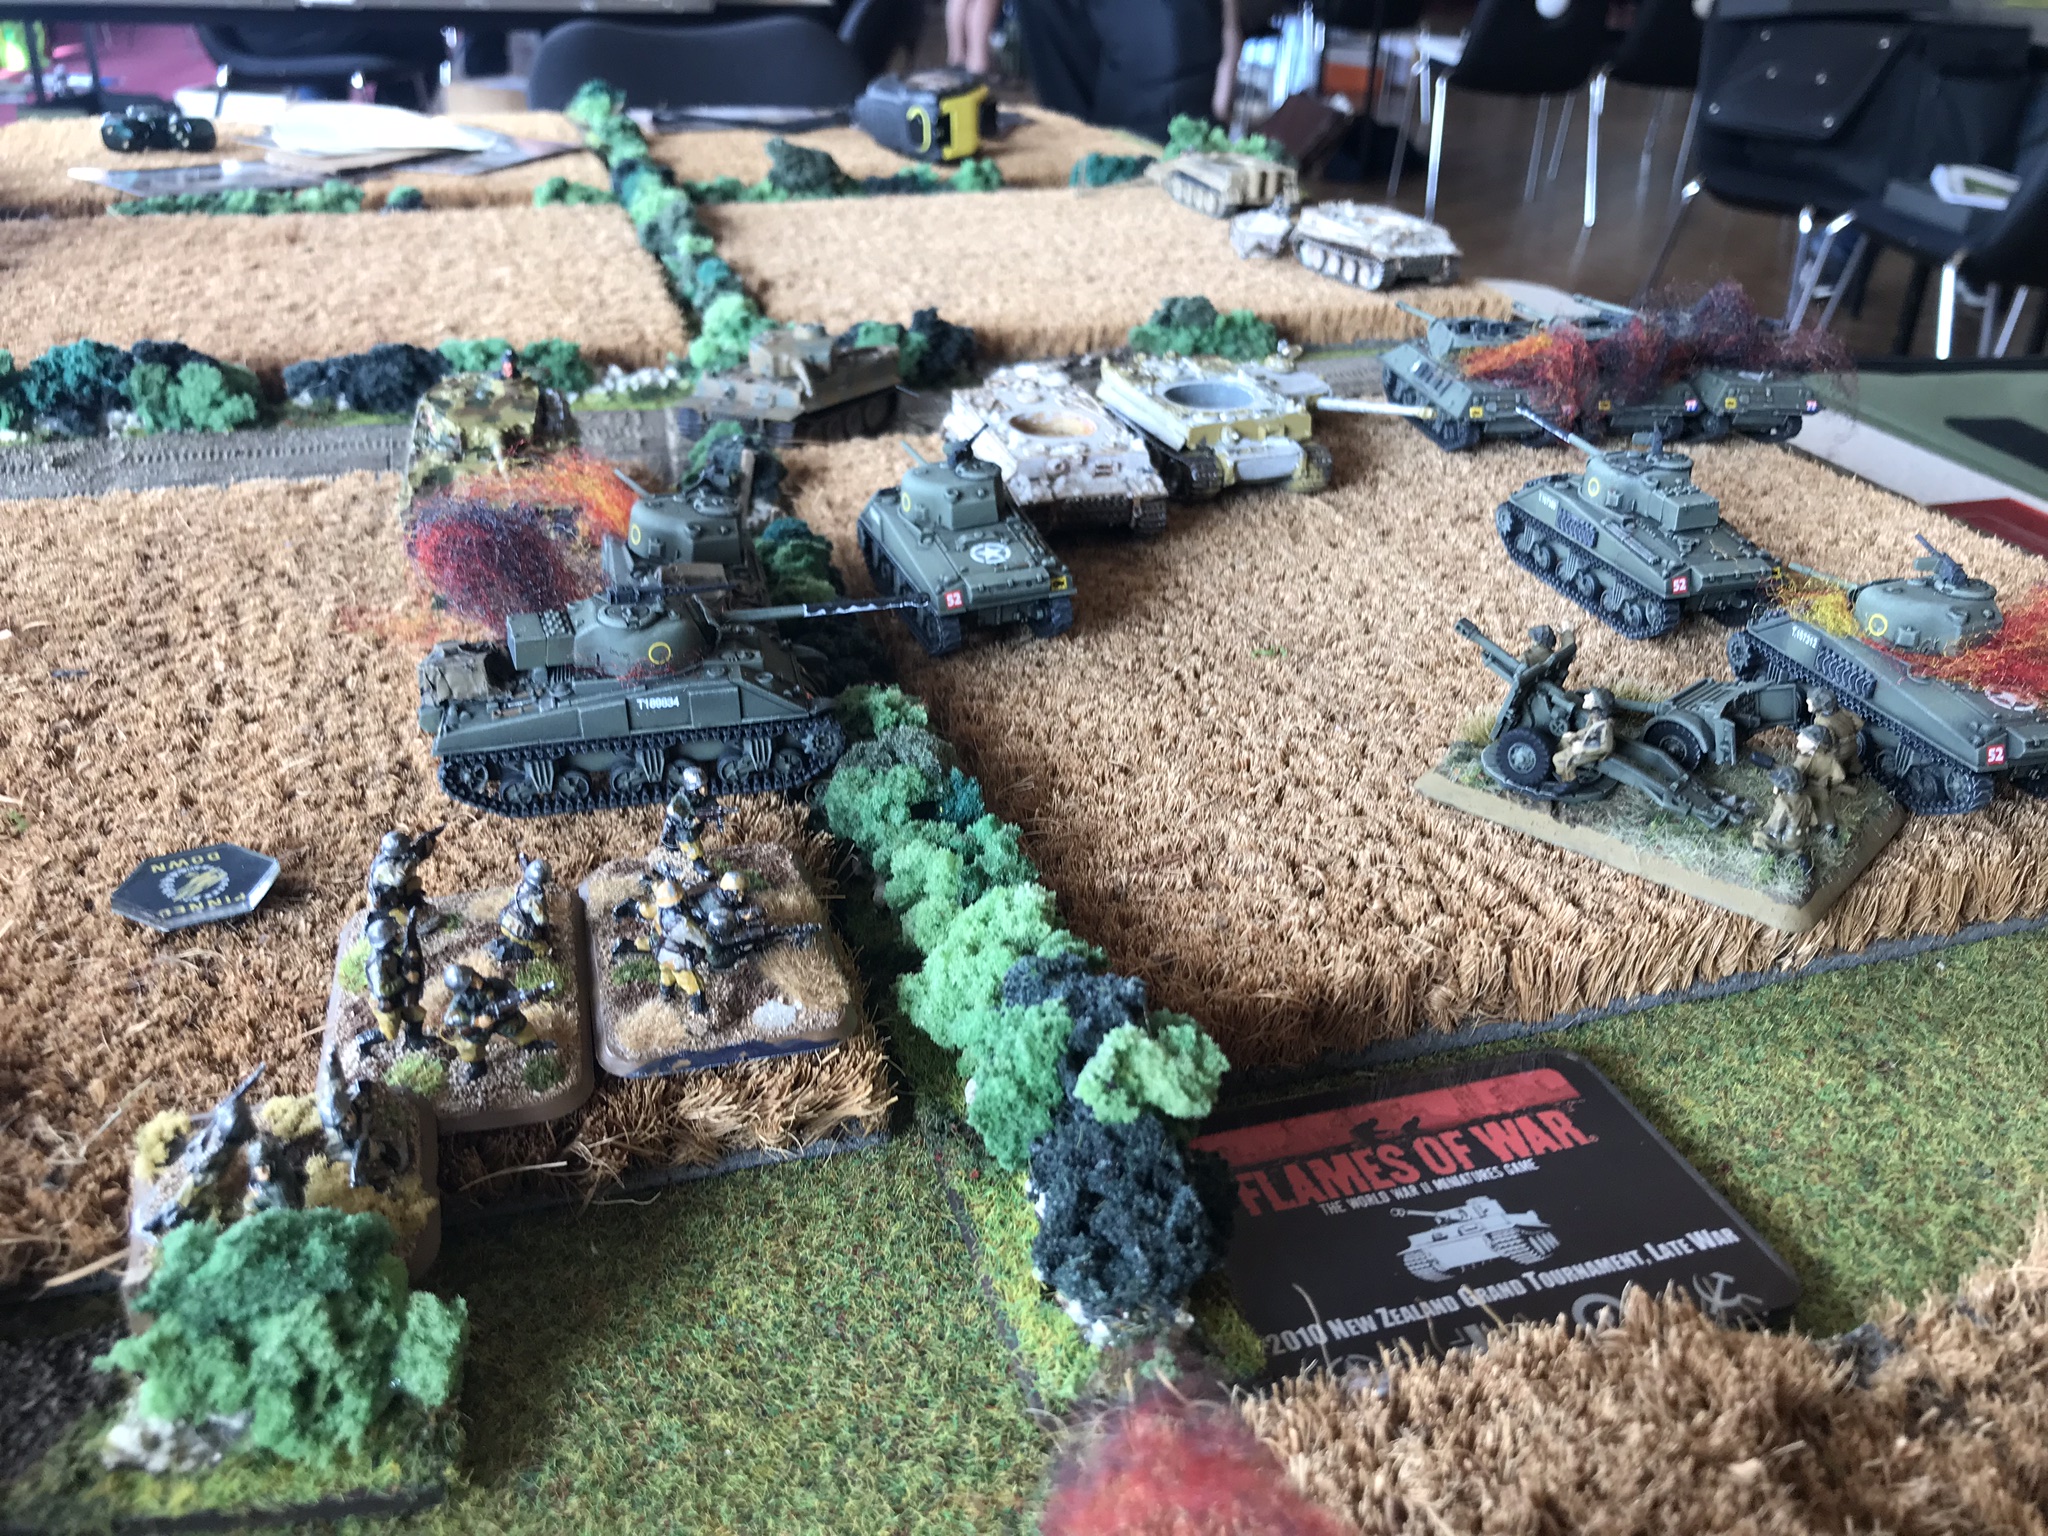
Tigers! Casey looked visibly relieved as he moved the Tigers on to the table. They failed to penetrate the tough armour of the Churchills – or more accurately Chris shifted the single hit on to the late Churchill and chuckled as he rolled yet another save. The PaKs and 7.5cm halftracks continued turning the church into rubble, killing another infantry team.
Chris brazenly left his Churchills in the centre of table, confident that the armour that had kept them safe would continue to do so. Their fire knocked out yet another cannon halftrack but failed to hit any of the PaKs. The HQ Platoon decided to advance and harass the infantry and Sd Kfz 251 halftracks, as well as securing the all important forward objective, but otherwise failed to achieve anything. The Stuarts shuffled around and continued to fire their MGs as fast as possible, but other than raining some brass on the ground they failed to even pin the Panzergrenadiers in front of them.
Turn 5:
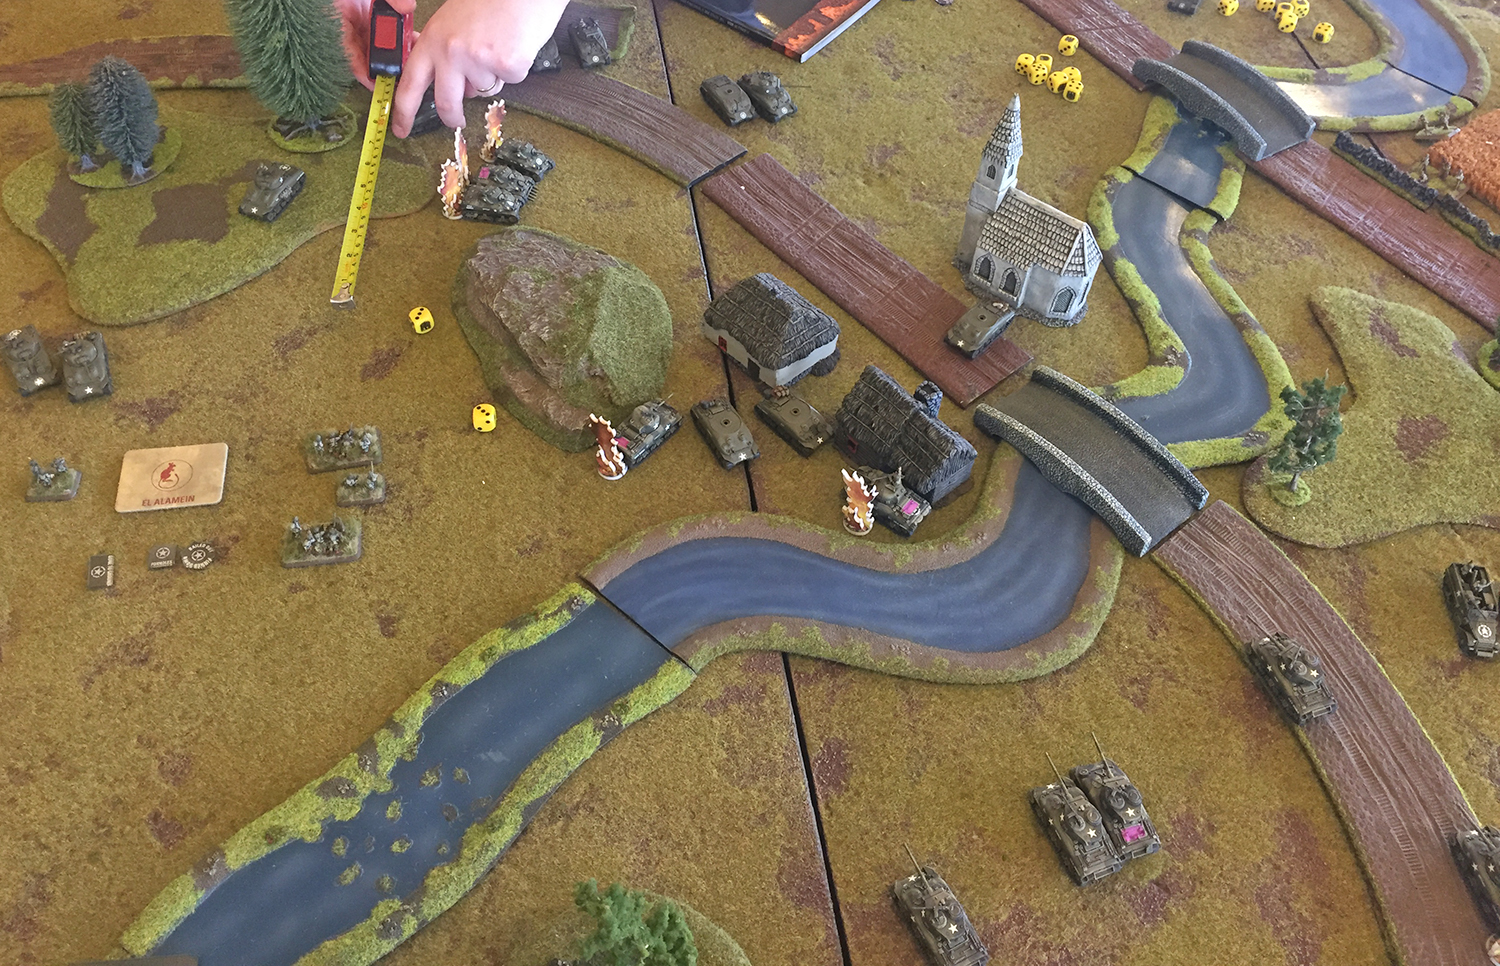
BOOM goes the Churchill! Good dice can only keep your tanks alive for so long and eventually a high speed 88mm round (or two) punch through, killing one and bailing another. Casey also found his Pumas coming in from reserve and they quickly pushed up the road to distract the HQ Churchill Platoon, and prepare to threaten both objectives simultaneously. It wasn’t all bad news for Chris though as the late Churchill continued to find fire being moved onto it where its armour could easily stop PaK 40 rounds.
They say it is always darkest before the dawn and it was certainly feeling that way for Chris, but luckily a platoon of Churchills arrived to support the Stuarts, considerably changing the odds at that end of the table. Their combined fire knocked out an 88 (Casey would comment later that perhaps that platoon had been under utilised but hindsight is 20/20). In the centre the Rifle Platoon continued to hide behind the solid brick walls of the church and remained pinned down, the Churchills decided that Tigers would win any gun-fight and attempted to withdraw back over the hedge, although one did fail it’s cross check.
Turn 6:

The arrival of Chris’ Reserves pushed Casey into action, knowing that he was running out of time to overrun the defending forces. The Pumas stalked the Crusader AA tanks, knocking them out, whilst the Tigers tried (and failed) to finish off the Churchills in the centre. On the other side of the table things went from bad to worse as the 88 ran off, forcing the PaKs to try to push their way through the small woods to put fire down on the Stuarts and Churchills.
Chris was certainly feeling the pressure on the far flank (especially since he failed to kill anything with the combined fire of the two platoons) but he knew he had Casey on ropes on the other side as M10s and Carriers turned up to really double down on the poor Panzergrenadier Platoon sitting lonely and isolated around the objective. Despite all the fire they only managed to kill a single team, but with the stage now set for an epic Turn 7 assault, time was running out for Casey unless he could kill the Stuarts that were now within 4″ of the objective!
Turn 7:

Knowing that it was now or never, Casey launched a desperate attack on the HQ Platoon guarding the objective. The Tigers failed to kill anything, but the Armoured Panzergrenadiers still went in for the assault (after both of their flank shot Panzerfausts bounced off the Churchills armour!). Chris looked excited at the opportunity to gun down the infantry in the open, but was less enthusiastic when he only got three (yes 3!) hits. The infantry knocked out the two CS tanks with their ‘fausts and forced the remaining tank to back off. The objective was now in Casey’s hands, assuming he could keep it for a turn.
Of course it wasn’t all roses and chocolates for Casey down the other end of the table… Yes, he had managed to knock out a Stuart with the fire from the PaK 40s, but with so much incoming fire, and then a pair of assaults from the Churchills and Stuarts there was only so much the Panzergrenadier Platoon could do. They found themselves pushed back, leaving the Stuarts contesting the Objective at the start of the turn, and holding it at the end…
Chris (and the Churchills) Win!

Casey’s Thoughts:
Churchills are really tough, especially if your opponent only rolls 5s and 6s for armour saves (Chris literally chuckled as he read this comment by Casey). If the Tigers had done a bit more damage on turn 4 or 5 I would have been able to launch my assault on the objective a turn earlier.
One thing I was pleasantly surprised about was how good Panzerfausts are!
All in all it was a close, fun game to play. I think I’ll have to paint some Churchills up for myself at some stage.
Chris’ Thoughts:
I was probably (definitely) quite lucky with a few of my dice rolls here. I think Casey’s comments about being a defensive player probably cost him the win here. A bit more aggression, or just pushing up a team a bit further to contest the objective prior to the assault could have made all the difference.
Not sure I used my infantry particularly well, I had a plan for them, but in hindsight I could have just parked them on the objective and really lowered my mid-game stress levels!
I will say though… Churchills for the win! They really were awesome, and the ability to upgrade one model per platoon to the late version was excellent. Front Armour 11 leading the way definitely saved me a couple of casualties during the course of the game.
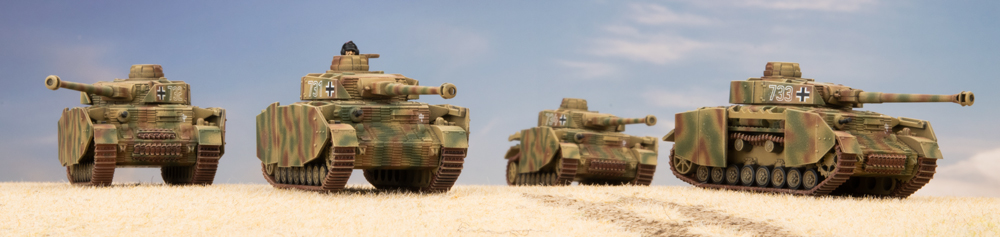
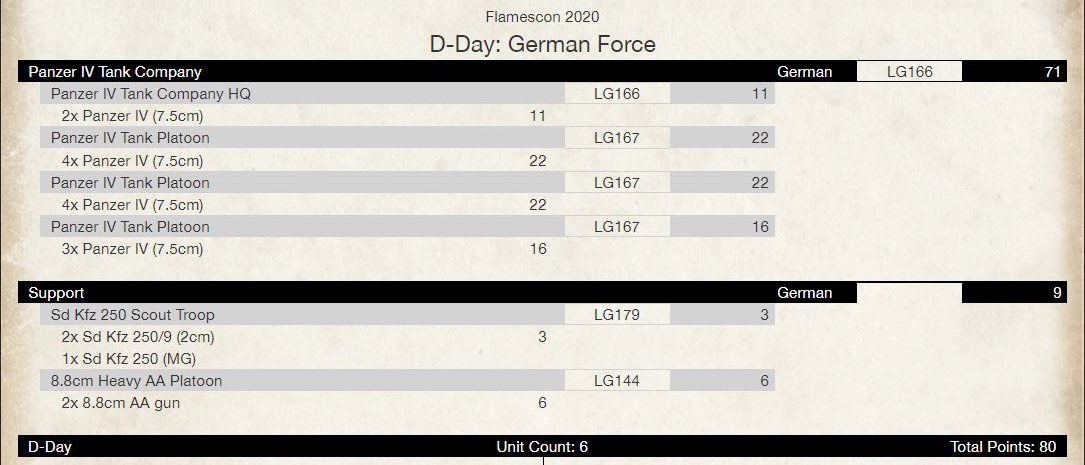
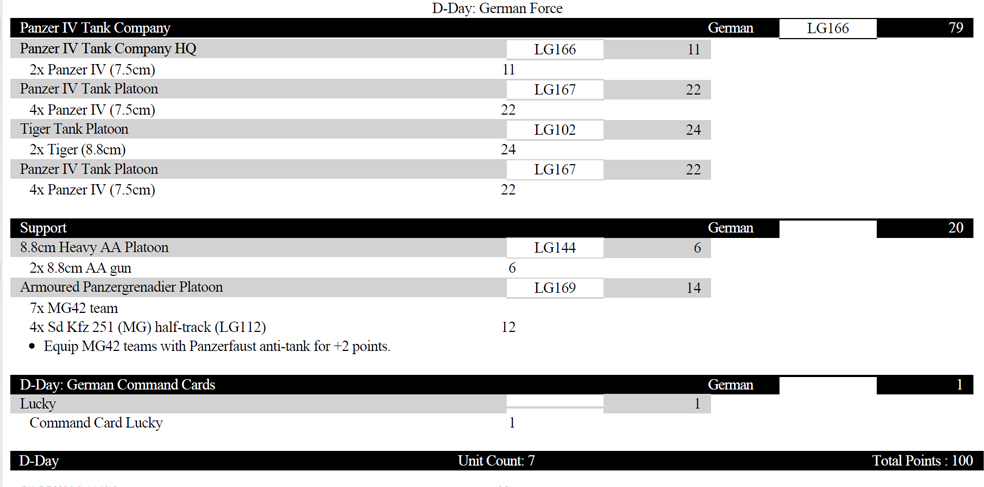
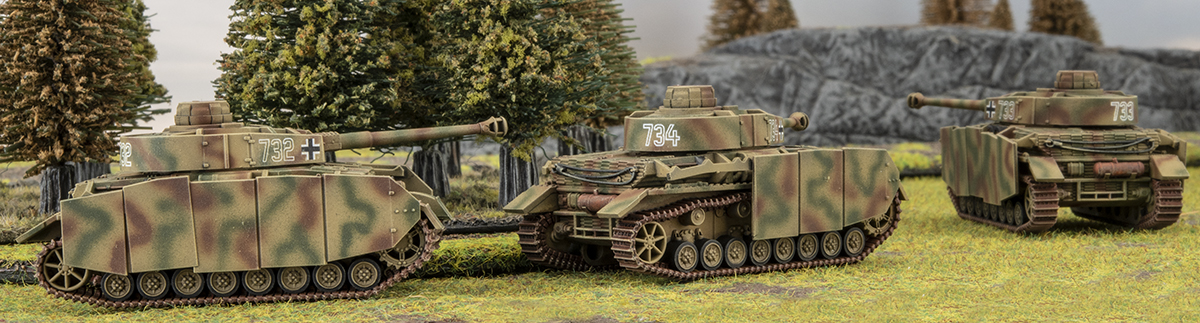
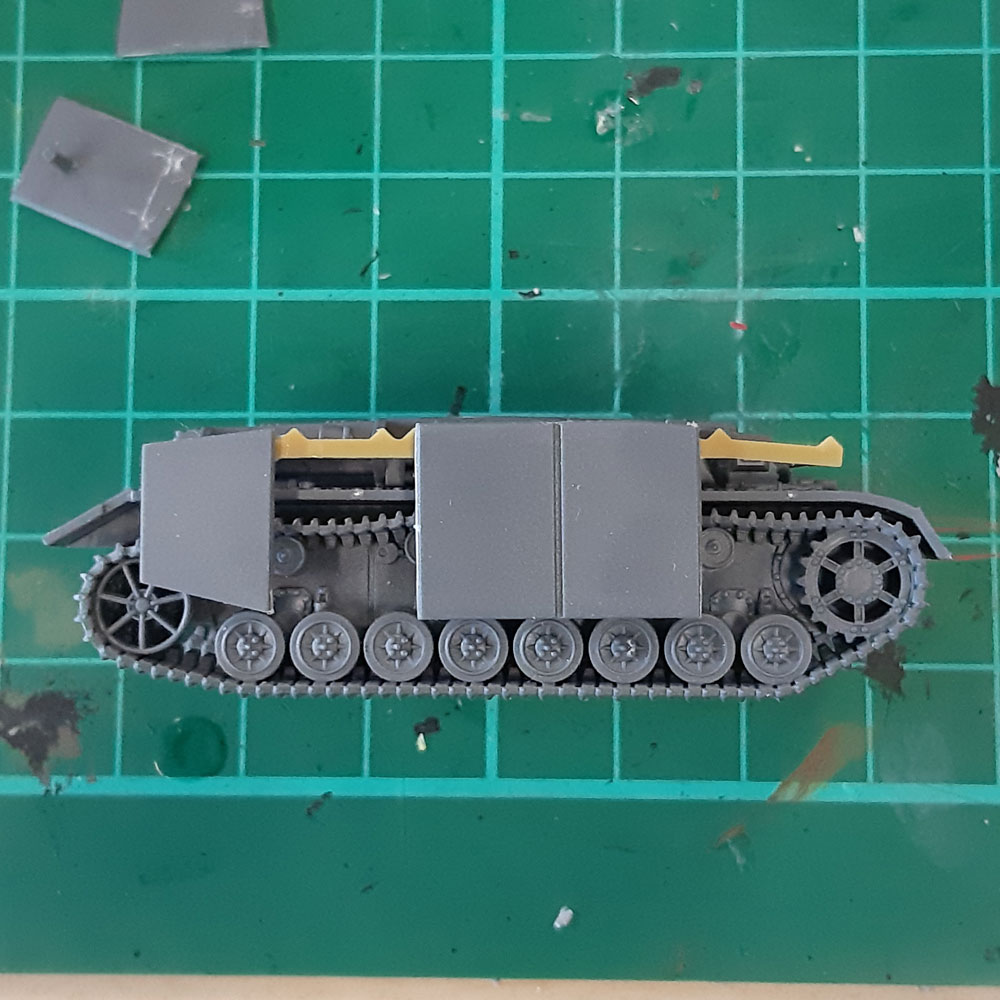
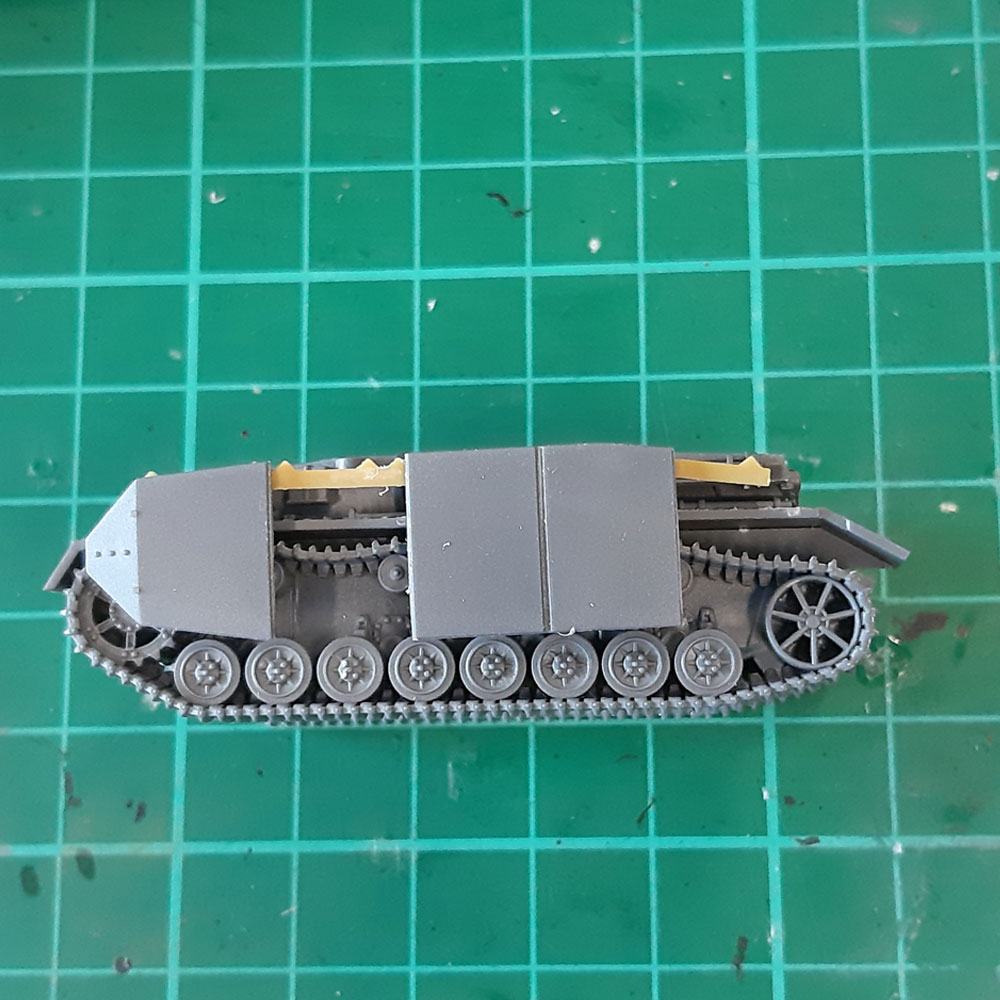
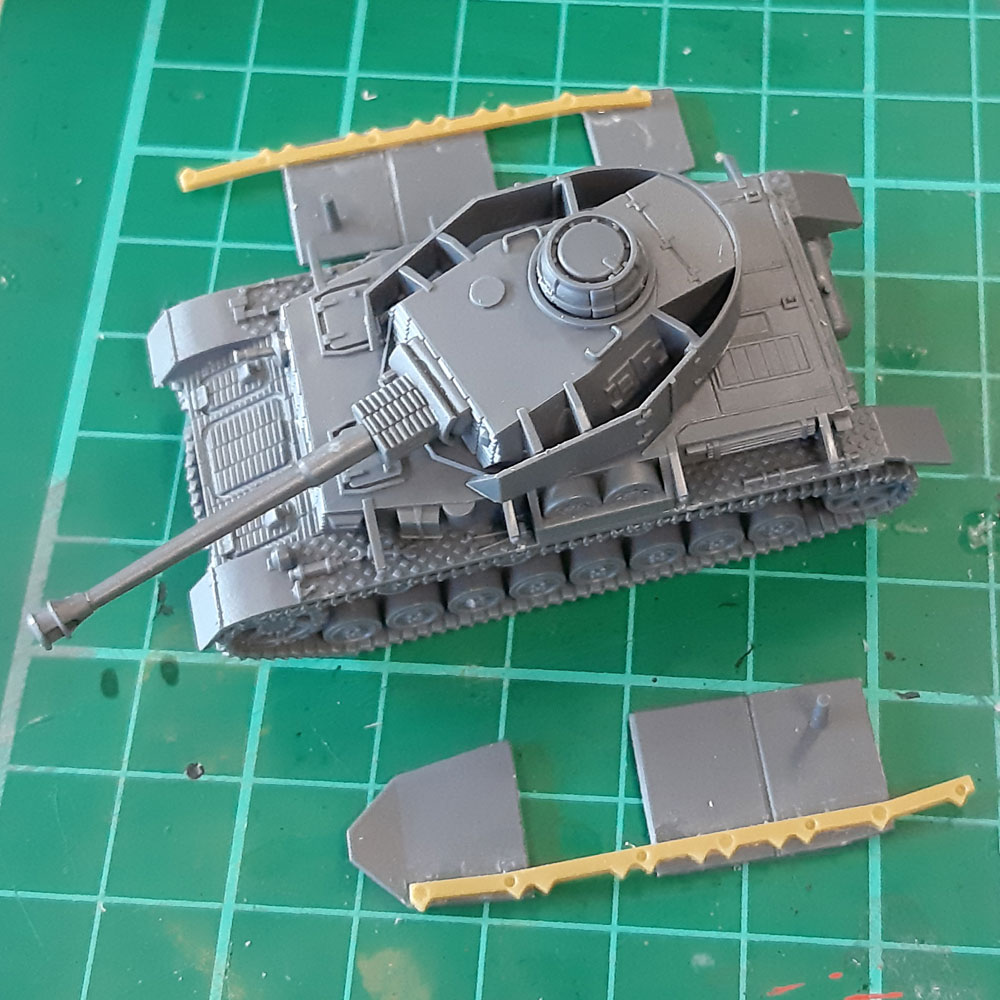
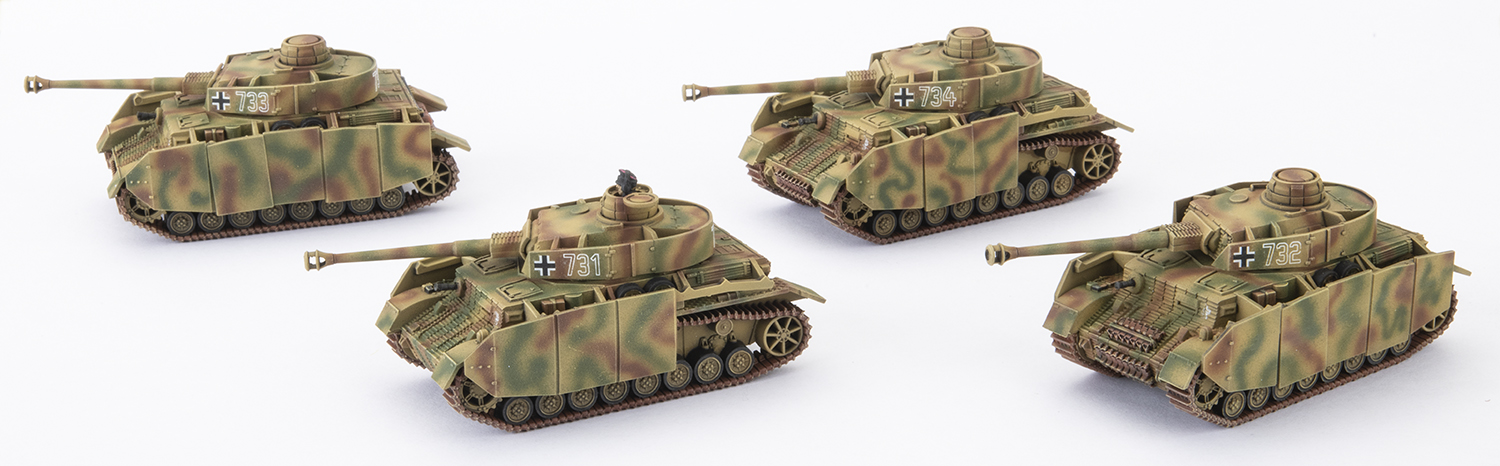
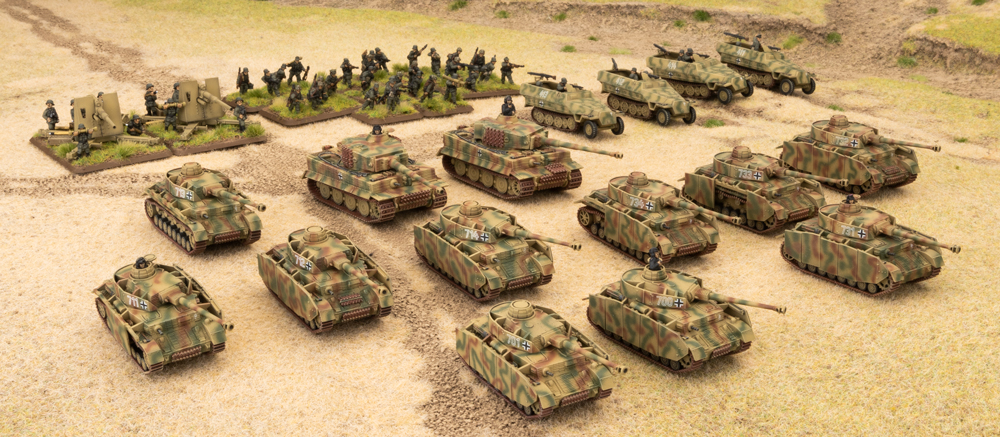
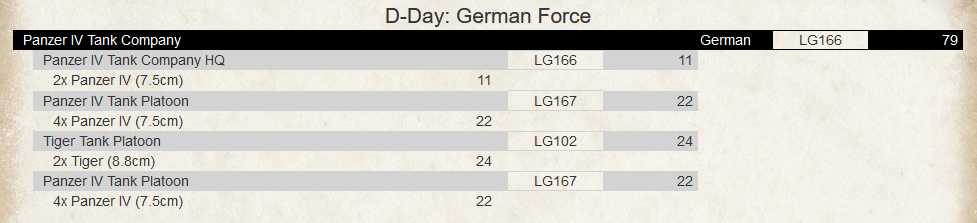
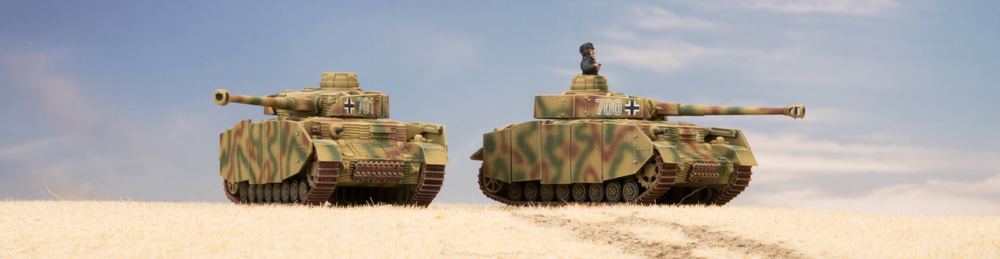
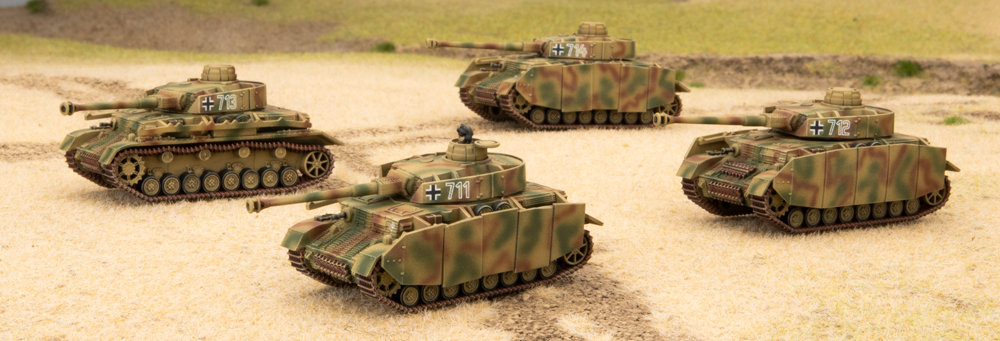
 With Flamescon only being 80 points Late-war I was pretty well set for it a few months ago, having completed my third Panzer IV Tank Platoon. With the Bagration: German release still a few months off, I’ve selected my force from D-Day: German. It’s a simple force based on a Panzer IV Tank Company. I’ve got 13 Panzer IV tanks split over an HQ and three units. They come to 71 points.